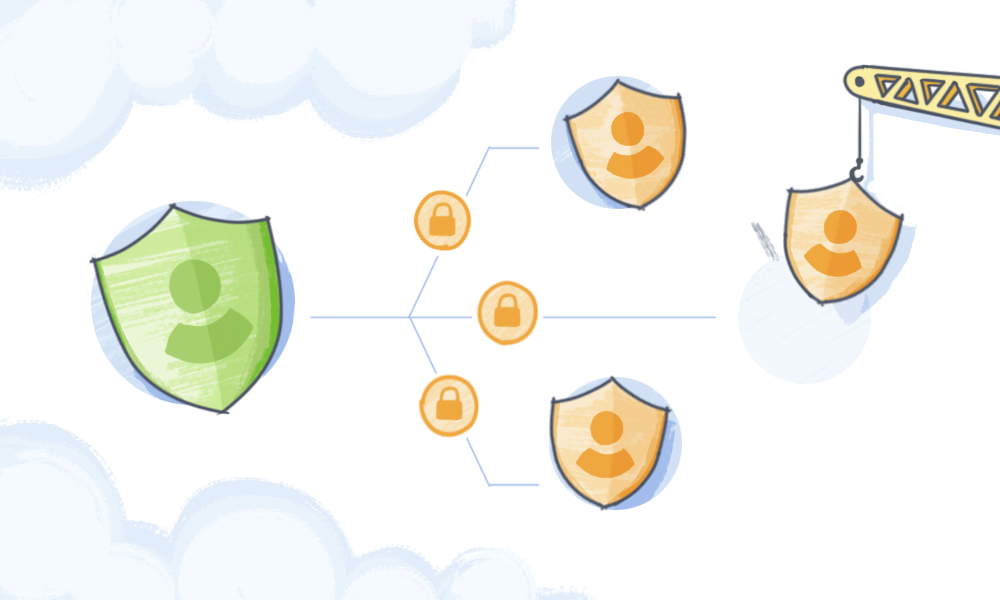
This article will show you how to create IAM user in AWS to add that additional security layer for the root user.
Importance of Creating an IAM User in AWS
Creating an IAM user in AWS is vital for implementing AWS security best practices. The unrestricted access of the root user makes it susceptible to malicious attacks. Here are some reasons to create an IAM user.
- This user can be assigned specific permissions for resource management, reducing the risk of unauthorized changes.
- IAM users also promote segregation of duties and accountability by assigning access levels based on roles.
- It strengthens account security and mitigates potential damage from compromised credentials.
- Adding users through IAM enables centralized access management, streamlining onboarding and offboarding processes and reducing lingering access risks.
How to create IAM user in AWS
Creating an IAM user in AWS ensures better control and accountability over cloud resources, minimizing potential risks for organizations.
In three steps, you can create an IAM user in AWS.
- Navigate to IAM from the root user’s dashboard
- Add user
- Login with the new user credentials
Here is a video tutorial on how to create IAM user in AWS to assist you through the entire process.
1Navigate to IAM from the root user’s dashboard
The Console home has a search bar like the one below.

Insert the text “iam” in the search bar, and select the IAM service as shown below.

Now, you are on the Identity and Access Management dashboard.
Click on the “Users” section on the left side of the page.

1Add User
You will find the “Add users” button. Click on that as shown in the screenshare.

A section like the one below will appear to you.
Here, you must insert the desired “user name” you want and then click on the “Next” button.

A section named “Set permission” will appear.
Click on the “Attach policies directly.”

Scrolling down a bit, you will find a section like the one shown below.
In the search bar, type “sqs,” and then click on the AmazonSQSFullAccess.

This time, you will see the section named “Review and create.”
Simply click on the “Create user” button on the bottom-right side of the page.

At this time, you will see the user you just created. In our case, we named the user as “my-user.”
Just click on it.

Click on the “Security credentials” from your new user’s section below.

The “Console sign-in” section has a button named “Enable console access.”
Click on that button.

After that, a section will appear to you. You can enable the console access from here, like the one shown below.

After clicking on “Enable,” you will find the “Set password” section. Here, you can select an auto-generated or custom password.
In our case, we have selected “Autogenerated password.”
After selecting, click on the “Apply” button.

You will now get the Console Sign-in URL, User name, and Console password.

1Login with new user credential
Copy the Console sign-in URL, and then paste it into a new tab.
You will find the IAM sign-in section like the one shown below.

In the “Account ID” field, insert your 12-digit ID from the Console Sign-in URL.
In the IAM user name and password field, copy-paste your user name and password that you’ve already got.

Finally, click on the “Sign in” button.
Now, you can access the new IAM user to assign particular tasks.
Wrap-Up
Creating an IAM user safeguards your AWS account against potential threats like email spammer bots. It ensures that authorized individuals can only perform critical actions. Creating an IAM user can fortify your infrastructure and data.


 Contents