The Gravity Forms Webhooks add-on allows you to send your form data from your WordPress website to an external app or service. You can easily pass a submitted form data from your website to your MailBluster account using Webhooks add-On.
Let’s look at the prerequisites for using Gravity Forms Webhooks.
Download The Webhooks Add-On for Gravity Forms
1 Download Webhooks Add-On: Download an Add-On from the Gravity Forms website, go to the Gravity Forms dashboard, and click Downloads in the submenu to see all the files available for download.
2 It can also be installed directly via the admin area of your WordPress site. Login to your WordPress dashboard area and go to Forms > Add-Ons. Install any official Gravity Forms Add-On that is permitted by your license level.
Install and activate the Gravity Forms Add-Ons from your WordPress dashboard
1 Go to the Gravity Forms Add-On download page and download the zip file for Webhooks add-on.
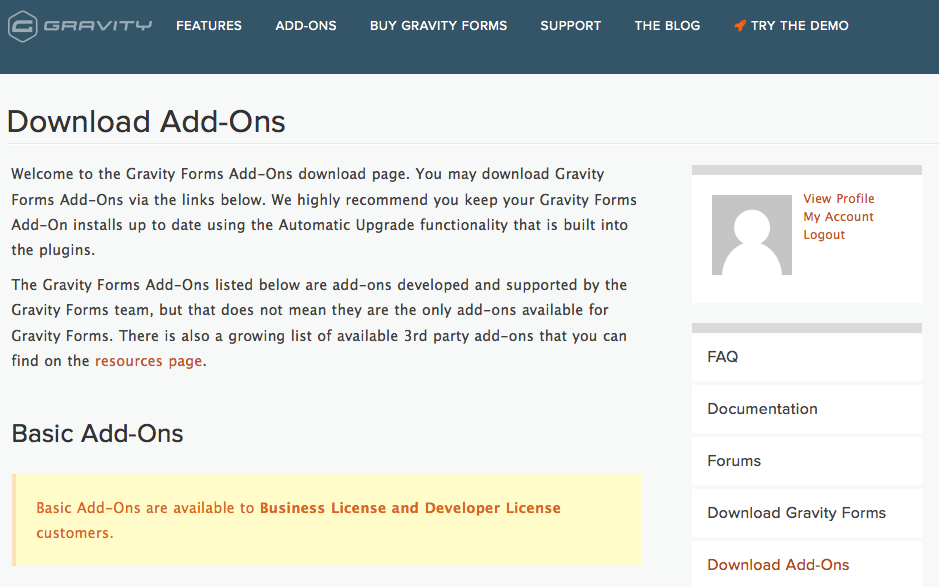
2 Log into your WordPress website’s admin area.
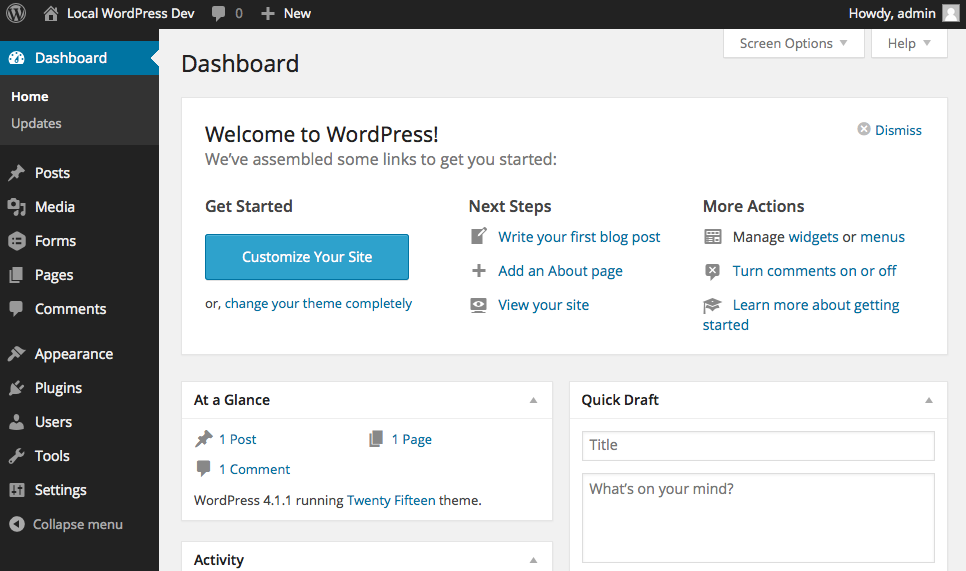
3 On the left side menu bar, hover over Plugins, and click Add New.
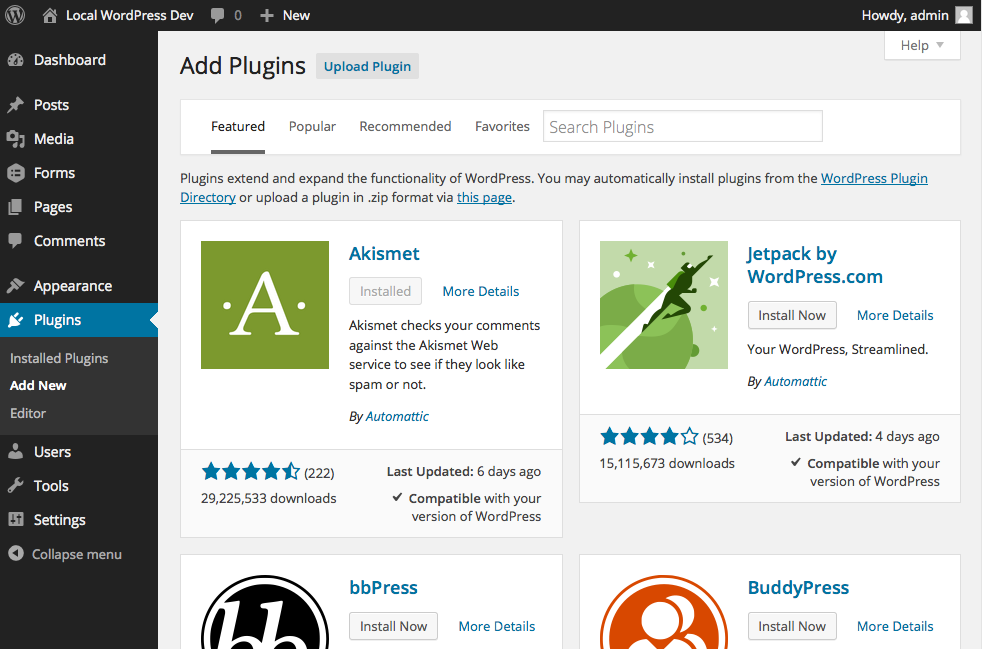
4 At the top of this page, click Upload Plugin. Then click on Choose File and select the downloaded add-on zip file. Click the Install Now button.
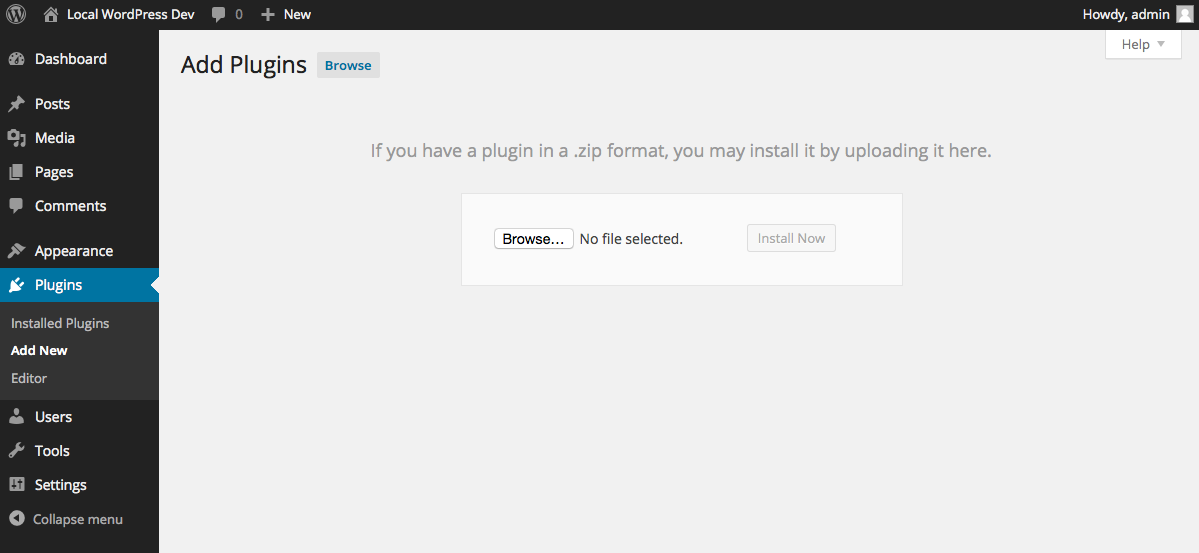
5 WordPress will process the unpacking and installation of the Gravity Forms add-on automatically. Once the process is finished, click on Activate Plugin.
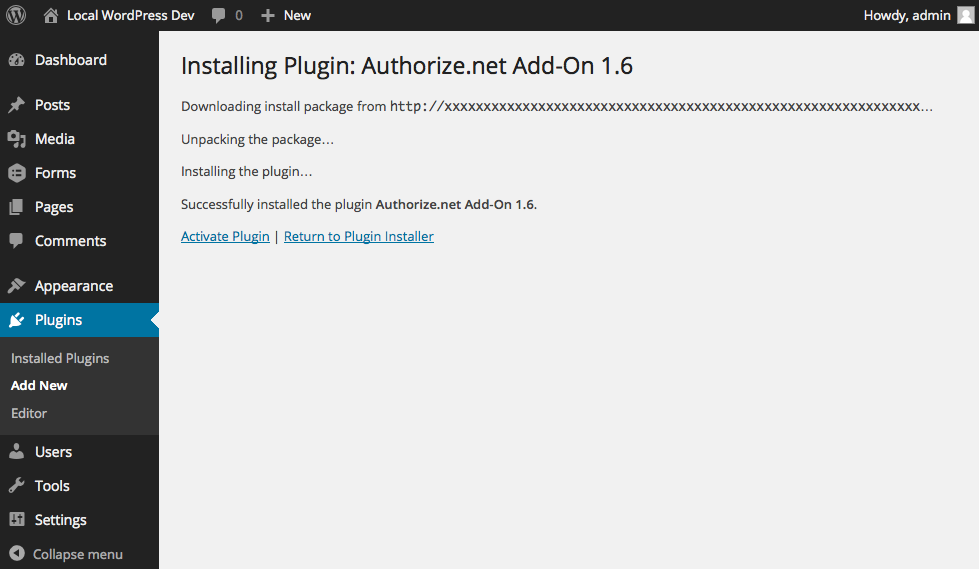
Now, it’s time for setting up the Webhooks, Let’s have a look at the procedures.
Configuring Webhooks
You’ll need to create a feed as you would do for any other add-ons to configure Webhooks for a form. To begin, go to your Form Settings and click on the Webhooks tab. Then click on the Add New button. Next, set up the feed for your Webhooks.
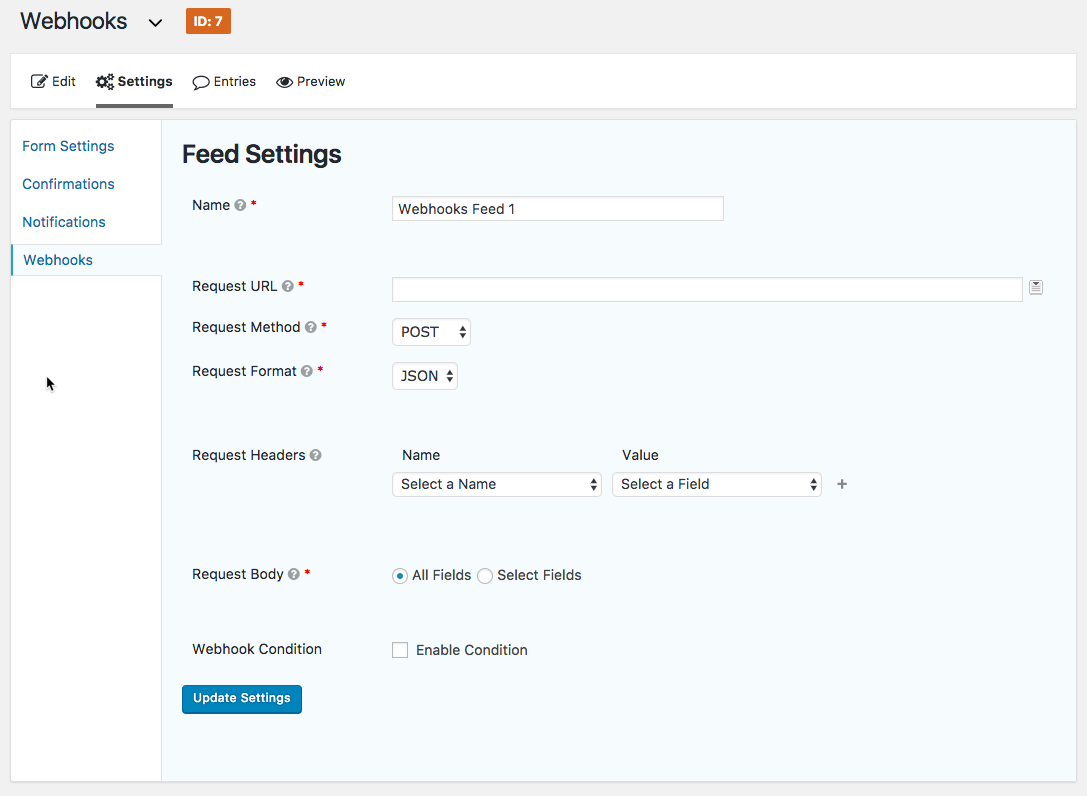
1 Name: Enter a name for your feed. The name will never be displayed anywhere. For example, we have entered MailBluster-Example.

2 Request URL: Enter the URL where this request will be sent to. We have entered (https://api.mailbluster.com/api/leads), for example. This setting also supports merge tags.

3 Request Method: Choose the HTTP method that you want to perform. The supported methods are GET, POST, PUT, PATCH, and DELETE. Here, we have selected POST to send the form data to MailBluster.

4 Request Format: Select the format for the Webhooks request. Two supported formats are FORM and JSON. We are using JSON here.

5 Request Headers: You can configure one or more HTTP headers here to send with the request.

Note: The Content-Type header is automatically set to application/JSON during feed processing when the Request Format is set to JSON, and the Request Method is set to POST or PUT.
6 Request Body: You will define here what data should be sent with the request. There are two options, such as – All Fields and Select Fields. We have selected Select Fields here.

7 Field Values: This dynamic setting will allow you to define the keys and values to be sent in the request body.

8 Webhook Condition: Like any other add-ons, conditional logic can be set here. To put conditional logic, check the Enable Condition and configure the rules which should be matched for this request to be sent.

9 Finally, click on the Update Settings button to finish the configuration.
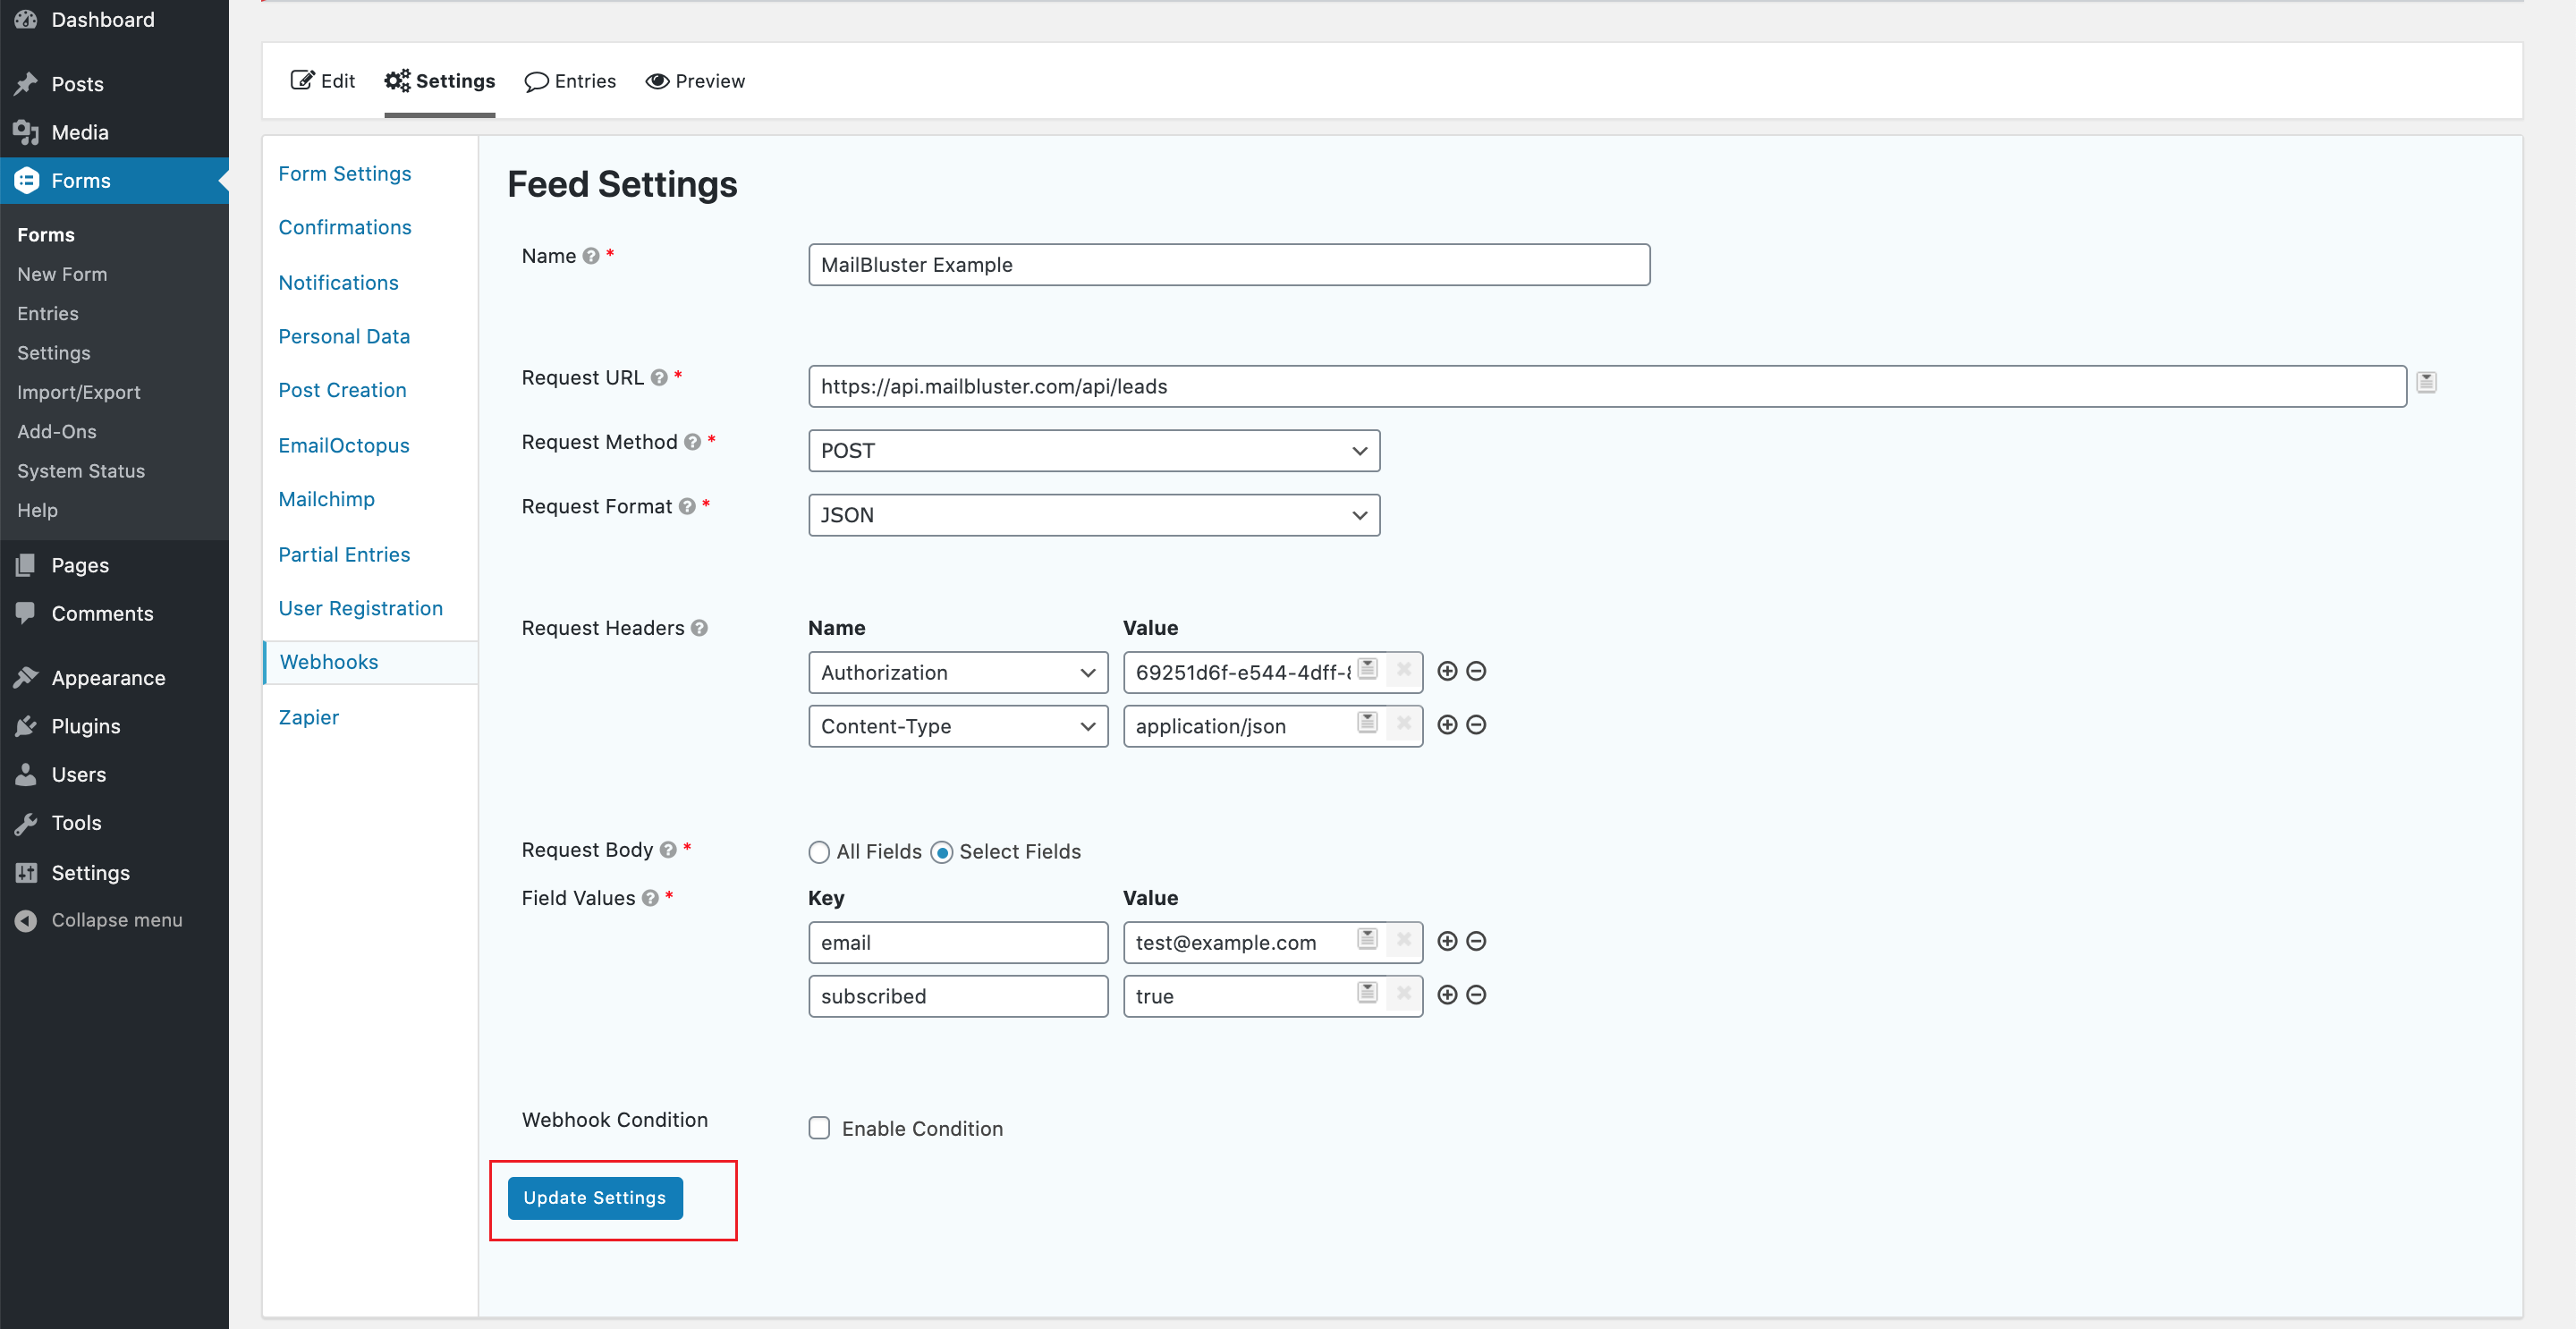
Congratulations! Your Gravity Forms is now hooked with MailBluster through Webhooks for growing your subscriber’s list.
Happy Sending 💙


 Contents