In this guide, you will explore the significance of SPF DKIM and DMARC, specifically in the context of AmazonSES, and how to set them up.
What is SPF DKIM and DMARC?
Amazon SES SPF
SPF, or Sender Policy Framework, is an email validation protocol that allows you to define a list of authorized IP addresses or servers. Amazon SES provides built-in support for SPF. It helps prevent unauthorized senders from using your domain to send malicious or fraudulent emails.
AWS SES DKIM
DKIM, or DomainKeys Identified Mail, is another email authentication mechanism that verifies the integrity and authenticity of an email message. It adds a digital signature to outgoing emails, allowing the receiving server to verify that an authorized sender indeed sent the emails and hasn’t been tampered with. AWS SES makes it easy to set up DKIM for your domain, enhancing the trustworthiness of your emails.
AWS SES DMARC
DMARC, or Domain-based Message Authentication, Reporting, and Conformance, is a policy framework that builds upon SPF and DKIM to provide an additional layer of email authentication and reporting. With DMARC, you can instruct receiving mail servers about handling emails that fail SPF or DKIM checks, reducing the chances of phishing or spoofing attacks on your domain. Amazon SES supports DMARC implementation, allowing you to monitor and enforce email authentication policies effectively.
SPF vs DKIM vs DMARC
While SPF DKIM and DMARC serve distinct purposes, they work together to provide a comprehensive email authentication solution.
Here is a comparison table of SPF, DKIM, and DMARC.
| SPF | DKIM | DMARC |
| SPF verifies the sending server’s authenticity | DKIM verifies the email’s integrity | DMARC defines policies for handling failed authentication checks. |
Implementing all three protocols can significantly improve your email deliverability rates and protect your domain’s reputation.
How to Setup SPF, DKIM, and DMARC in Your AWS Account?
You can set up SPF DKIM and DMARC in your AWS account in four steps.
- Navigate into Amazon SES Configuration: Verified Identities
- Create Identity
- Add Records
- Get Verified
Here is a video guideline to clarify the concept.
1Navigate into Amazon SES Configuration: Verified Identities
After logging into your AWS account, you’ll find the “Console home” page. Insert “ses” in the search bar of that page. On the first search result, you will see “Amazon Simple Email Service.” Click on it.

A page like the below one will appear. Click on the “Verified Identities” section on the left side of that page.

2Create Identity
You are on the “Verified identities” page.
Click on the “Create identity” button.

You will find a page like the one shown below.

Choose “Domain” as your identity type.

Now insert your domain in the domain field, and checkmark the “Use a custom MAIL FROM domain.”
Redvir.us is an example here.

In the “MAIL FROM domain” field, insert your from username. Suppose you want to give it a name: info.

Then click on the “Create identity” button.

A page like the one below will appear. Here it shows that the identity status is “Verification pending.”

When scrolling down the page, you will see three DKIM records.

There are two Custom MAIL FROM domain records, also.

3Add Records
Now go to your DNS Management’s “Records” section and click the “Add records” button.

An area like the one marked in the picture below will appear, where you must copy and paste from the identity page.
Remember to turn off the “Proxy status” each time you add a record.

The video in this blog explains this critical part of implementing DNS records more clearly.
Here is a sample of three DKIM Record copy-paste.
1st DKIM record copy-paste:

2nd DKIM record copy-paste:

3rd DKIM record copy-paste:

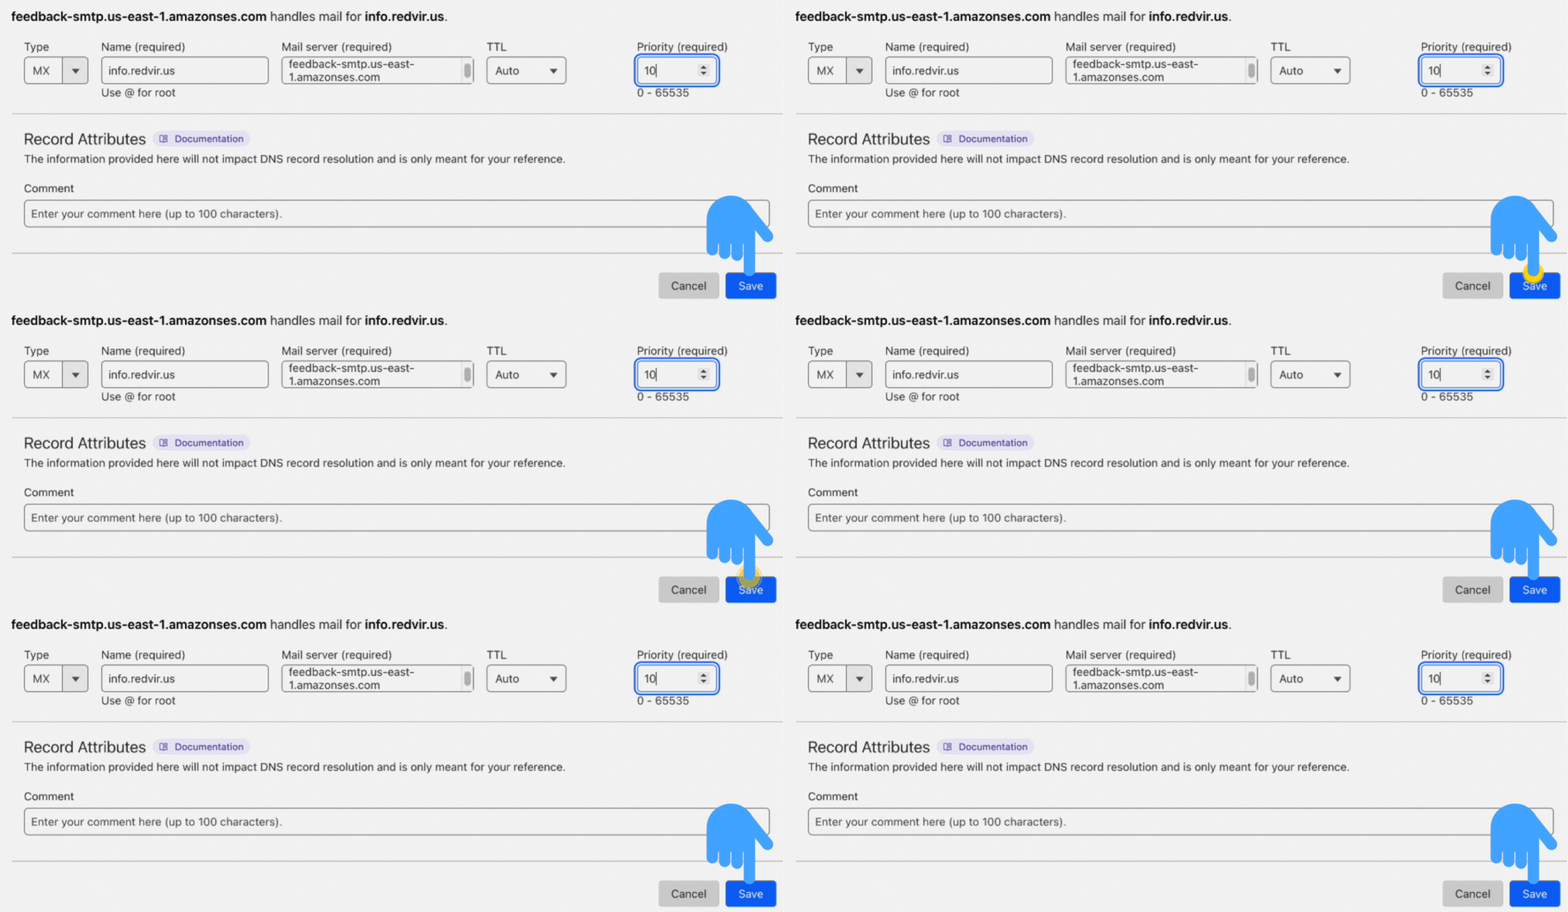
And here are the sample of Custom MAIL FROM domain records’ copy-paste.
1st Custom MAIL FROM domain record:

2nd Custom MAIL FROM domain record:

After saving all five records from the “Create identities” page to the “DNS Records,” you have yet to add one more from this page.
There, you will find a DMARC policy record. The name is given here as “example.com,” but you need to give your domain here by replacing it. We were using “redvir.us.”

After editing the domain name and value, click the “Save” button.

4Get Verified
Here is the status of adding six records.

That is, you have done your part. Wait a few hours and then check the status in Configure ” Verified identities.”
Here is an example of getting verified by Implementing SPF, DKIM, and DMARC to an AWS account.
1st image:

2nd image:

Importance of Setting Up SPF, DKIM, and DMARC on Your AWS Account
Implementing robust email authentication protocols is crucial in today’s digital landscape. Amazon SES offers three key protocols: SPF, DKIM, and DMARC.
- SPF prevents unauthorized sources, like email spammer bots, from using your domain for email sending. It is crucial when protecting your reputation and reducing spam risks.
- DKIM digitally signs outgoing emails and verifies authenticity. It also enhances deliverability and trust.
- DMARC combines SPF and DKIM. It lets you define how the receiving servers handle emails during failed authentication. It provides reports for monitoring delivery and authentication failures.
Setting up SPF DKIM and DMARC on your AWS account is essential for email deliverability, reputation, and trust-building. These protocols authenticate and safeguard your emails, ensuring they reach recipients’ inboxes without being flagged as spam attempts or phishing content. Implementing these protocols establishes a strong foundation for successful email communication and maintains a positive sender reputation.


 Contents
