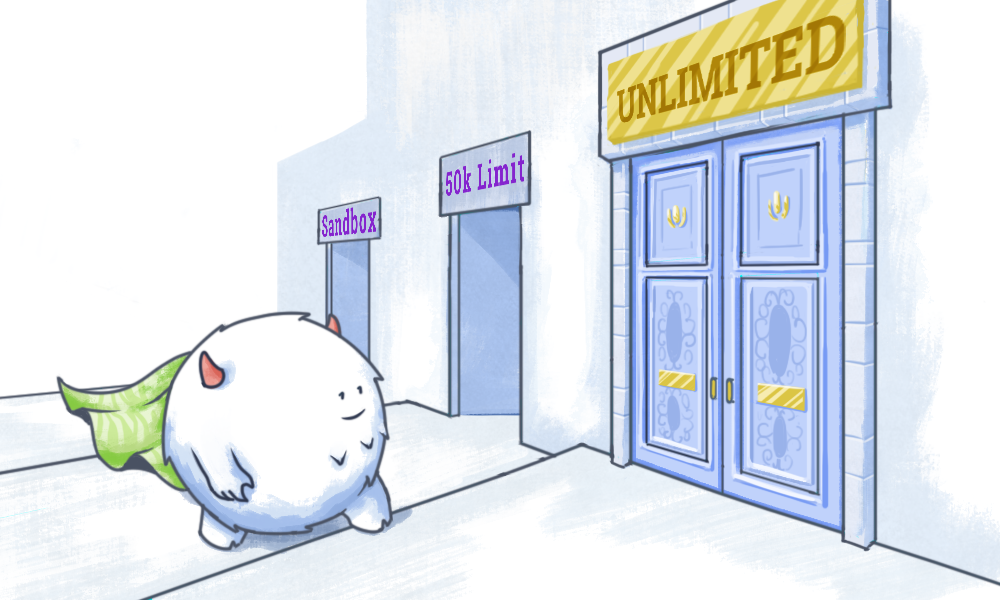
To exceed the SES limits you set when getting out of the Amazon SES sandbox, you need to request an AWS SES sending limit increase for your SES quotas. Increasing your SES quotas allows you to scale your email-sending capabilities based on your business requirements.
To go beyond SES limits, follow the guidelines provided in this article to initiate an AWS SES sending limit increase for AmazonSES.
However, before we delve into that, let’s understand the difference between increasing SES quotas and getting out of the sandbox.
Difference Between Increasing SES Limits and Getting Out of the Sandbox
Amazon SES offers two features related to increasing email-sending capabilities: getting out of the sandbox and requesting the AWS limit increase for your SES quota. Here’s an explanation of each:
| Getting Out of the Sandbox | Increasing SES Limits |
|---|---|
| Your account is placed in the sandbox when you start using AWS SES. The sandbox provides a controlled environment to test and evaluate SES without the risk of misuse. In the sandbox, there are certain restrictions on email sending to prevent abuse. These restrictions include sending emails only to verified email addresses and limiting the number of emails you can mail daily. | Once you are out of the sandbox and in the production environment, you may have certain sending limits imposed on your AWS SES account. These limits are in place to ensure the stability and deliverability of your emails and prevent abuse. The specific limits depend on various factors, such as your AWS account’s age, sending history, and compliance with SES policies. |
| Getting out of the sandbox means moving from this restricted environment to a production environment. After getting out of the sandbox, you can send emails to any recipient, not just verified addresses, and the sending limits are increased. | You can request a sending quota increase if you need to send more emails than your account’s default limits allow. This involves submitting a request to AWS to raise your sending limits. |
| To get out of the sandbox, you must submit a request to AWS and follow their verification process. This involves providing additional information about your use case and verifying your email addresses or domains. | After providing information about your sending patterns, email content, and relevant business justifications, AWS will review your request and increase your sending limits if they think you are a valid sender. |
In summary, getting out of the sandbox is the initial step to moving from a restricted environment to a production environment with fewer limitations on email sending.
On the other hand, requesting a quota increase is done after leaving the sandbox to raise the sending limits beyond the default values imposed on your AWS account.
How to Request for Increasing SES Limits?
After successfully getting out of the sandbox environment, you can request the AWS limit increase for your SES quota, as mentioned.
Here is a video that can help you understand the guideline more clearly.
Requesting for Increasing SES Limits
First, sign in to AWS as a root user with your email address. After inserting your email address, click on the “Next” button.

A tab with the password field will appear to you. Insert the password and click on the “Sign in” button.

Now you are in the Console Home.
You will find your user name at the upper-left side of the page. Click on it. Then click on the “Service Quotas” like below.

Now click on the “AWS services” section at the upper-right side of the page.

This time you will find a search bar. Search for “Amazon Simple Email Service” and just click on it.

A page with the “Sending quota” and “Sending rate” sections will appear. Select the “Sending quota” first, and click the “Request quota increase” button.
[N.B: When getting out of the Amazon SES Sandbox, we requested to increase the daily email sending limit from 200 to 50k and the sending rate from 1 to 14 per second.]

You will see a tab like the one below.
Type the number of emails you want to send daily in the “Change quota value” box, then click on the “Request” button.
Suppose you want to increase it to 70k.

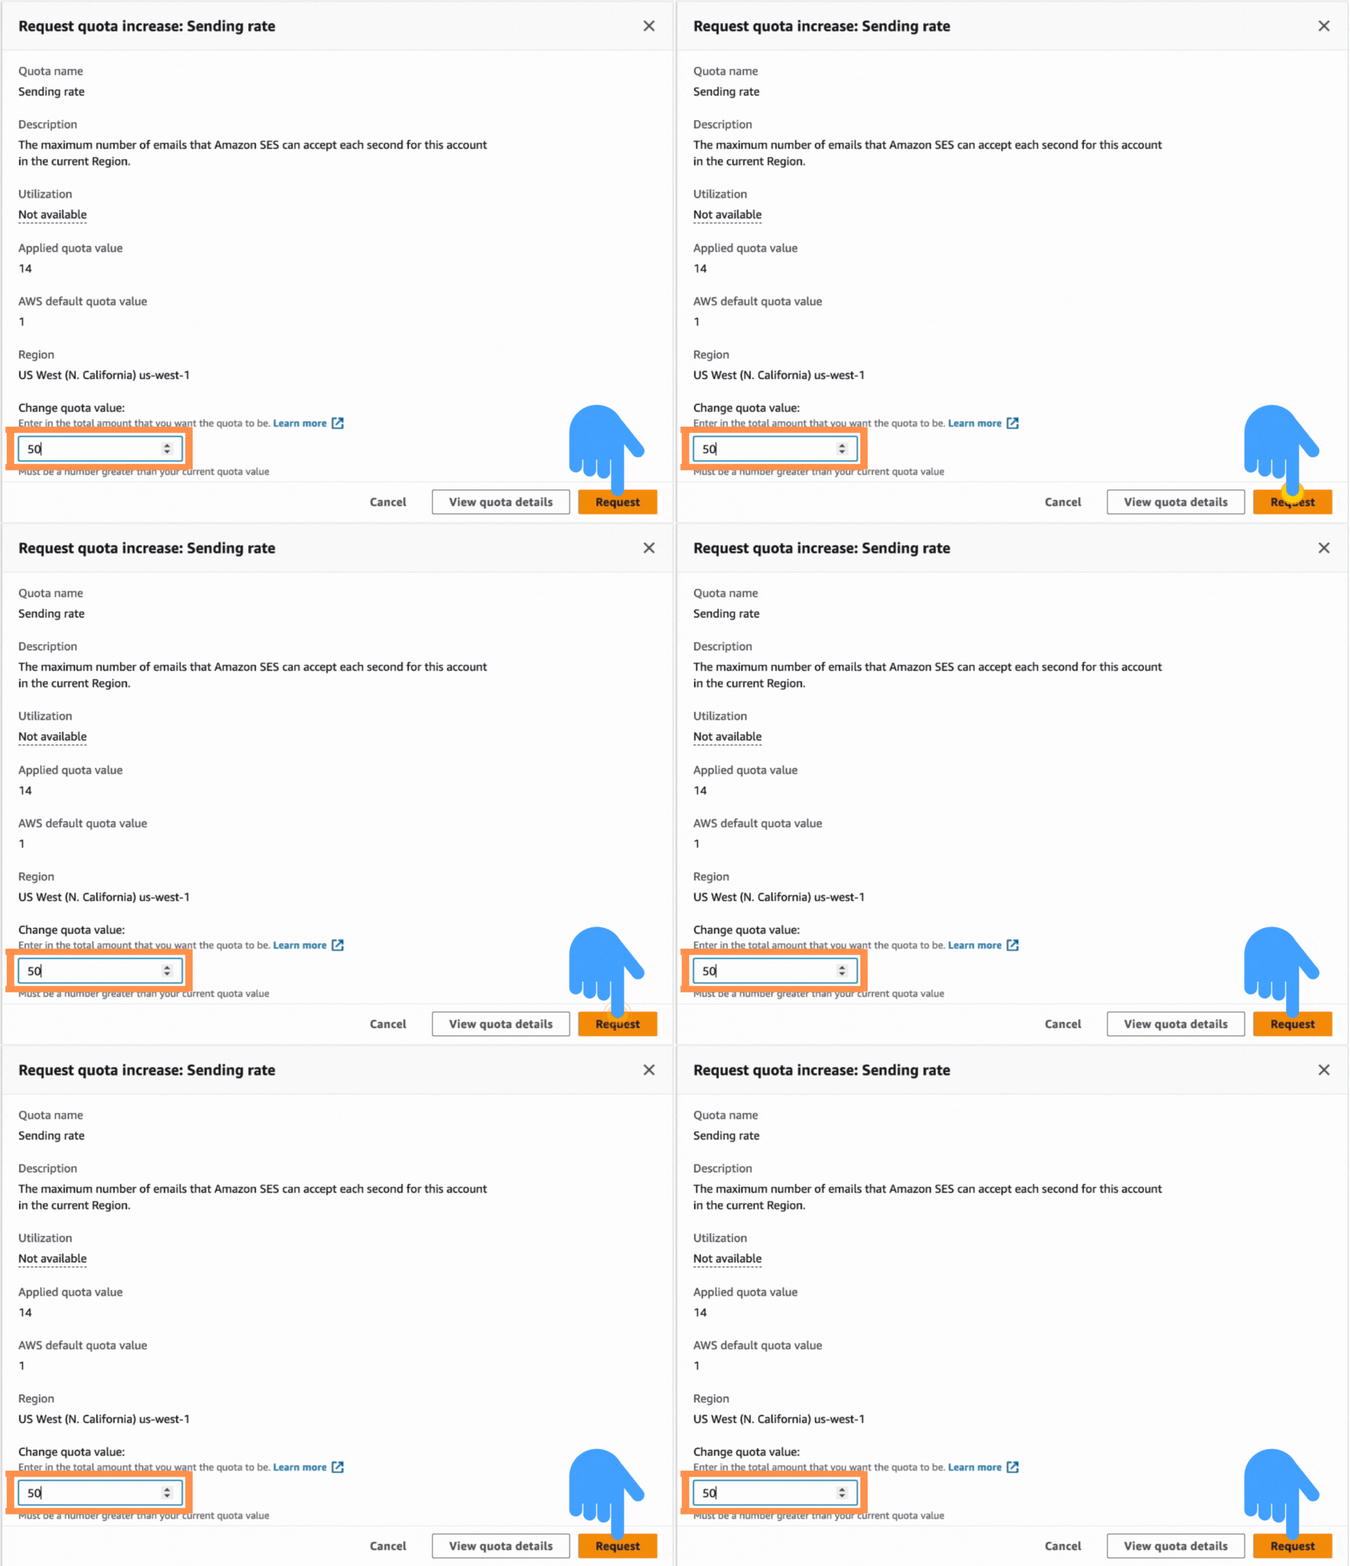
Again, go back to the previous page. Select the “Sending rate” and click the “Request quota increase” button.

Type the number of emails you want to deliver per second in the “Changed quota value” field, then click on the “Request” button.
Let’s say you want to increase the sending rate to 50.

Wrap Up
Amazon SES provides flexibility to accommodate your business requirements while adhering to SES limits and its pricing.
By requesting limit increases, you can effectively scale your email-sending capabilities and meet the demands of your growing business within the SES limits.
Securing your account from any potential threats is essential, as your business reputation relies on your account’s reputation. To learn how to secure your AWS account, click here.


 Contents
