


Amazon SES setup is a straightforward process enabling you to create an AWS account, verify your email address or domain, and configure your email client to use AmazonSES as your service provider.
With its pricing, Amazon SES is the cheapest email marketing solution ever. There are no alternatives to Amazon Simple Email Service with MailBluster to reduce your marketing budget.
On the other hand, maintaining AWS security best practices, you can make the strongest shield to protect your AWS account from any potential threats and fraudulent activities.
In this guide, you will find how to create an AWS account easily, step by step. It will help you start sending and receiving emails easily using MailBluster.
Steps to Create an AWS Account
In 5 steps, you can complete your AWS SES setup process.
- Sign up
- Sign in
- Add user name
- Attach policies
- Create Access Key
Here is a video tutorial that can assist you in understanding the procedure more clearly.
1Sign Up
To create an AWS account, you must sign up with your email address, contact information, and billing information.
By clicking this link, you will find the AWS SES homepage below. You will find a button on the upper-right side of it – “Create an AWS account.”
Click on that button.

You will find a page where there are two sections named “Root user email address” and “AWS account name.”
Simply fill up the sections and click on the button “Verify email address.”
You will get a verification email then.
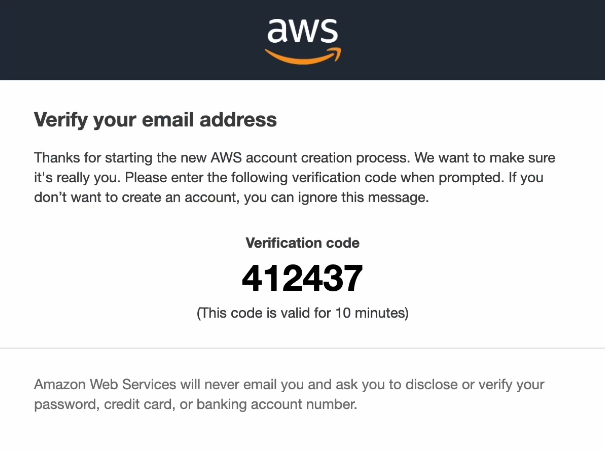
Copy the verification code and paste it to the page that appeared to you, like below.
Now click on the “Verify” button. A page will seem like the one below, enabling you to create your password.
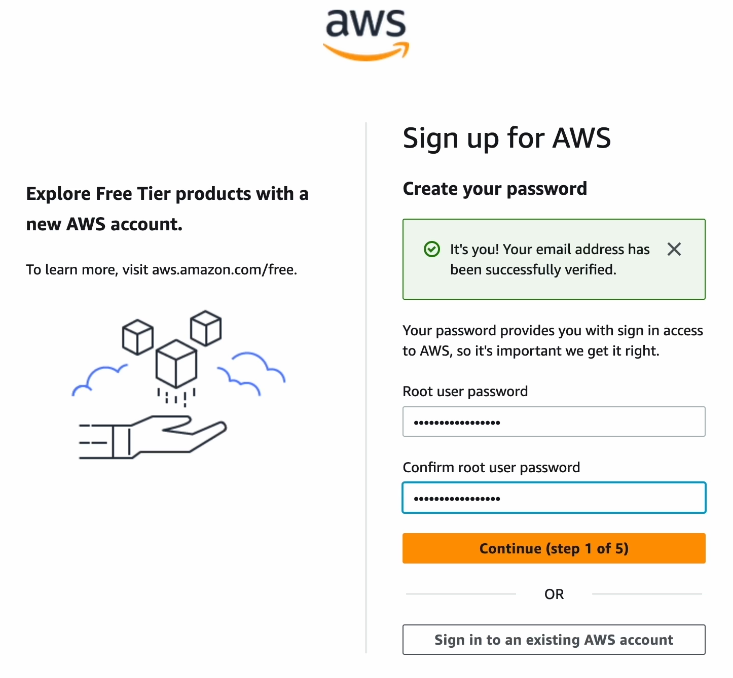
After confirming your root user password, click “Continue (step 1 of 5).”
A page requiring contact information will appear this time
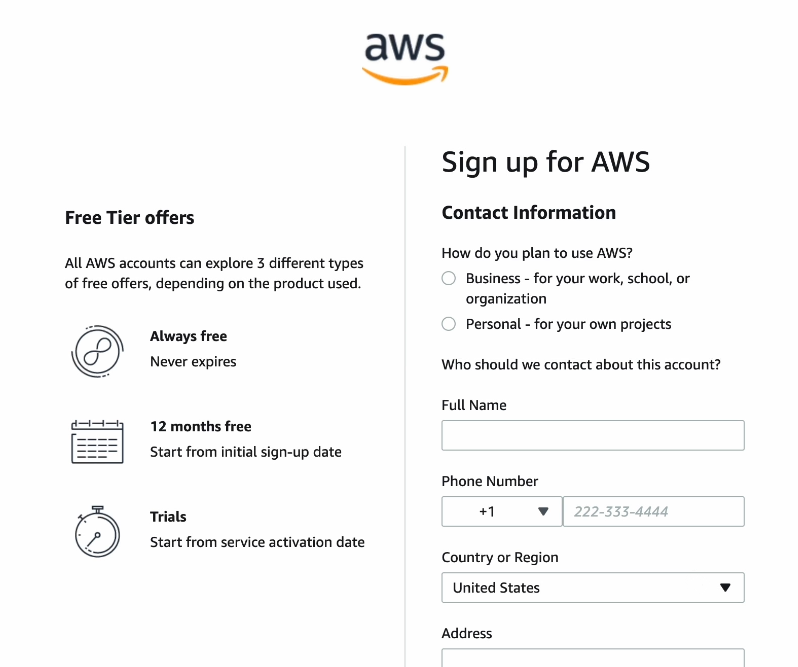
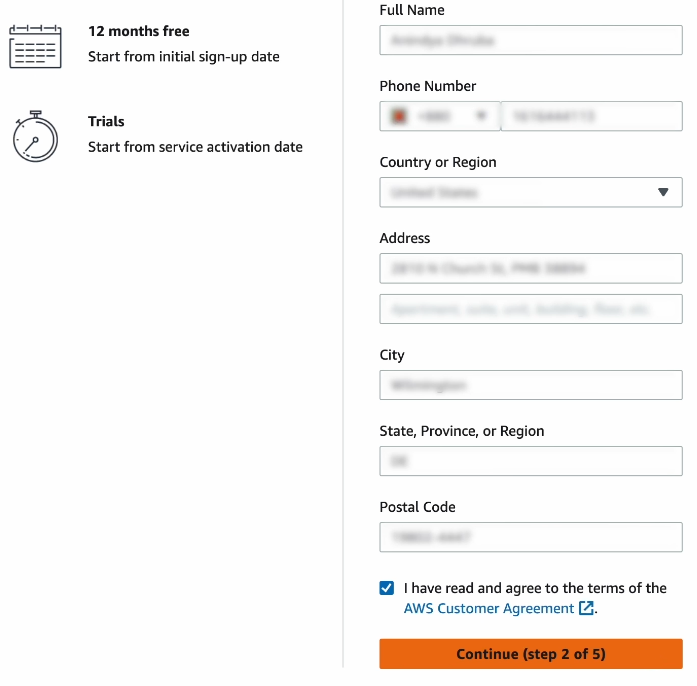
Enter all the required contact information from the top to the bottom of the page. After finishing, click the “Continue (Step 2 of 5)” button at the bottom.
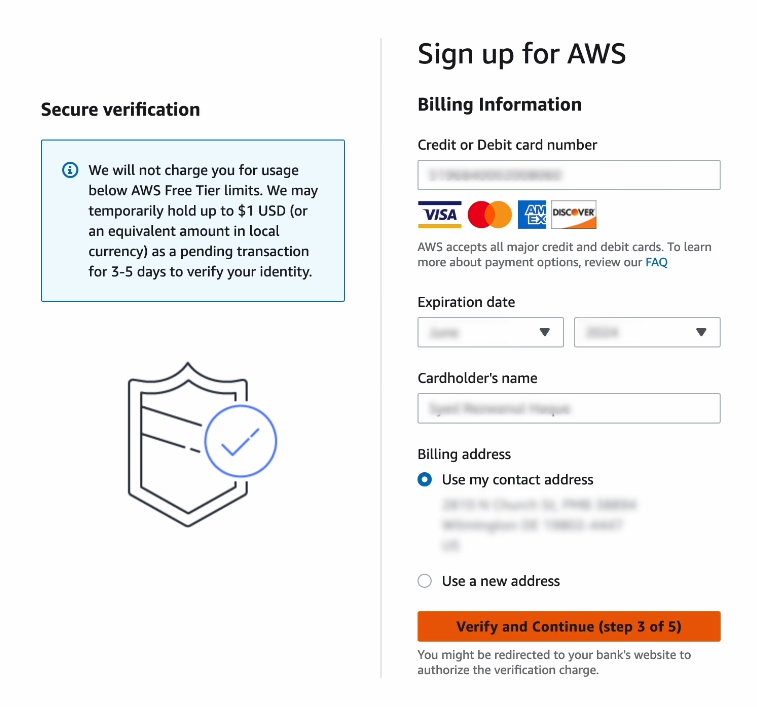
After that, you will see a page requiring billing information, like the one below.
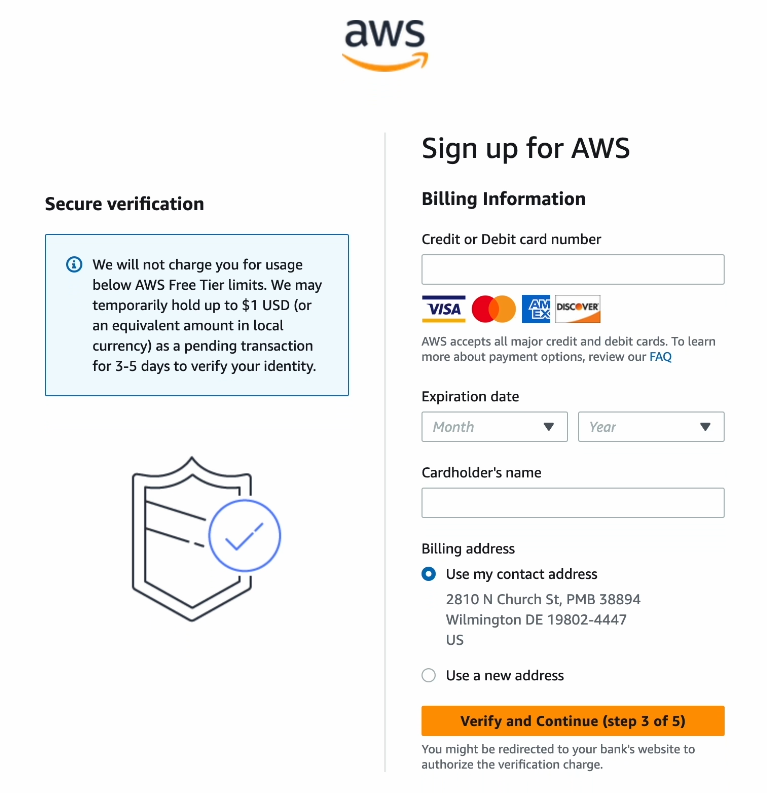
Simply fill the sections with your billing information, then click the “Verify and Continue (Step 3 of 5)” button.
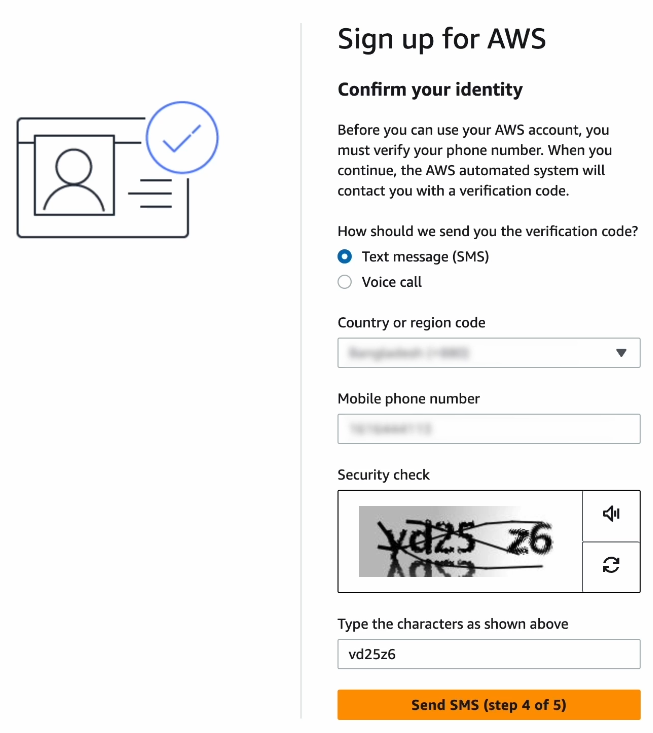
Now it’s time to verify your phone number. On the next page, you will see the field requiring your phone number and regional code. Fill up the fields and select “text message” or “voice call” to get the mobile verification code, and click on “Send SMS (Step 4 of 5),” like below.
A page containing the “verify code” field will appear to you. Insert the code you just got in your phone. Click on “Continue (Step 4 of 5).
Now it’s time to select the support plan. Click on the “Basic Support – Free” section on the below page, and then click on the button – “Complete Sign up.”
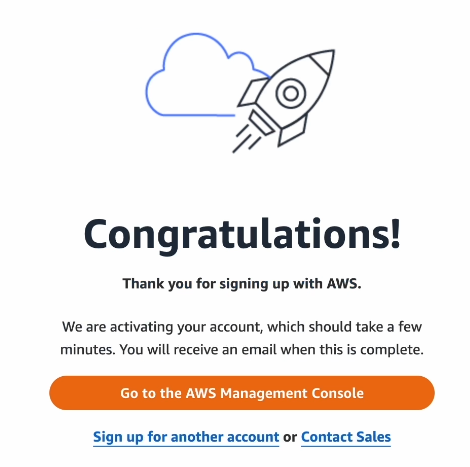
Your sign up process to create an AWS account is now completed.
AWS SES will congratulate you then and also will notify you via email.
Please note: You must verify your email or domain in the AWS Management Console before connecting your AWS account with MailBluster.
You can take the help of this guide to verify your email or domain in AWS.
Now you can click on the “Go to the AWS Management Console” button and sign in to Amazon Simple Email Service.
2Sign In
On the Sign In page, click on the “Root user” section and insert your email address in the “Root user email address” field.
Click on the “Next” button.
A field will appear requiring a password. Insert the password you chose while signing up.
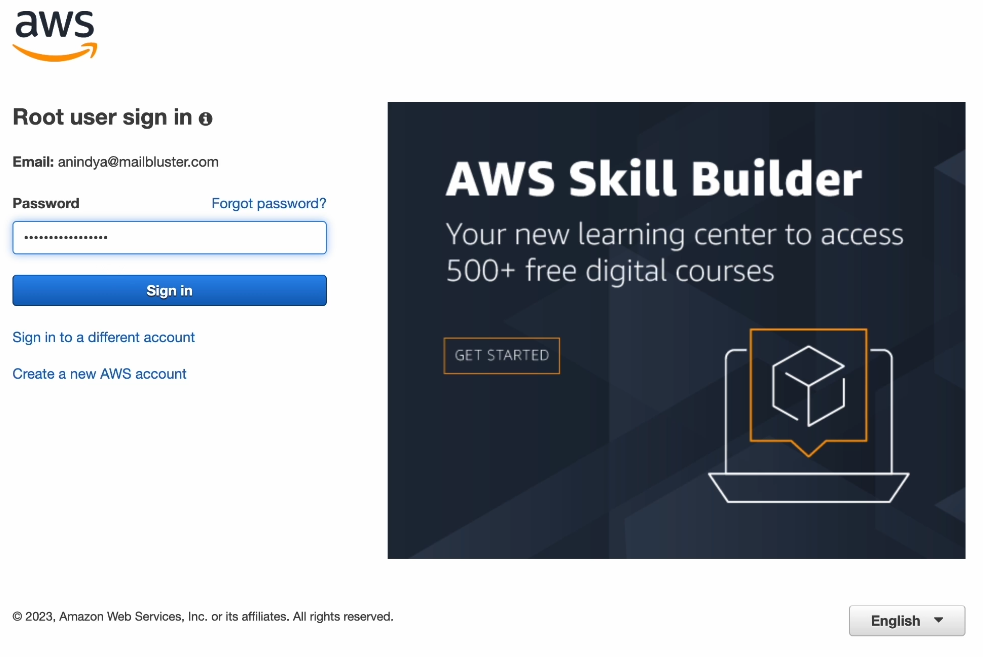
Clicking the “Sign in” button will take you to the “AWS Management Console” page.
3Add User Name
To add a user name to your AWS account, you must navigate to AWS IAM (Identity and Access Management) service first.
Type IAM into the search box of the AWS management console page, like below.
Next, select the IAM like below.
You will find the IAM dashboard page then.
Click on “User” on the left side of the page.
A page containing the “Add users” button will appear.
Click on that button.
You will find a page containing the “User name” field. Insert the user name you want.
Here we are showing you mailbluster as a user name, for example.
Clicking on the “Next” button will complete adding your user name and will take you to the “Set Permission” page, where you will be able to attach policies.
4Attach Policies
Amazon Web Service aims to provide a lot of services to users. It’s up to users which one they want to get.
This guide is dedicated to showing how to create an AWS account with the Simple Email Service. To attach that policy, click on the “Attach policies directly” on the “Permissions options” page, like the above one.
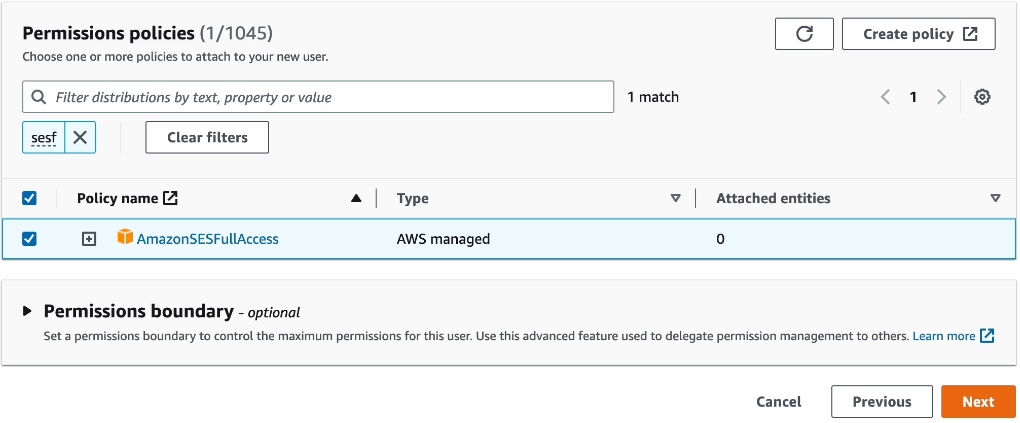
After that, click on the field named “Filter distributions by text, property or value” and type – “sesf.”

You will find a policy named “AmazonSESFullAccess.” Click on the check mark right side of it, and then click on the “clear filter” button.
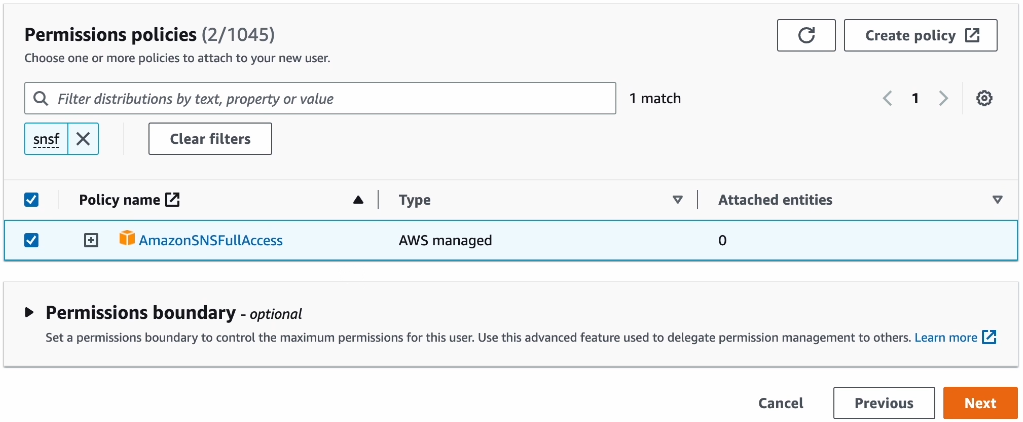
Now type “snsf” on the “Filter distributions by text, property or value” field.
You will find the following policy named “AmazonSNSFullAccess.” Click on the check mark on the left.
After that, click the “Next” button on the bottom-right side of the page.
You will see a page named “Review and create.”

At the bottom-right side of the page is a button named “Create user.” Click on that button.
Now you will see that the IAM page has an account like the one below.
Now it’s time to create an access key for this user.
5Create Access Key
To create an access key for the user you created in AWS, click on that user name.
Following that, a page will appear like the below one. Next, click on the “Security credential” section.

By scrolling down, you will find a button named “Create access key.” Click on that.
A page named “Access key best practices and alternatives” includes several sections. Click on the “Command Line Interface” section among all of them.
After that, scroll down and click on the check mark “I understand the above recommendation and want to proceed to create an access key.”
Click on the “Next” button on the bottom-right side of the page.
An optional task will show up then that you might want to skip.
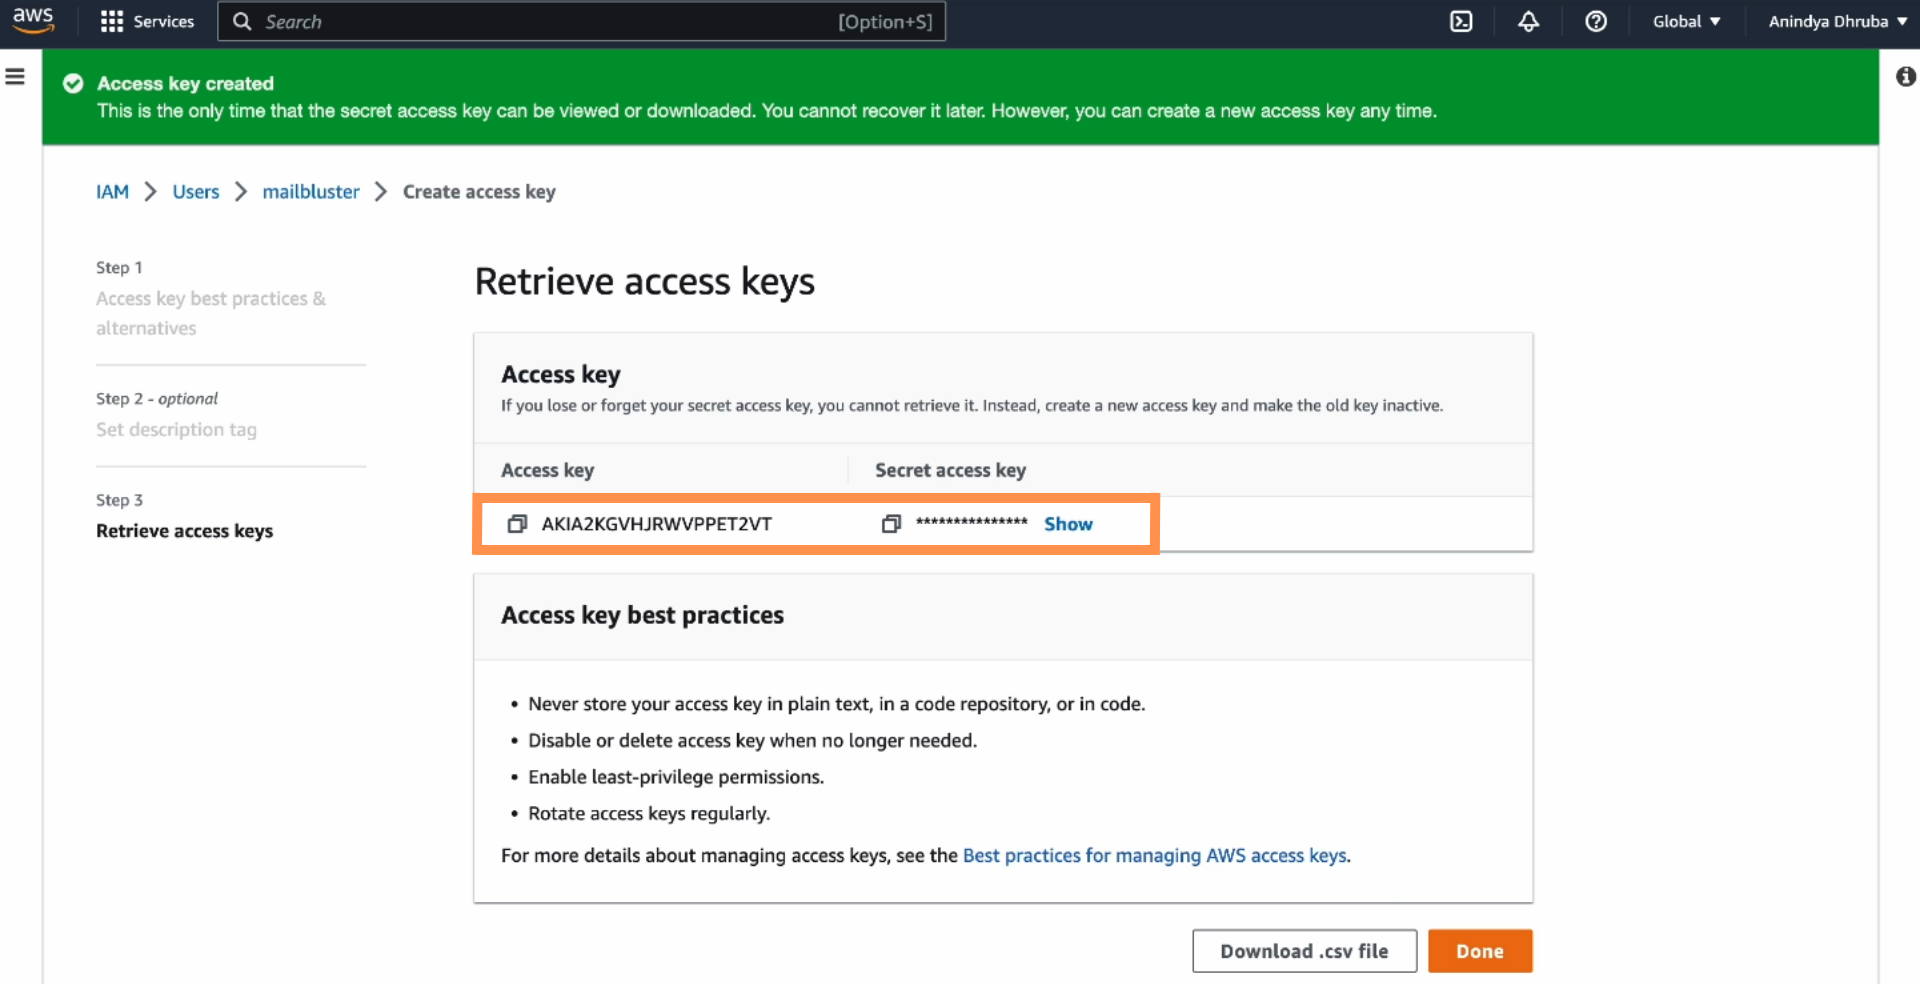
Just click on the button “Create access key.”

Finally, you have your access key, which you must collect by downloading the CSV file. Because if you forget the access key, you won’t be able to retrieve it.
Now you can connect MailBluster with your AWS account to get the cheapest email marketing service.
Connect MailBluster with Your AWS Account
To connect MailBluster with your AWS account, first log in to MailBluster. Then go to “settings.”
Next, click on the “AWS” section.
After that, copy the access key and secret access key, paste them into the following sections, and choose a region.
Finally, click on the “Save connection” button.
That is all.
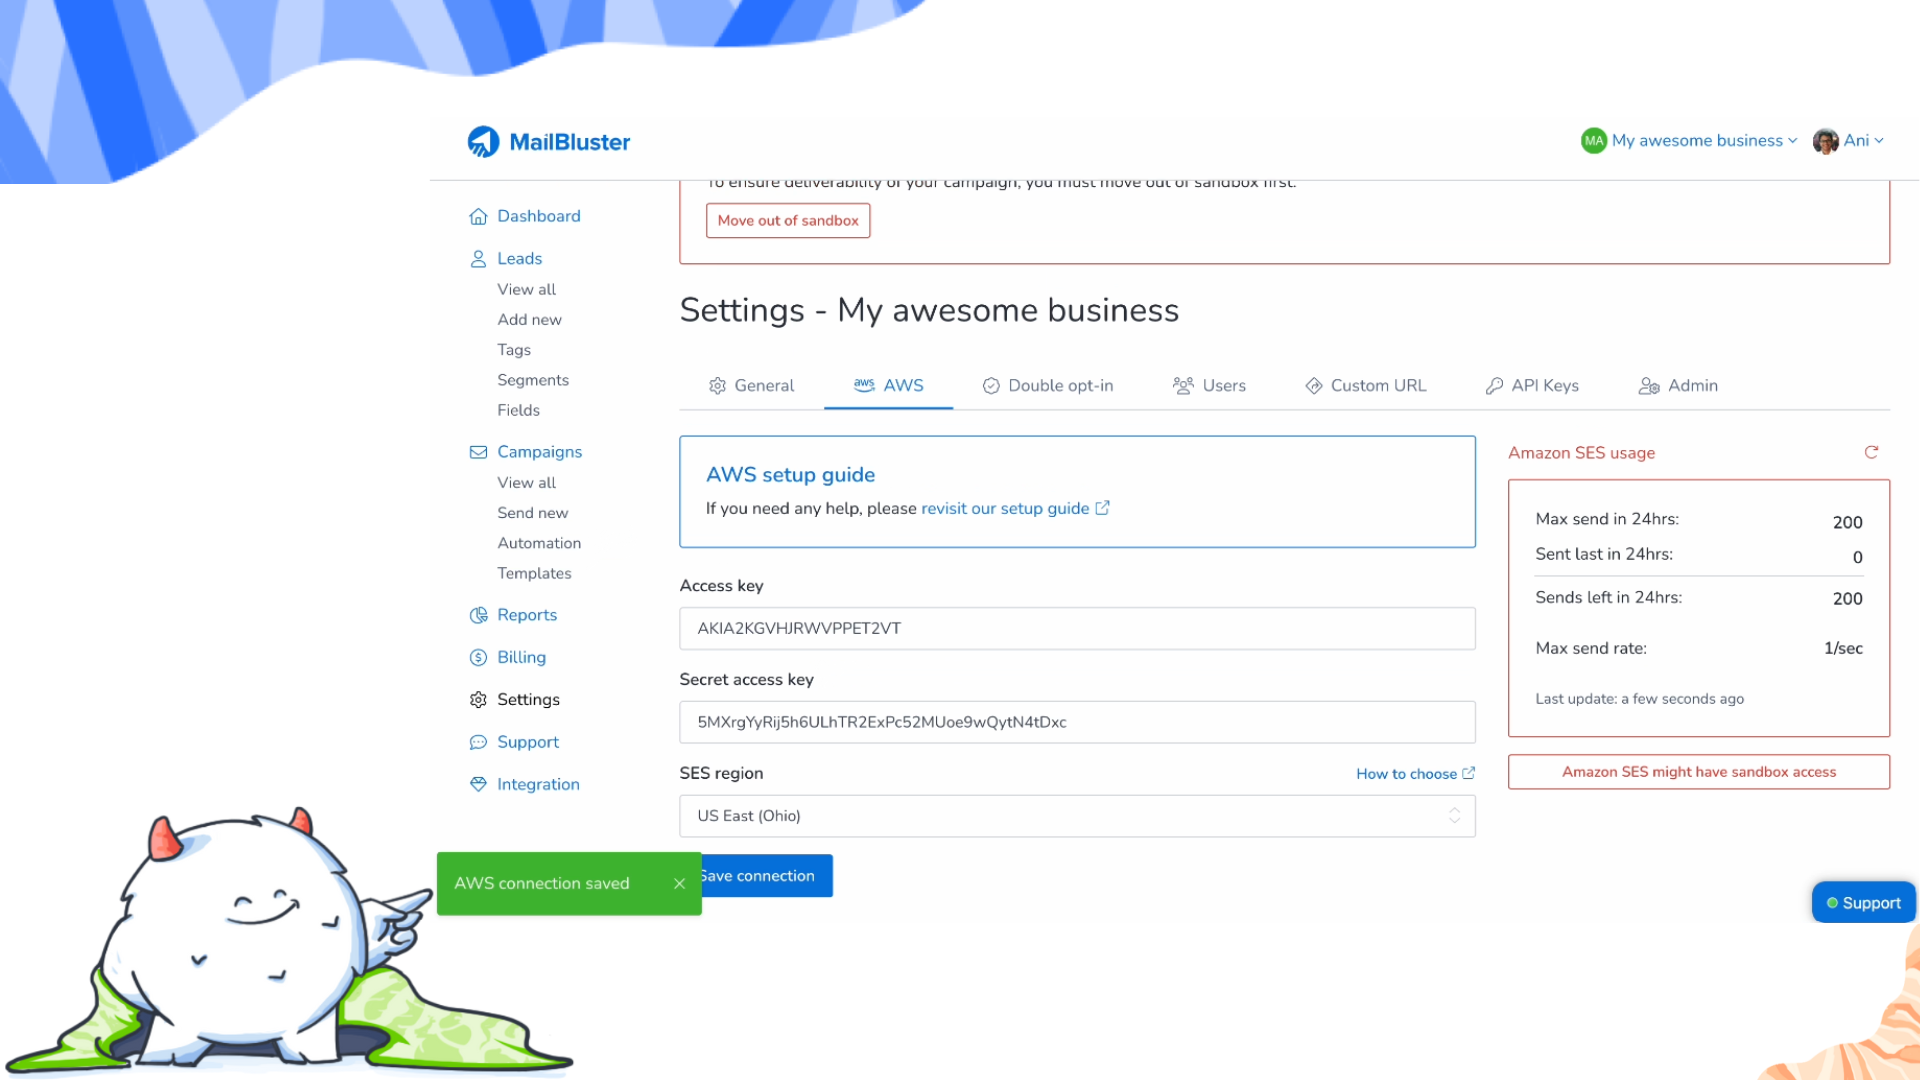
Your AWS account is in the sandbox environment now, where you can send up to 200 emails in 24 hours, and the maximum send rate will be one email per second.
On the other hand, you can send emails for testing purposes only to your verified sender identities.
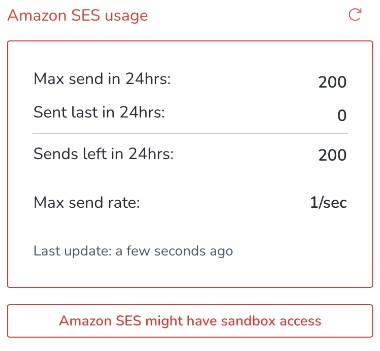
So, you need to get out of the sandbox to send various types of marketing emails.
Here is a comprehensive guide on How to get out of Amazon SES Sandbox.