Want to create pop-up forms in MailBluster for your website?
When visiting different websites, you may have come across different popup forms. These forms appear when you scroll or stay on that specific webpage for a significant amount of time.
So, what’s the usage of the popup form for a website?
Popup form is a way to connect your website to your audience with an intuitive email subscribing interface with little or no details. Whether you want to grow your email list, collect user feedback, or promote the product, a popup form can assist you in achieving that.
Without further ado, let’s find out how to create a pop-up form in MailBluster.
TABLE OF CONTENTS
- What is the pop-up form in MailBluster?
- Pop-up form best practices with examples
- How to create pop-up forms in MailBluster? Step-by-step
- Wrap up
What is the pop-up form in MailBluster?

A popup form in MailBluster is a way to connect with your audience with a customizable, attractive interface to promote your service. If you are looking for a way to approach your customers more appropriately, a popup form in MailBluster is the right choice.
Let’s see what MailBluster’s popup form offers,
- Choose from a template or create your own design
- Drag and drop to create a form
- Add multiple domains to view the popup
- Trigger popup in your preference
- Google ReCaptcha for spam protection
Pop-up form best practices with examples
Planning to create a popup form?
When you encounter a popup form, it might be annoying, or users may leave the page and never come back. So, to keep users in this situation, you need to design an HTML popup form perfectly to entice them.

Let’s dive into the details of popup form examples and best practices.
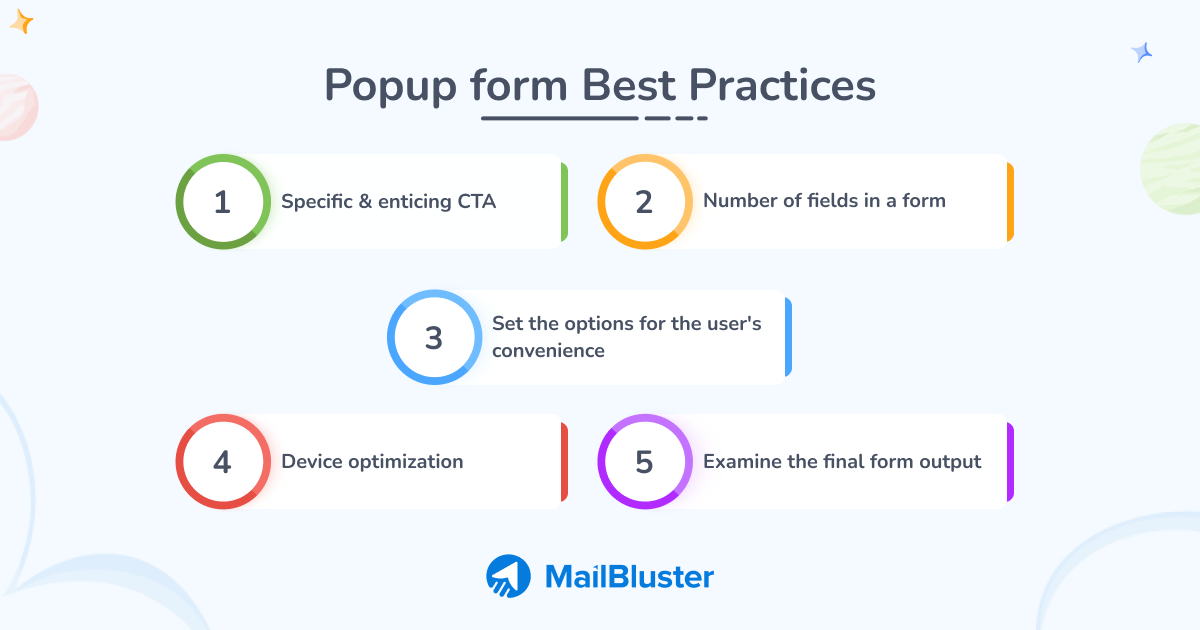
Specific & enticing CTA
The first and foremost action in the first step is to design your popup form with specific and enticing details. Moreover, design the popup form with an enticing call-to-action button.
Example
The above example is from MailBluster. This popup HTML template contains a simplistic design with an enticing CTA. Also, asking for user consent to receive email and newsletter is an excellent choice and addition to a popup form.
Number of fields in a form
This area in a popup form is essential. Website owners often include tedious and complex messages and excess fields in the form. Refrain from adding excessive fields and post messages boldly.
Example
This example derives from Convertflow. This specific lightbox popup form contains the only subscribing field and the magnificent black background. The simple message and blue CTA button make the design more appealing.
Set the options for the user’s convenience
An HTML popup form includes a number of options to assist you in achieving subscribers. Choose the different options precisely while creating popup forms. For instance, while choosing the Double opt-in option in creating form. Choosing double opt-in requires confirmation; conversely, single opt-in does not and helps you achieve subscribers easily.
Device optimization
Device optimization confirms that your popup form can be viewed by a broader audience. Optimize the design and text with a CTA button for a mobile-friendly appearance.
Example
This simple and white background form includes the email address submission and a blue Subscribe button. This MailBluster popup form template provides a chance to connect users with consent. More importantly, it has a minimalistic design that makes it perfectly fit and load faster on different devices.
Examine the final form output
While everything is ready, you can set the form on different websites to test out the final form output. Make sure to test your own experience while viewing and make adjustments when necessary.
Pro-tip
Set the popup form to appear when the user scrolls and reaches the bottom of the webpage. This way, users are less likely to find the appearance of the pop-up form annoying.
Example
This specific Bootstrap modal popup form includes extra details other than the email address. The CTA button also includes an enticing message that persuades users to subscribe.
How to create pop-up forms in MailBluster: Step-by-step
Want to create a pop-up form for your website?
Stay tuned to read how to create it.
Unlike inline forms in MailBluster, pop-up forms have more functions. Here, you need to have a website to embed code. Choose your preferred functions while creating pop-up forms.
Let us show you how to create the pop-up form.
Step 1. Choose & name the form
The whole process is similar to Inline forms except for a few settings.
Sign in to your MailBluster account and go to Forms from the left. Click on Create new, and a new box will pop up. Choose the Pop-up form. The next section will show you all the popup form options and features. Name your Pop-up form.
Step 2. Edit/Create form
Go to Edit from the Content section. Here, you can choose a form to use on your website. Alternatively, use a blank form to create your own. Also, you can edit the existing form from the template selection. Add or edit buttons, headings, text, and images from the side menu and create your own Pop-up form. After the editing/creating form is complete, click on Done editing.
Step 3. Working on the Advanced & Security tab
In the next step, work on the Advanced tab. Select your preferred options for When a visitor responds, Double opt-in. You can edit the Success message and write your own. Additionally, you can select a Tag to categorize your leads.
Later, go for the Security tab and add the Allowed domains box. Type your domain without http or https. Type only the plain website name and the domain, for instance, mailbluster.com. Select Google ReCaptcha protection.
Step 4. Working on the Presentation tab
On the Presentation tab, select your Popup position, Popup overlay, Popup frequency. Selecting Popup frequency requires you to set how often visitors will see the popup. Later, set the condition for Trigger the popup when condition. If you choose Time has elapsed or Visitor scrolls, set the elapsed time or scroll amount. Click on Save Changes.
Step 5. Adding code to the website
This time you need to click on Add to website, copy the code, and paste it into your website’s HTML section. Generally, this code goes just before the </body> section.
Adding Popup form code to WordPress Website
You can add a Popup form with WordPress in 2 ways:
1. Generated code from MailBluster or
2. MailBluster WordPress plugin.
We are showing you how to add generated code through Custom WordPress HTML.
First of all, log in to WordPress and go to the post or page where you want to place the Popup form code. Click on the (+) sign and search Custom HTML in the search box.
A Custom HTML box will appear. Here, you need to copy and paste the code generated from MailBluster for Popup forms. This way, your form will be created.


Wrap Up
When set up perfectly, a popup form is a way to interact with your audience. Pop-up forms in MailBluster include essential features for setting up a popup form for your website. However, ensure it doesn’t annoy users or lead to a drop in traffic
So, set up your popup form right now using MailBluster!


 Contents
