Finding a convenient email automation solution?
Automation brings evolutionary changes to email marketing. It is not merely an email marketing feature; it triggers and personalizes your email campaigns through effective communication. On top of that, a study shows astounding automation revenues over the years.
MailBluster offers a convenient and beginner-friendly automation feature for email marketing that you can easily generate and send instantly.
Let’s find out how you can use the email automation feature in MailBluster.
Table of Contents
- What is email automation?
- Benefits of email automation
- How does email automation work in MailBluster
- Setting up email automation in MailBluster
- Common questions
What is email automation?
Email automation is a way to connect with subscribers without any additional effort, especially typing every email. It uses predefined rules and triggers or injects messages at specific times to your expected subscribers by using a marketing automation tool.
Simply put, email automation uses predefined rules to personalize and trigger automated emails to specific subscribers by using an automation tool.
Benefits of email automation
Your business runs on promotional activities, and email communication is a part of that promotion. Running a business involves a lot of work. Sending emails to every customer requires manual work, which consumes a lot of time.
So, email automation comes in handy in this situation.
Let’s Find out its benefits.
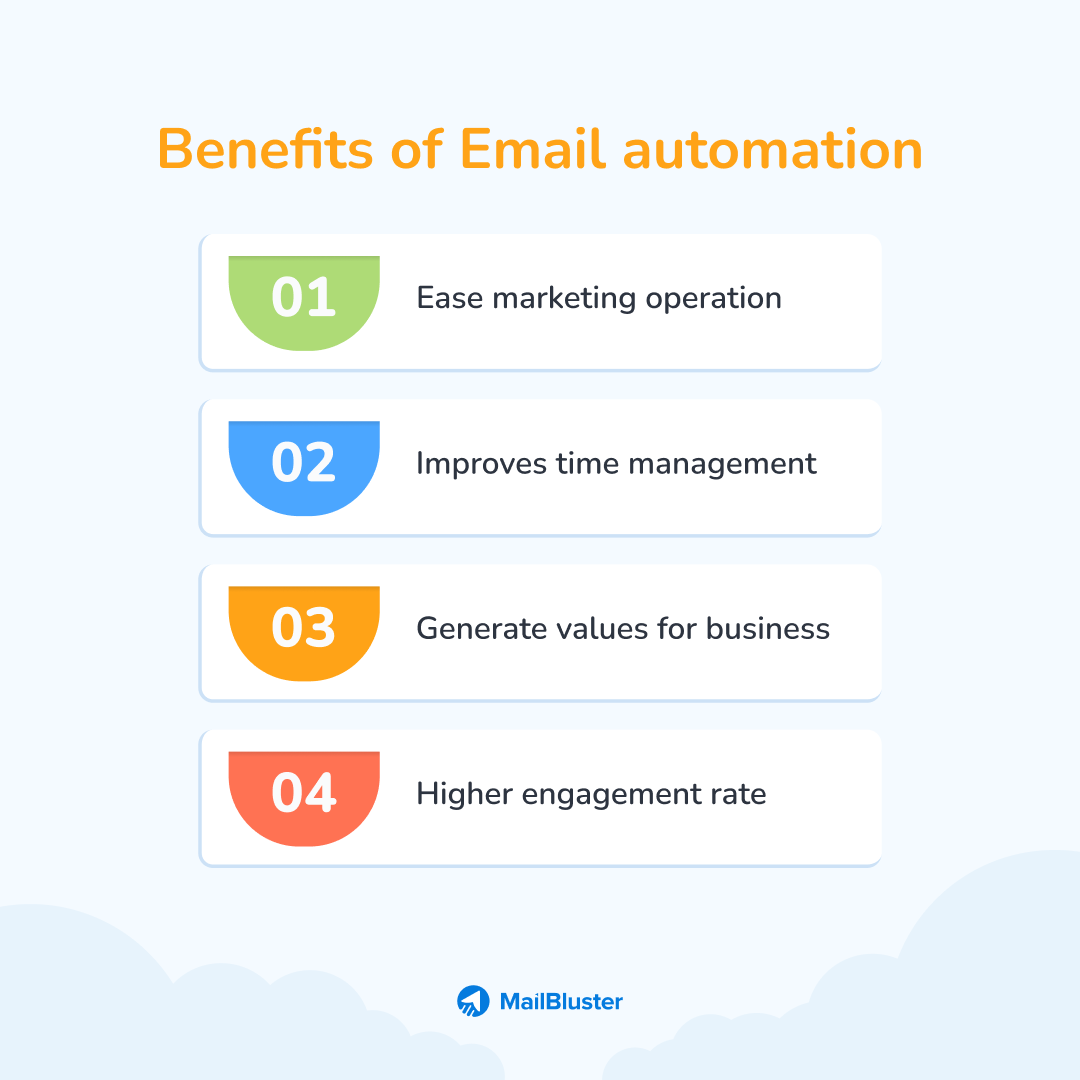
Ease marketing operation
If you want to send bulk emails to thousands of your subscribers, email automation enables you to do it without any extra effort. Typing every email consumes a significant amount of time; automation can relieve you in this situation. Automation sends every email according to user-defined settings, and it operates at the tips of your fingers.
Improves time management
Time management is the most important part of email marketing automation. When automation applies to email sending, there is an obvious chance of proper time management. Automation follows predefined settings and sends thousands of emails according to users’ demands.
Generate values for business
Generating values for your business while doing nothing seems unlikely, but email automation does this exact thing for marketers. The automated processes within email automation software operate based on how you set up all the parameters. So, you do not need to set the numbers all the time; instead, it automates the process.
Higher engagement rate
While you want to reach a broad customer base, you need to send emails at a stretch. Also, you need more engagement and conversion simultaneously. So, you can use email automation to get a high engagement rate rather than typing an email for every recipient.
How does email automation work in MailBluster?
Email automation assists you in reaching a broad audience quickly. It works based on the triggers, leads, and actions set by marketers.
MailBluster includes convenient functions for the email automation process. The basic functions operate through the leads who subscribe to your website.
Head to the email automation process in MailBluster this time-
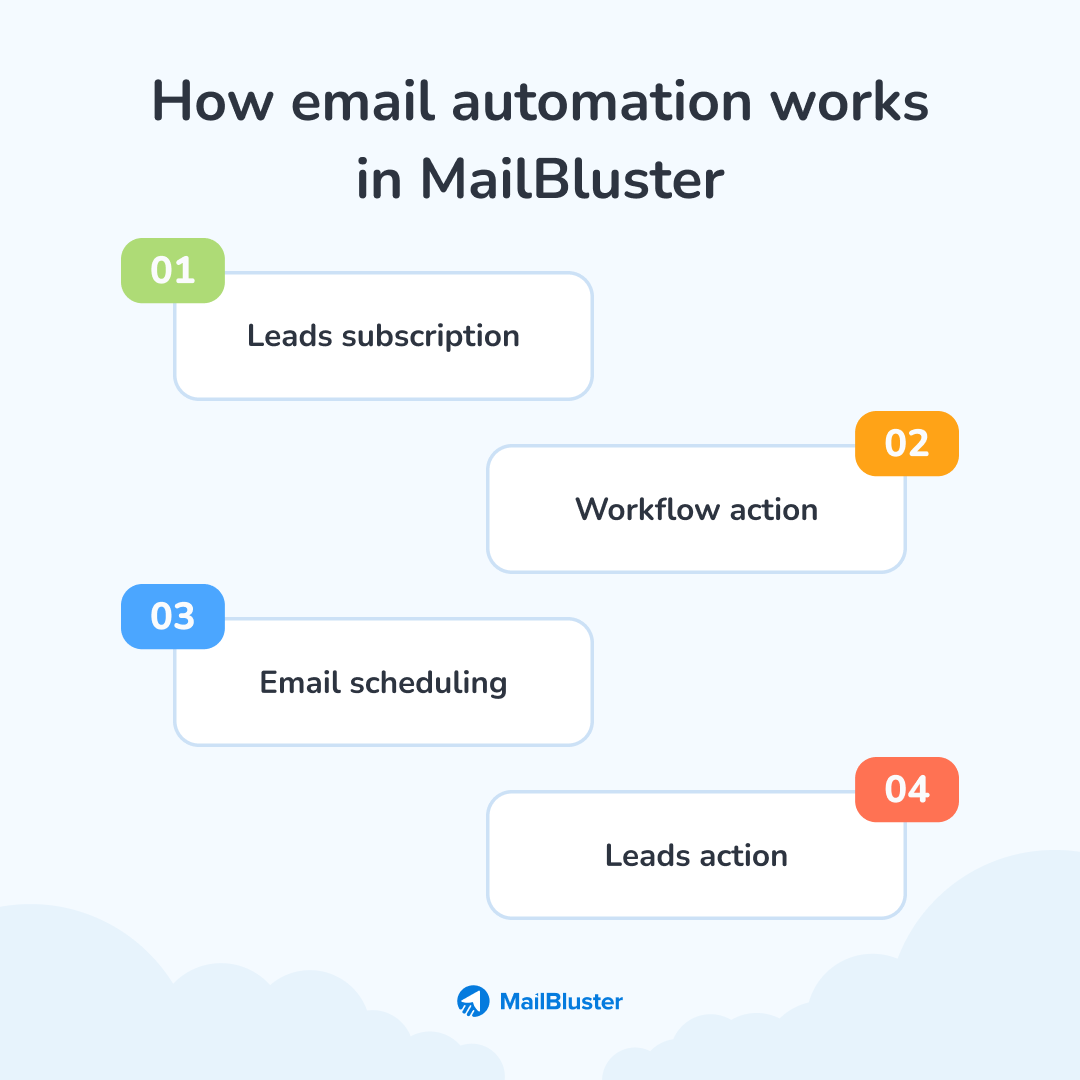
Leads subscription
When a lead subscribes to your website, a subscription event is generated. The generated subscription event checks if you have any workflow activated.
Workflow action
If a workflow is present, the lead starts following the workflow steps. If no workflow is there, the subscription event won’t trigger any workflow. Furthermore, a workflow should be active before a lead subscription occurs.
Email Scheduling
You can set the delivery time on the workflow. Set the delay, for instance, 12 hours/1 day before sending any campaign in the workflow.
Leads action
Leads will be on different steps at different times. All steps will be operated based on the workflow start. If you change any of the workflow actions and a lead doesn’t pass that step, this lead will be eligible for the newly added step. Leads who have already completed the workflow won’t be eligible for the newly added steps.
Note: Automation is a paid feature, so MailBluster does not include its branding in Automated campaigns.
Setting up email automation in MailBluster: Step-by-step
Setting up email automation in MailBluster is pretty much easier than other email automation tools. You don’t need to have advanced knowledge to go through the setup process. Here we start the setup process through a ‘Welcome Email’.
A welcome email contains a greeting message for the subscribers. It also provides a warm introduction while encouraging further engagement.
Check our video tutorial on setting up email automation in MailBluster
Alternatively, check the step-by-step screenshot process
Step 1: Workflow creation
To start creating a welcome email, first sign in to your MailBluster account and go to the Automation tab. Select Create New, and next you get the workflow creation page. Here you need to fill up the Name and Description box and click Create workflow.


Step 2: Edit Trigger
After creating the workflow, you will see a workflow diagram of your automation process. Here you can start setting up the workflow for MailBluster. Click on Start Workflow> Edit Trigger. This brings you to the Edit Trigger page. Tick the checkbox on Trigger on Imported Leads.
Remember, newly Subscribed Leads imported to this brand will be eligible for this trigger


Step 3: Delay Setup
Now, Go back to the Automation flowchart and click on the + sign. You get two options, Delay and Send Campaign. Select Delay, and you get the Delay edit step. Here, you can set the delay in days, hours, minutes, and weeks. Set your preferred number and click Update Step.


Step 4: Send Campaign
In the Automation flowchart, click on the + sign to add Send Campaign. The Send Campaign dashboard appears. Set the Campaign name and information there. The information tab contains the Subject, Preheader text, Sender name, Sender email address, and Reply to email address. Fill up these fields.
Preheader is the short summary text that follows the subject line when viewing an email from the inbox.
In the Content tab, you get the Editor, Content, and Query String box. Select your preferred Editor. You can select Drag & Drop Editor to choose MailBluster’s templates and even edit those! Also, other options let you edit and compose your own messages and images.
You can Skip the Query String and click Update Step.
Note: You can repeat this step to create another campaign.


Step 5: Activate Campaign
Next up click on the Activate button on workflow. This is the most important step as workflow needs to be Activated before importing any newly subscribed leads to your Brand.

Step 6: Import Leads
Now you need to Import Leads for your campaign. Go to Add New under the Leads section. Attach a CSV file here that contains subscribers’ information. You can add Previous Import as well.
Next, observe Ignore this column and Email address inputs. Match the CSV columns to your brand fields and import the CSV file. Also, you can add a single lead by adding an email address, first name, last name, timezone, and more. You can tick the Override lead section and Add lead, or add more lead manually.
Only the newly added Subscribed leads will get Automation emails.


Tracking automation campaign reports
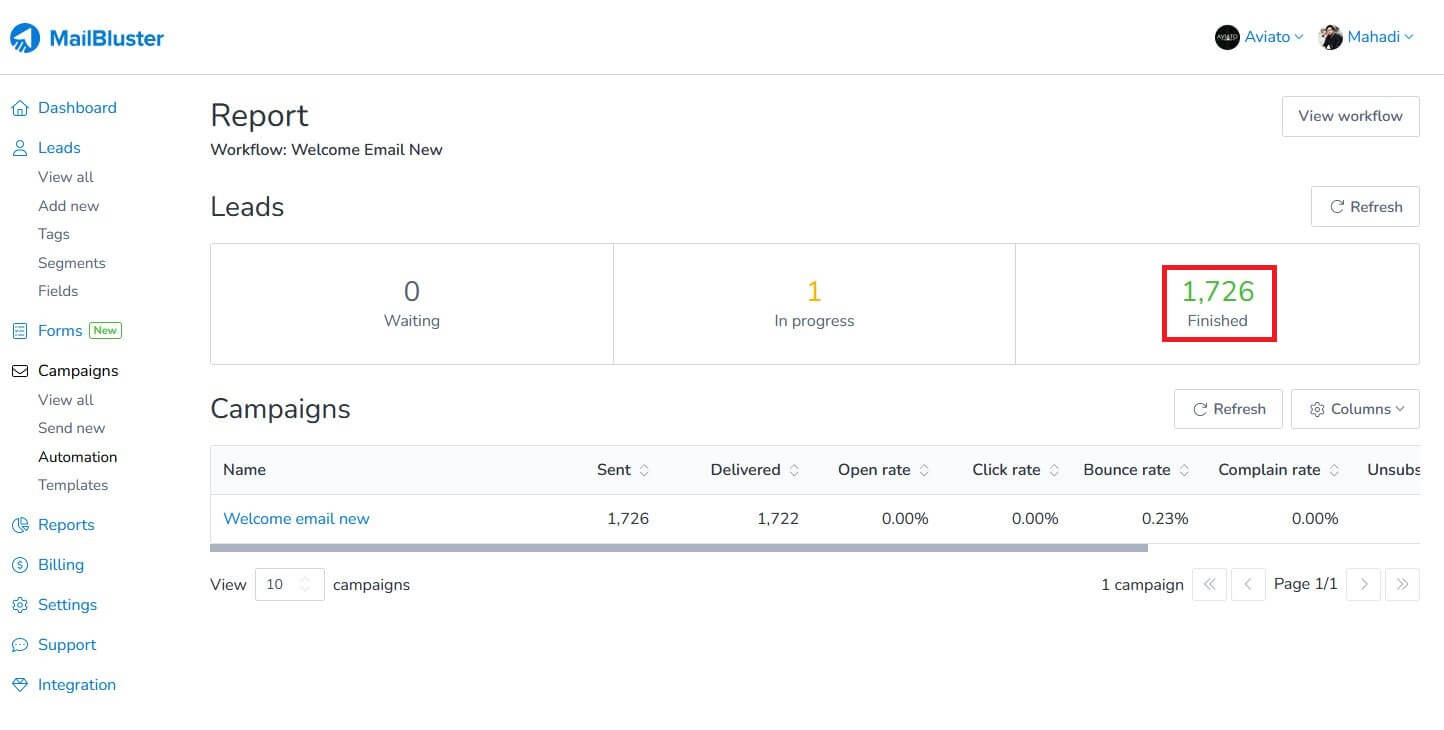
Automation campaign reports are generated inside the automation section. You can check the campaign reports from time to time.
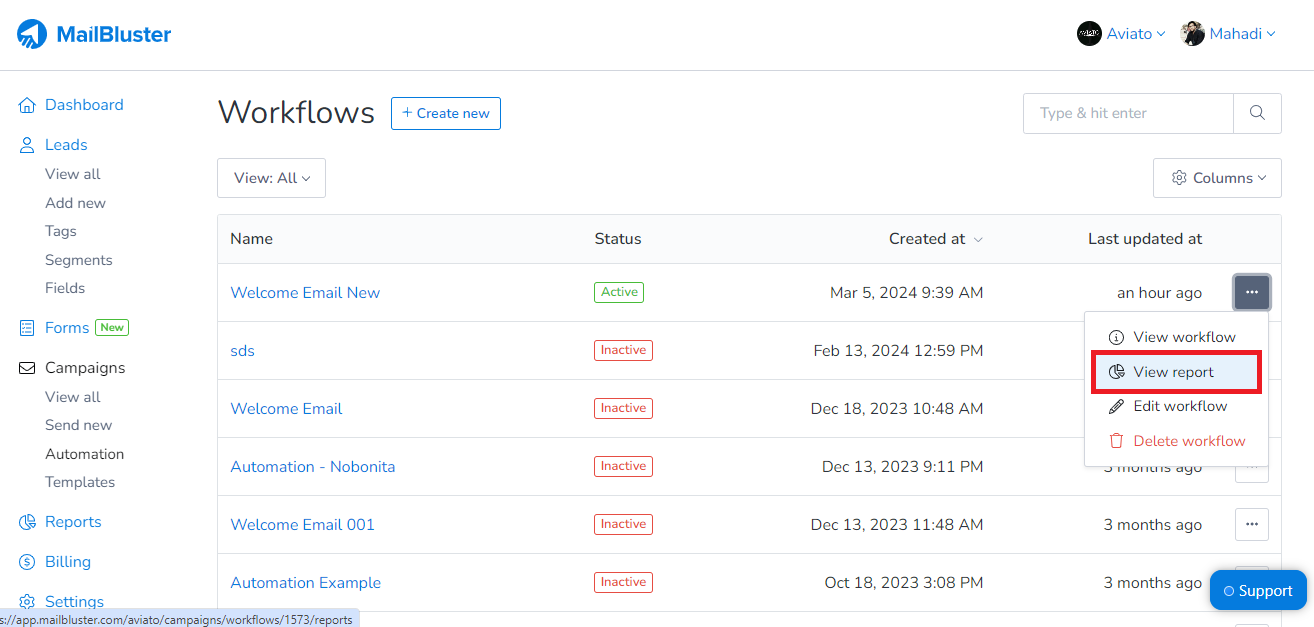
1 Go to Automation and select a three-dot ellipsis under your campaign.
2 Select View Reports to view your generated campaign reports.
3 New imported leads will be added to the Waiting state.
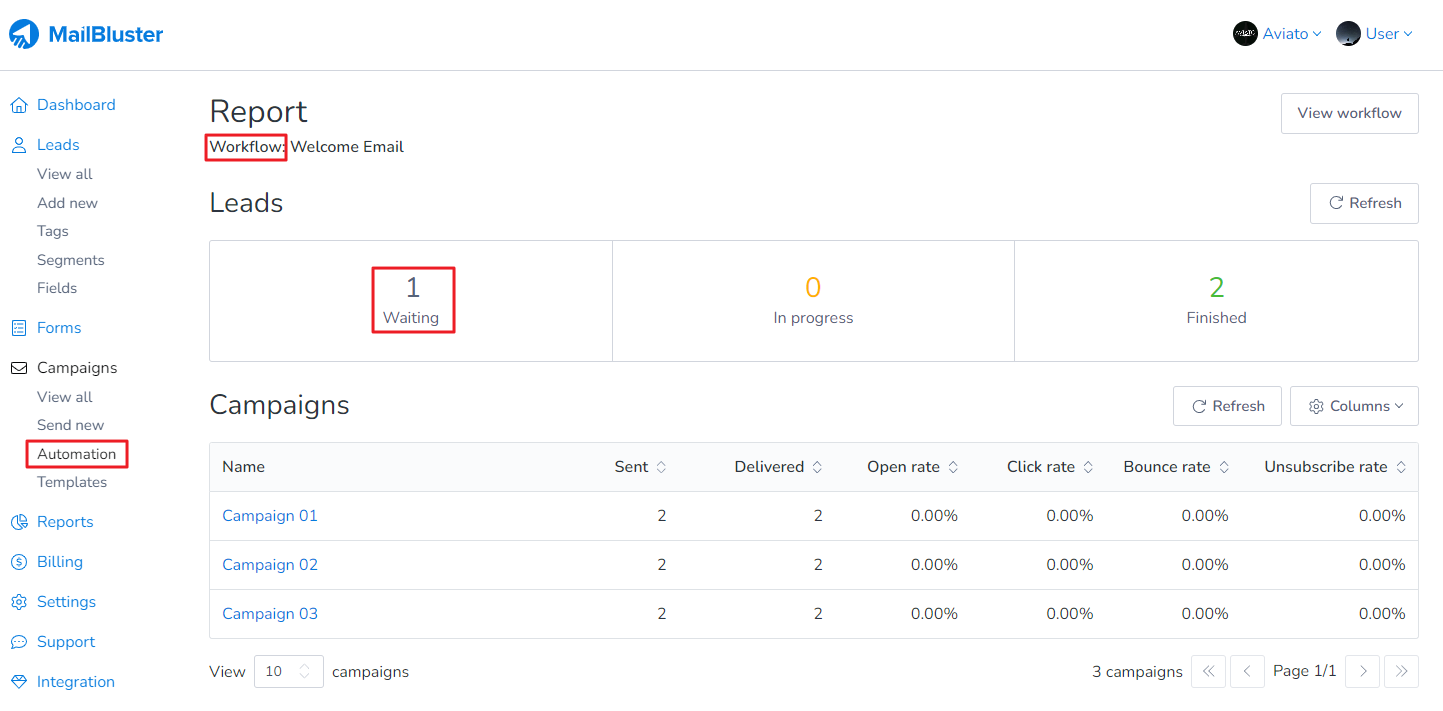
4 If Lead already start the workflow, lead will be added to Progress.
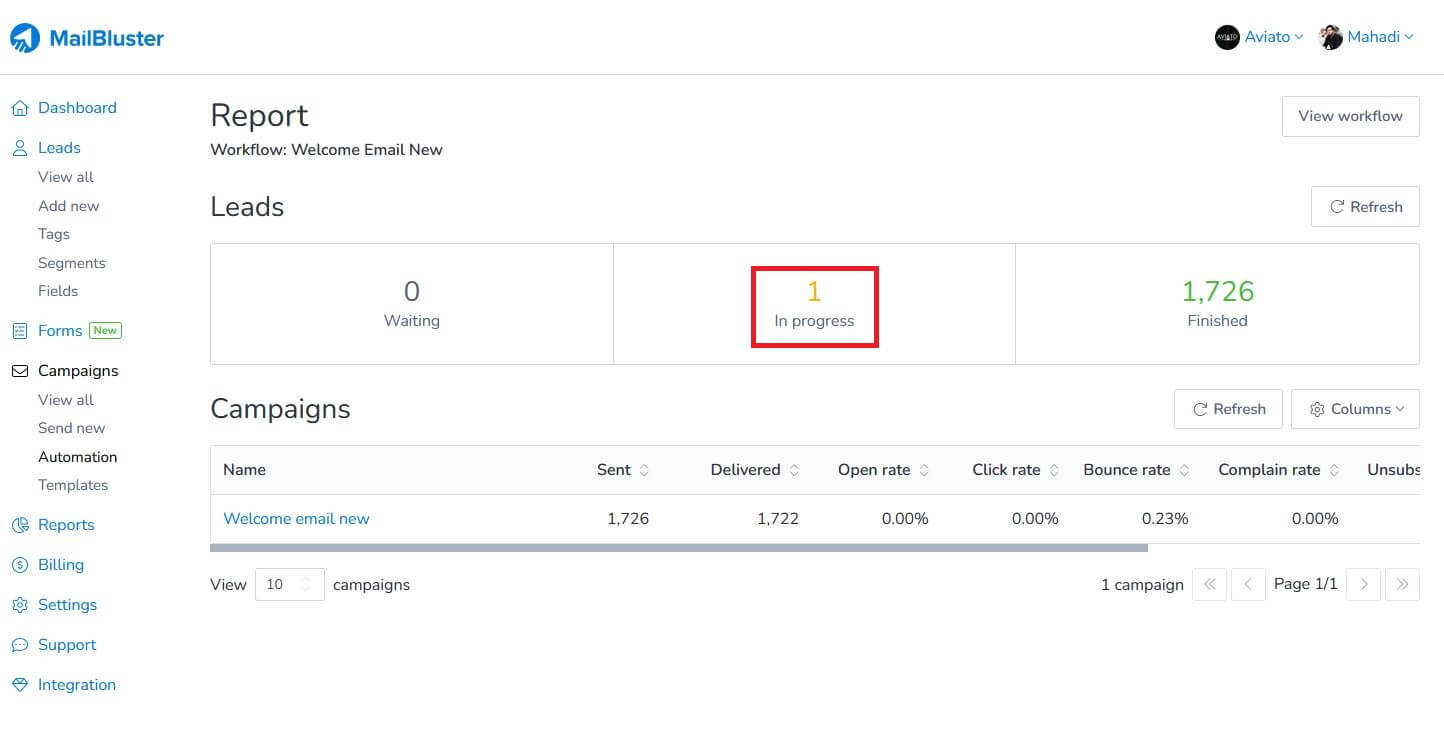
5 If leads finish the journey through workflow, it’s added as Finished.
Common questions about email automation feature
1Does MailBluster automate emails?
Ans: MailBluster includes basic email automation functionality. You can send a sequence of emails to your recipients when a visitor subscribes to your brand.
2What to do when emails are not being sent to imported leads?
Ans: Automation emails will not be sent to leads with Subscribed status. Subscribed leads will not receive automation emails if you don’t tick the check mark on Trigger on imported leads in the Edit Trigger section.
3Can we send automated emails to pre-subscribed imported leads?
Ans: Automation emails are not intended for the old leads. It’s only applicable to newly imported leads. If you try to import the old leads, these leads won’t receive your automated emails.
4If I edit the workflow after deactivating it and reactive the workflow, will it start over the automation, or will the leads be out of automation?
Ans: If you change the workflow, leads behavior might vary. Different leads will be on different steps based on the initiation of the workflow. If a lead doesn’t pass the newly added step, then the lead will be eligible for the step. If a lead already completed the step, the workflow will have no impact.
Wrap up
Automation brings evolutionary changes to email marketing. It saves time and effortlessly publicizes your marketing agenda. This comprehensive step-by-step discussion of email automation features sheds light on beginners.
So, choose the best platform for automation implementation and take your marketing effort to the next level.


 Contents
