


MailBluster, the best bulk email marketing software and free email testing tool, is here to supercharge your email campaigns. Undoubtedly, this is the cheapest email marketing tool ever!
In this article, we’ll walk you through six easy steps to maximize MailBluster’s features, including the drag-and-drop editor, forms, automation, double opt-in, and unlimited subscriber maintenance.
Whether you’re a seasoned marketer or just starting, get ready to tap into MailBluster’s potential and enhance your email marketing strategies.
The Six Steps
MailBluster, the most affordable email marketing tool ever, requires six essential steps to utilize fully.

1Creating a MailBluster Account
At the primary stage, creating a MailBluster account is vital. To do this, ensure you’re signed in to your Gmail Account within your browser if you want to create an account using Gmail ID.
After that, click on the signup link or click here.
Then, click the “Sign up with Google” button in the screenshot below.
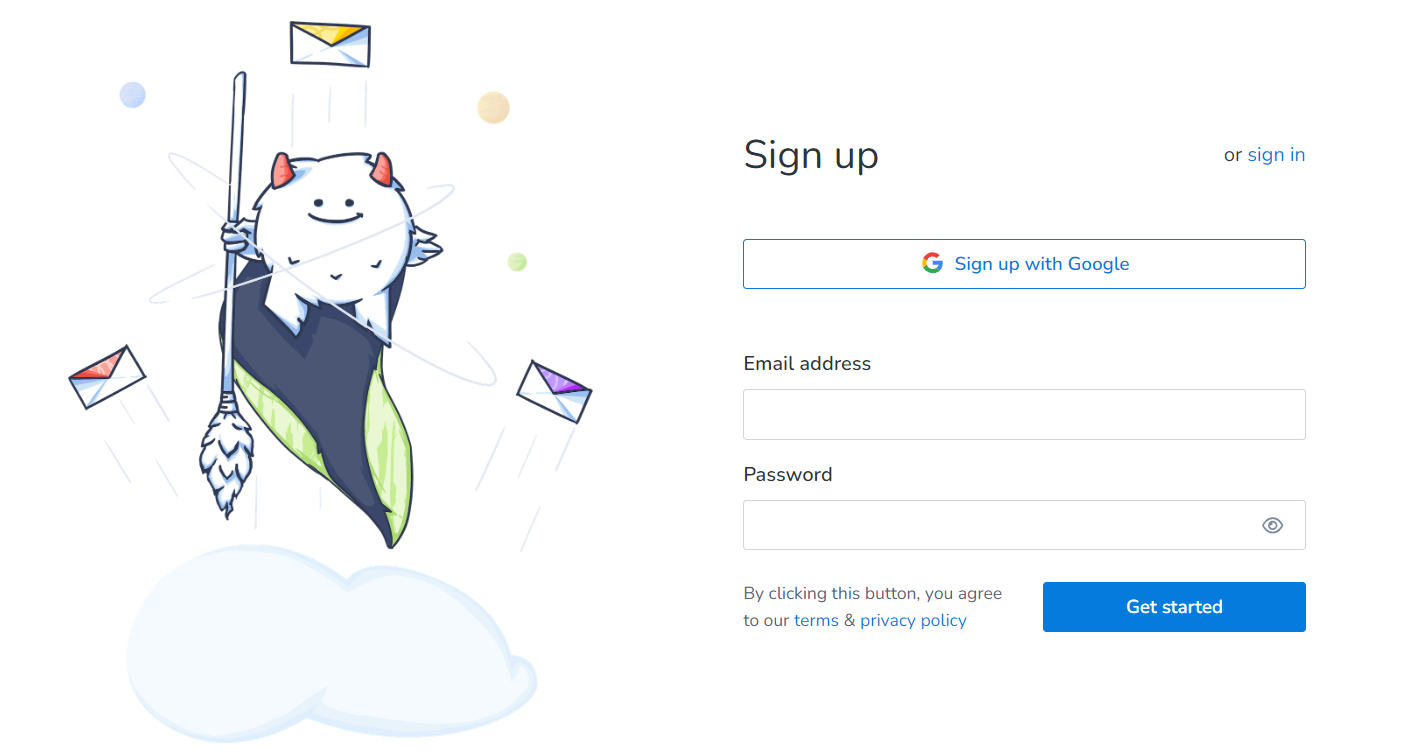
Your browser will auto-fill the necessary details, and with one click, you’ll be well on the following page.
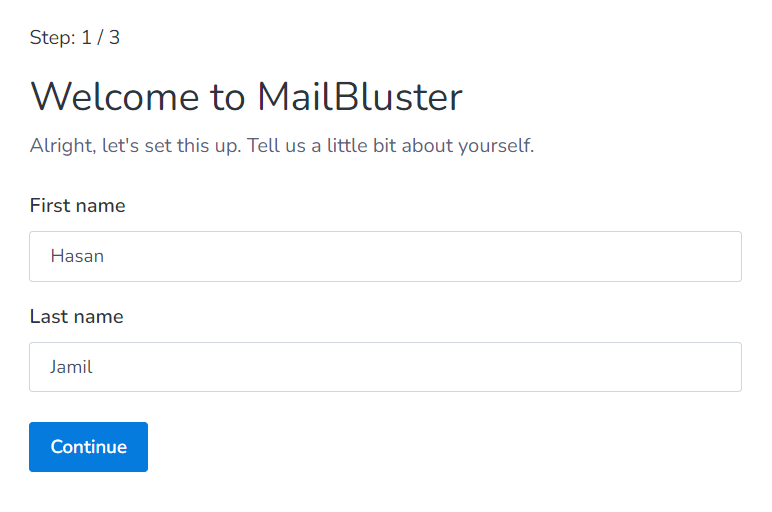
Simply click on the “Continue” button, which will take you to a page requiring brand name, sender name, sender email address, reply to email address, and timezone field.
Here, the brand name is the title of your organization, company, or product.
The brand favicon is the logo for your brand, recommended at 512 pixels.
The sender’s name and email address will appear in emails. Make sure the sender’s email address is verified in Amazon SES.
The reply-to email allows customer responses. Set your time zone to your current location.
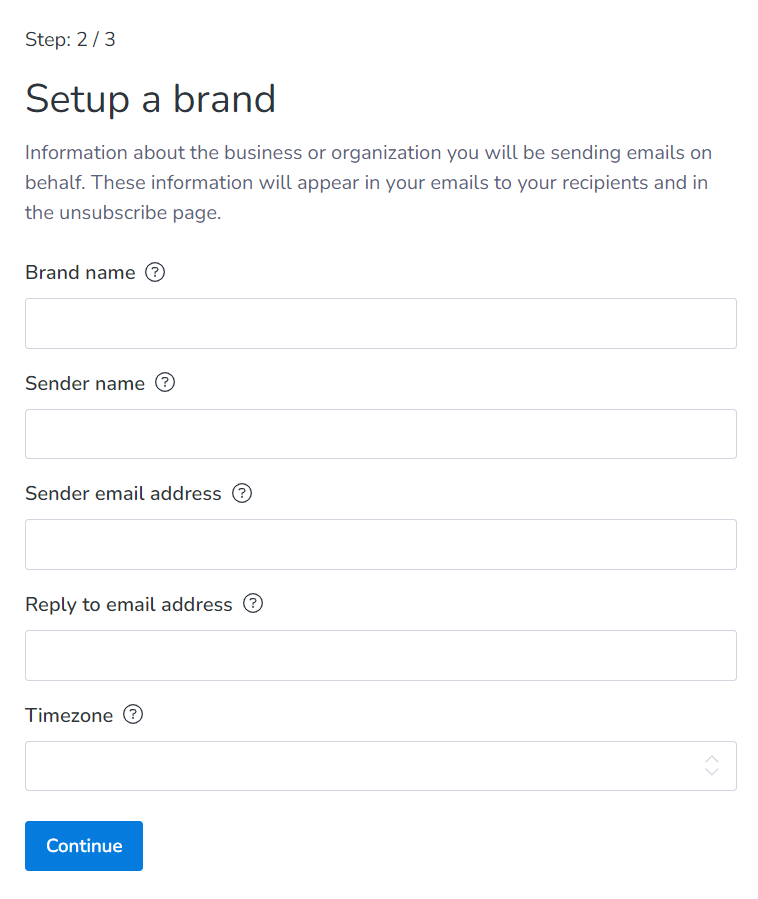
Fill up all the fields and click the “Continue” button again.
Your MailBluster account is now ready, and you will be notified as shown below.
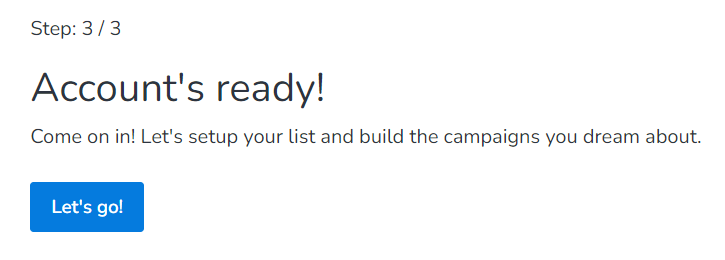
Click on the “Let’s go” button to start exploring MailBluster.
2Creating an AWS Account and Connecting MailBluster
AWS account is crucial and mandatory when using MailBluster, an Amazon SES-integrated email marketing tool. By creating an AWS account, you can access Amazon SES, a trusted and scalable email delivery service that MailBluster leverages for sending high-quality, reliable emails.
In other words, Amazon SES enables you to harness the full power of the cheapest bulk email service from the most affordable email marketing software – MailBluster. When successfully integrated with MailBluster, it will ensure optimal deliverability and sender reputation, making it a vital step for businesses seeking to maximize the impact of their email marketing campaigns with MailBluster.
Here is a detailed video tutorial to assist you with creating an AWS account and connecting with MailBluster correctly.
Also, you can visit this article for more details.
3Moving Out of the Amazon SES Sandbox
Moving out of the Amazon SES Sandbox is very important and mandatory to utilize bulk emailing to your subscribers using MailBluster. The Amazon SES Sandbox limits the sending capabilities of your AWS Account, which can restrict your marketing efforts, thus rendering MailBluster useless.
By getting out of the Sandbox, not only can you gain access to a higher email-sending limit (50,000 emails within 24 hours), but it also gives you the freedom to send marketing emails in bulk from within MailBluster, ensuring you can deploy your designed email campaigns and newsletters efficiently.
The following video will guide you through on getting out of Amazon SES Sandbox.
If you want more details on this, then Click here.
4Importing Leads to MailBluster
This is also one of the most important steps in MailBluster because you will need leads (email IDs) to send campaigns from MailBluster. MailBluster does not provide any leads. You need to import leads to MailBluster before you can send an actual campaign.
Importing leads, subscribers, or email addresses into MailBluster is a breeze. You’ll need a file in proper CSV format (Comma Separated Values).
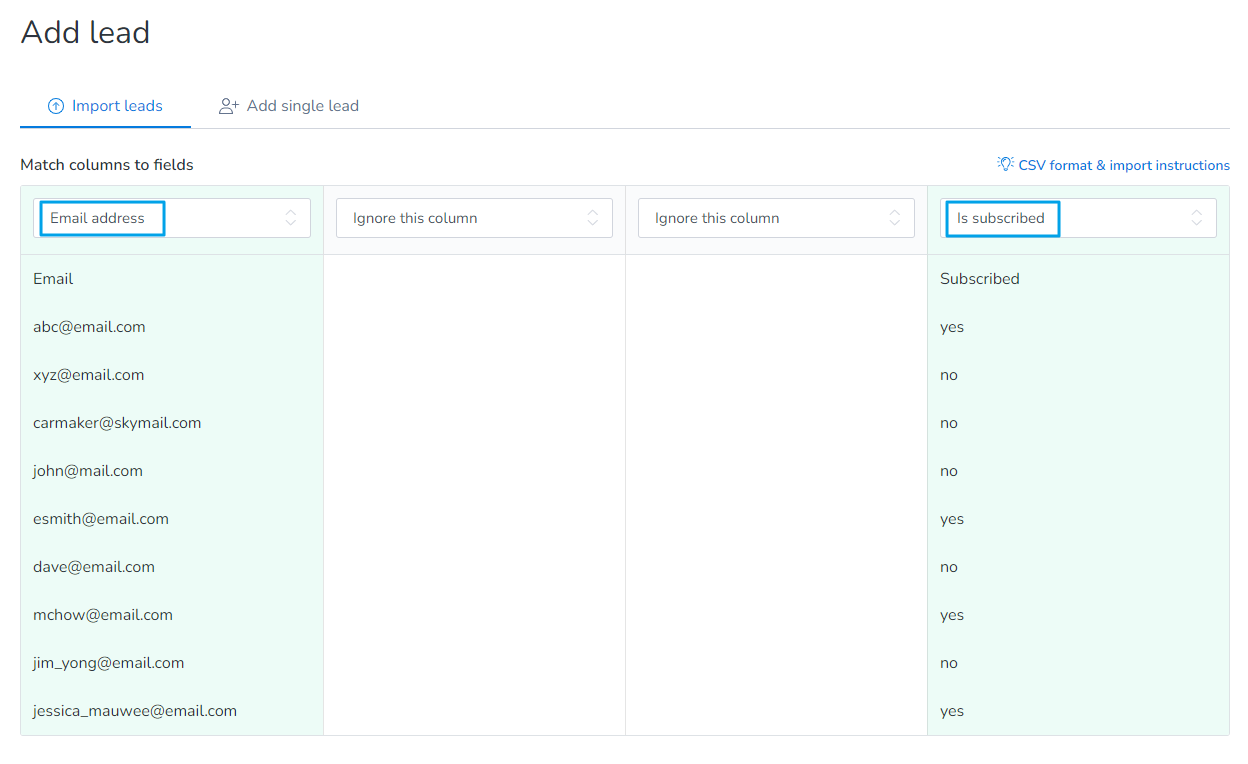
Make sure your CSV file includes at least two specific columns. For example, if your file has columns named “Email” and “Subscribed,” you should match them with “Email address” for “Email” and “Is subscribed” for “Subscribed” before starting the import process in MailBluster’s Leads section.
Here is a sample CSV file for your convenience. The mandatory columns have been highlighted on the CSV file.
You can take this file to Google Sheets or Microsoft Excel and customize it with your data – Email and Subscribed. Once you’ve filled in the necessary information, download the file in “Comma Separated Values (.csv)” format.
Next, head over to the “Add new” section. You’ll see a page like the one shown below.
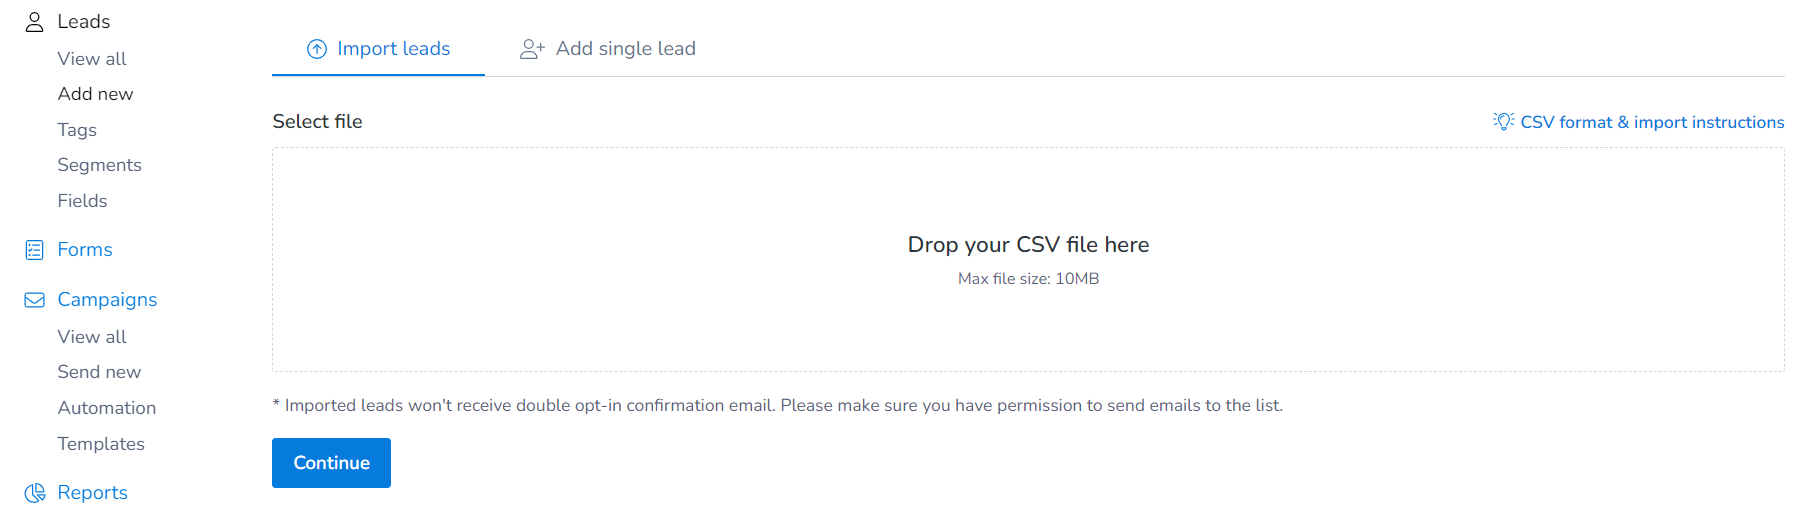
Click on the “Drop your CSV file here” section, and upload the CSV file you downloaded. After that, hit the “Continue” button.
Now, a page showing the email data and its subscribed status will pop up. You need to match the columns according to the fields as shown below.
You can select the following options (shown below) according to your needs before importing the leads to MailBluster.
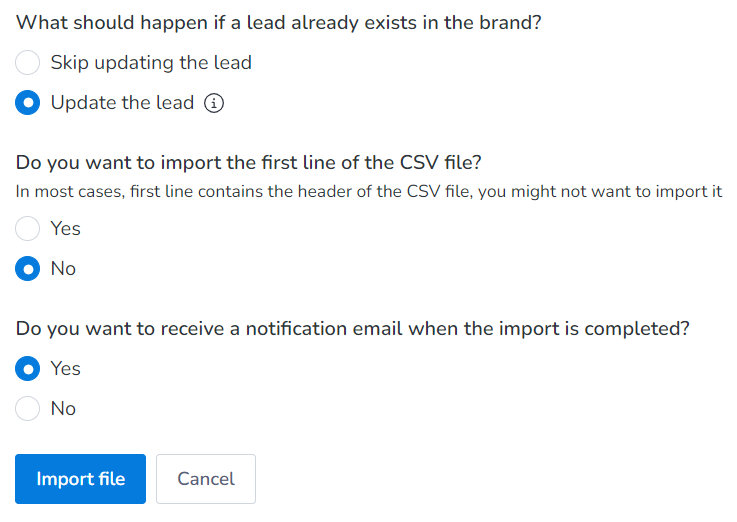
Finally, click the “Import file” button to complete the process.
5Creating Your Email Content
MailBluster provides a user-friendly email template builder featuring a drag-and-drop editor with an interactive interface that empowers you to craft visually appealing email templates capable of captivating your audience and reinforcing your brand’s identity.
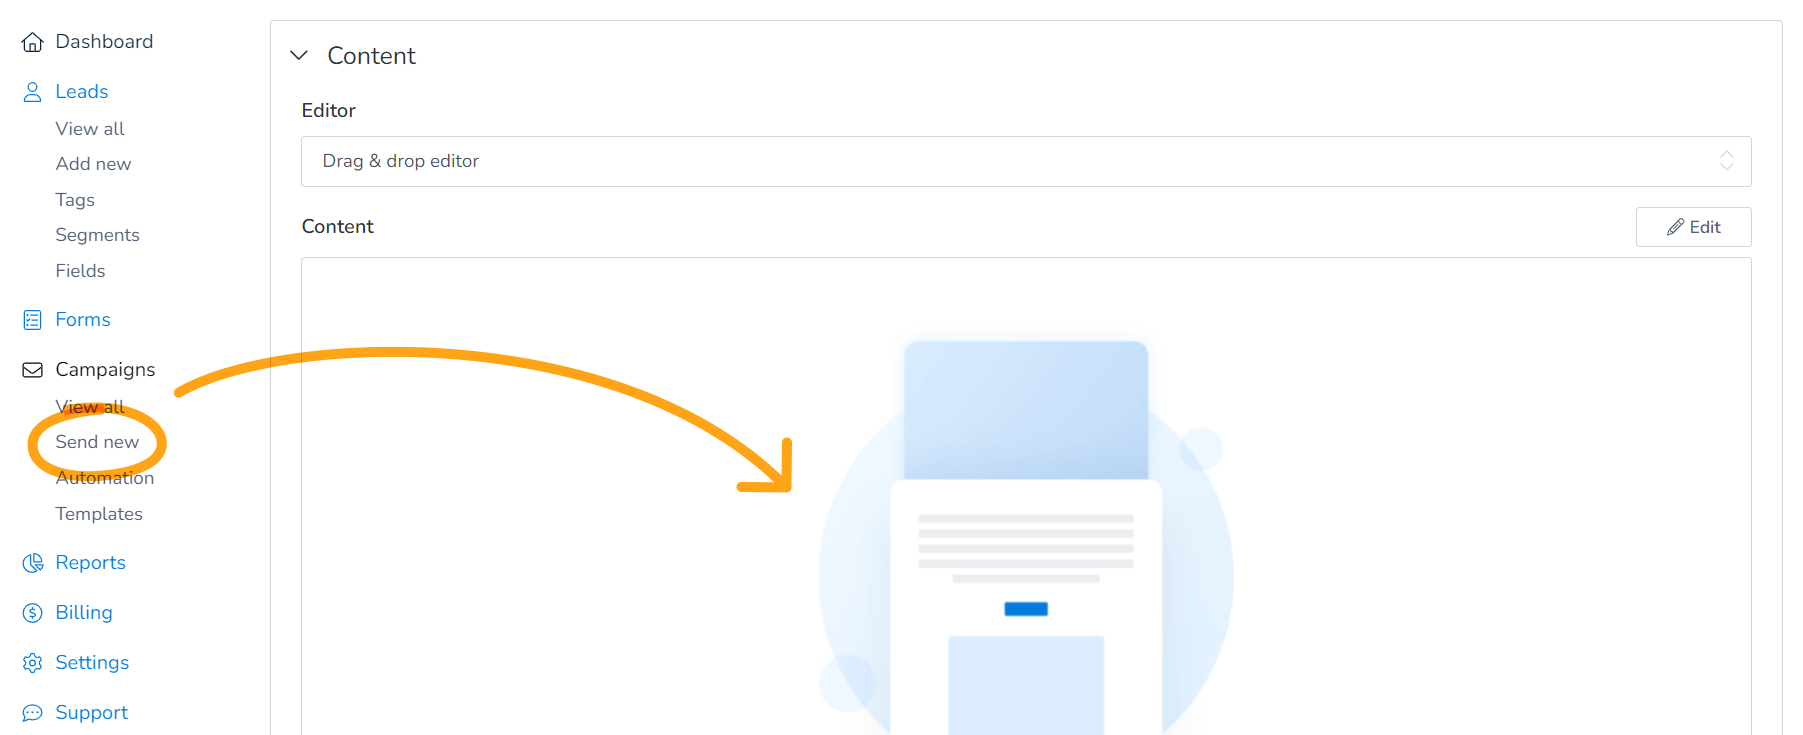
To get started, you can immediately click on the “Send new” option under the “Campaigns” section within your MailBluster dashboard, as illustrated in the screenshots below.
Upon selecting this option, you’ll be directed to the template page, where you’ll discover a variety of free, customizable templates. Feel free to explore these options to see if any resonate with your vision.
If none quite hit the mark, don’t worry – you can always opt for the “Blank Template” section and begin with a clean slate.
For a more detailed guide on creating your striking email template using MailBluster’s drag-and-drop editor, a video tutorial is here for your convenience:
6Running Your Email Campaign
Once your template is ready, return to the “Edit campaign” page. Here’s what you need to do:
Campaign Naming

At the top, you’ll encounter a field that reads “Unnamed Campaign – time & date.” It’s time to give your campaign a unique name that reflects its essence.
Select Your Audience

You’ll find the “Audience” section below the campaign naming, where you choose who receives your email. Your options are:
- To reach all the subscribers that you imported already and stored in your Leads section, select “All subscribers.”
- If you’re targeting a specific segment/group of your subscribers, opt for “Subscribers of a segment.”
If you’re new to the world of segmentation, check out our helpful article titled “A complete guide to segmentation in email marketing.”
Customize Email Information
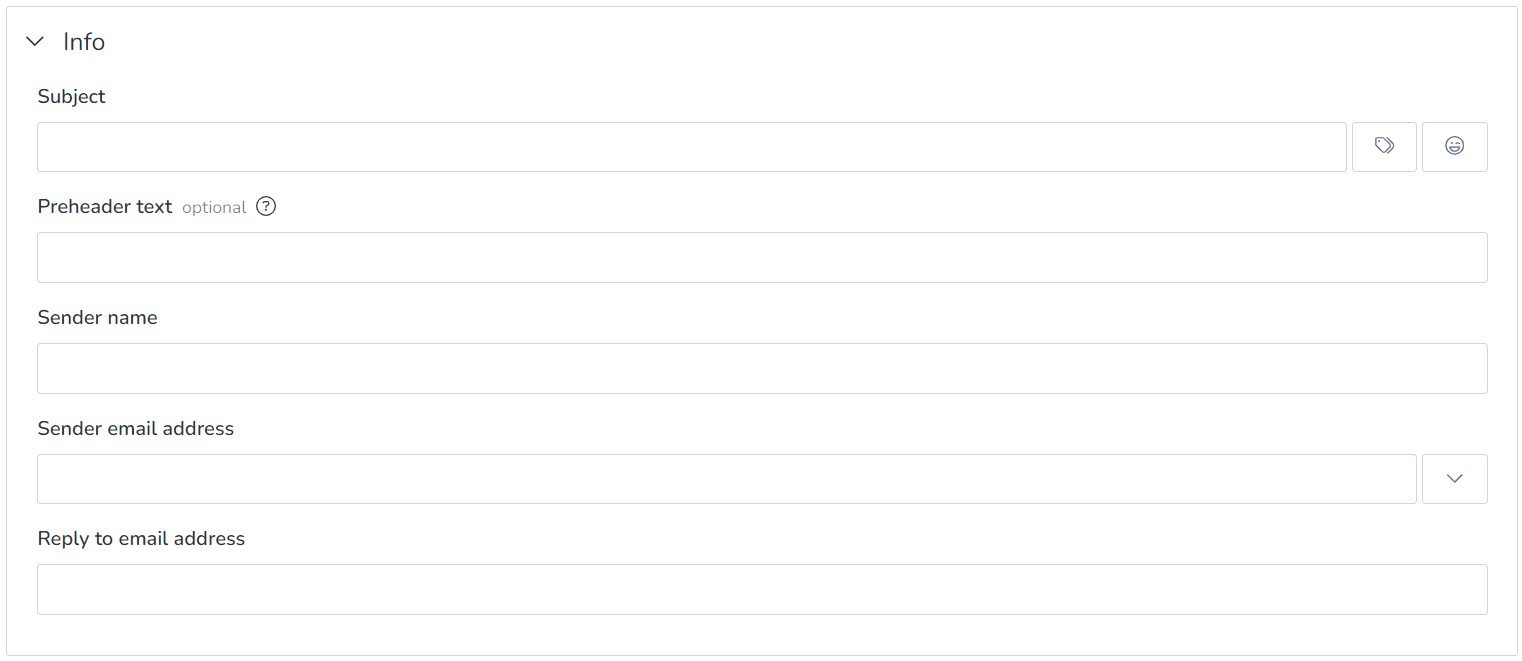
After you’ve selected your audience, you’ll find the “Info” section. Here, you can add the most important details like the subject line, preheader text, sender name, email address, and the reply-to email address.
Delivery Choices
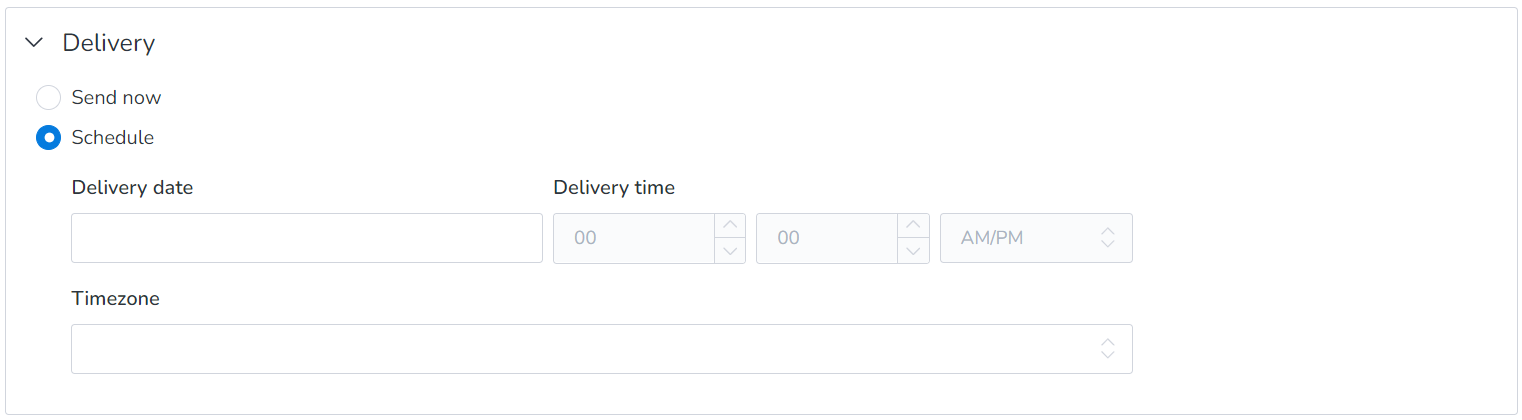
Scroll down to the “Delivery section” for the next steps. Your delivery options await:
- For an instant dispatch, click “Send now.”
- If you prefer to schedule your campaign for a specific date and time, choose “Schedule” and set your plan.
Removing MailBluster Branding

Now, here’s the deal. You’re all set if you’re okay with a touch of MailBluster branding and want to send your emails for free.
But, if you prefer a branding-free experience, click the check mark “Remove MailBluster branding.” It comes at a small cost of $0.60 per 1,000 emails. You will need to add a billing card to MailBluster to enable this option.
The Final Task
You’re nearly there! To wrap it up, click the enticing “Continue” button at the page’s bottom right.
Your email campaign is about to take flight. Click “Continue” and let your message soar to new heights!
Wrap-Up
Initiating this cheapest email marketing software may require initial effort. However, don’t hesitate to reach out through our contact page if you have any inquiries or need assistance.
Our support team is always there for you to help.

Really enjoyed reading this! The points you shared are very practical and useful, especially for beginners. Thanks for sharing!
https://www.gradsiren.co.in/state-cities/Telangana-state-TS?type=Fresher%20Jobs