


If you are searching for Zoho integration with MailBluster, you are in the right spot. Moreover, we bring you another integration part to assist you.
As we covered different integration processes earlier, Zoho integration is no exception. Zoho’s integration process is comparable to Pabbly or Make. Here, you need to work on Zoho Flow to connect MailBluster.
So, why integrate MailBluster with Zoho Flow?
Zoho Flow can connect MailBluster with automated workflows without any coding knowledge. This efficient workflow builder allows you to seamlessly connect, define, and customize data flow. You can connect leads, monitor them, and fetch leads or products without any extra effort.
So, let’s get to the integration process in the later part.
Table of CONTENTS
Zoho Integration: How does Zoho Flow integrate with MailBluster?
Zoho Flow integrates with MailBluster through a workflow. You need to set the triggers and actions just like the Pabbly integration or Make integration that we did in the earlier integrations. Moreover, Zoho CRM integration provides an easy integration solution for any app.
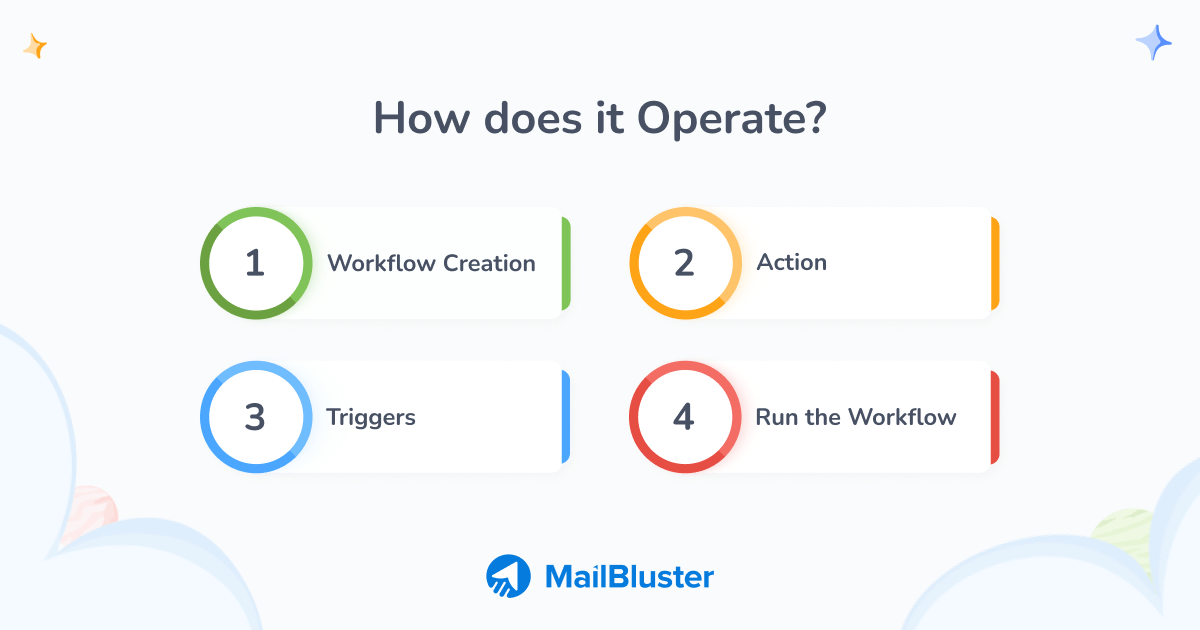
You can set the command and monitor the whole integration process in the Summary field. Also, edit the command for your convenience later from the Builder field. The History field is there to check the previous processes.
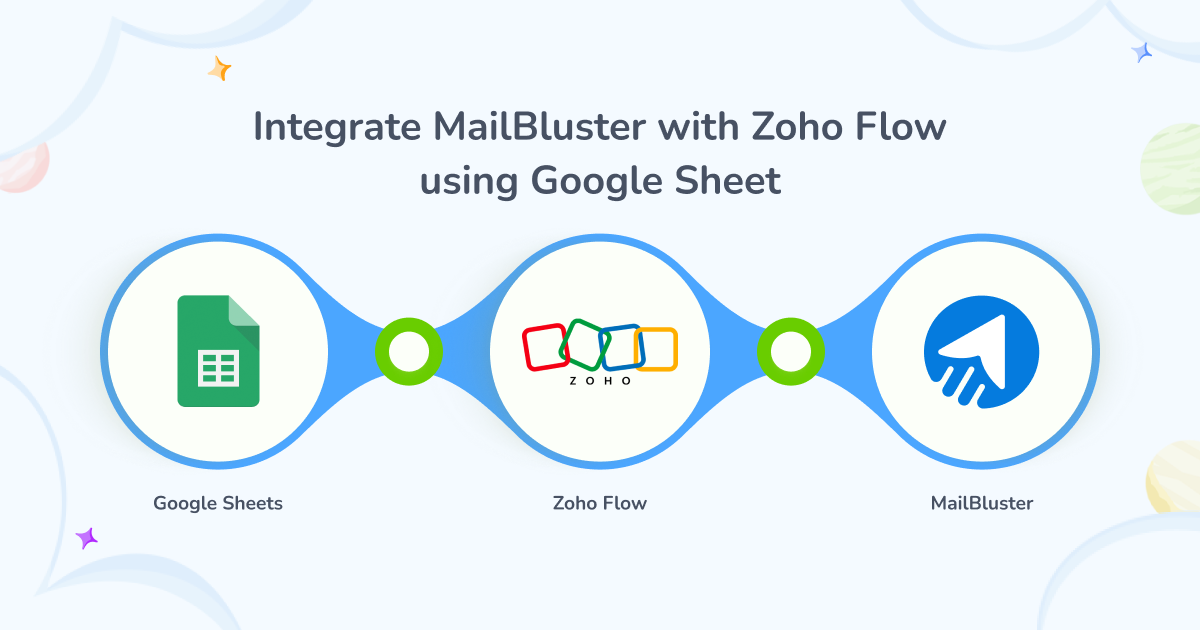
Zoho Integration: How to integrate MailBluster with Zoho Flow using Google Sheets
We are using Google Sheets to integrate MailBluster with Zoho Flow. Remember that MailBluster also requires API verification for data integration. So, let’s start the integration process right now!
You can watch this tutorial video on integrating MailBluster with Zoho
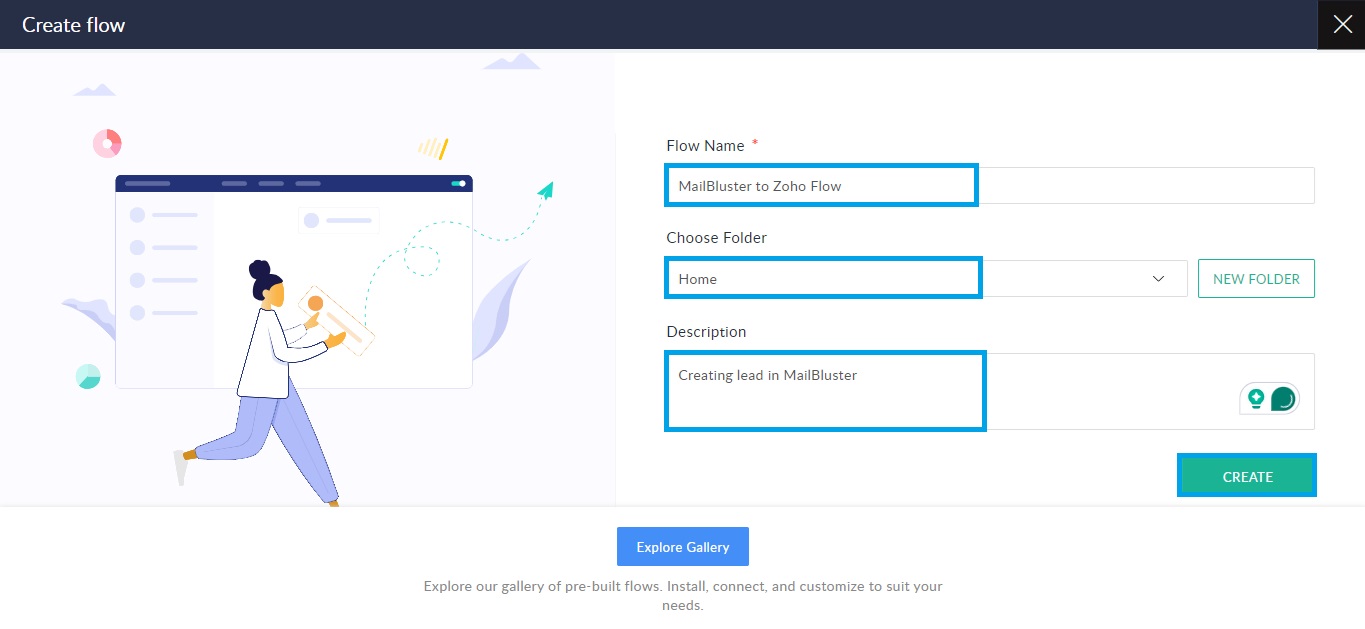
1. First, log in to your Zoho Flow account, and then click on Create Flow in My Flows.
2. In the Create Flow section, provide your Flow Name, Choose a Folder, and Description of the flow creation. Click Create.
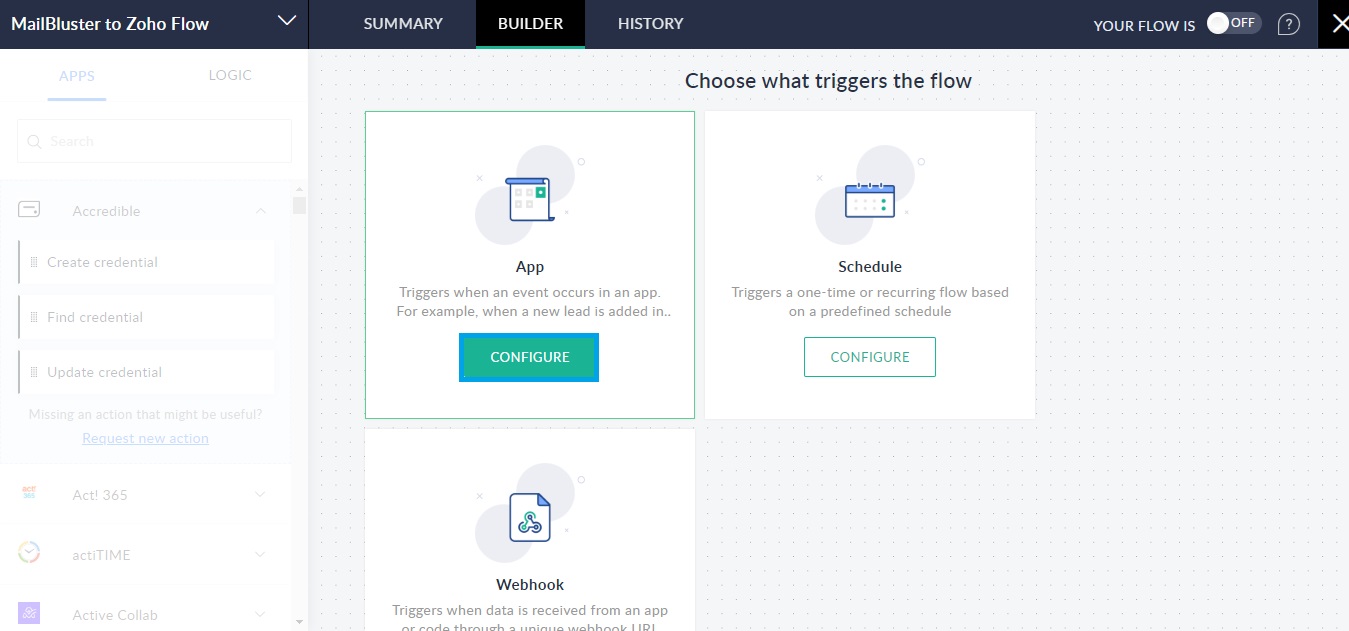
3. In the Choose what triggers the flow section, you will see three options: App, Schedule, and Webhook. For lead generation, choose the App section by clicking Configure.
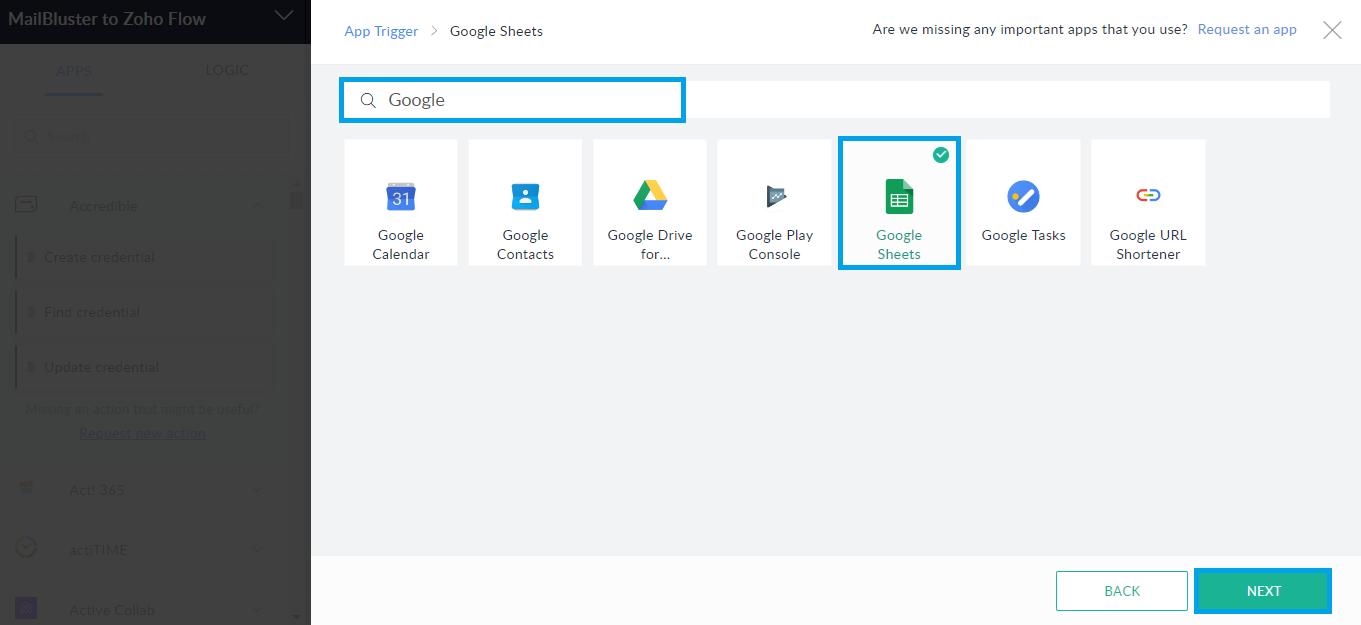
4. Now search for the Google Sheets app on the next page and click Next. Later, you need to Choose Google Sheets Trigger. Set which action will trigger the workflow.
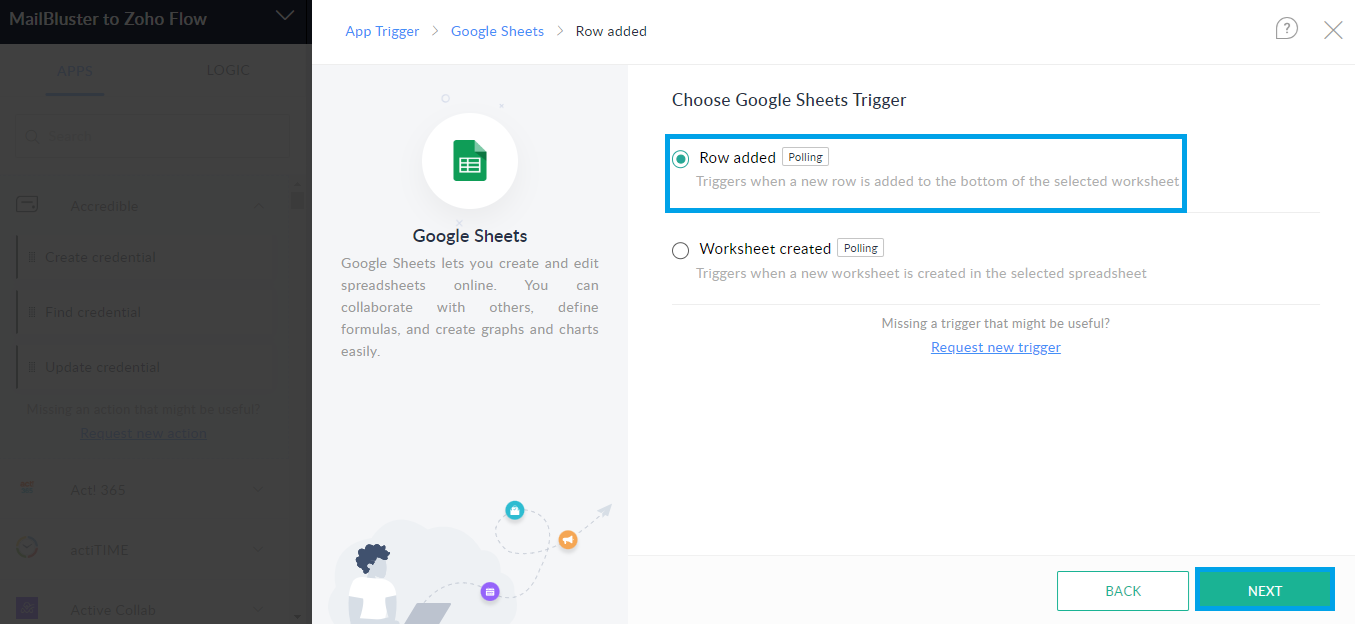
5. You can either choose the Row added or Worksheet created option. The flow will be triggered based on your new data input on a row or a new worksheet creation. Click Next.
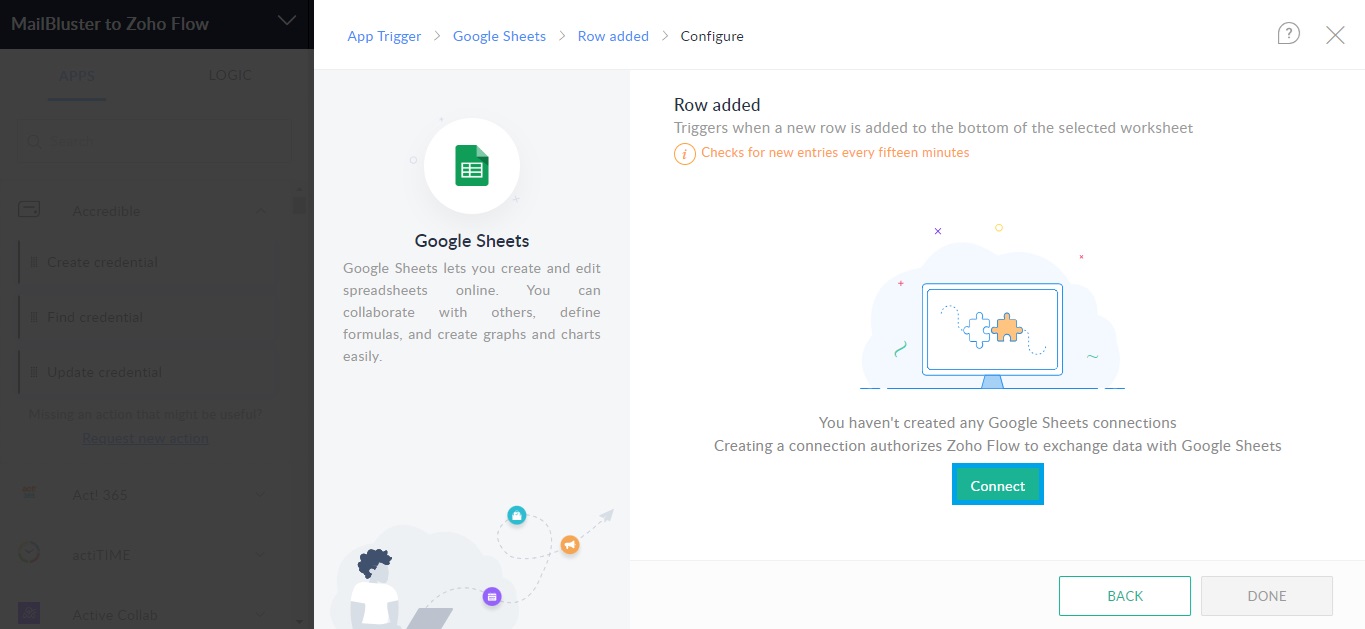
6. Later, the Row added confirmation will show as we selected the Row added section. Here, you need to Connect the Google Sheets.
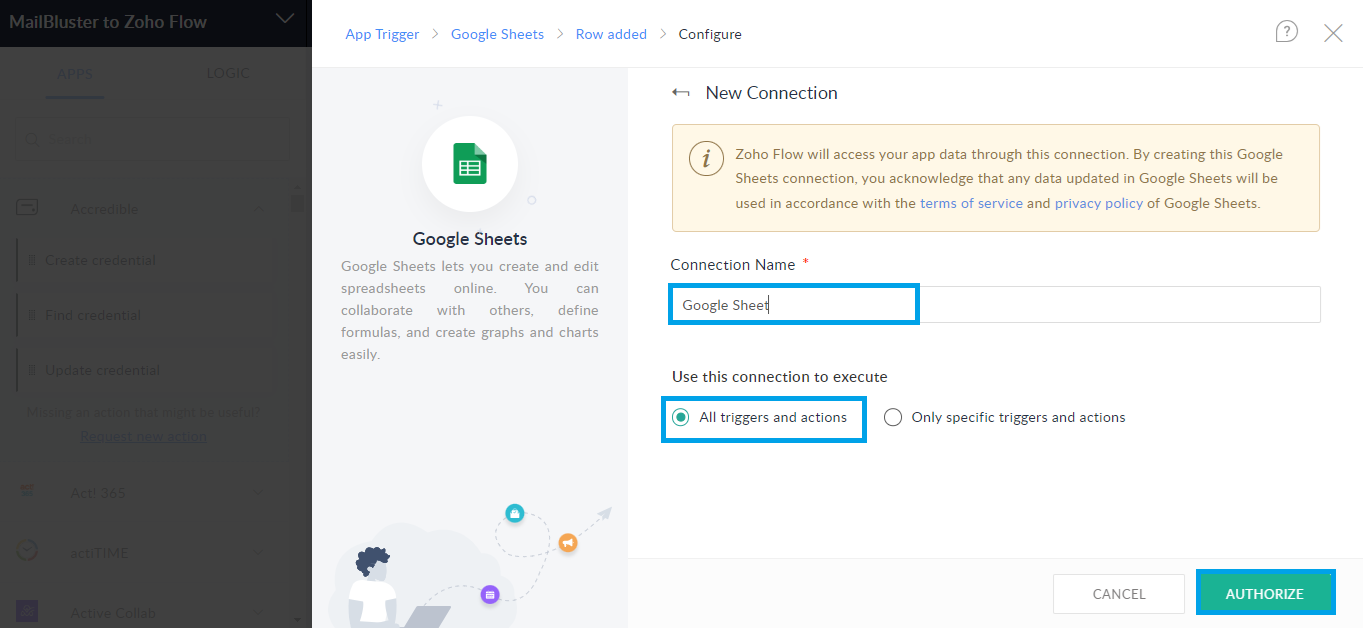
Name the connection and Select All triggers and actions. Click Authorize.
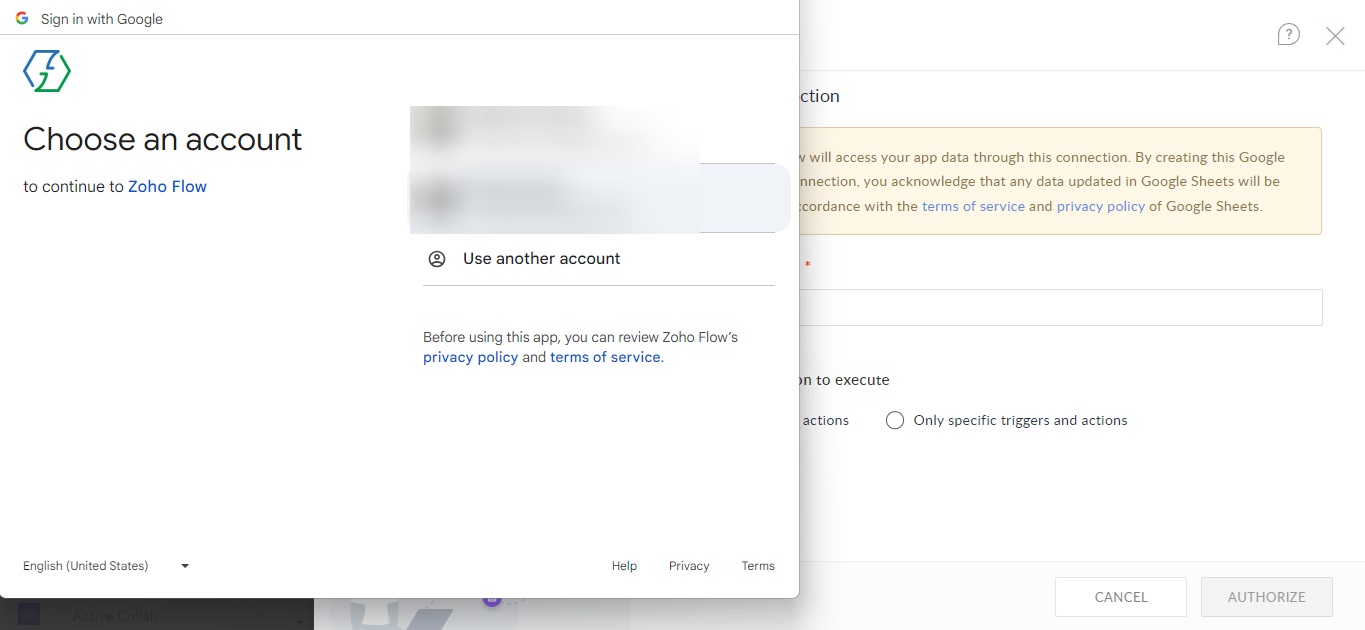
7. Later, a Google account window will pop up. Log in with your Google account and connect the Google Sheets.
Copy the ID from the spreadsheet URL, for example,
https://docs.google.com/spreadsheets/d/ 1priPVu-9yV_x4w9ZPX2J644nk4o3JoLXVxH9oT3XJv8/edit
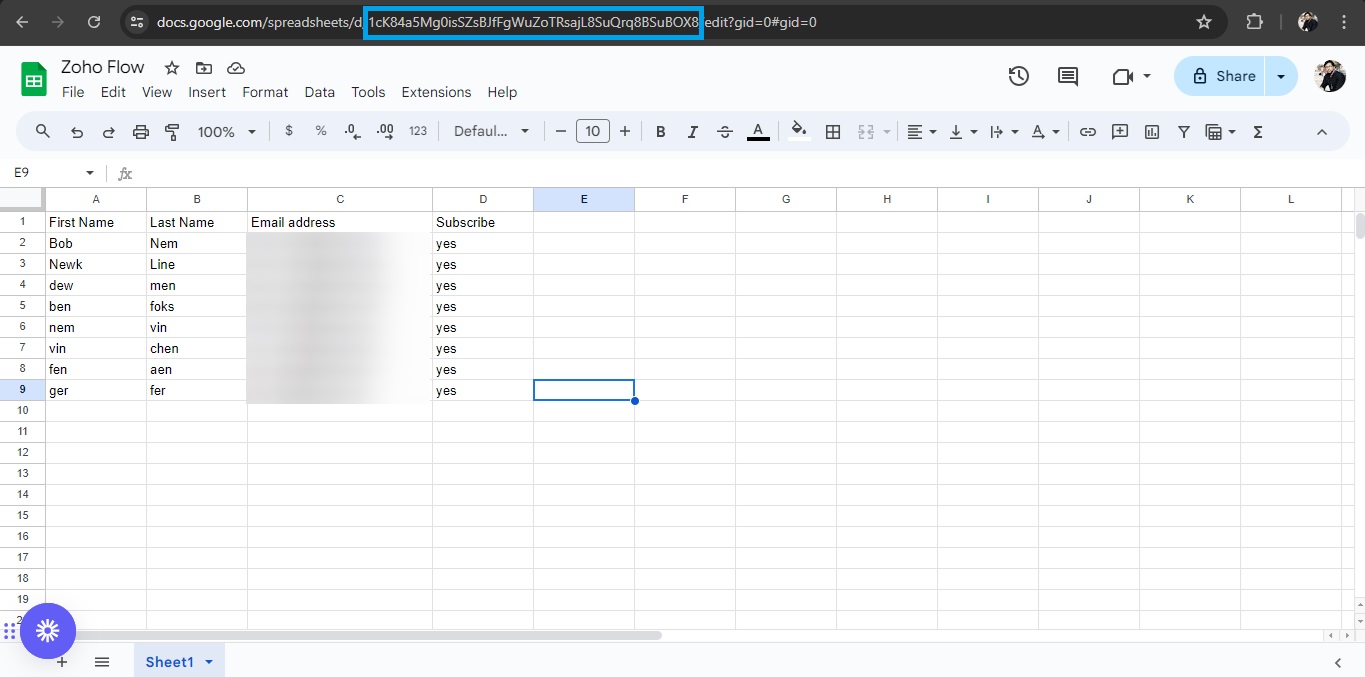
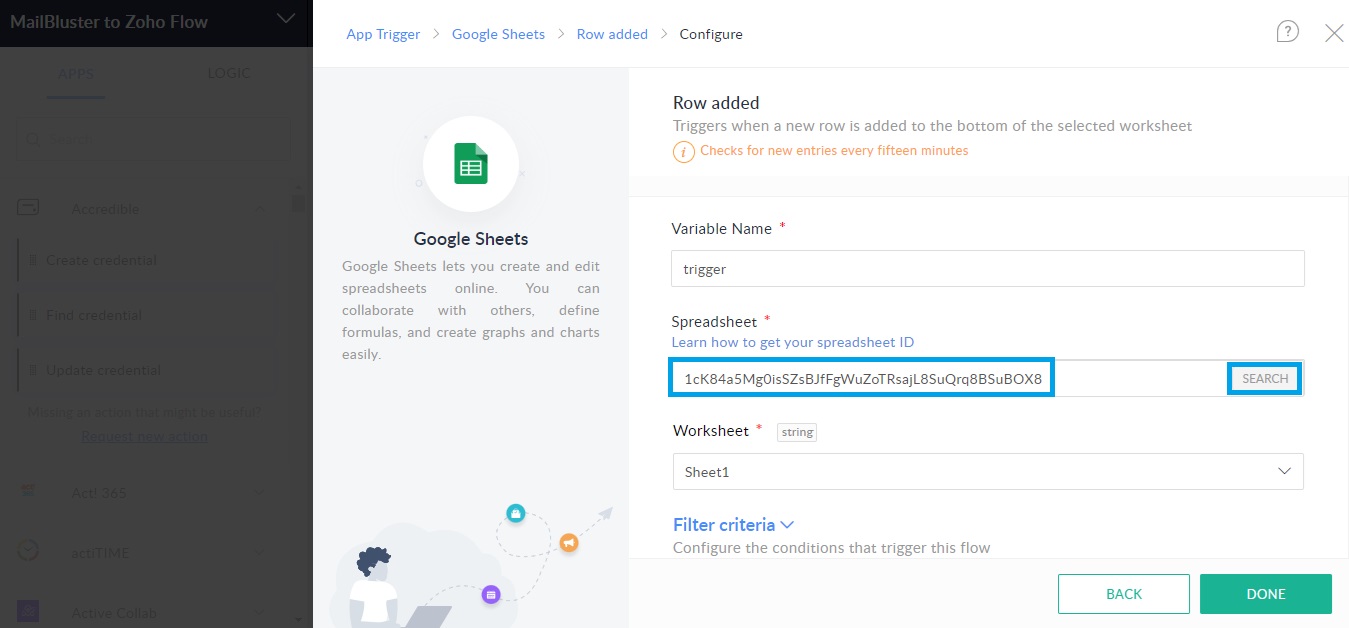
8. On the Google Sheets configuration page, paste the spreadsheet ID into the Spreadsheet field and click Search. The Sheet number will appear in the Worksheet field.
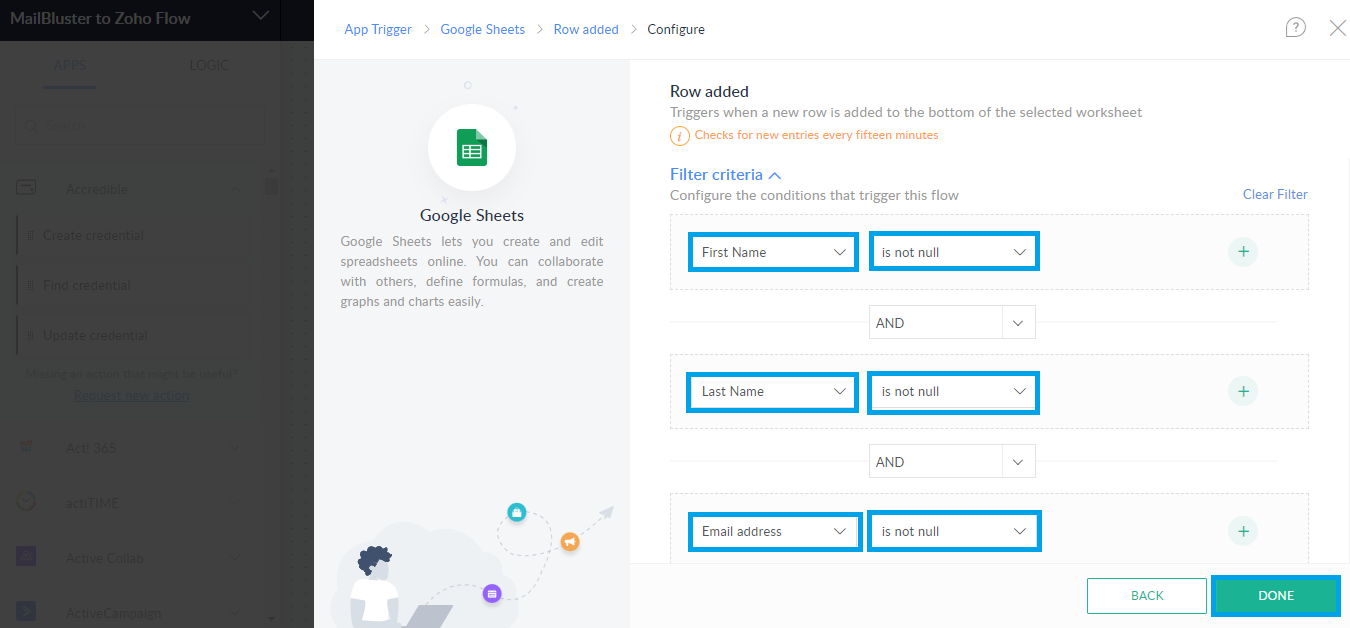
9. Now, click the Filter criteria. Here, you need to define the conditions that will trigger the flow. We select here the First Name, Last Name, and Email address field. Click Done.
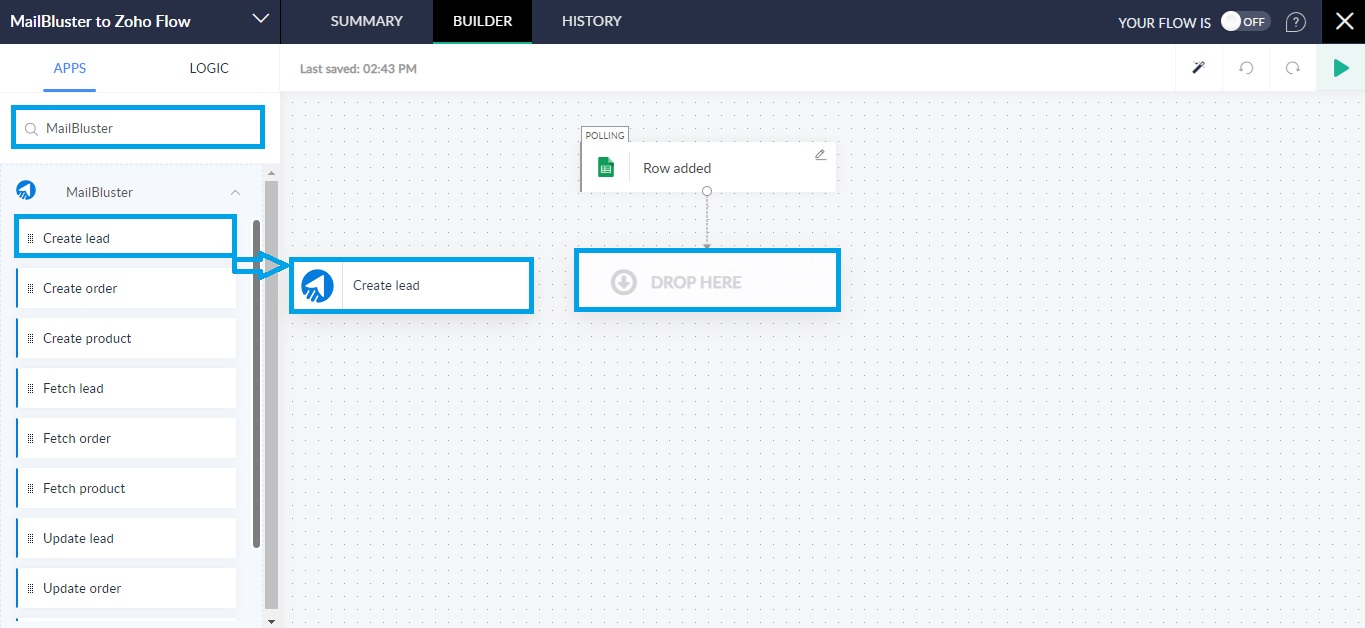
10. Next up, in the Builder section, search for the MailBluster app. Select the field that you need. We opt to Create lead here. Now, Drag & drop the field on the flow. Click on the edit sign on the Create lead field.
11. On the new side window, you need to connect MailBluster to Zoho Flow with API.
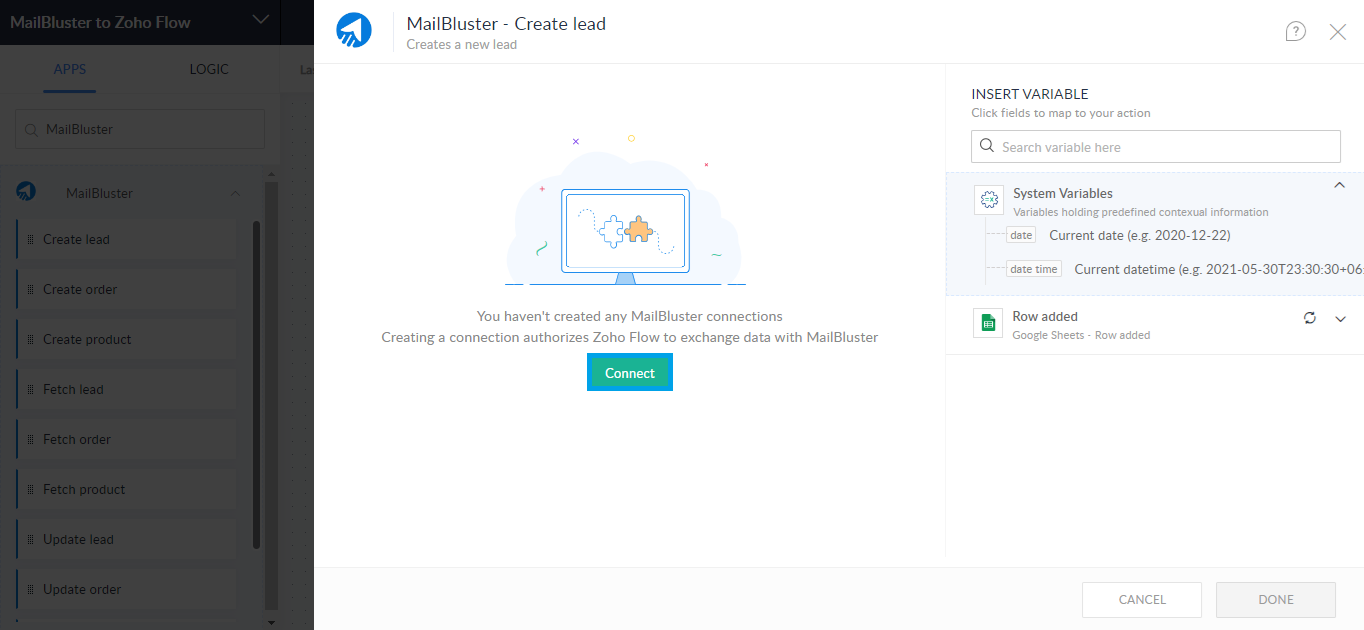
Name the Connection and Follow the instructions for connecting API.
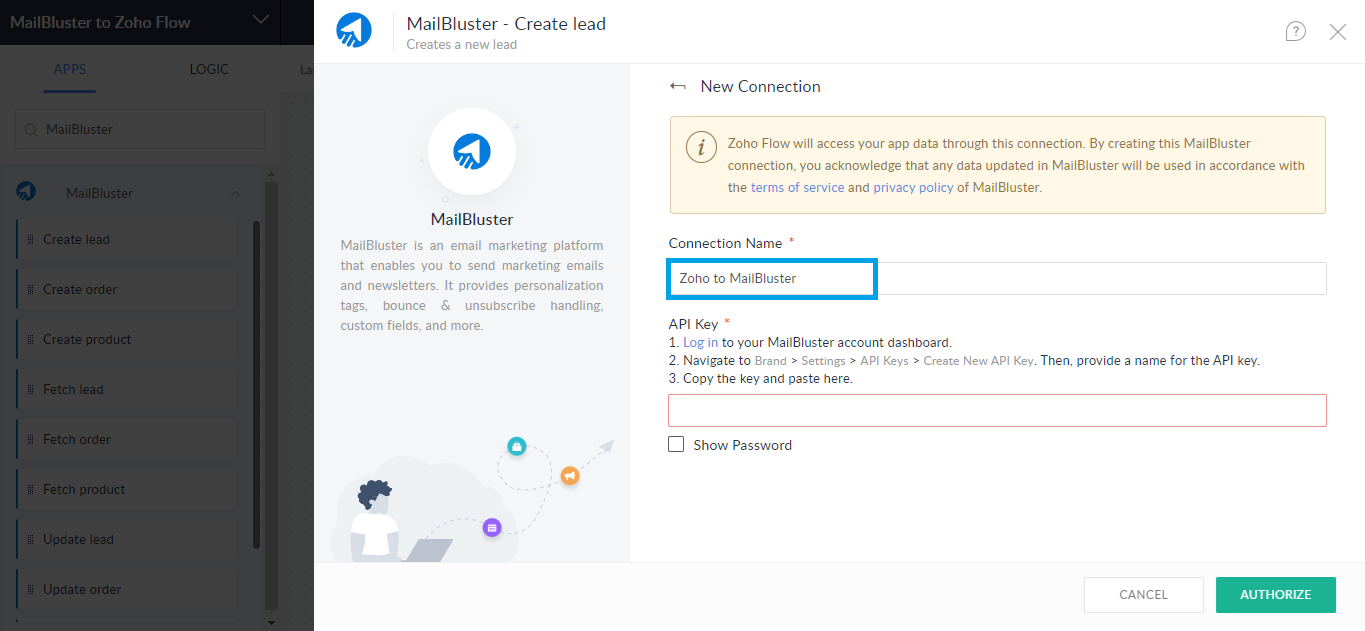
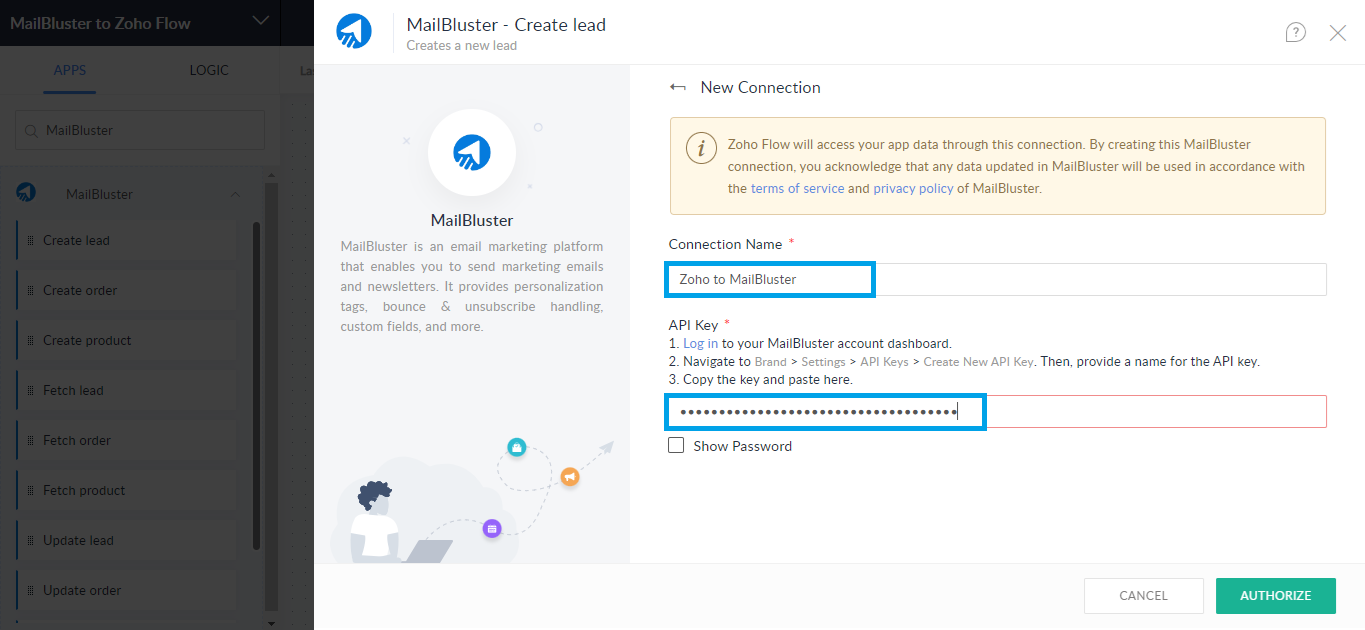
Paste the API key into the blank API field. Click Authorize.
12. Now, in the MailBluster – Create lead section, edit First name, Last name, and Email address field. Check the other options by scrolling down if you need them to edit.
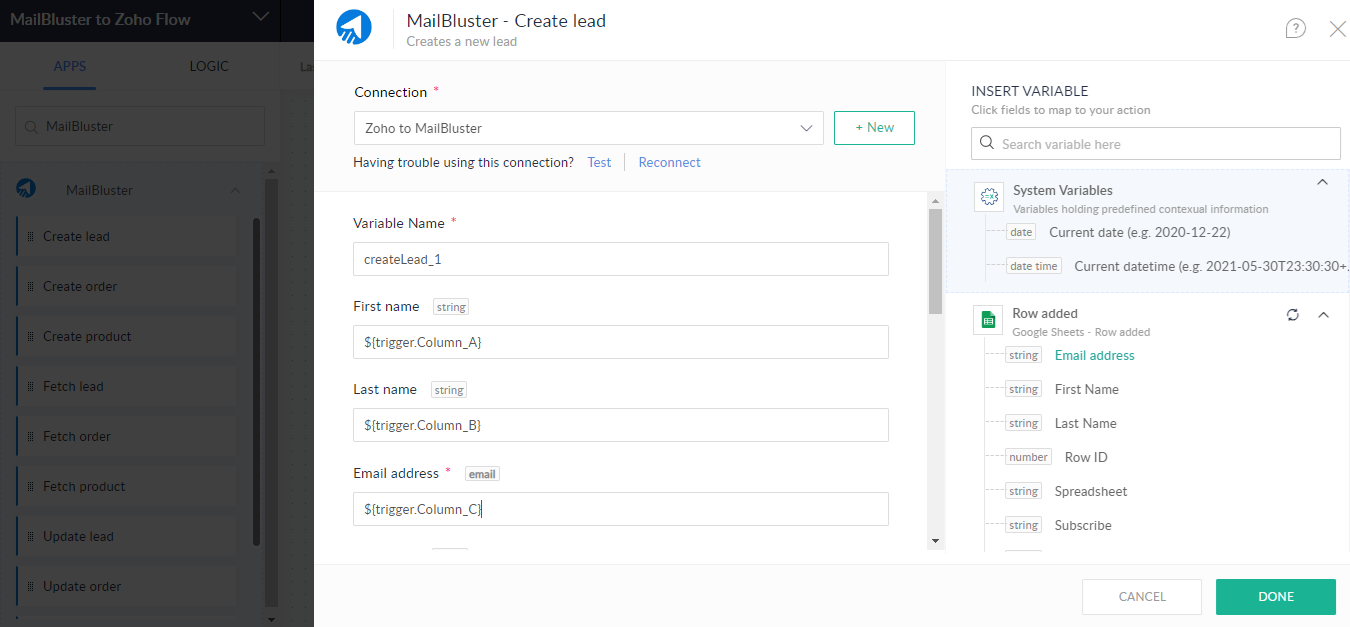
While editing, click on the Row added field, select First name, Last name, Email address string from Row added field. This will ensure all the lead information is added precisely.
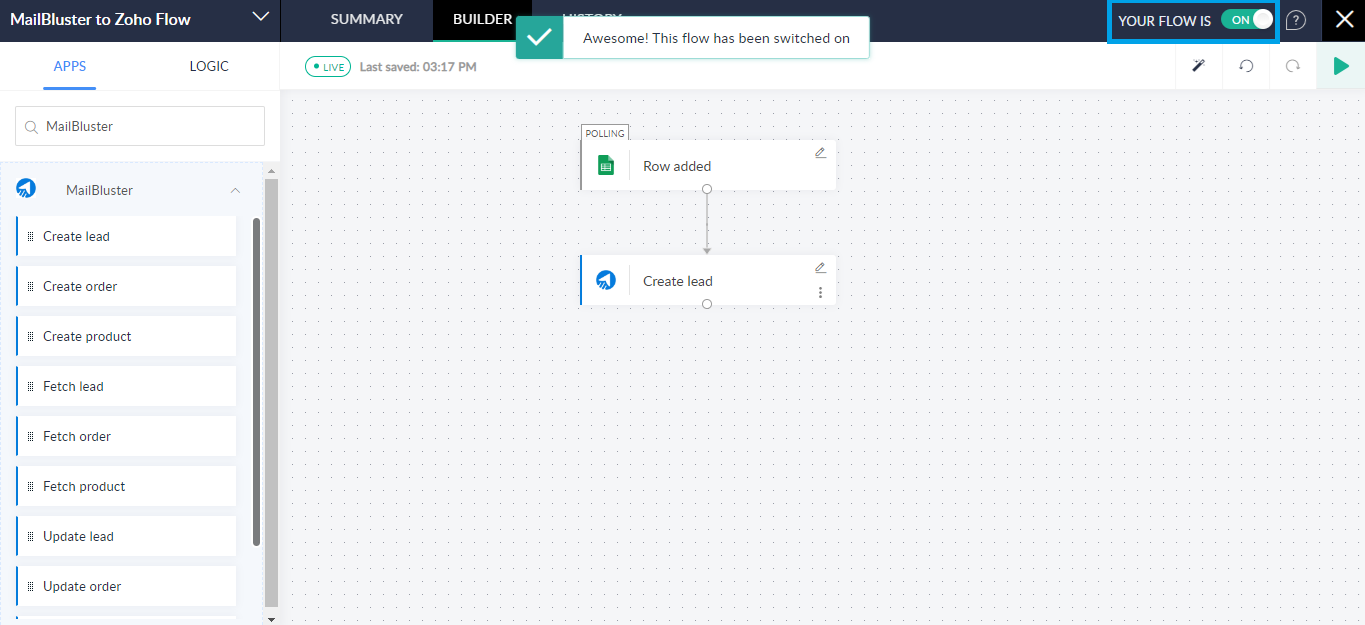
13. You will get the flow switched on confirmation in the next step.
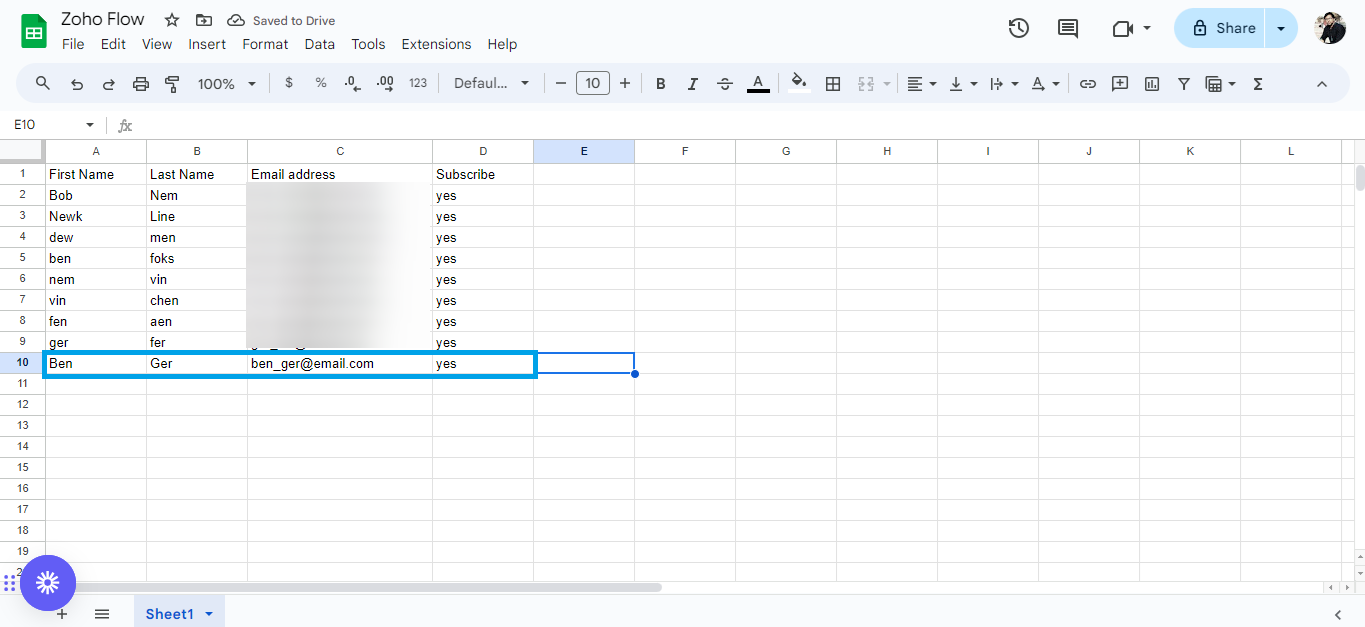
14. Now, head over to the Google Sheets spreadsheet and add your preferred lead with first name, last name, and email address to test if the lead is adding successfully.
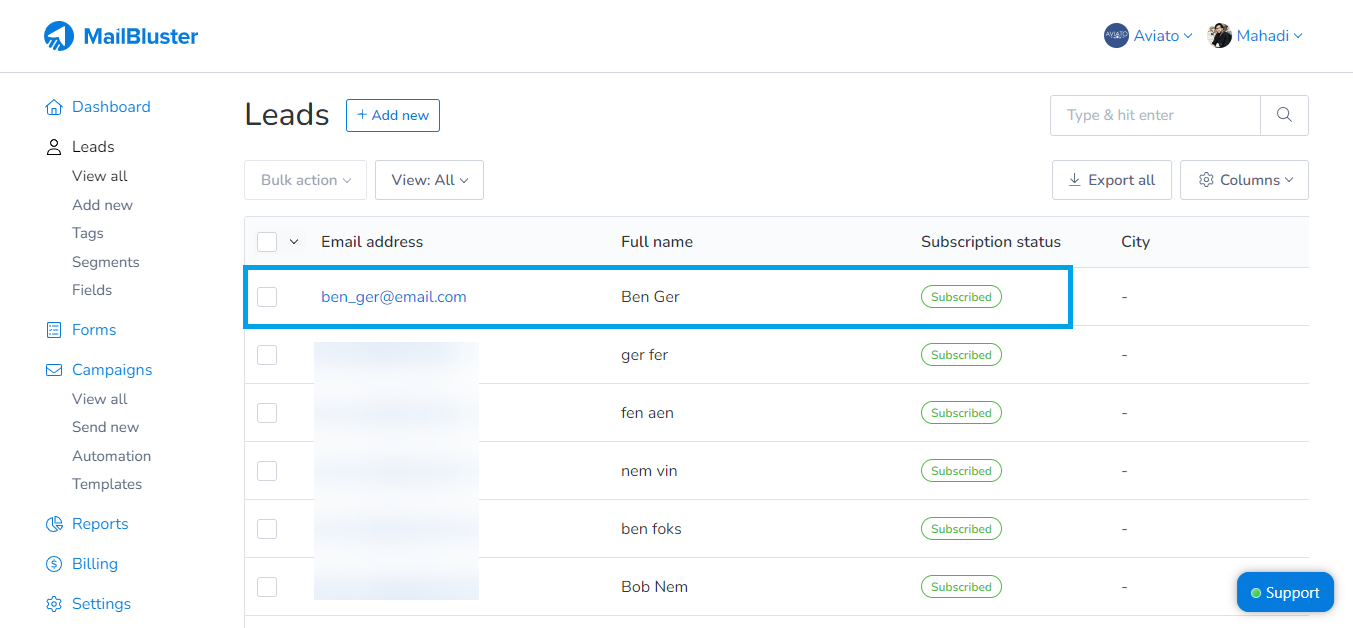
15. Go to MailBluster after a while and check the Leads section to see if your lead has been added.
Wrap up
Zoho integration with MailBluster doesn’t take much time. Follow the correct procedure while adding the necessary fields, especially the string-adding section. So, there are few commands to integrate MailBluster with Zoho Flow. Simply, add MailBluster to the flow section, then configure the necessary commands and triggers.