WooCommerce integration with Mailbluster allows store owners to automate email marketing, improve customer engagement, and drive more sales directly from their WordPress site. WooCommerce is a popular open-source e-commerce plugin for WordPress that enables users to create and manage online stores with ease. In this guide, we will not discuss how to set up WordPress, as you already own a domain and have deployed your WordPress site. Instead, you will learn the step-by-step process for setting up a seamless WooCommerce integration with Mailbluster, helping you streamline your marketing efforts.
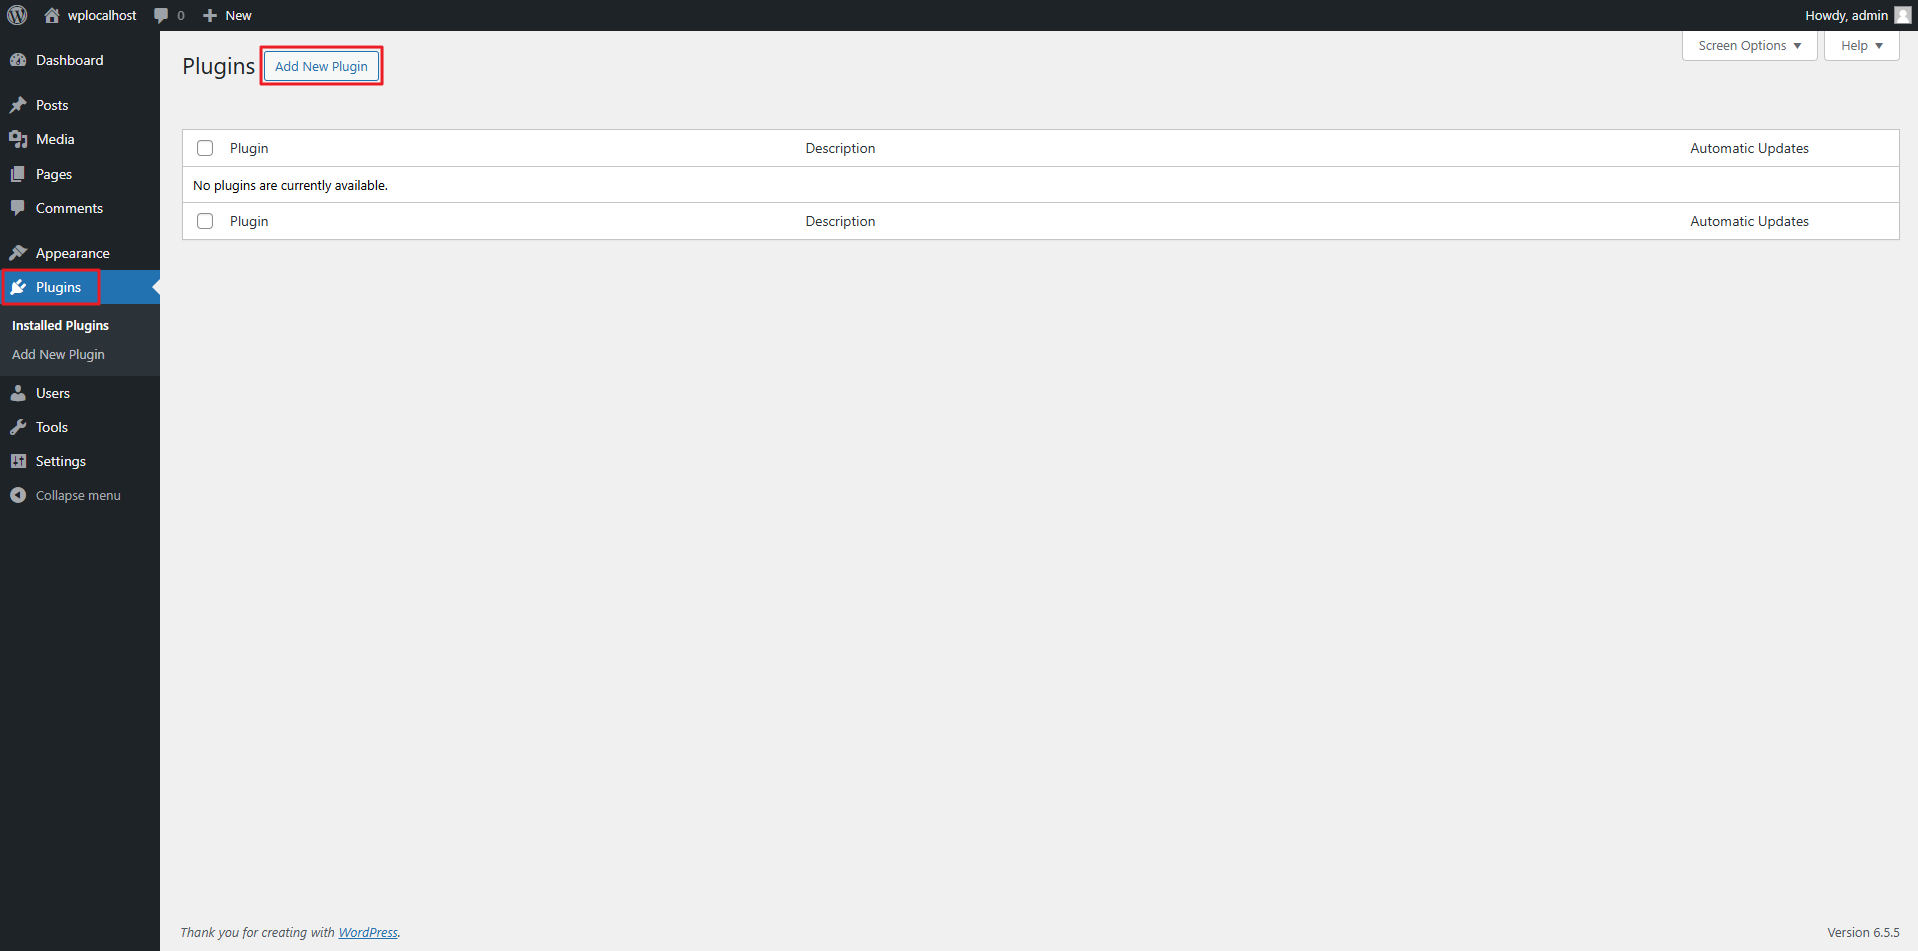
First, you need to go to your WordPress Admin panel, then Plugins and click on Add New Plugin.
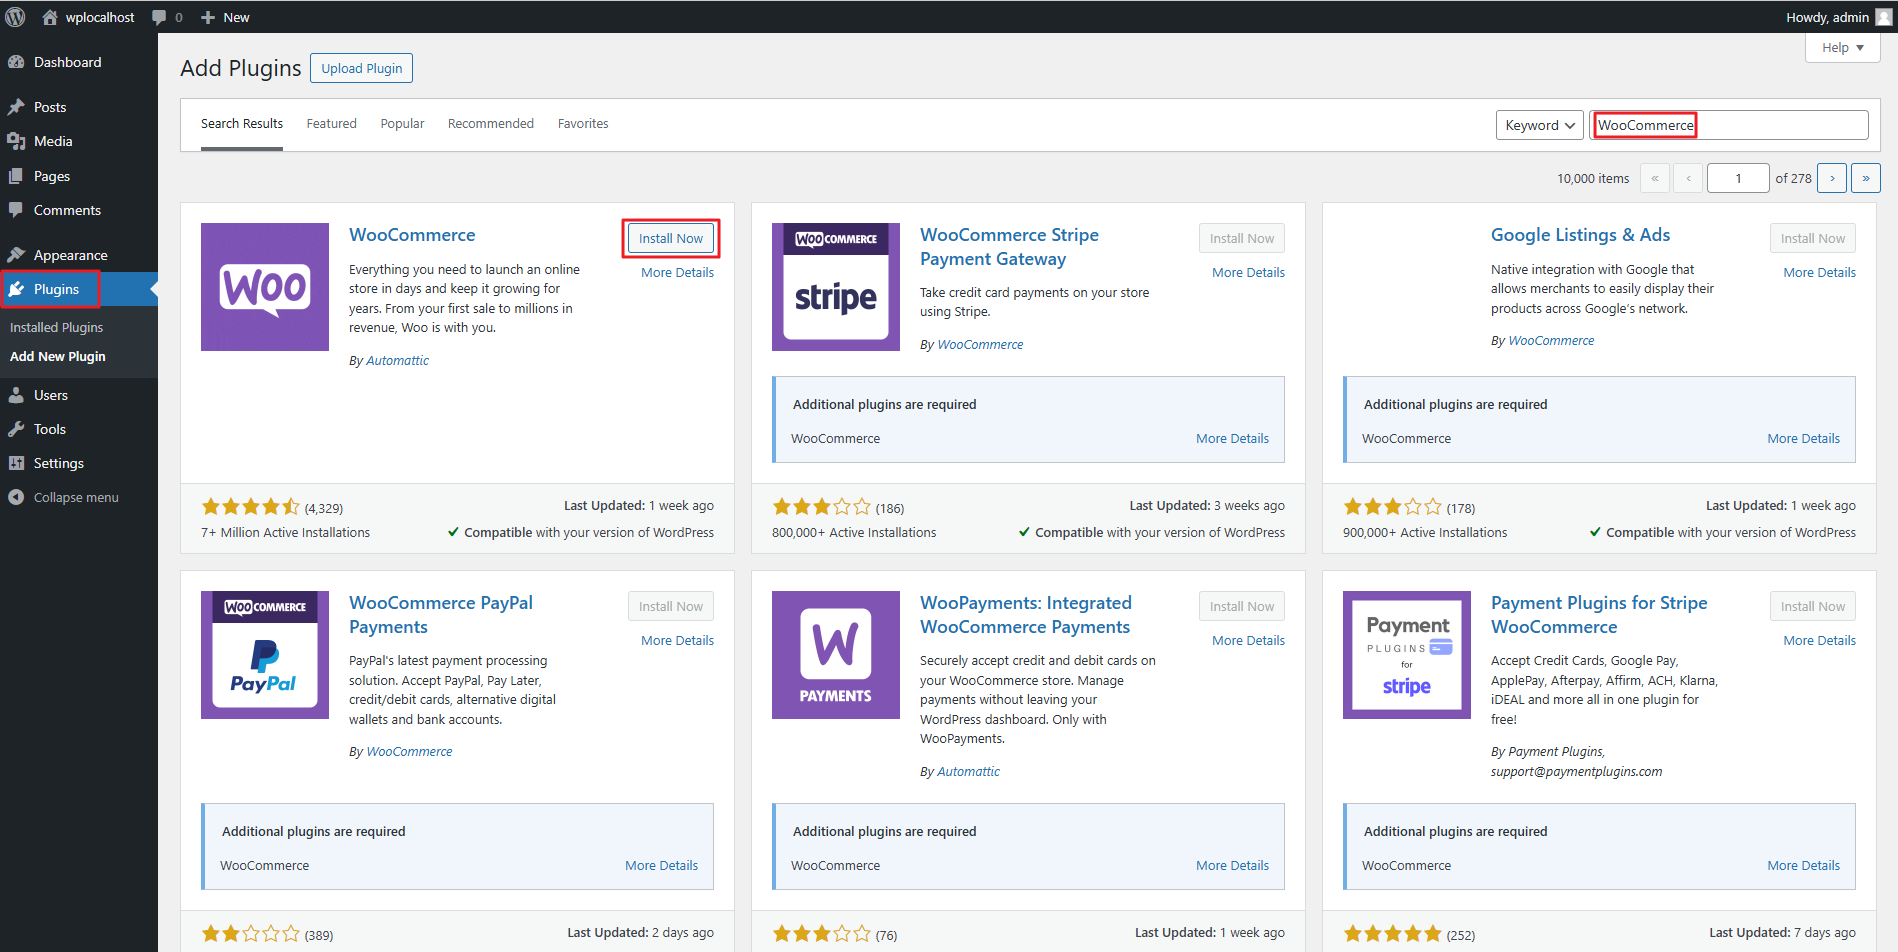
Type WooCommerce in the Keyword field. Then click on Install Now button.
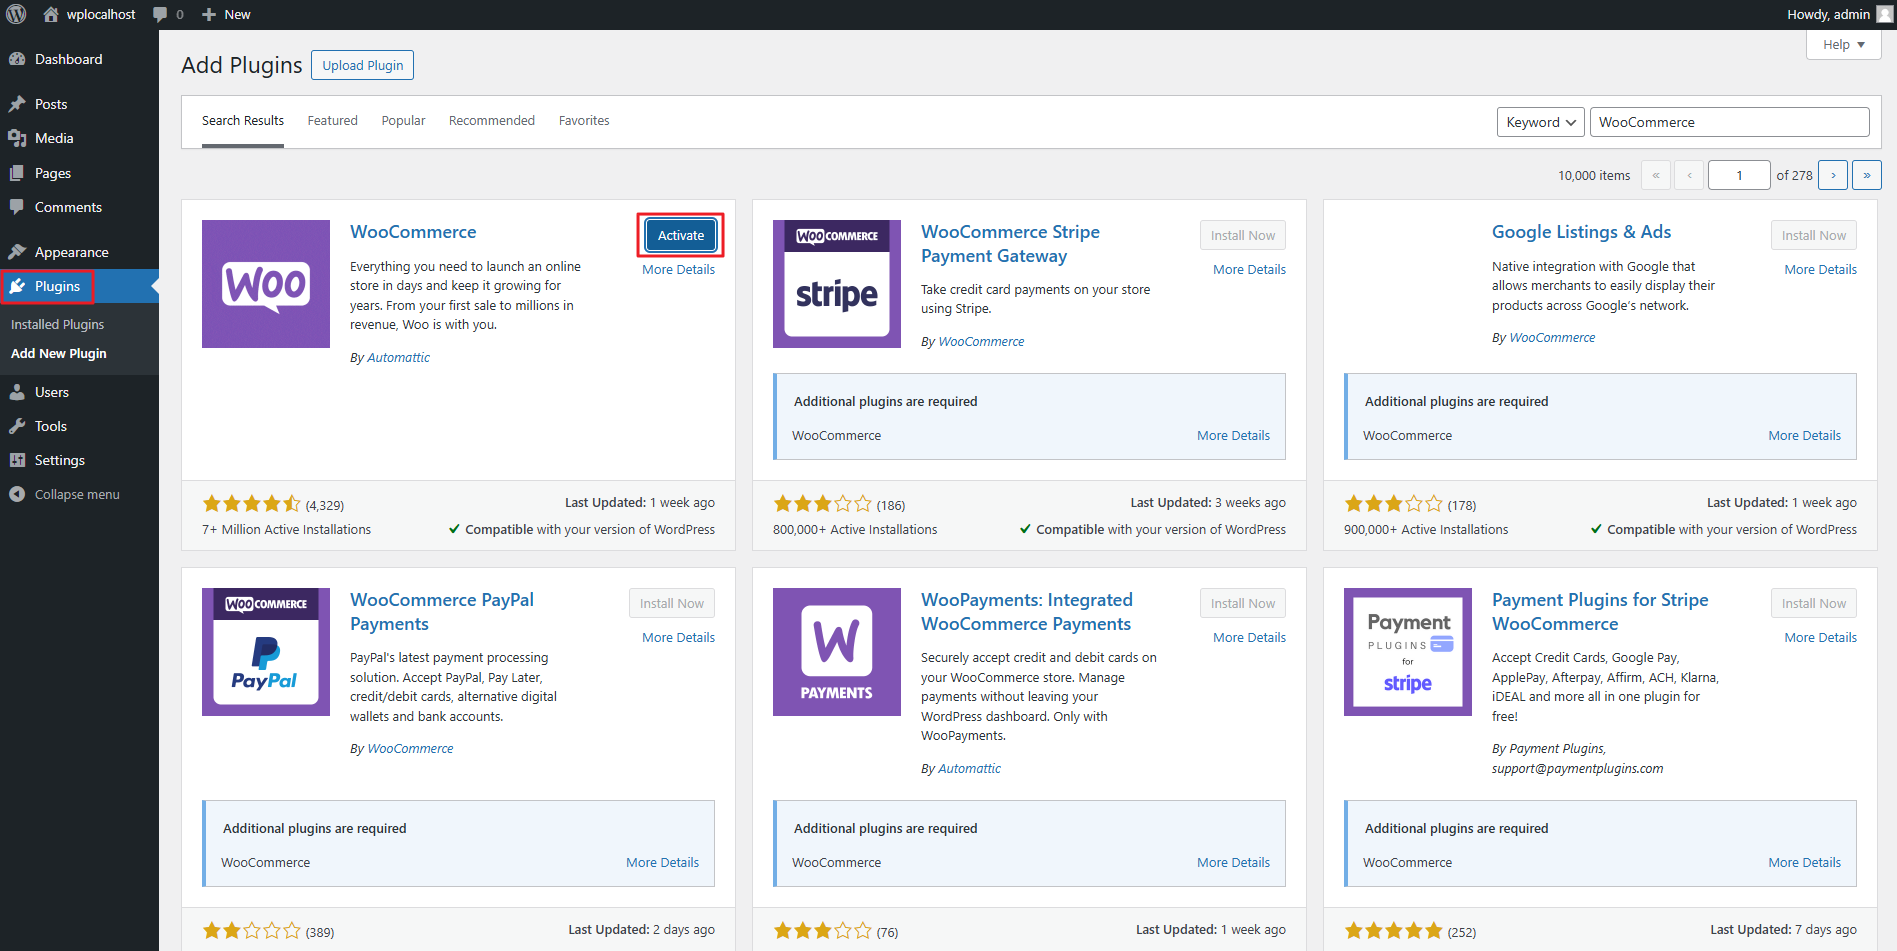
After installation, click on Activate button.
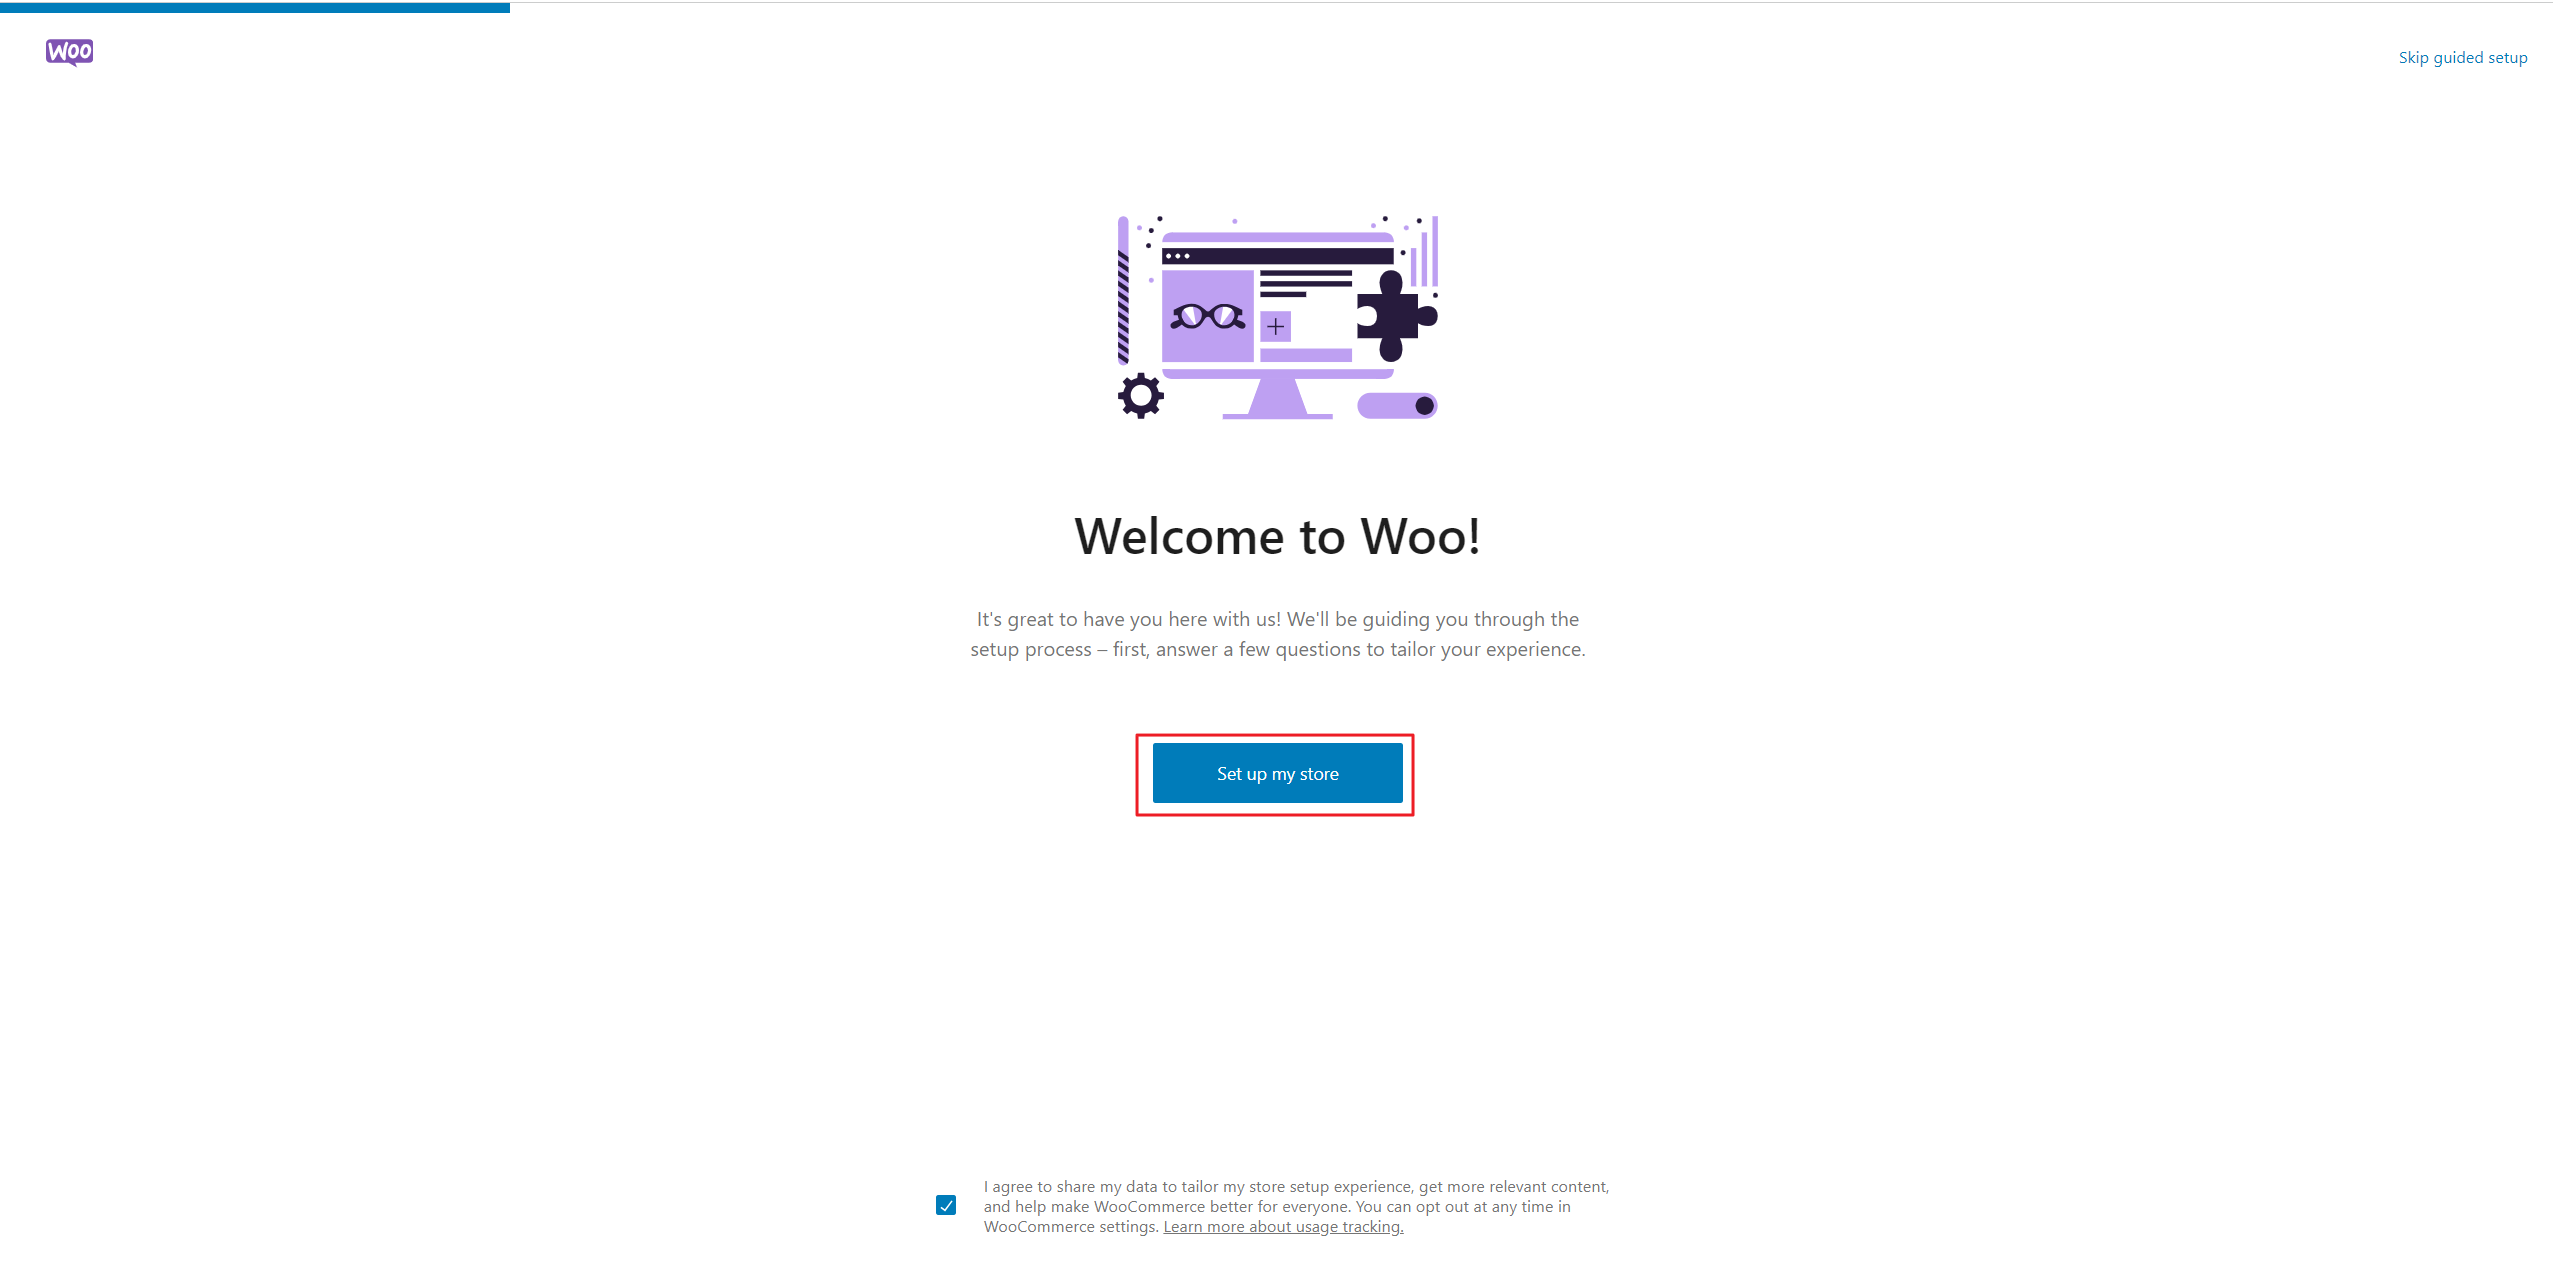
The WooCommerce page will open, and you need to set up your WooCommerce store by following the wizard after clicking ‘Set up my store.’ We will not go into details on how to set up WooCommerce, as we are focusing on integrating MailBluster with WooCommerce. We assume that you have already set up your WooCommerce store.
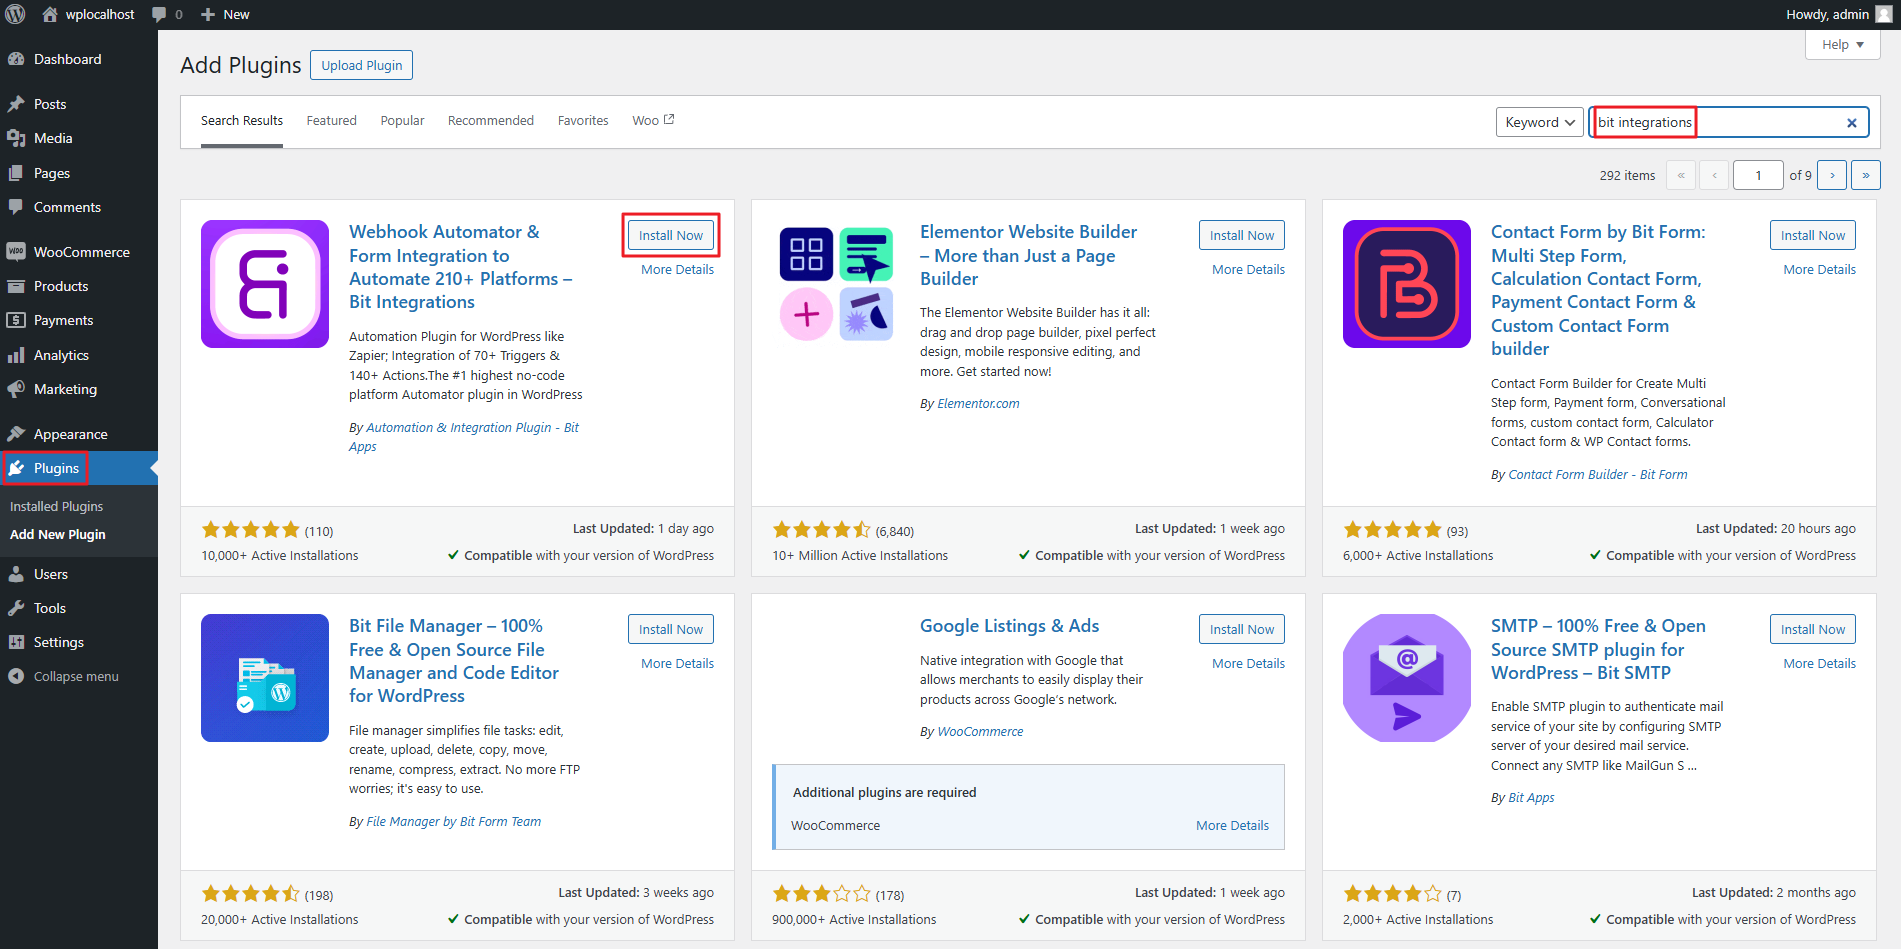
After setting up WooCommerce store, you need to again go to your WordPress Admin panel. Then click on Plugins. Type bit integrations in the Keyword field. Then click on Install Now button.
We are using this 3rd party tool called Bit Integrations because it is designed to help users integrate and automate various software applications and services. It’s particularly useful for streamlining workflows by allowing different applications to communicate with each other and perform automated actions based on specific triggers.
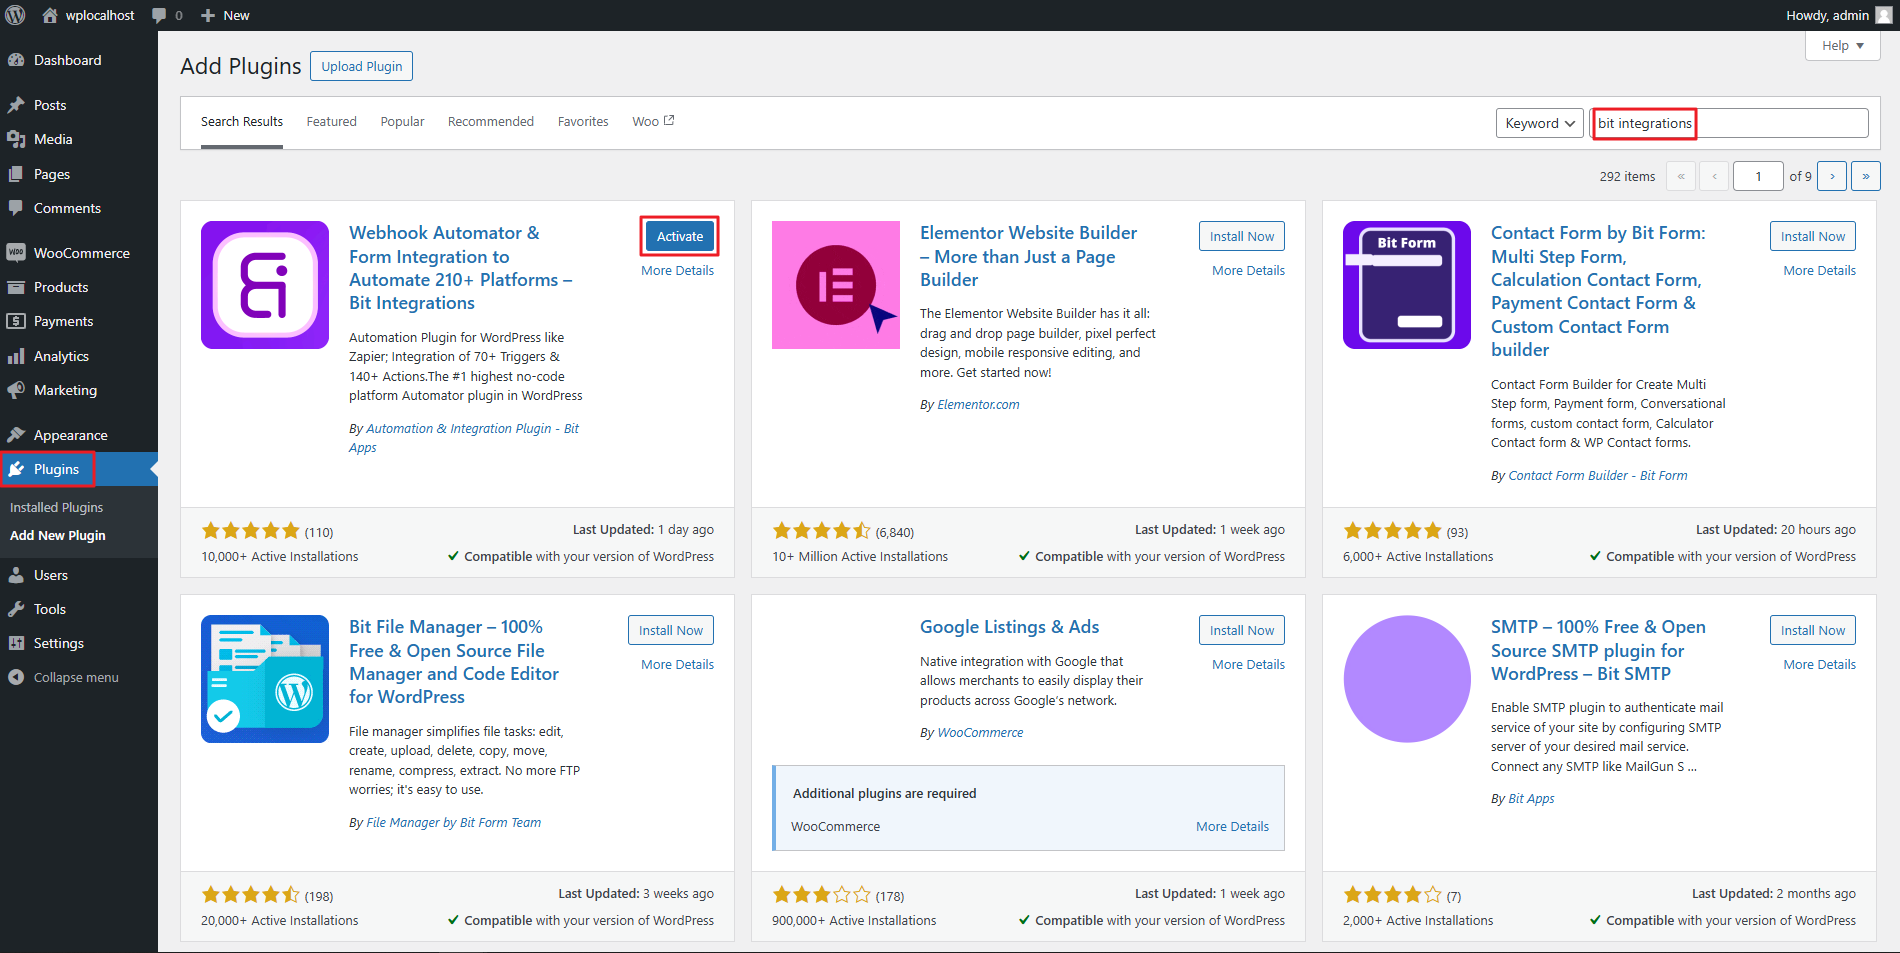
After installation, click on Activate button.
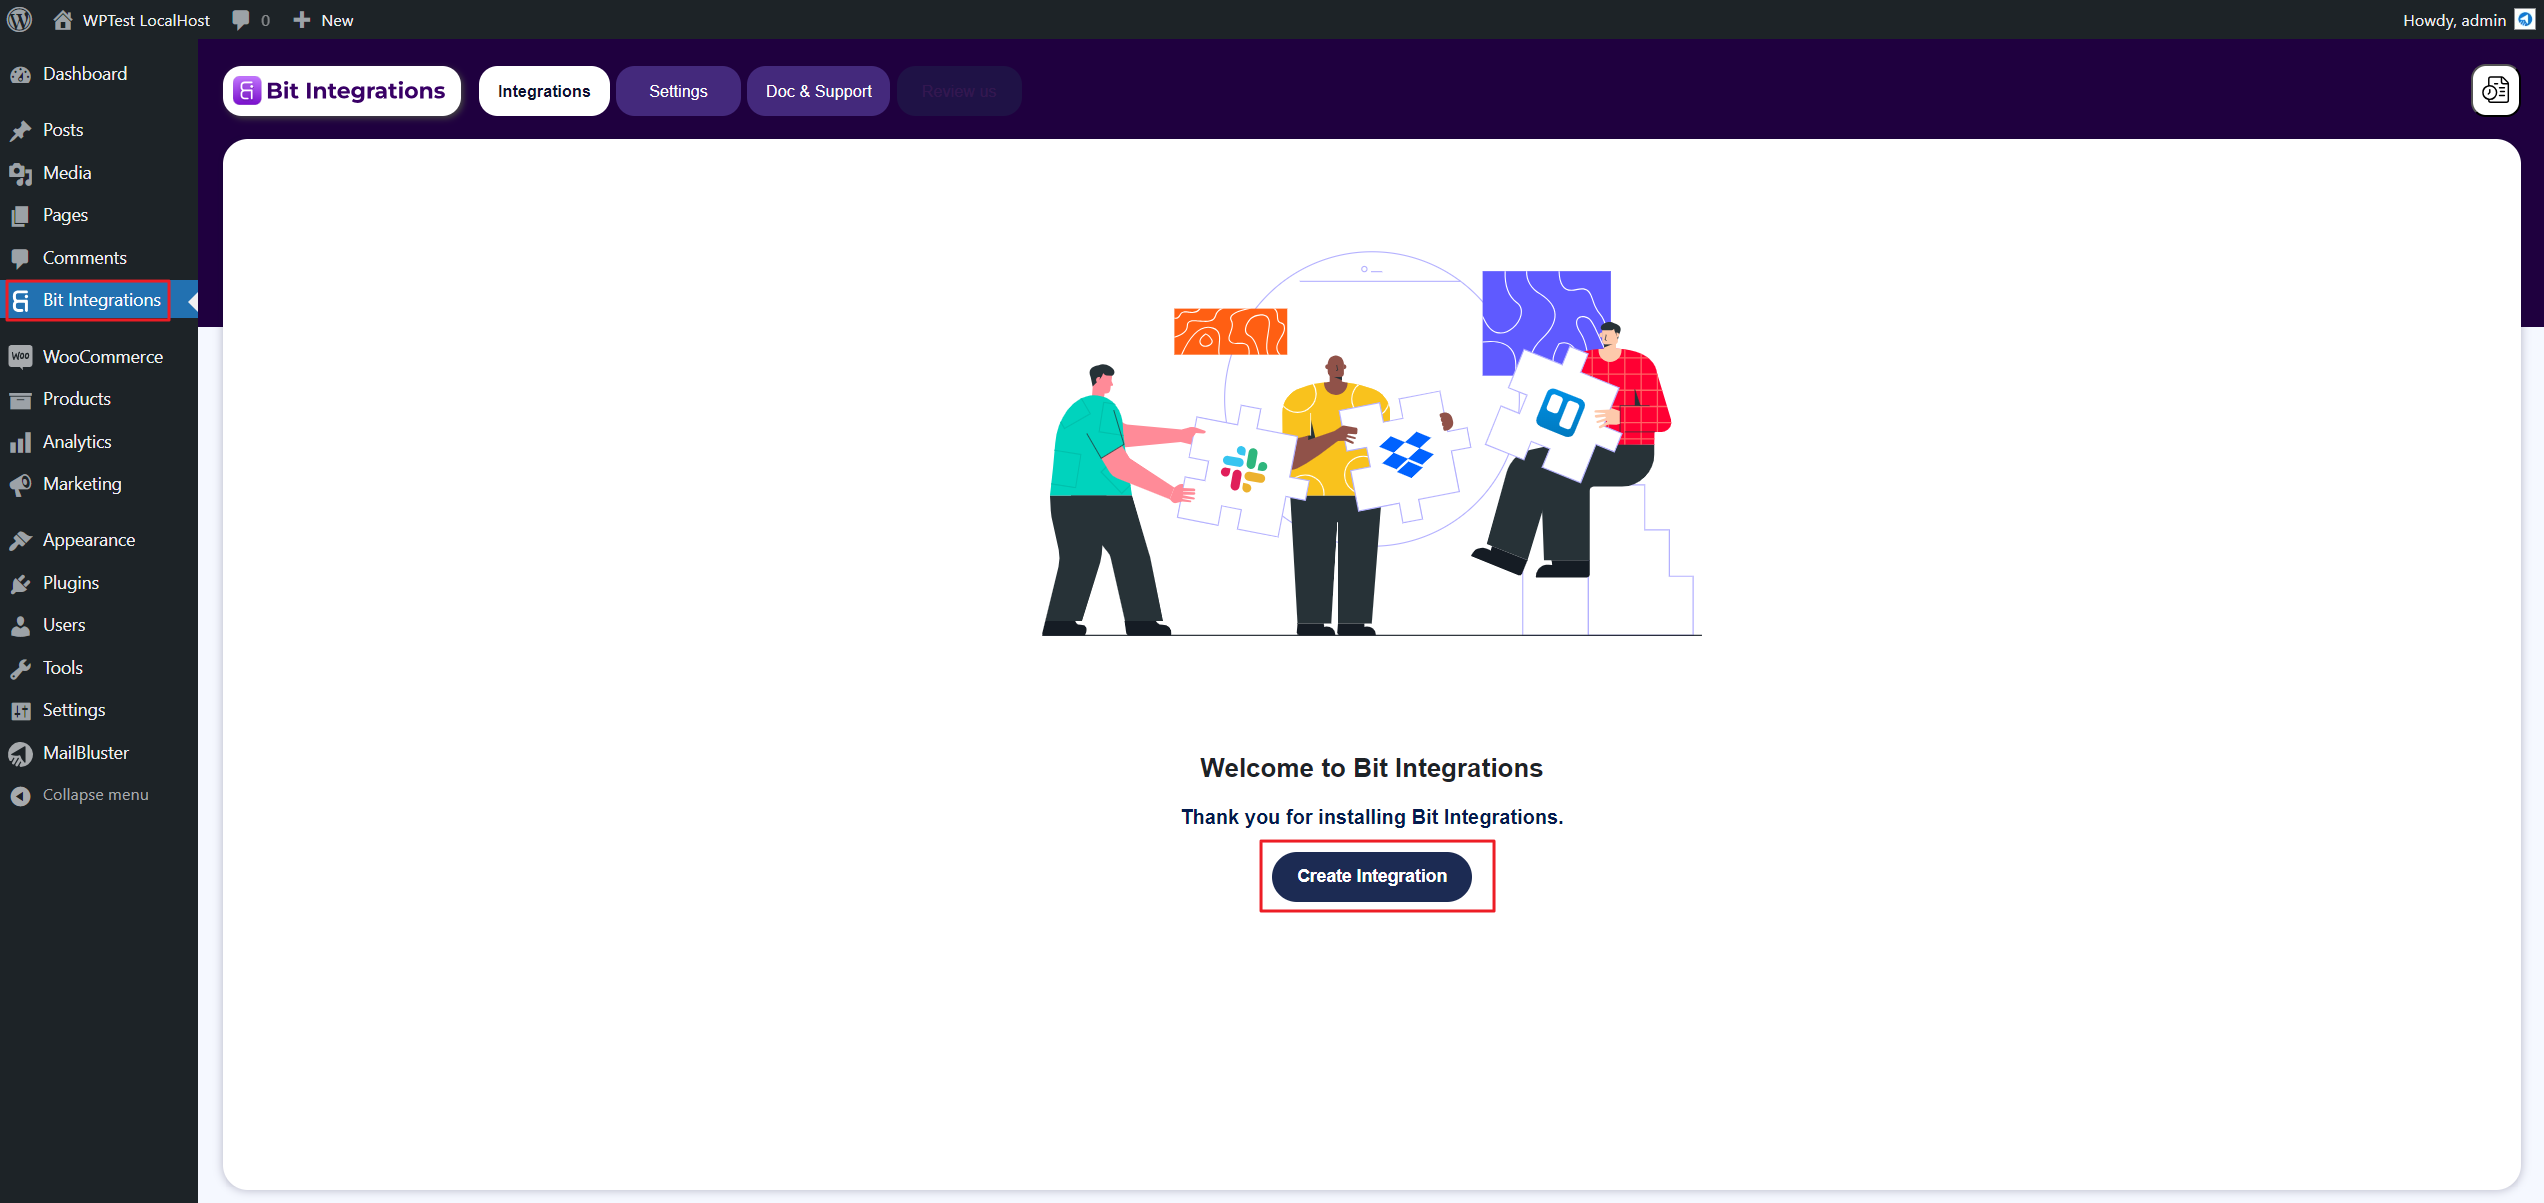
A new option will appear on the left side of WordPress menu name Bit Integrations. Just click on it and then click on Create Integration.
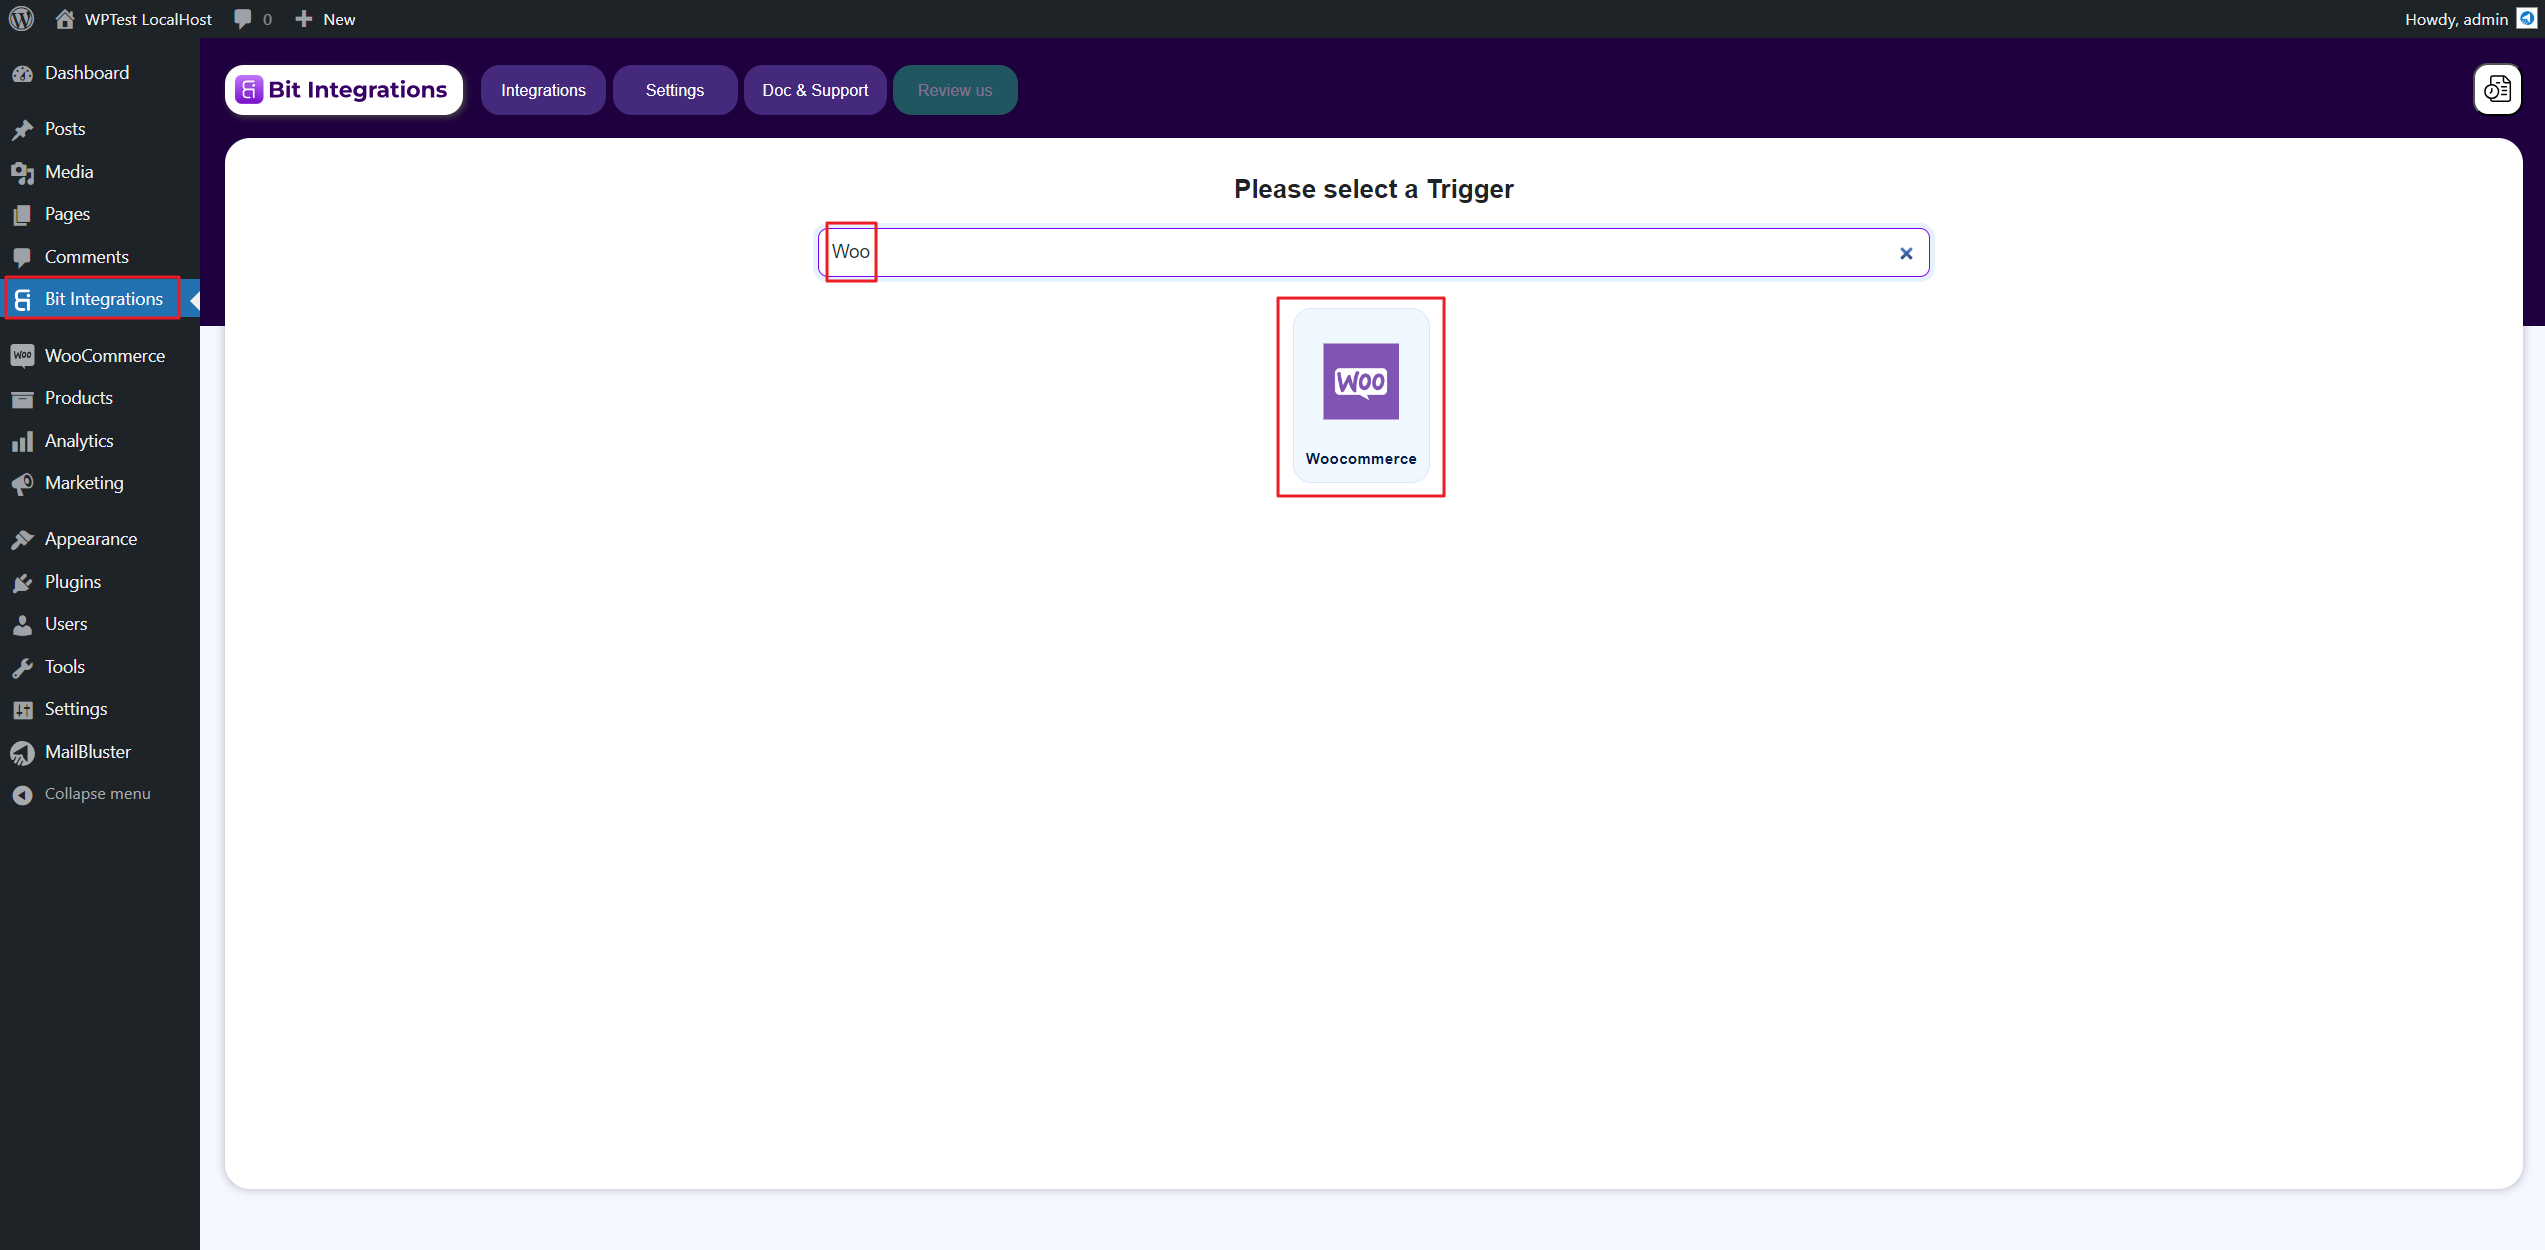
Click on the Please select a Trigger field and type ‘Woo’. WooCommerce will appear. Click on the Woocommerce.
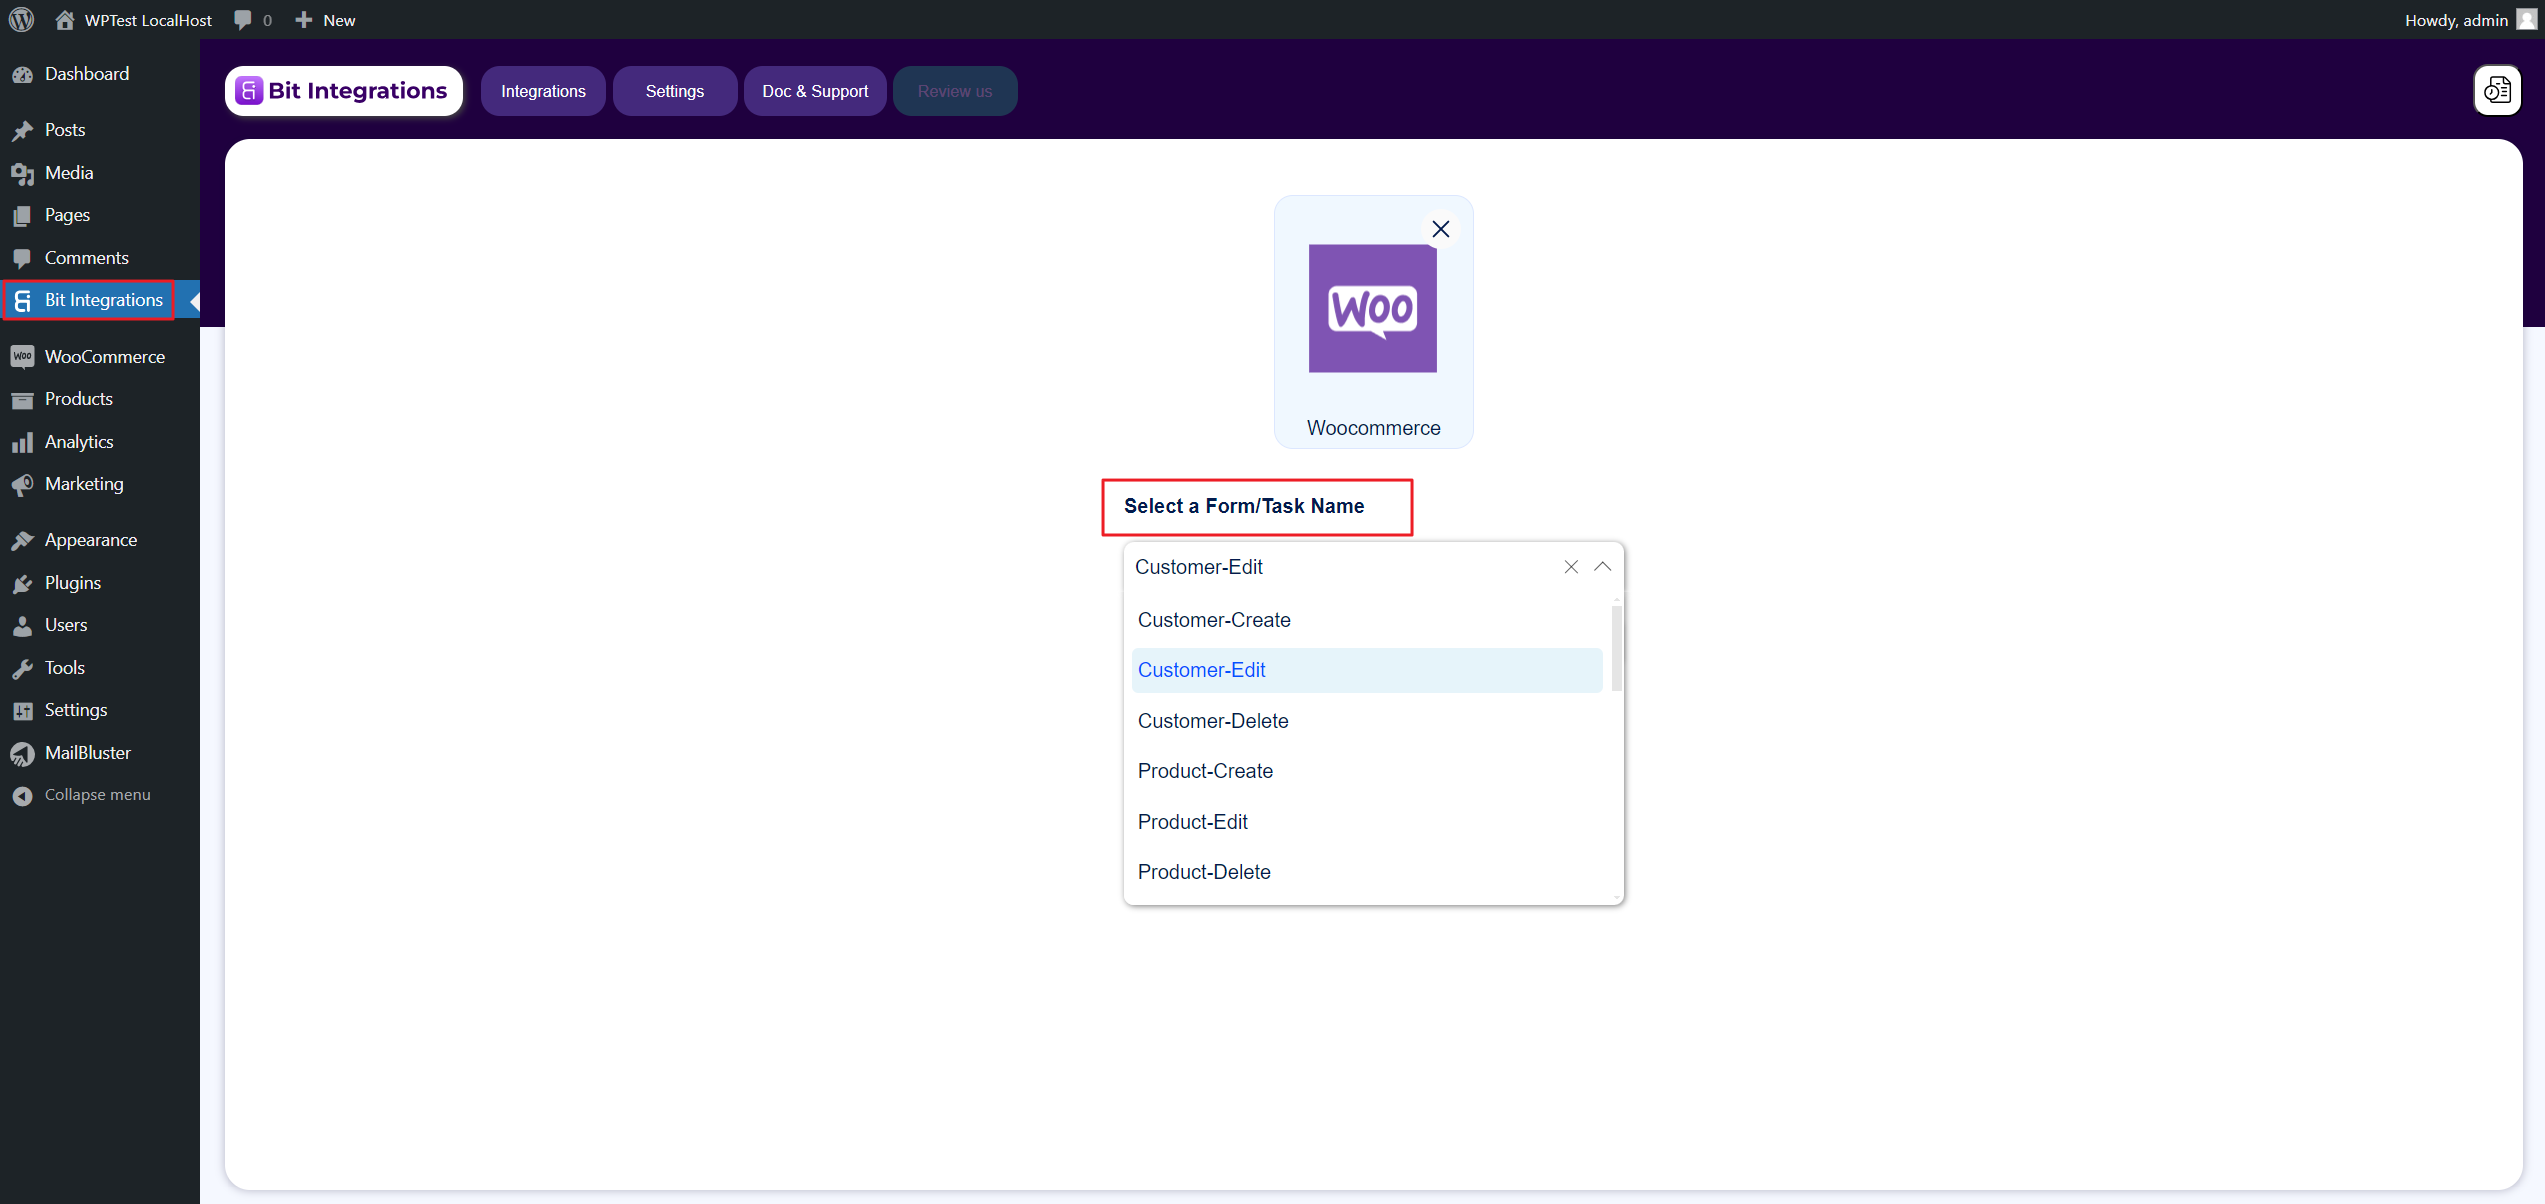
Now you have to Select a Form/Task Name from the dropdown list. Here we selected ‘Customer-Edit‘
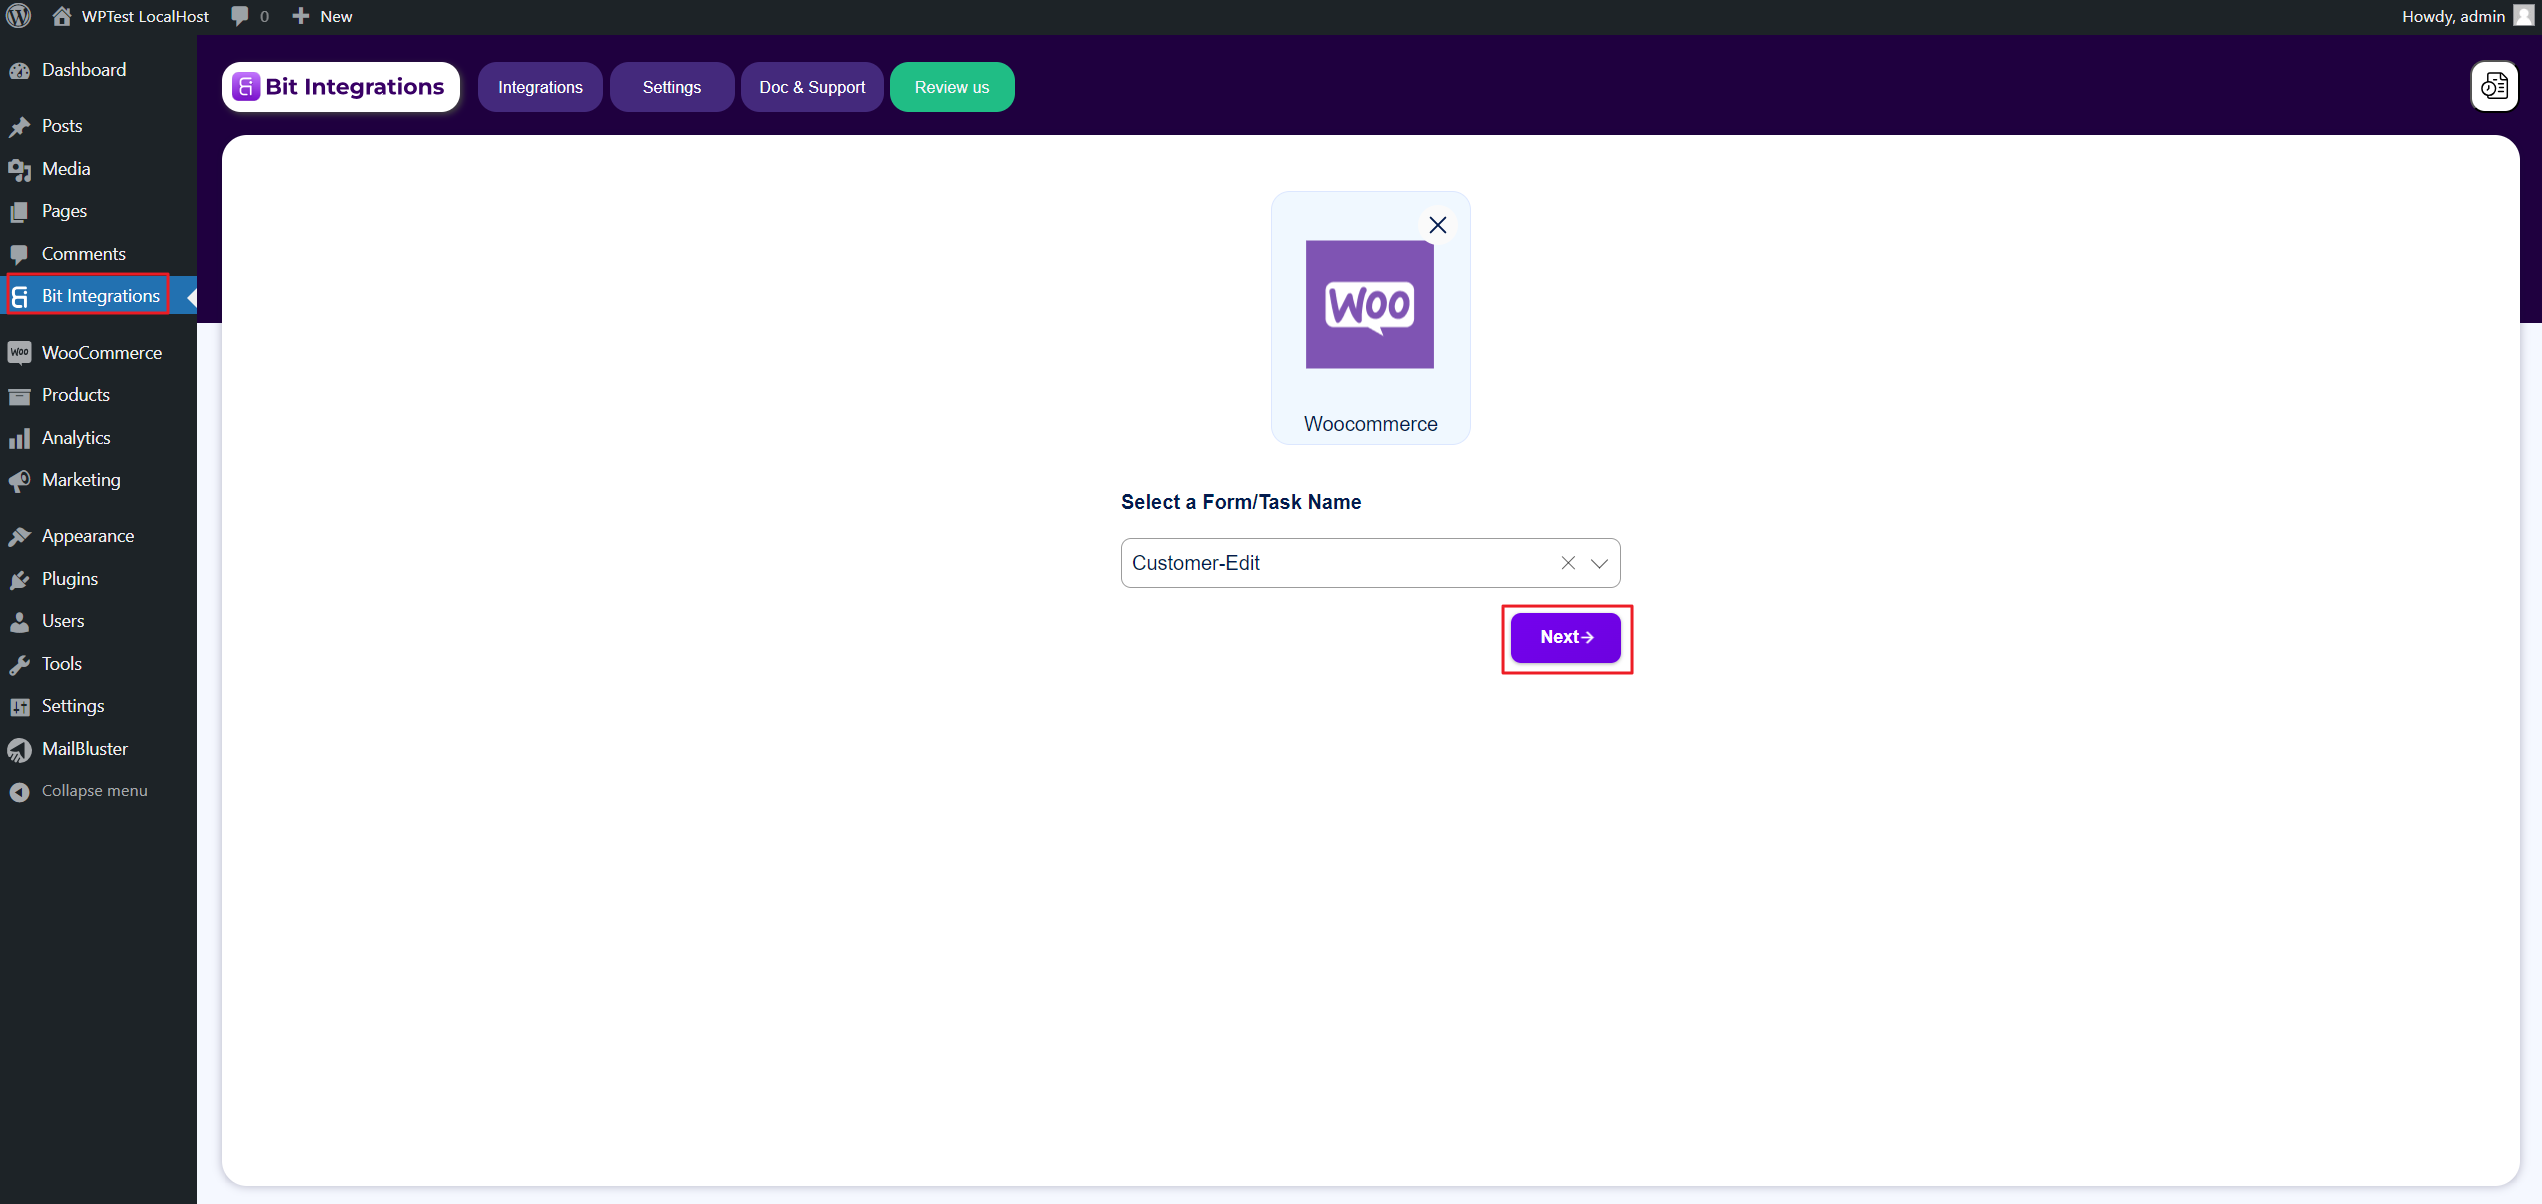
After selecting Task Name, click the Next button.
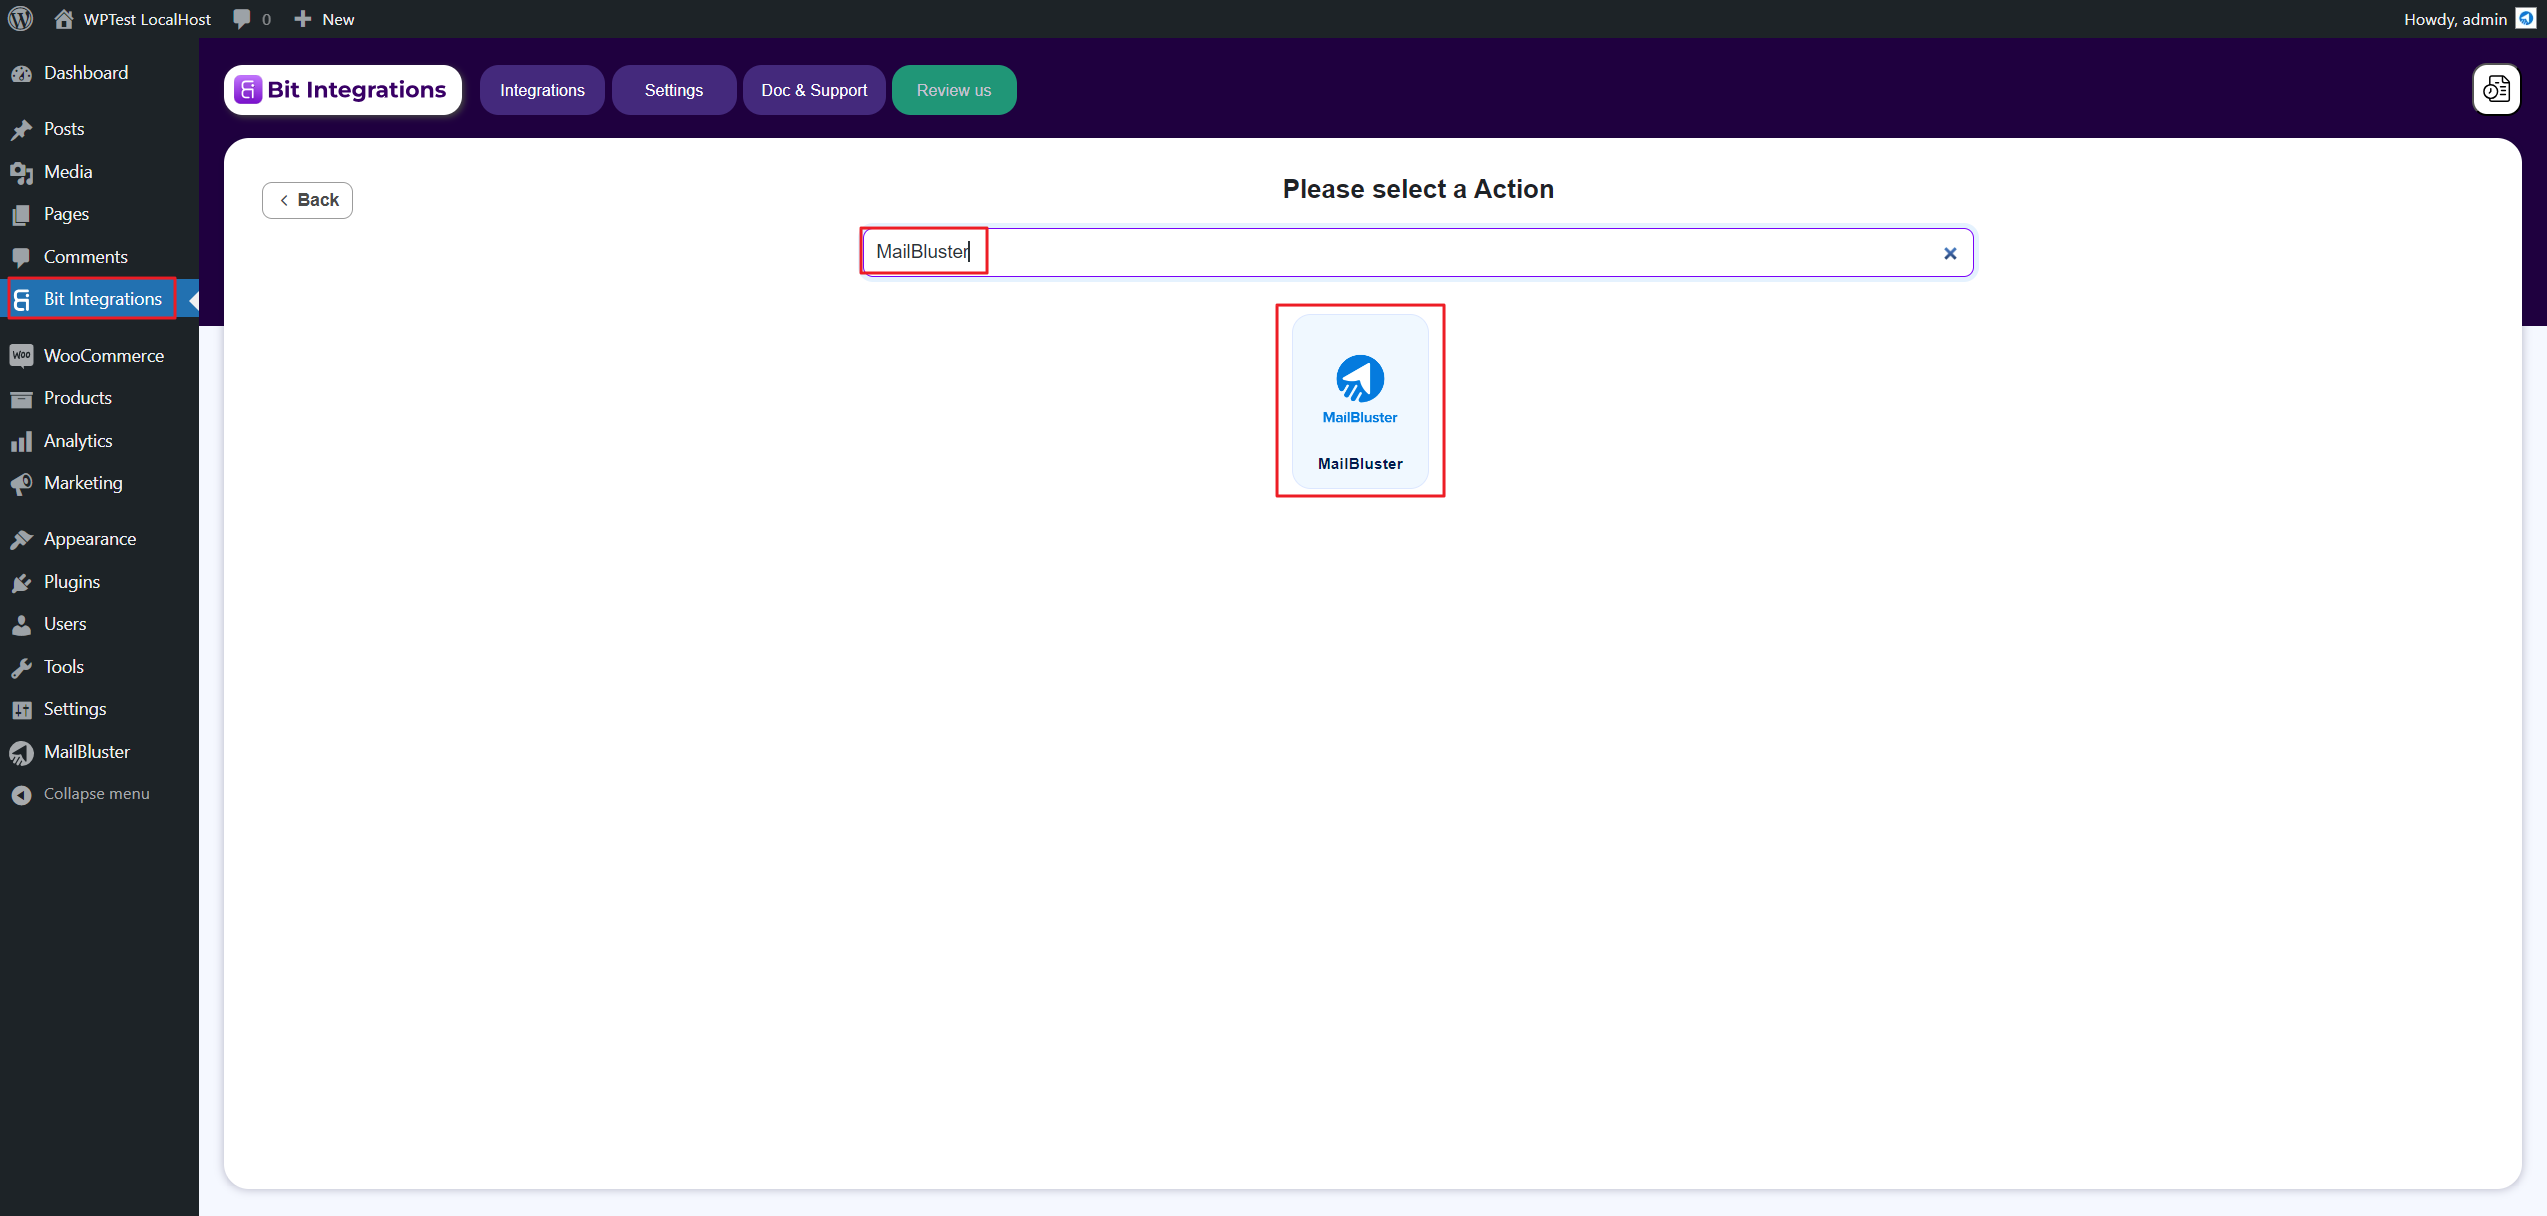
Now you have to go to Bit Integrations again from the WordPress menu on the left side. Click on it and then Please select a Action field appears. Type ‘MailBluster‘ and click on MailBluster.
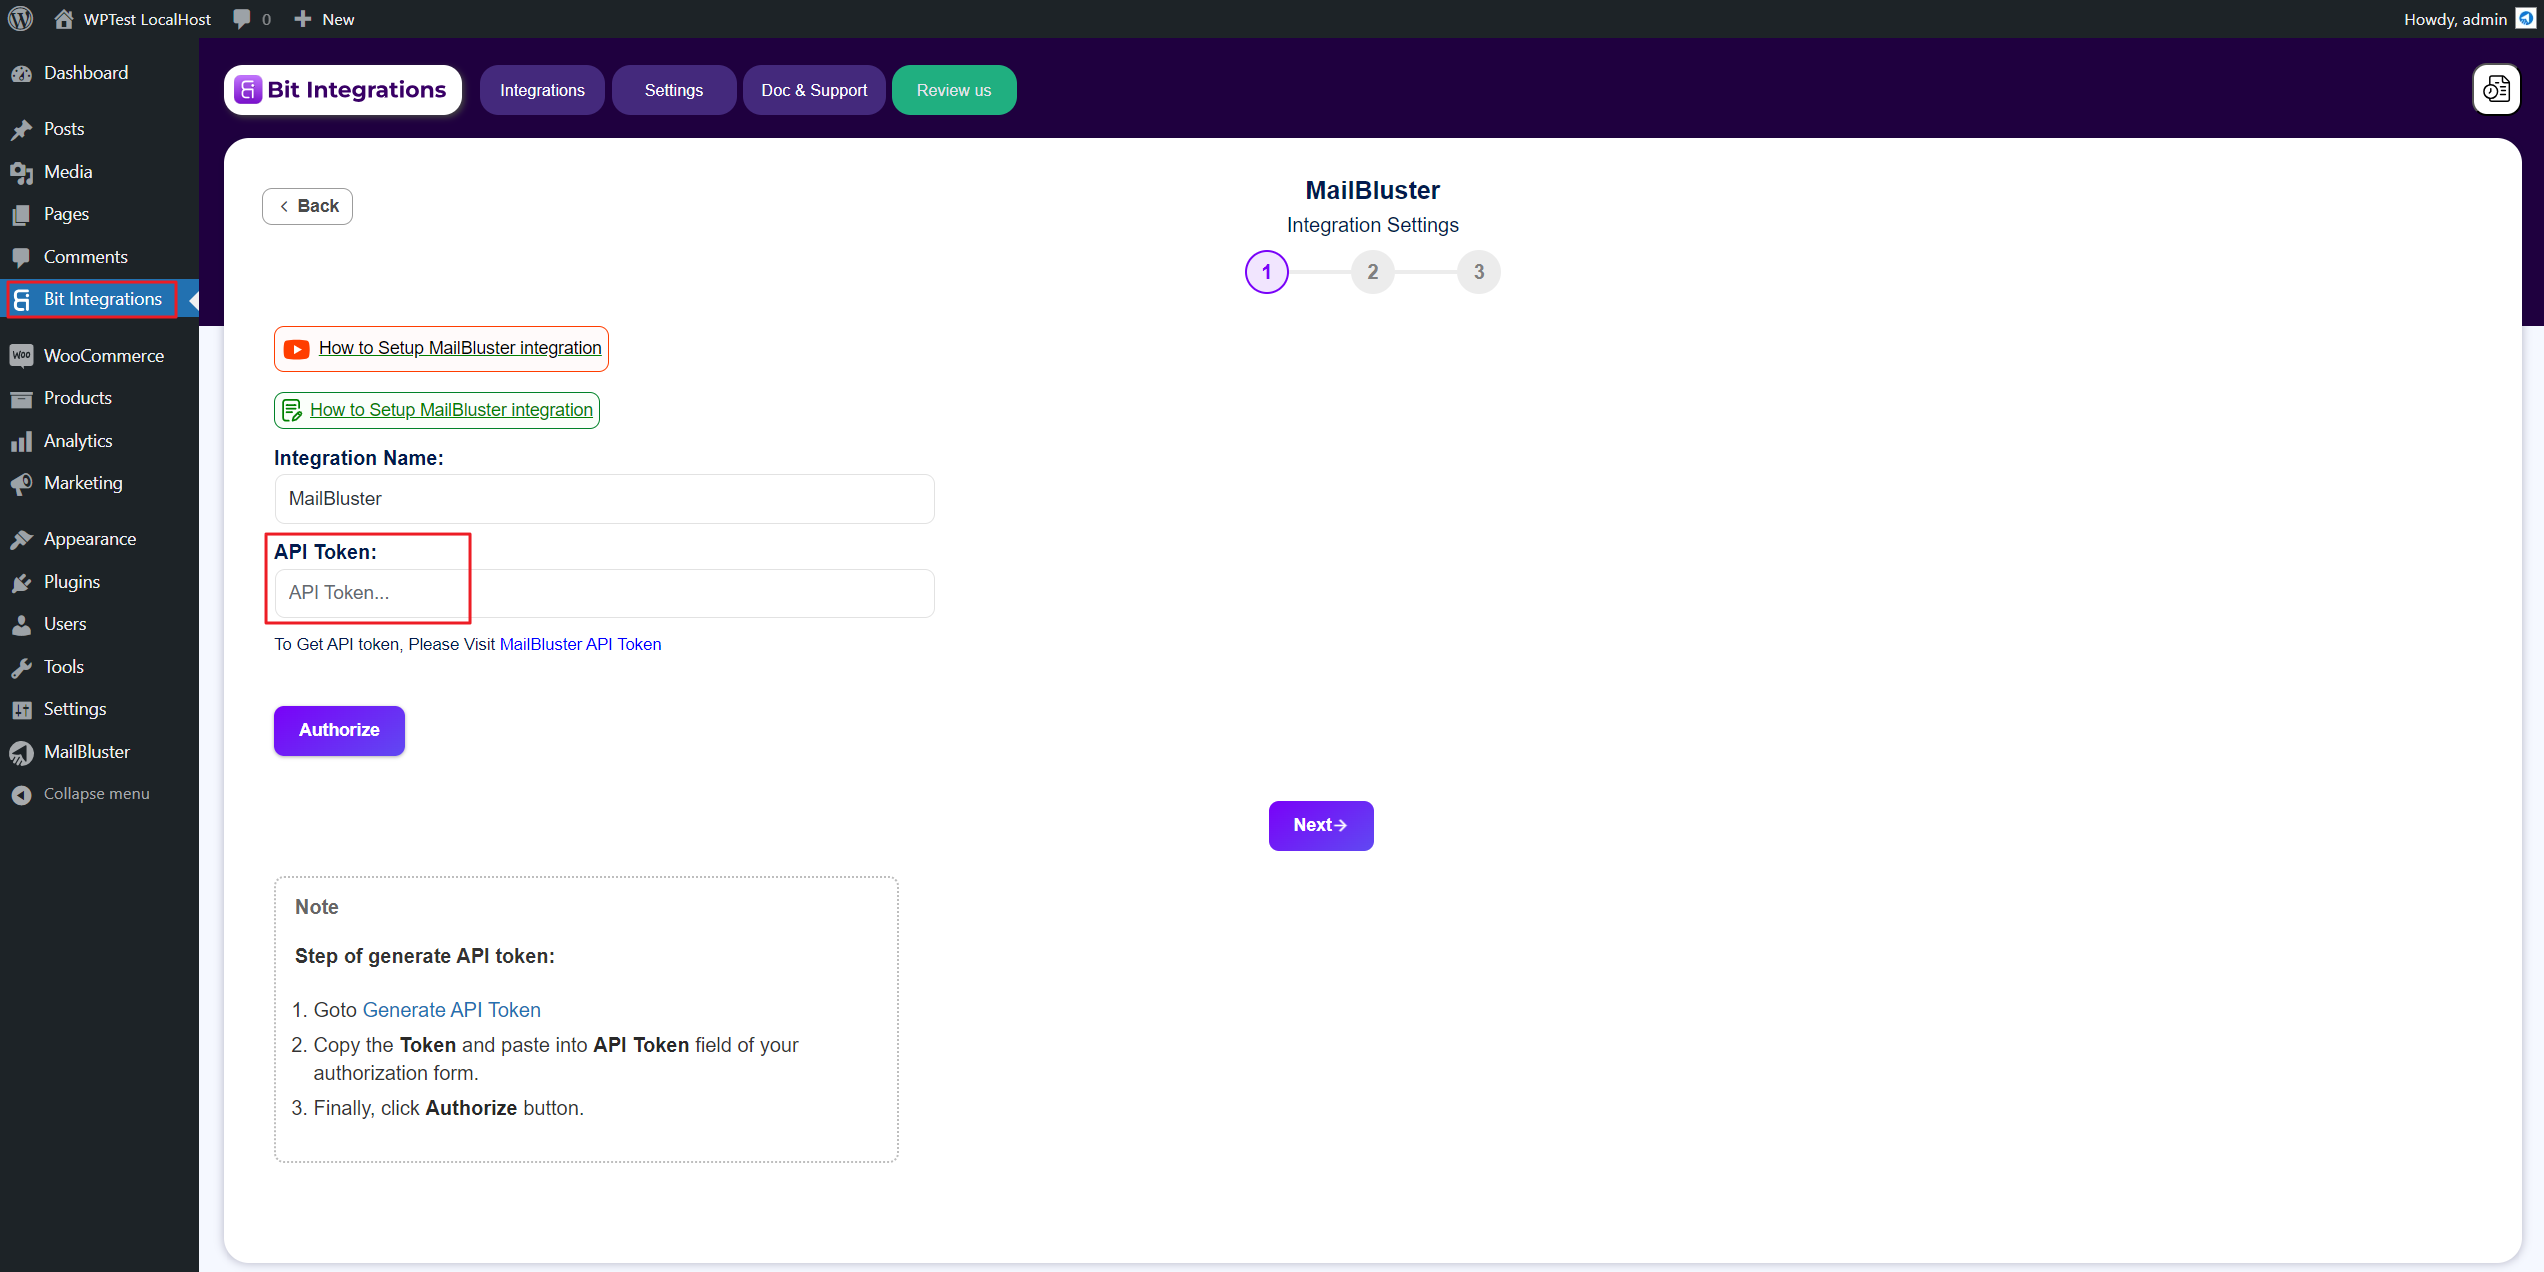
You will be asked to enter the API Token which you will need it from the MailBluster app.
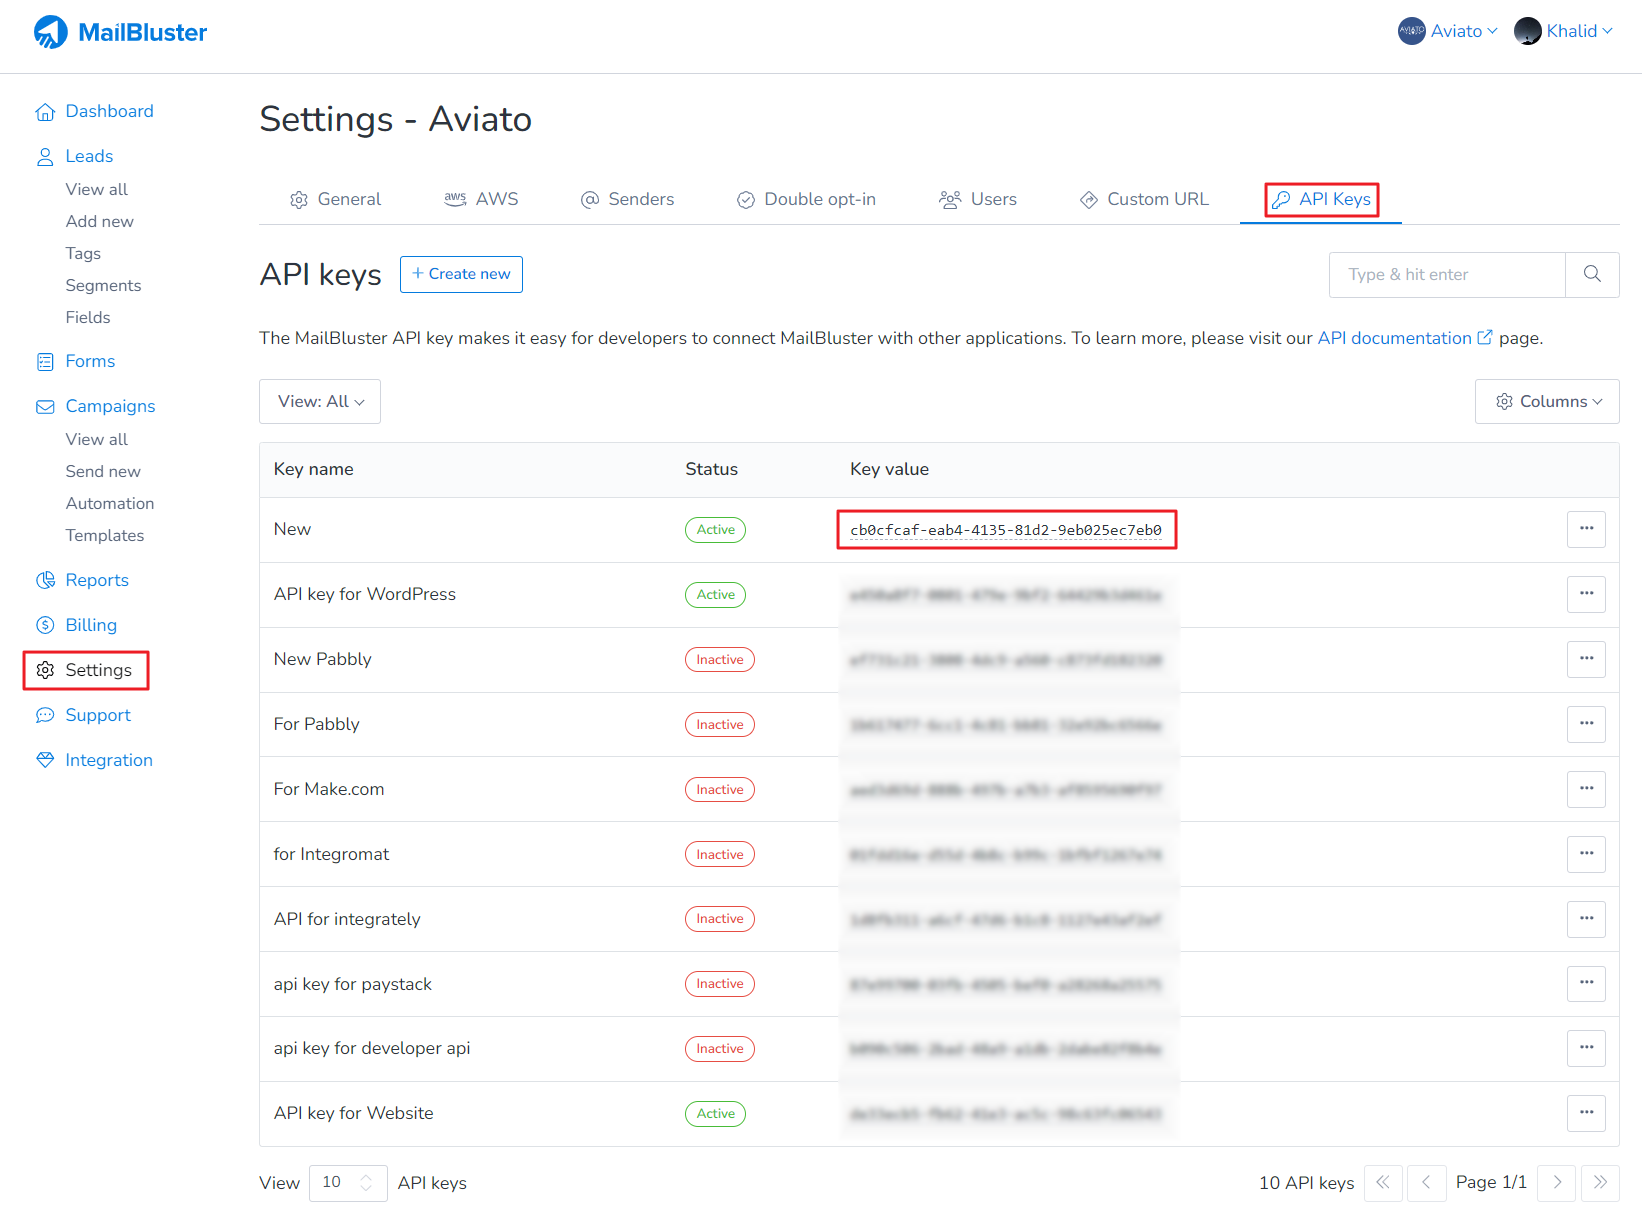
Since we have discussed on how to create API key, here we are just showing how to obtain and copy the API key from MailBluster. Just go to your Brand > Settings > API Keys and copy the Key value of the API.
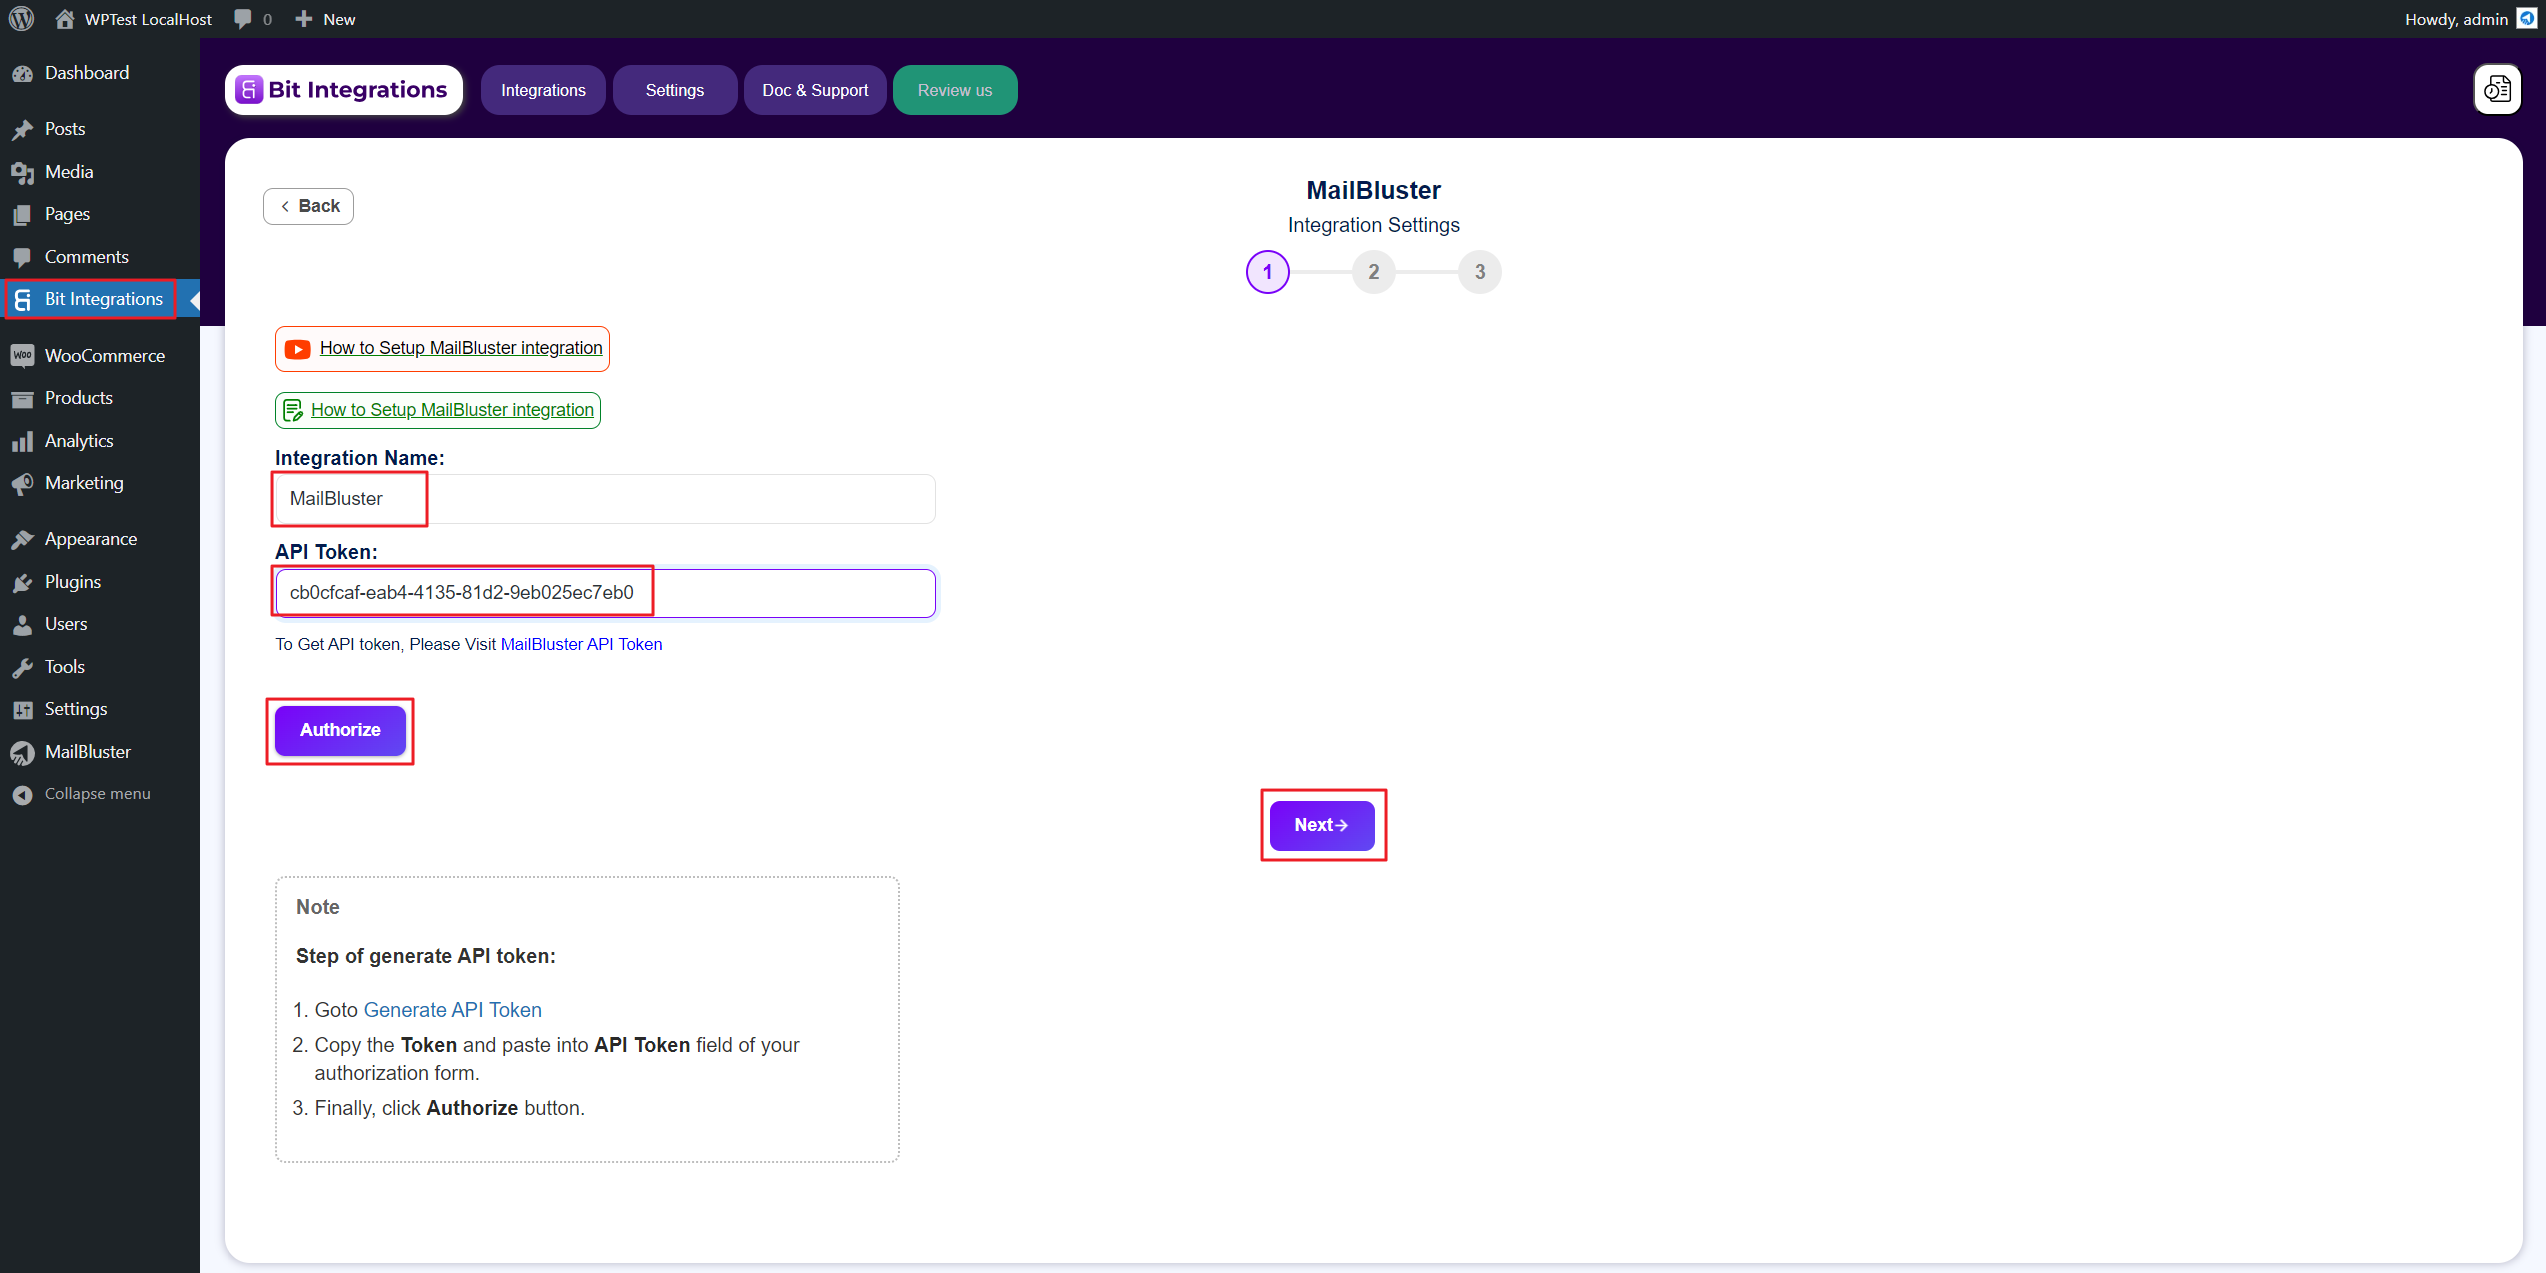
After copying the key value of the API Key, go to you previous WordPress Admin panel session and then Bit Integrations and paste the API Token as shown below. Click the Authorize button and then click Next button.
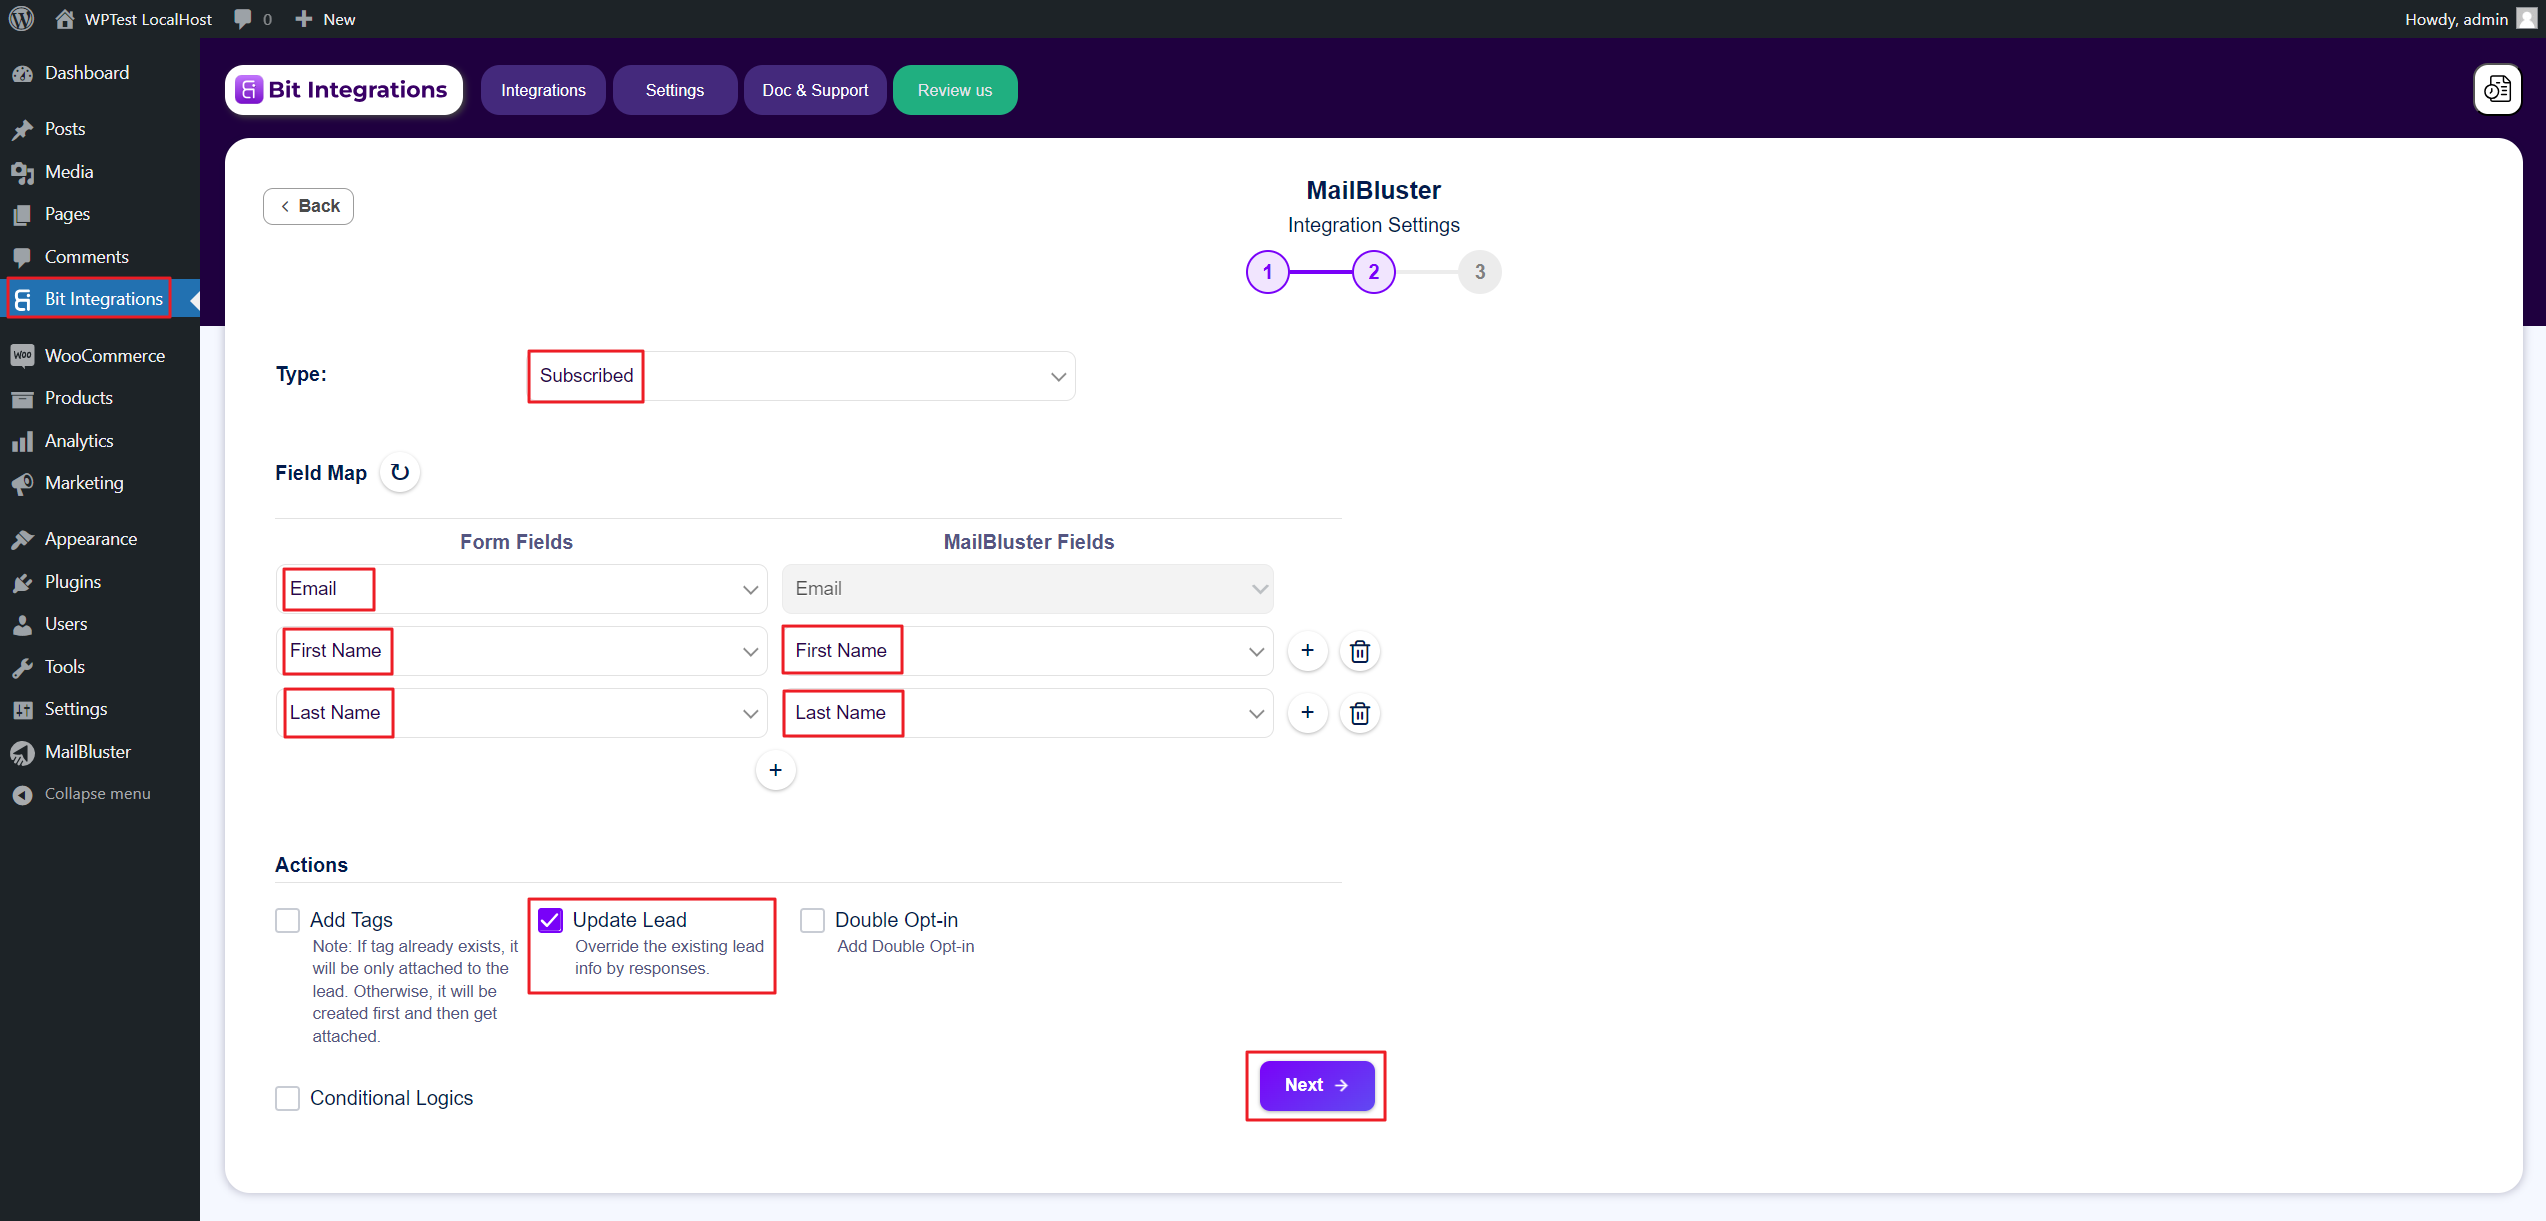
Select Type Subscribed and then highlight the Form Fields with MailBluster Fields from Field Map as shown below. Then click the Next button.
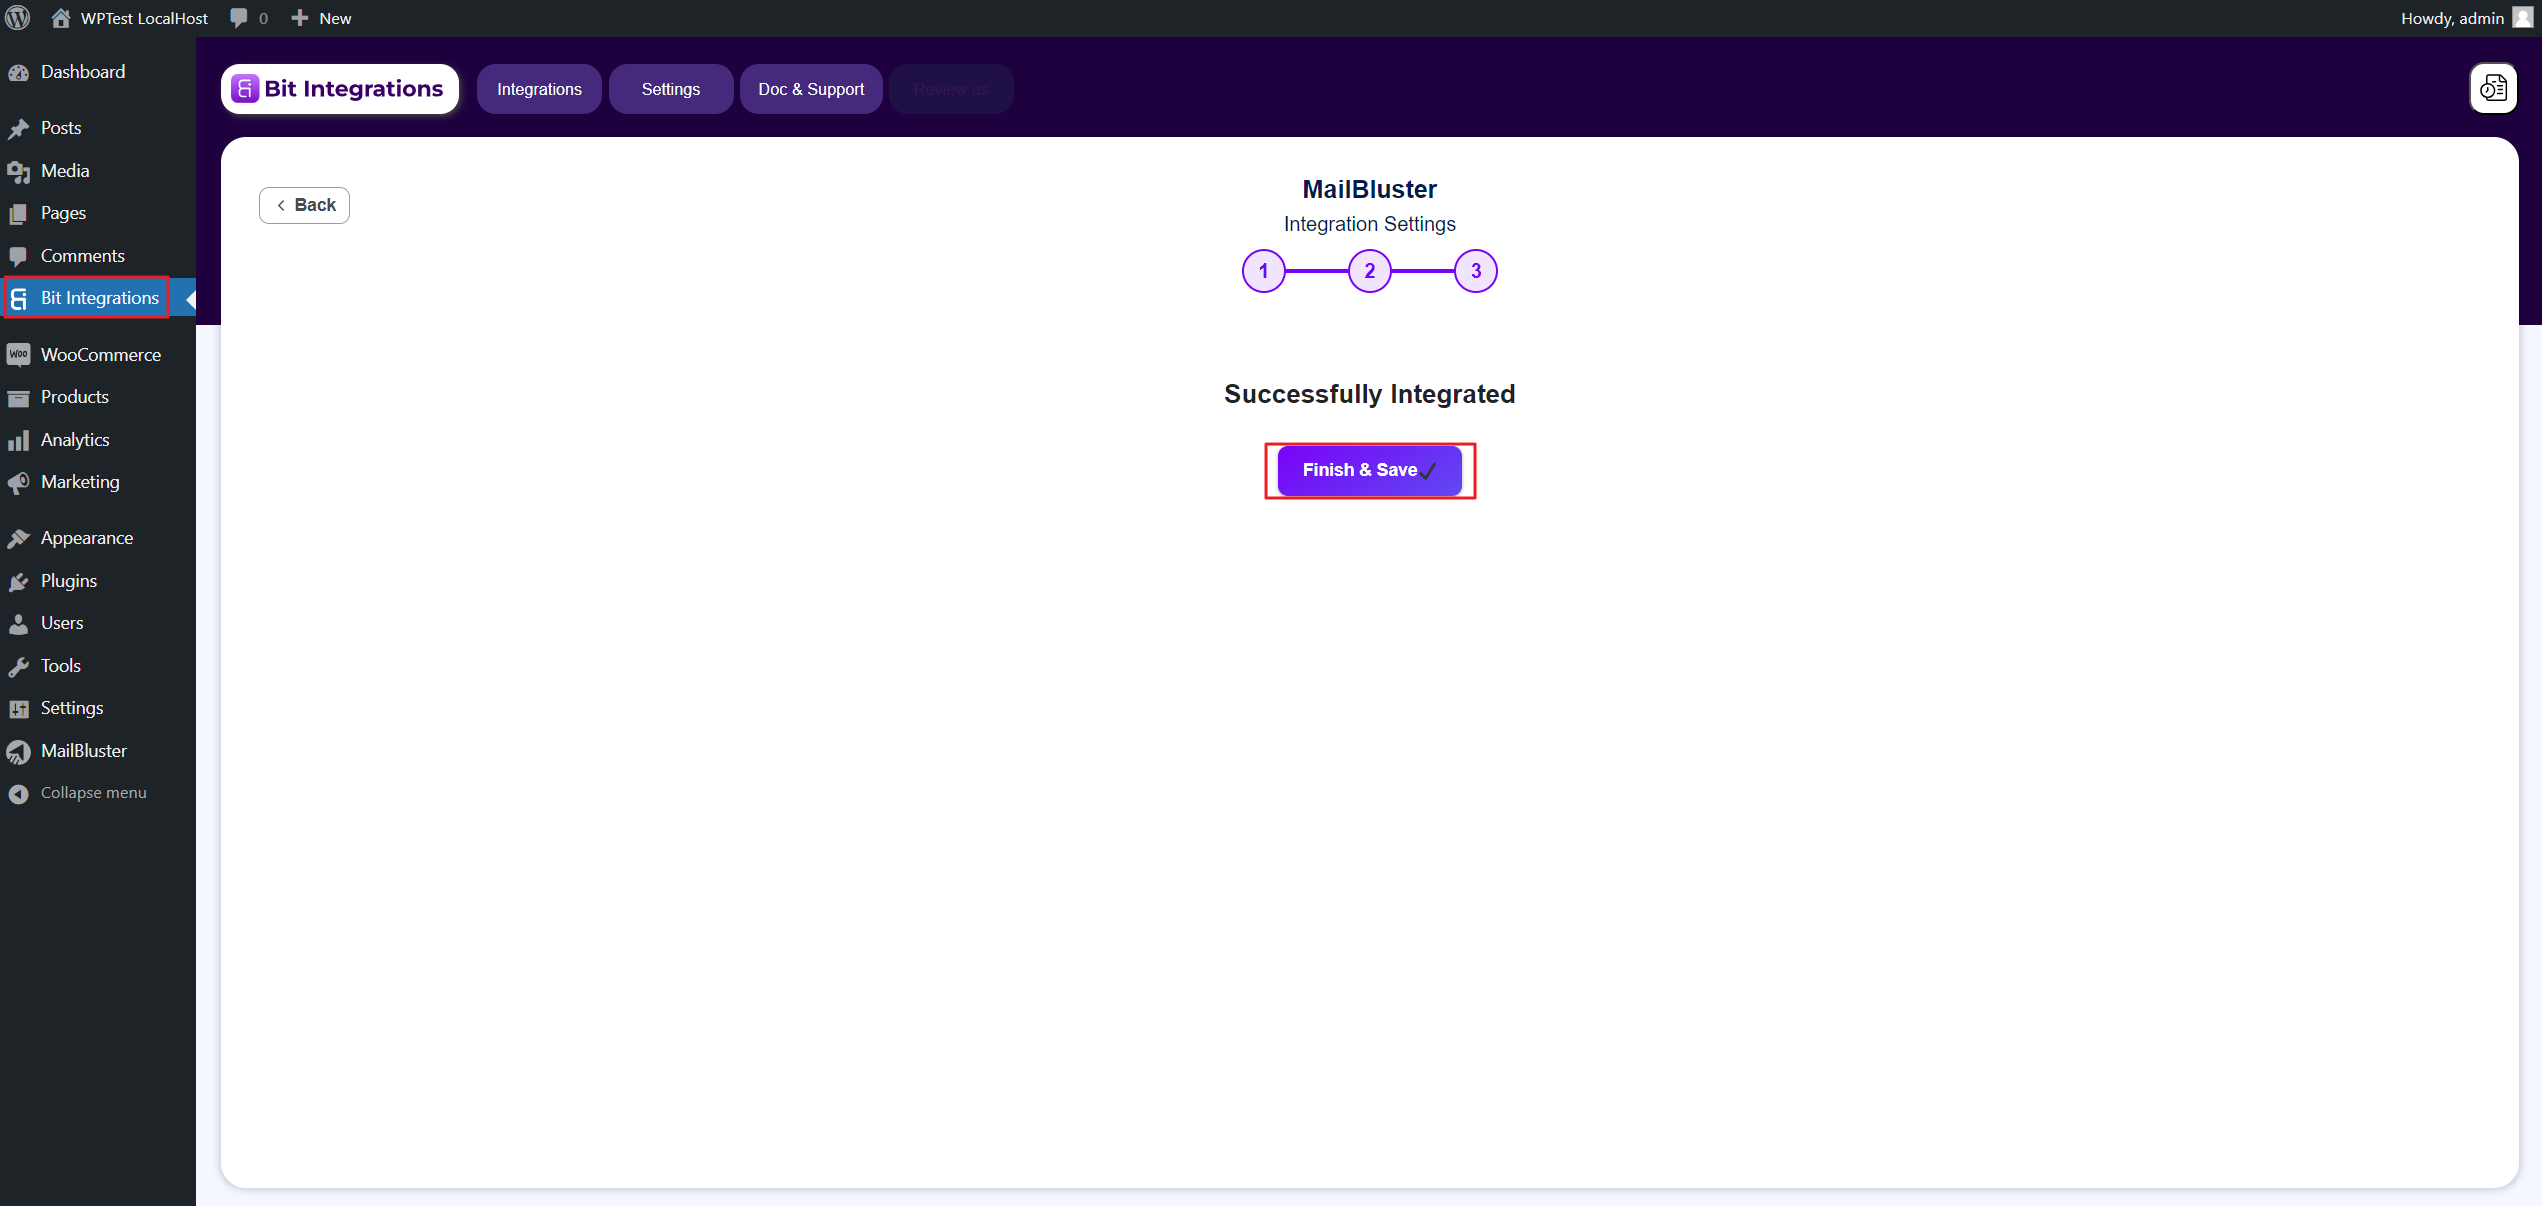
Bit Integrations will give a confirmation that the Integration has been successful. Click on Finish & Save.
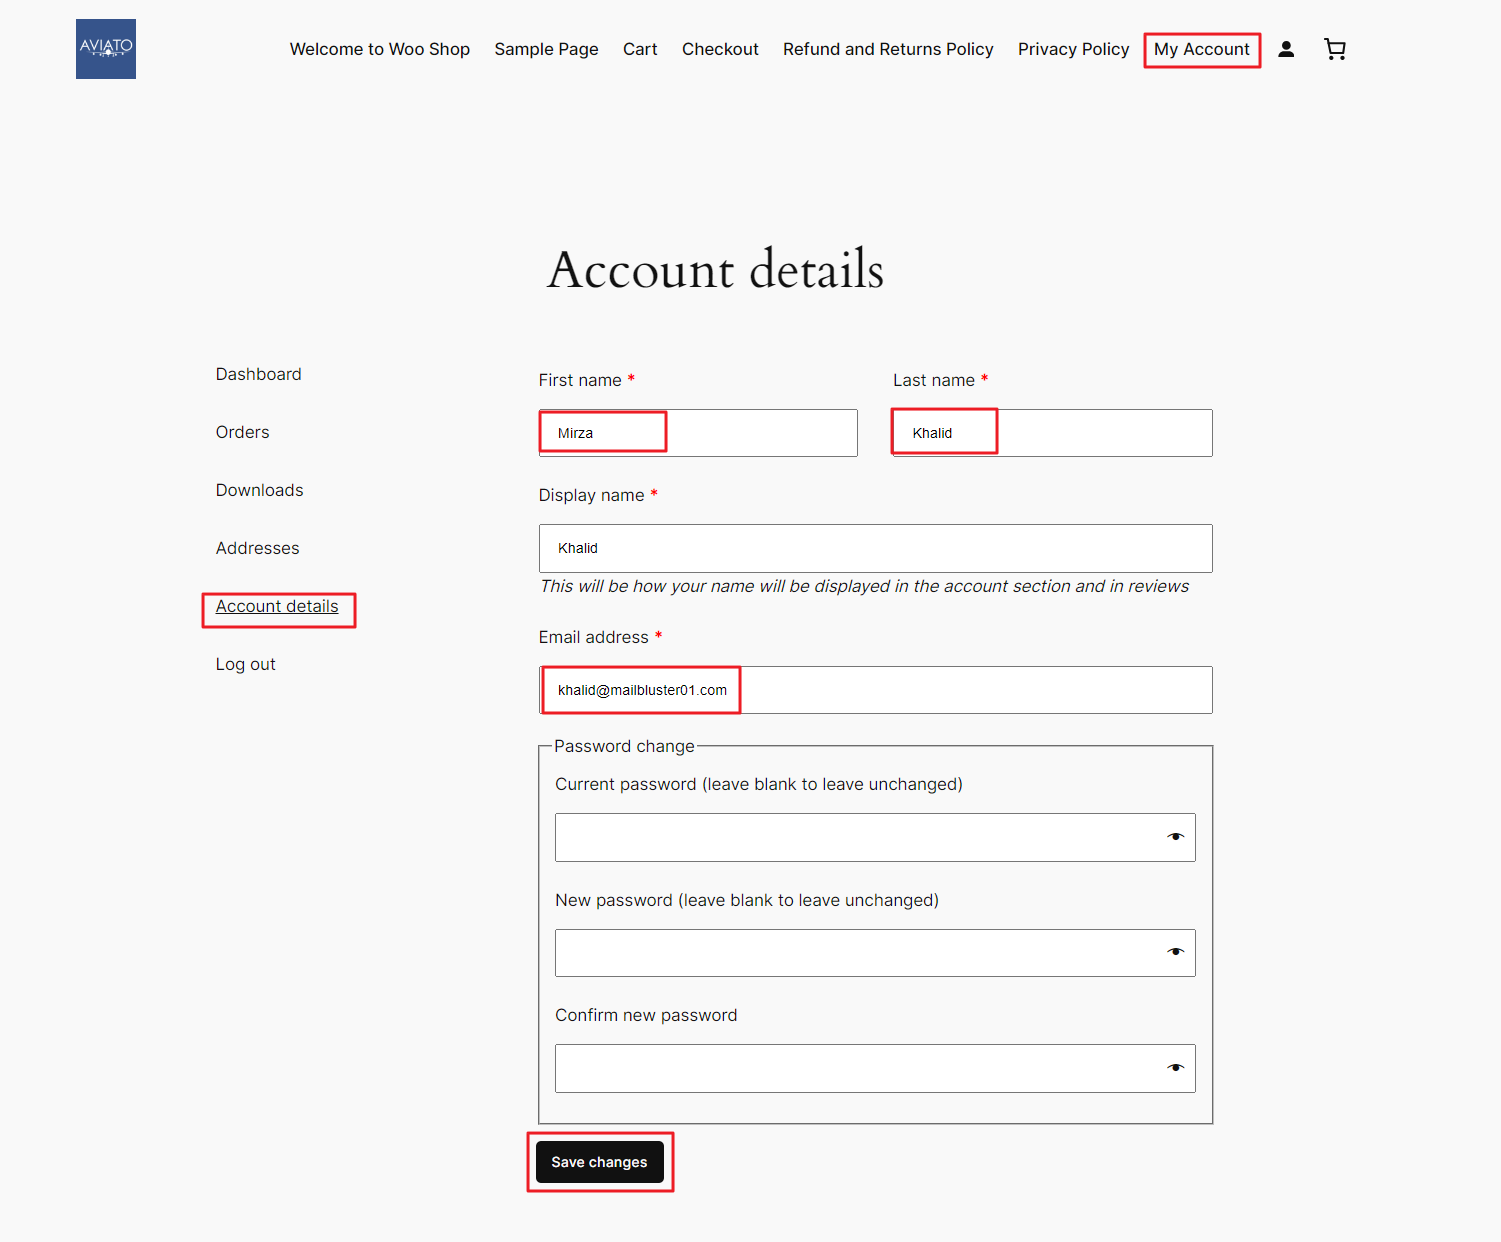
Now go to your WooCommerce site and click on My Account > Account details. Enter the details as shown below and click Save changes. It will give a confirmation like ‘Subscribed successfully’.
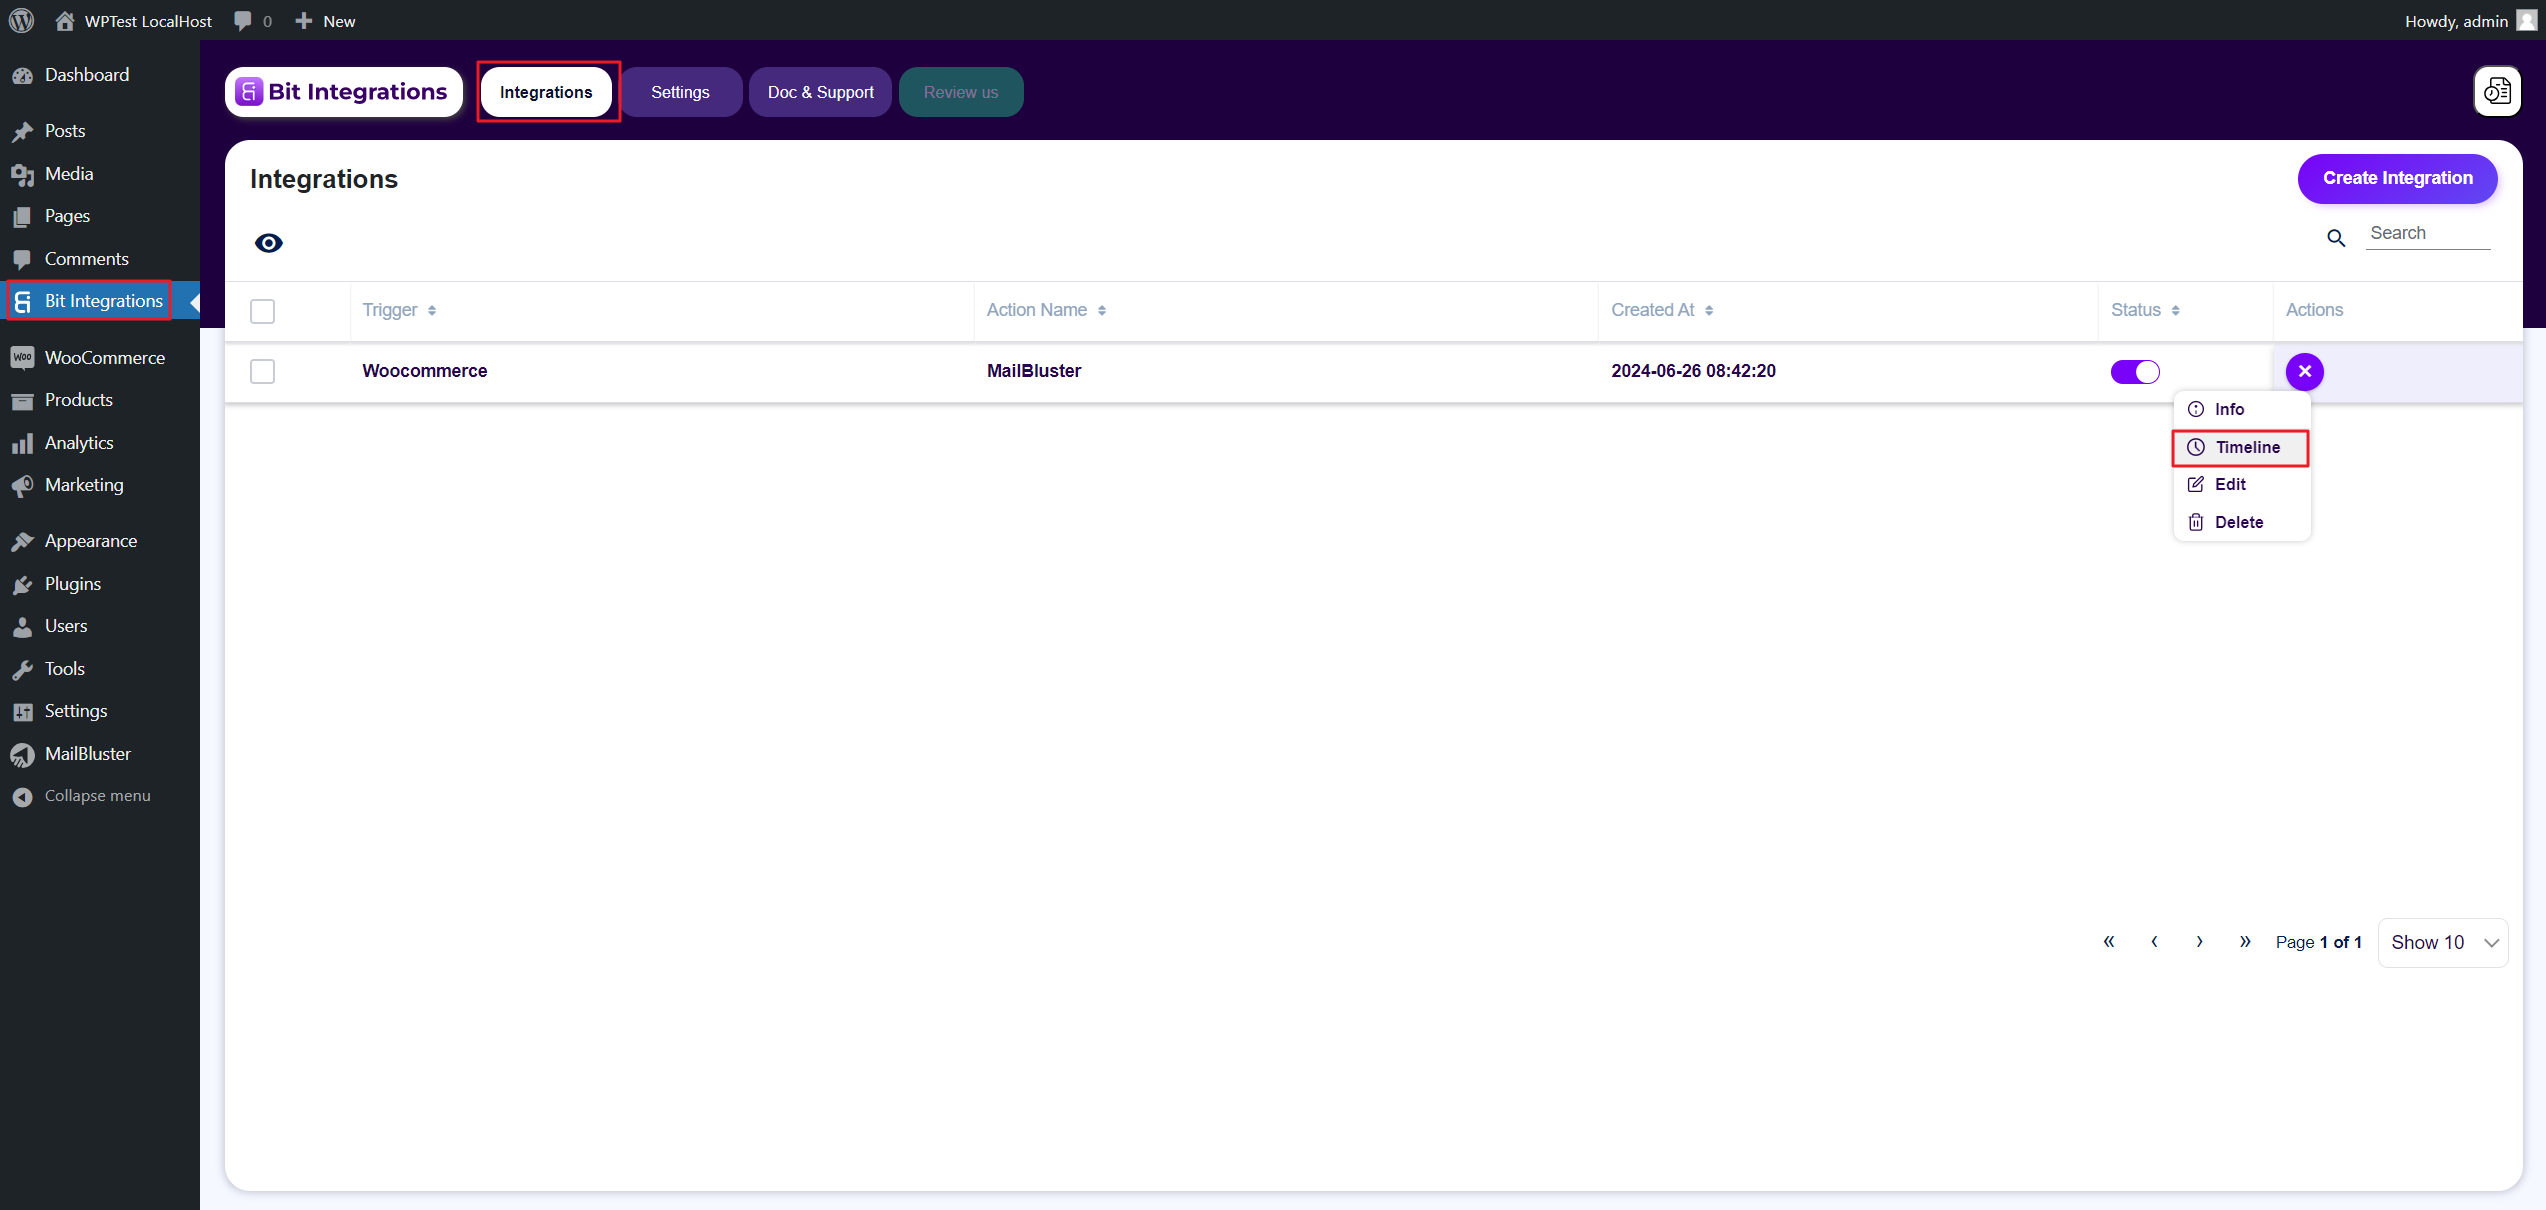
Now go to WordPress Admin Panel of your website and then click Bit Integrations. Click on the 3 dot ellipsis and then click Timeline.
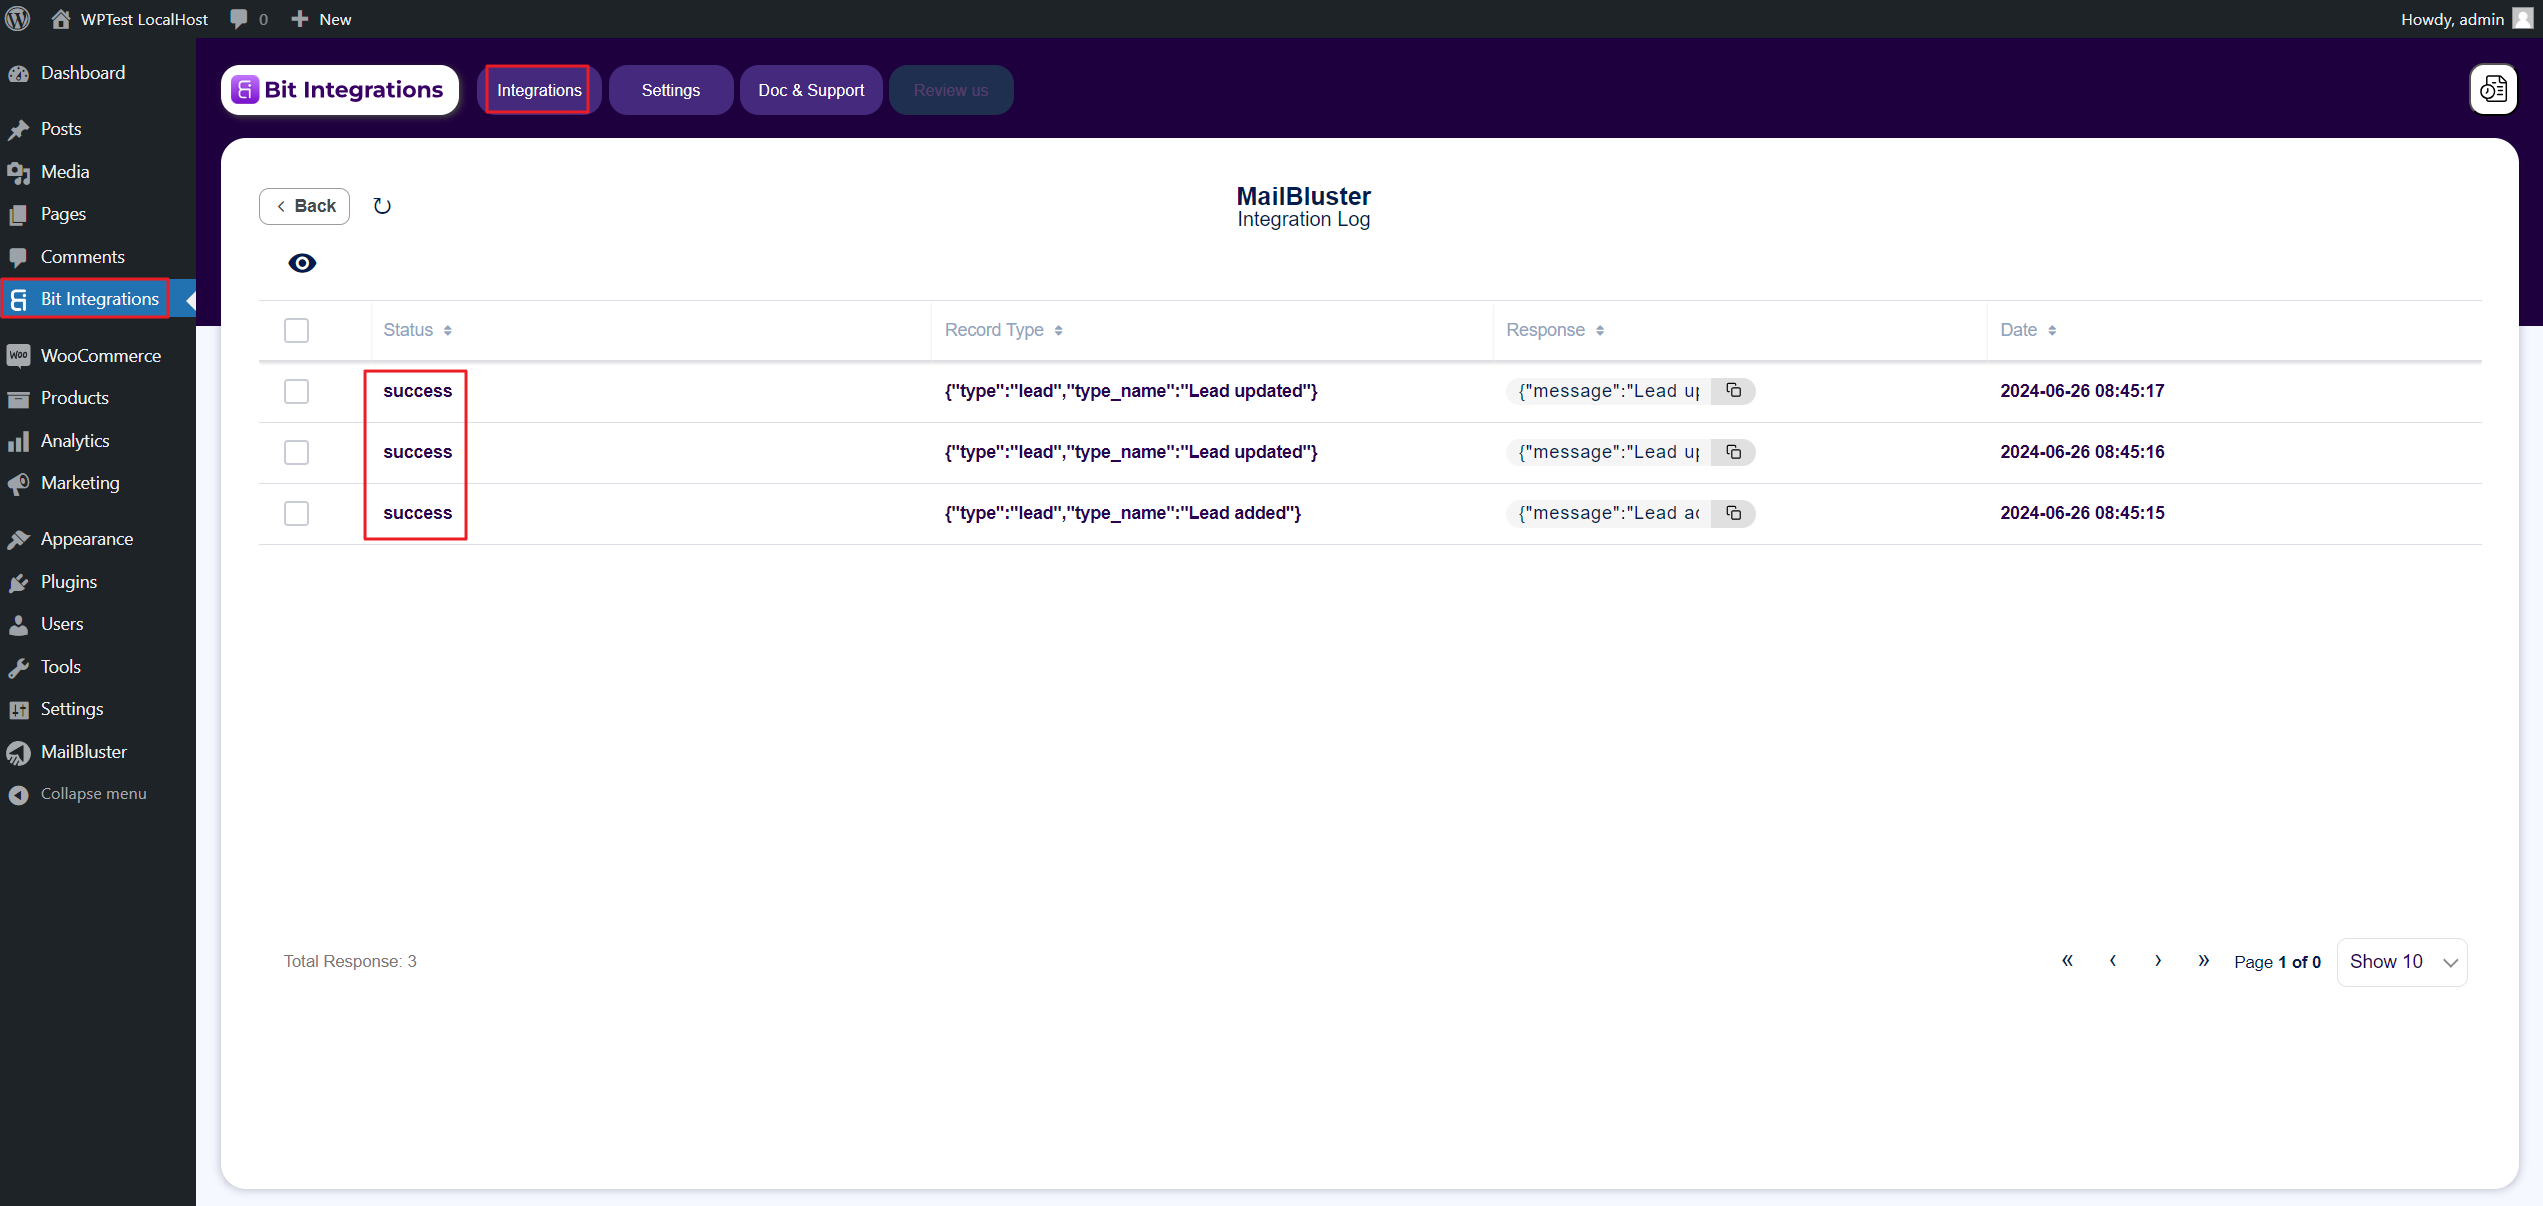
You will see the Integration log showing Status as ‘success‘ for the newly entered lead information earlier.
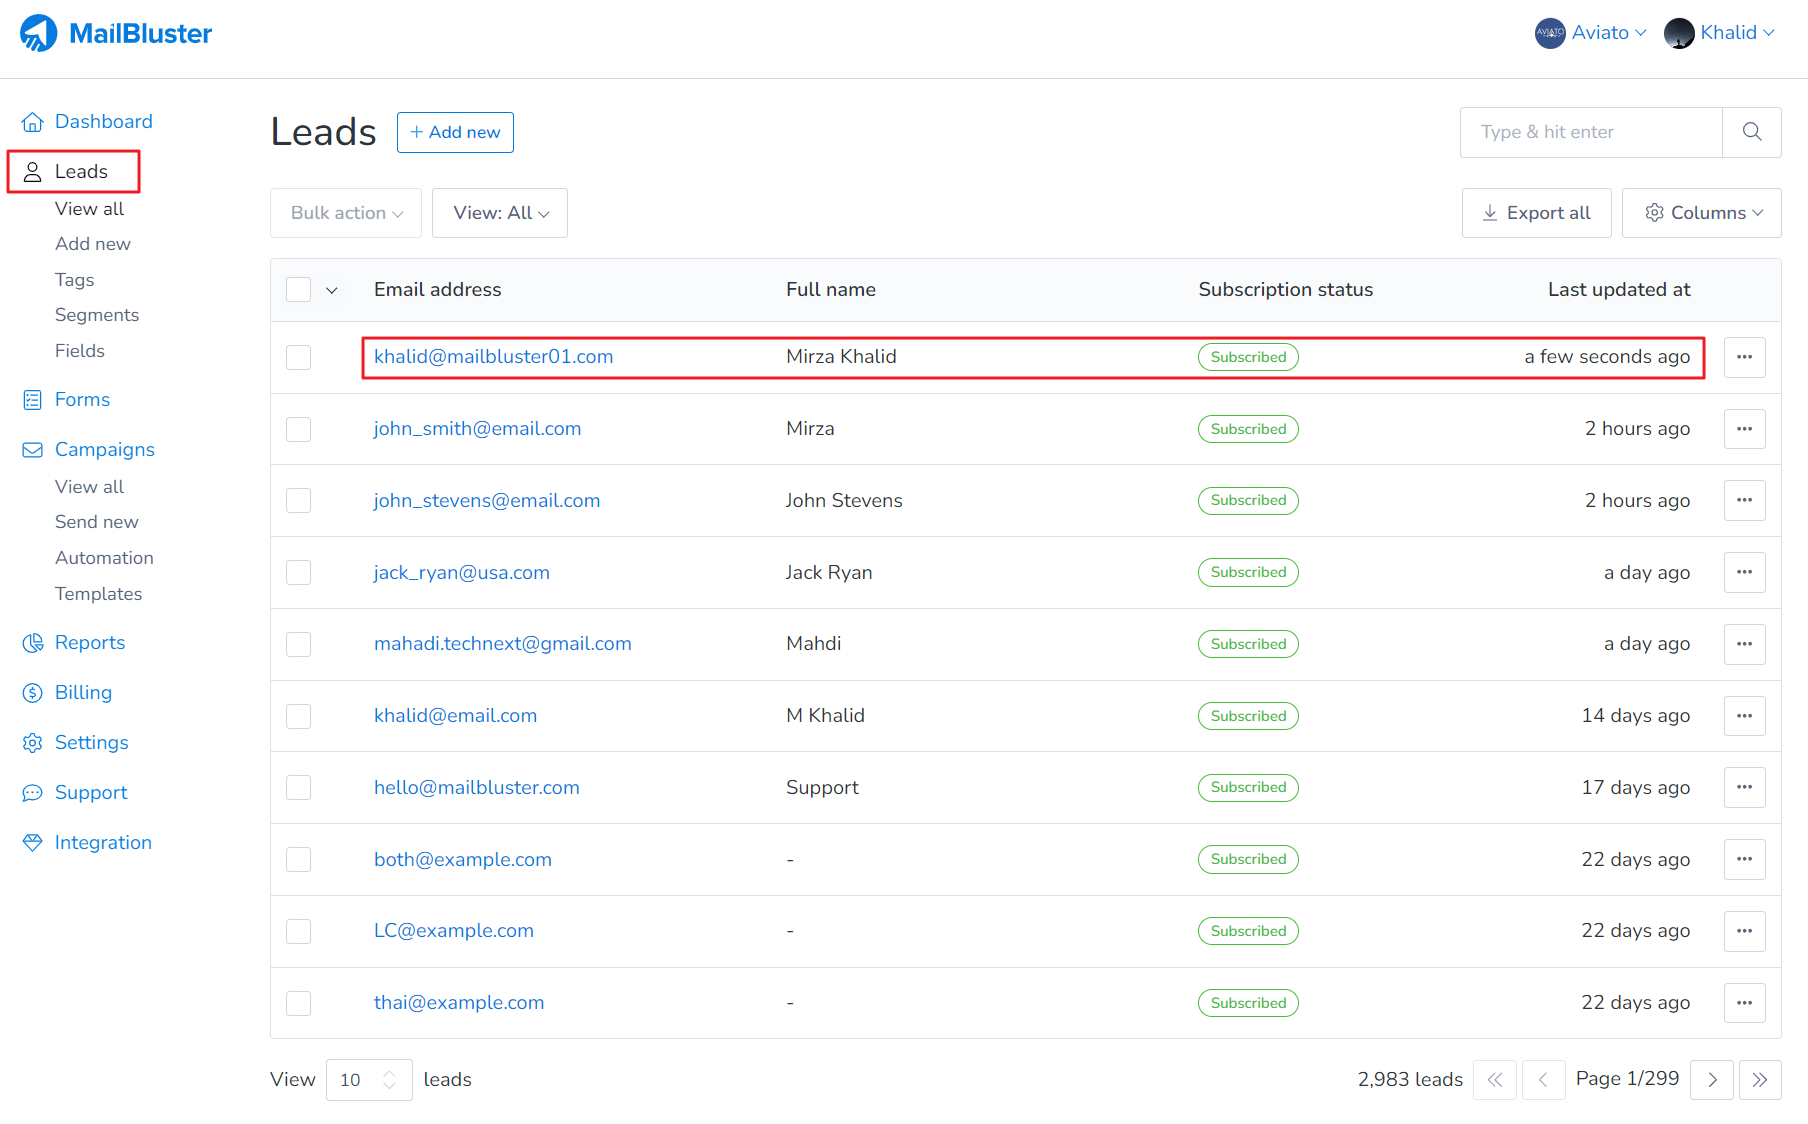
Now, if you go to MailBluster, then your Brand>Leads, you will notice that the lead information has been added to the Leads section from your WooCommerce Store site successfully.
