A Template is a pre-designed, ready-to-use layout for your email messages. Instead of starting each email from scratch, you can use a template as a model. It helps you maintain a consistent look, ensures a standard design with mobile-friendly layouts, and saves time when creating similar types of emails, such as newsletters, marketing campaigns, and notification emails.
Key features of an email template include structure and layout, branding, reusable content, responsive design, and personalization.
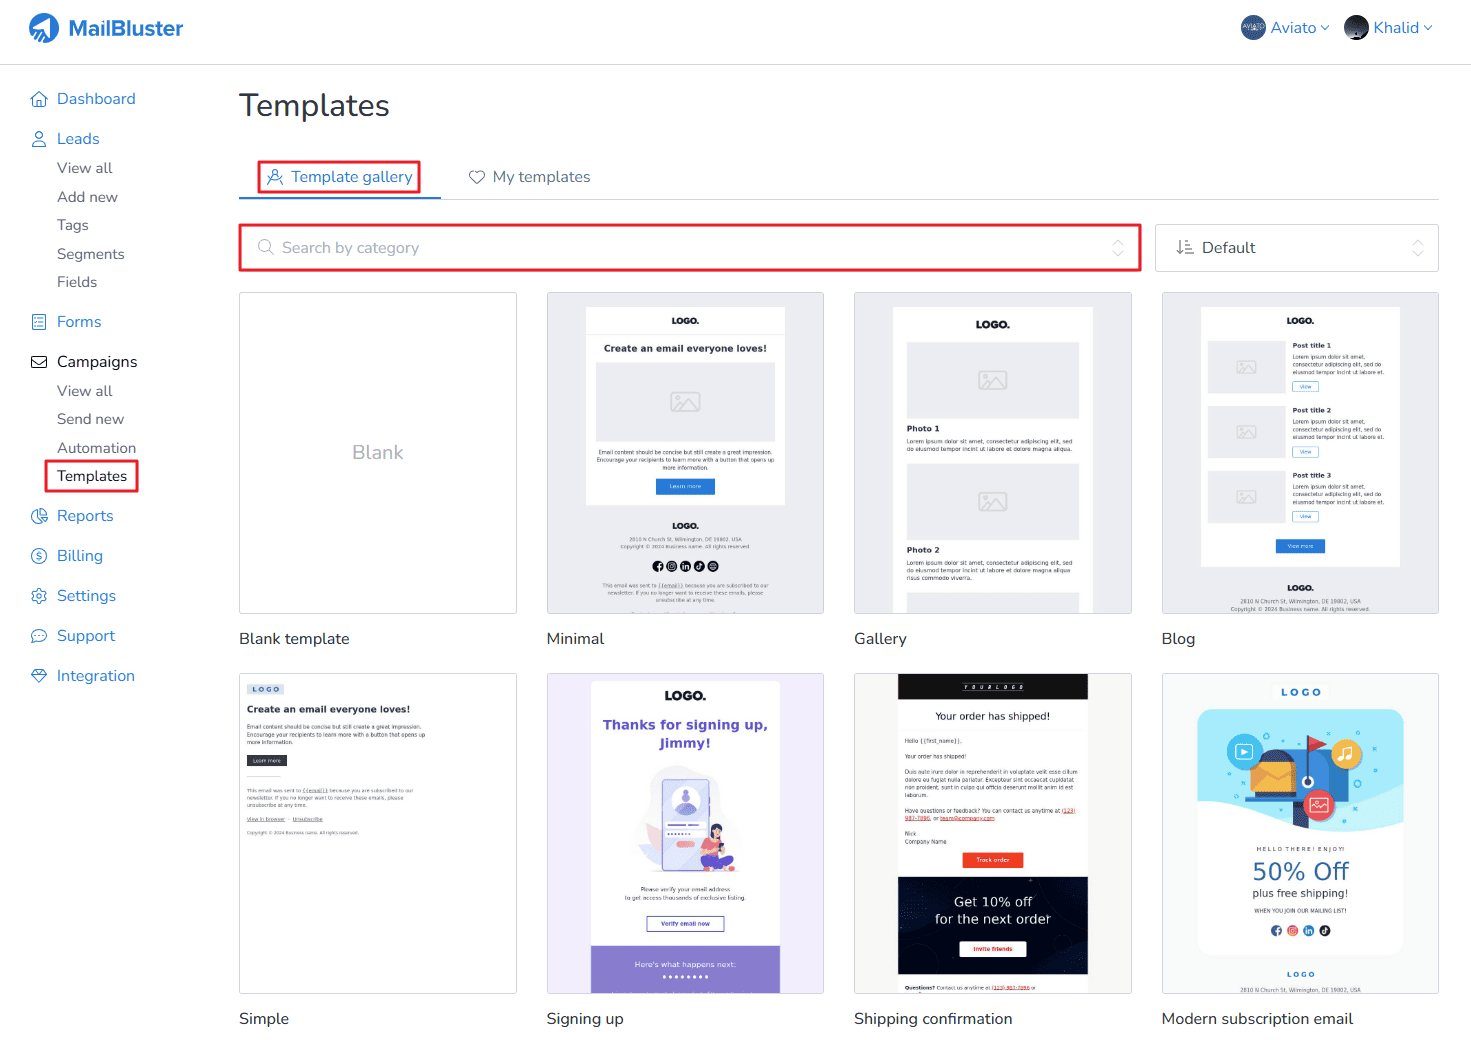
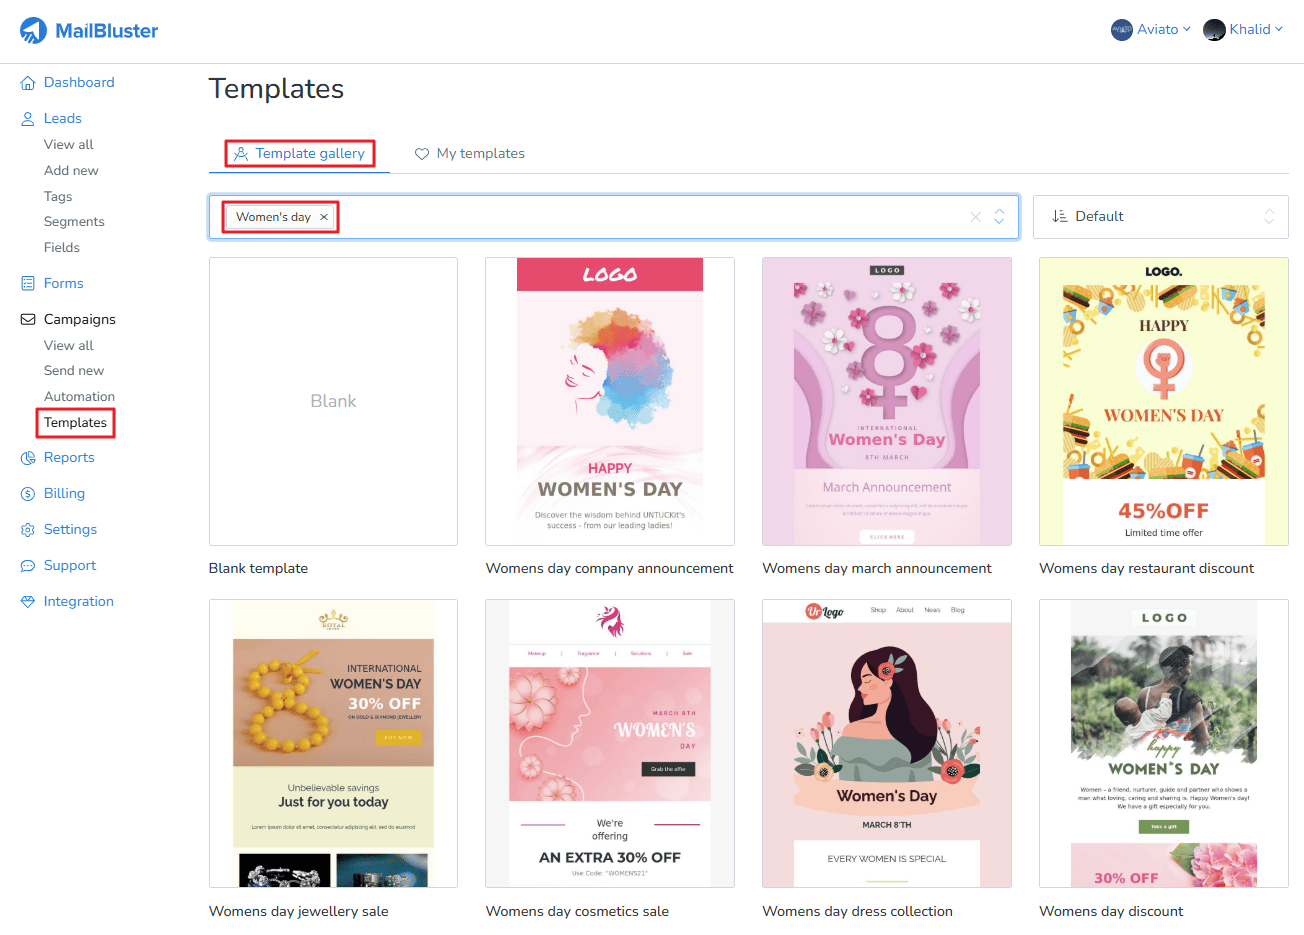
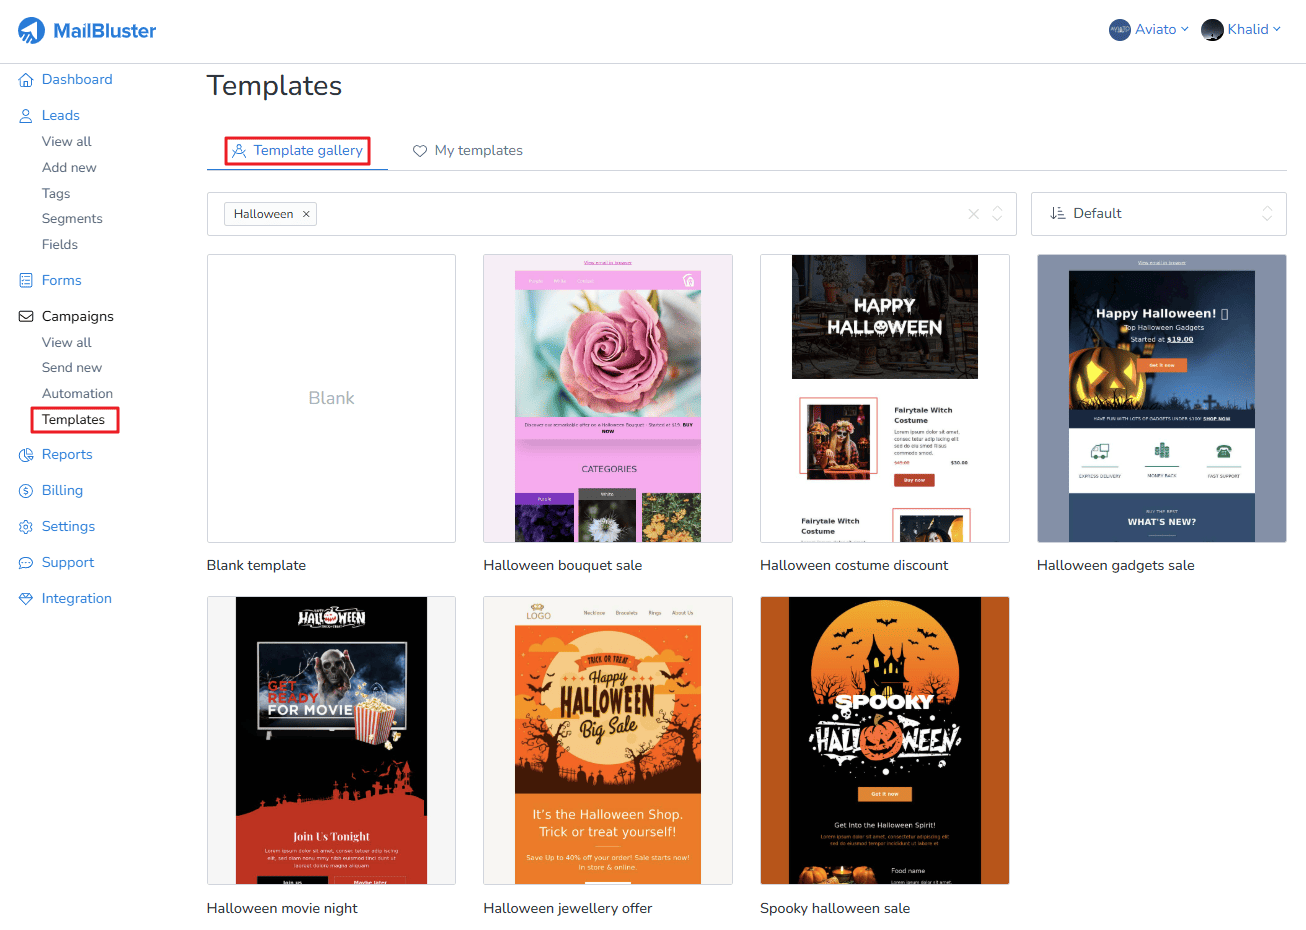
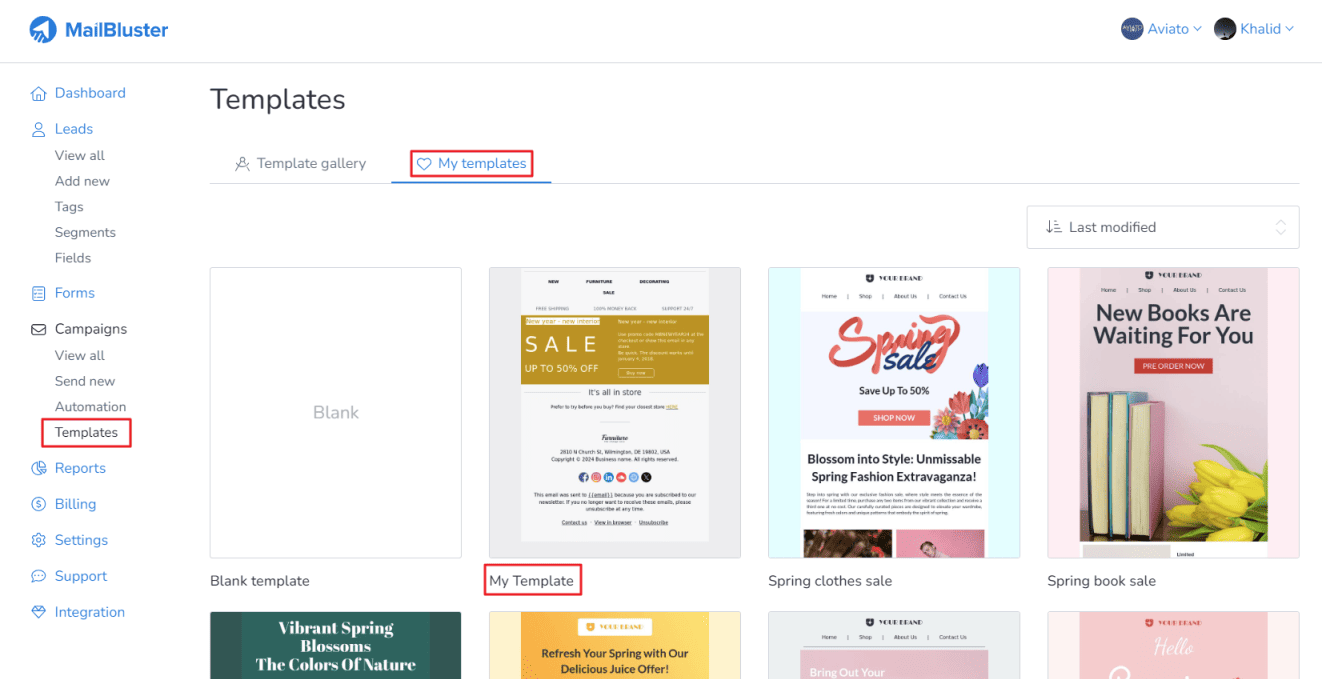
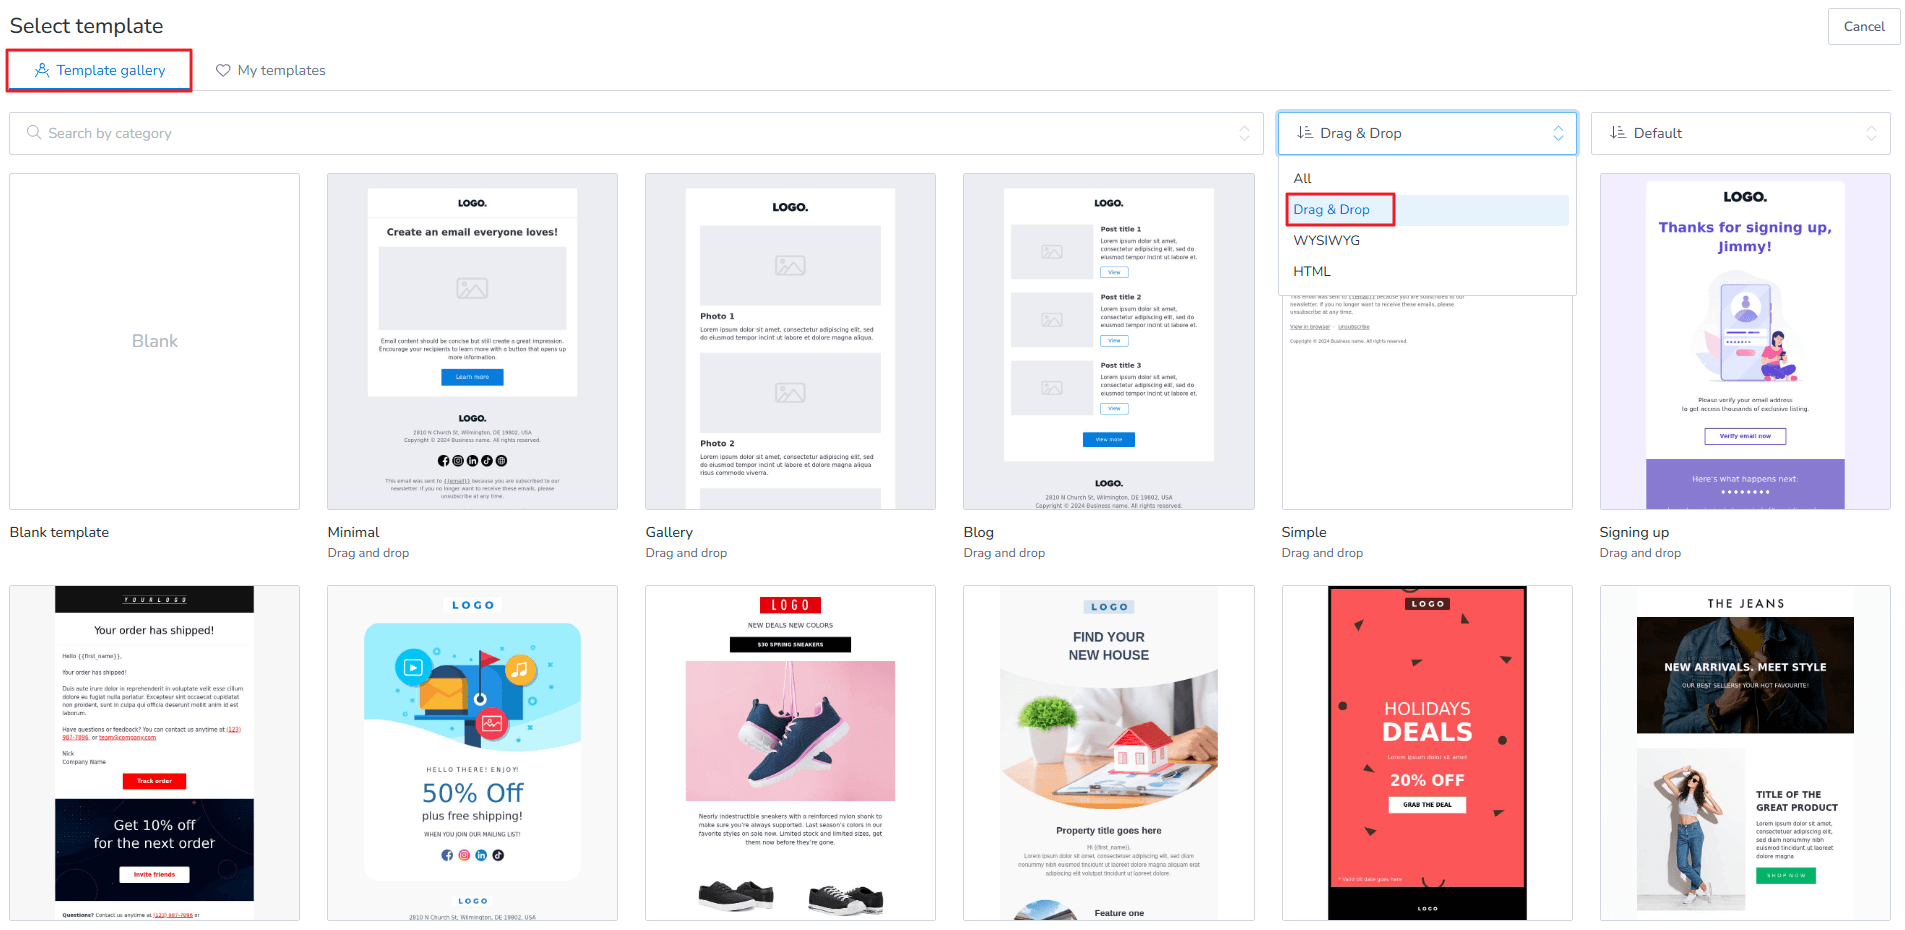
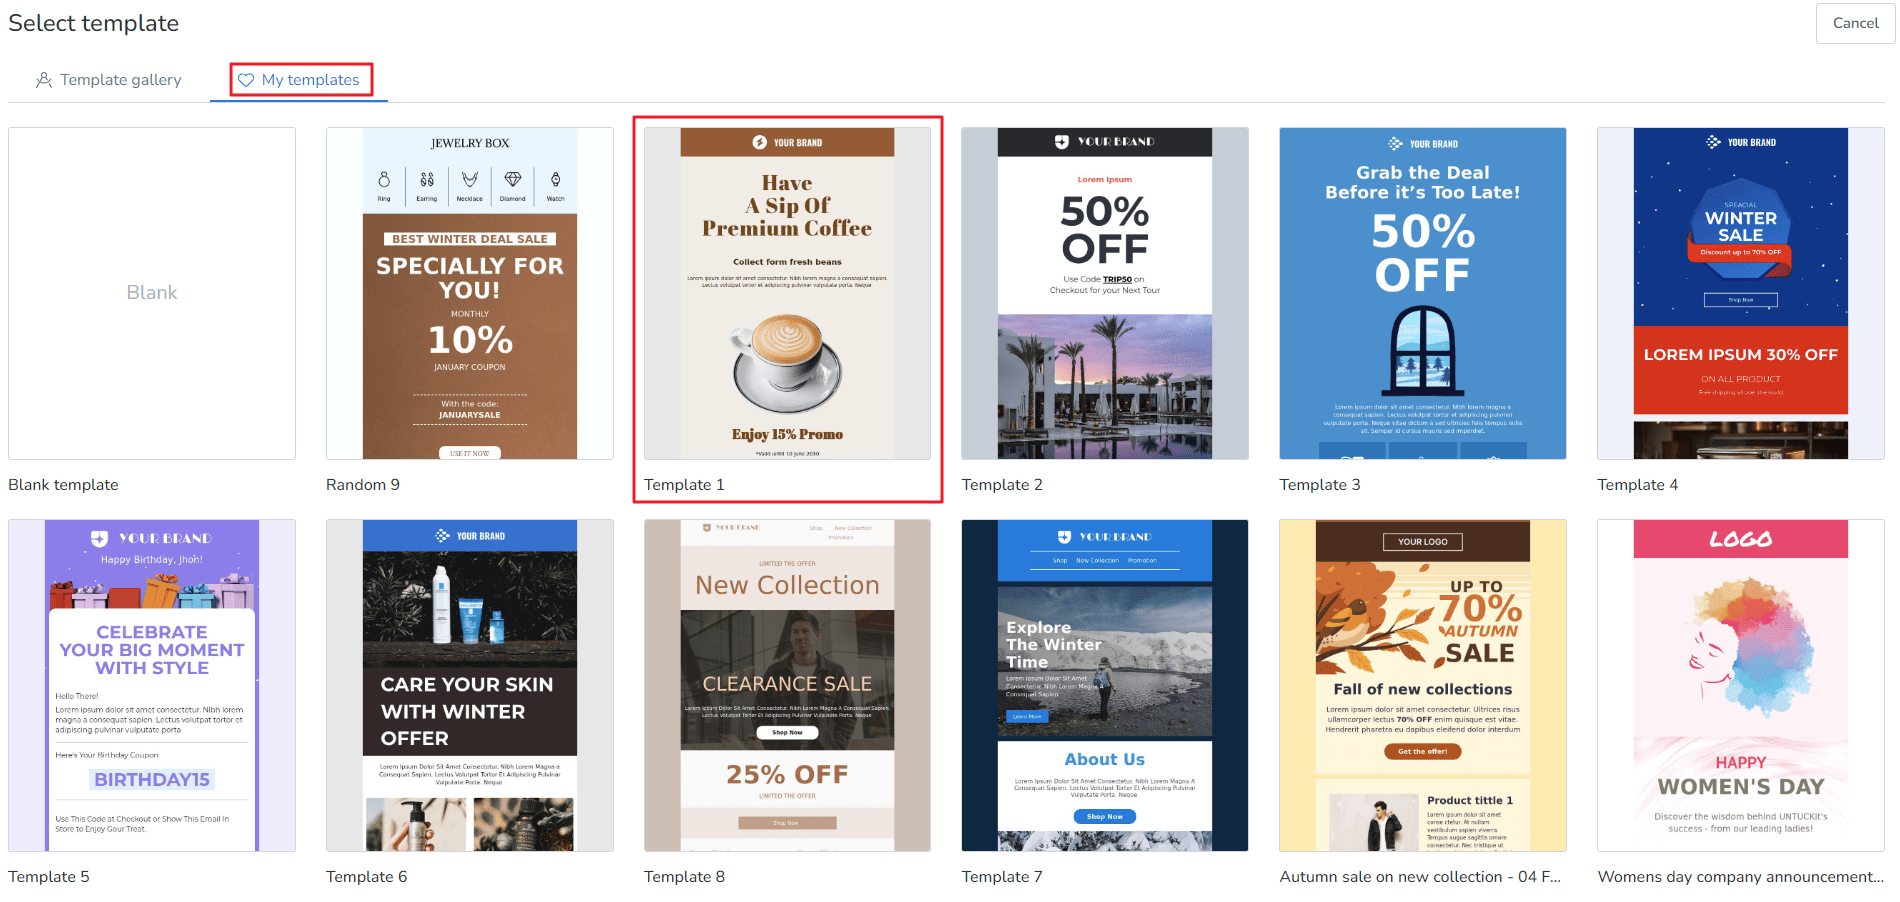
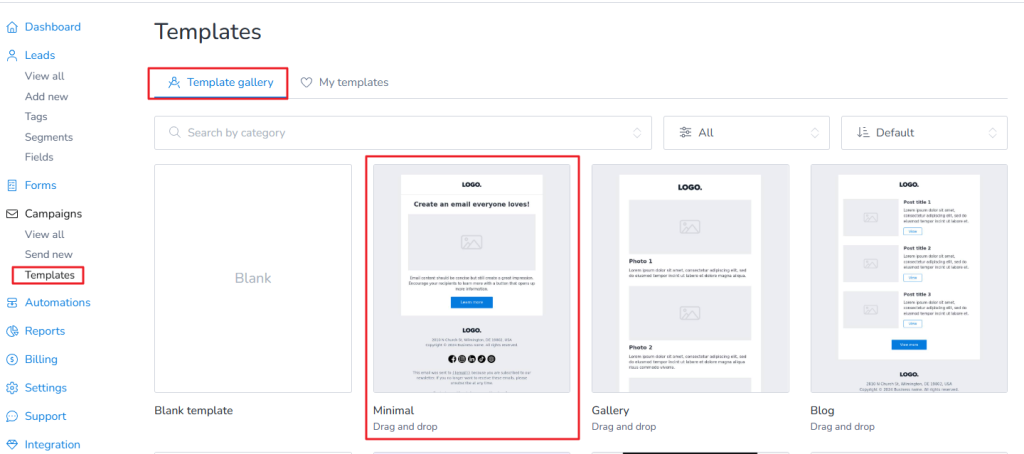
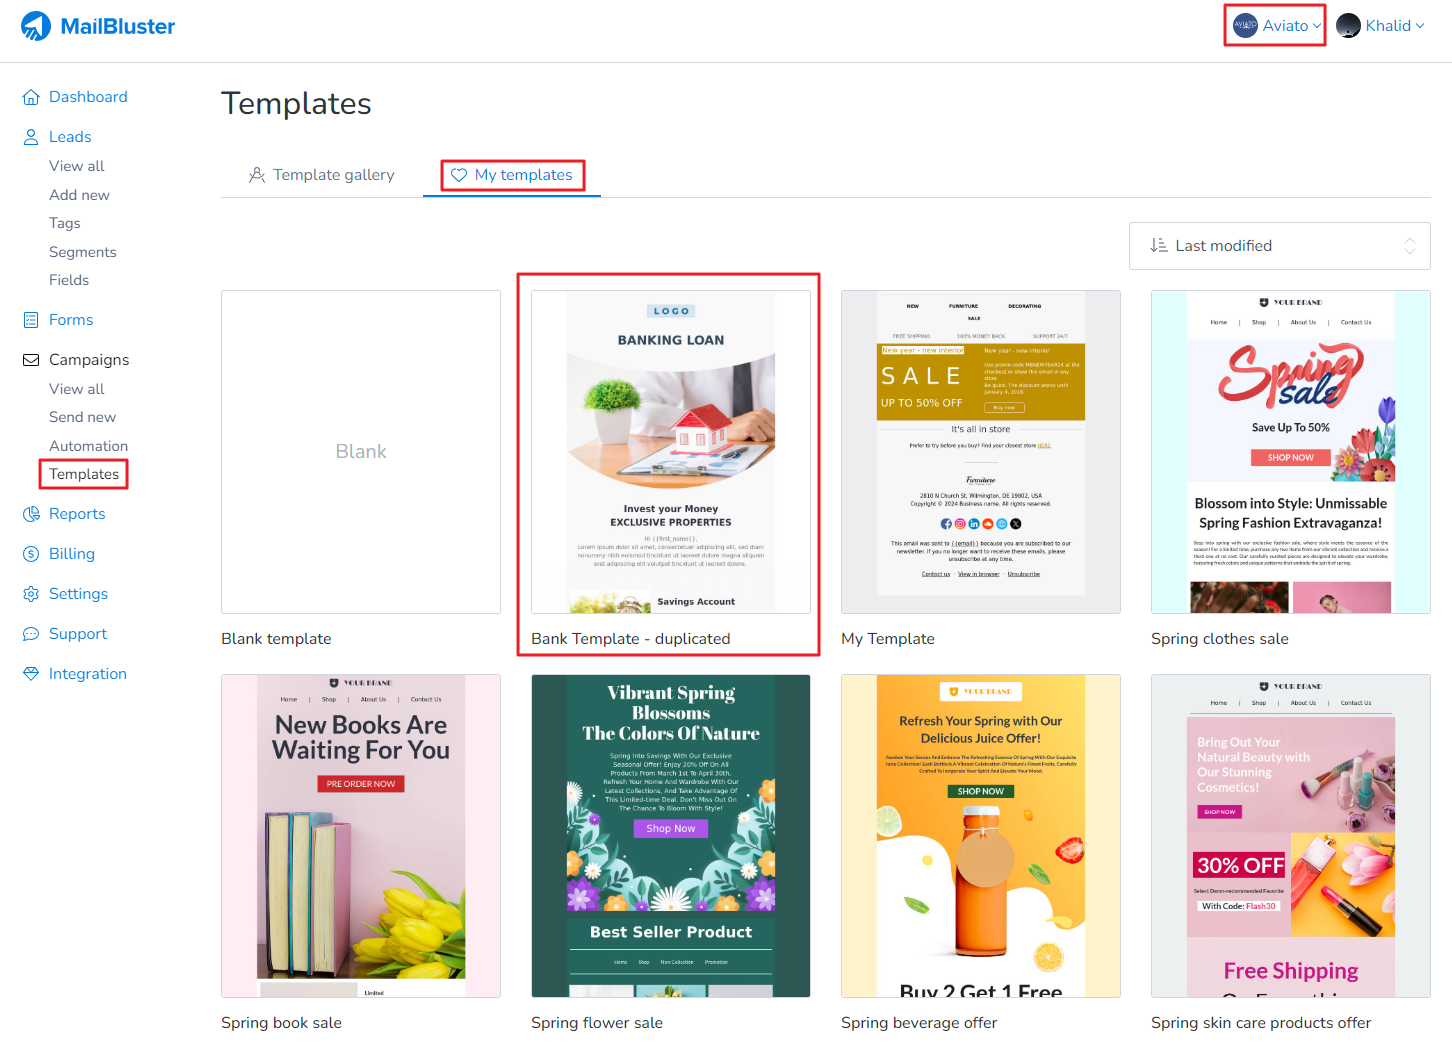
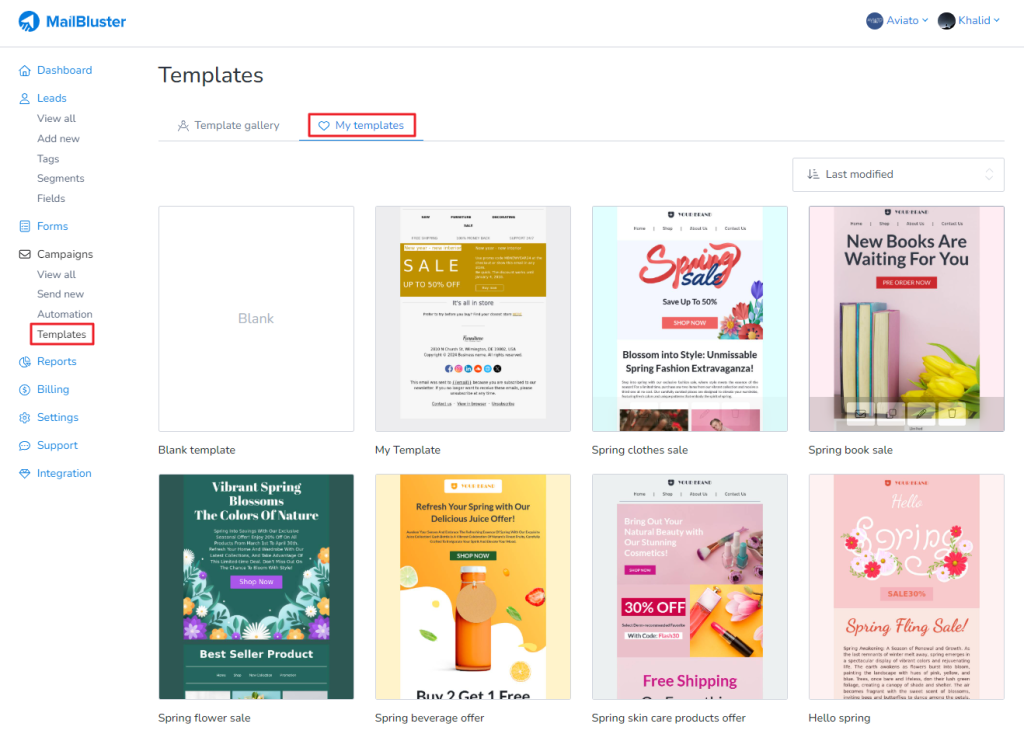
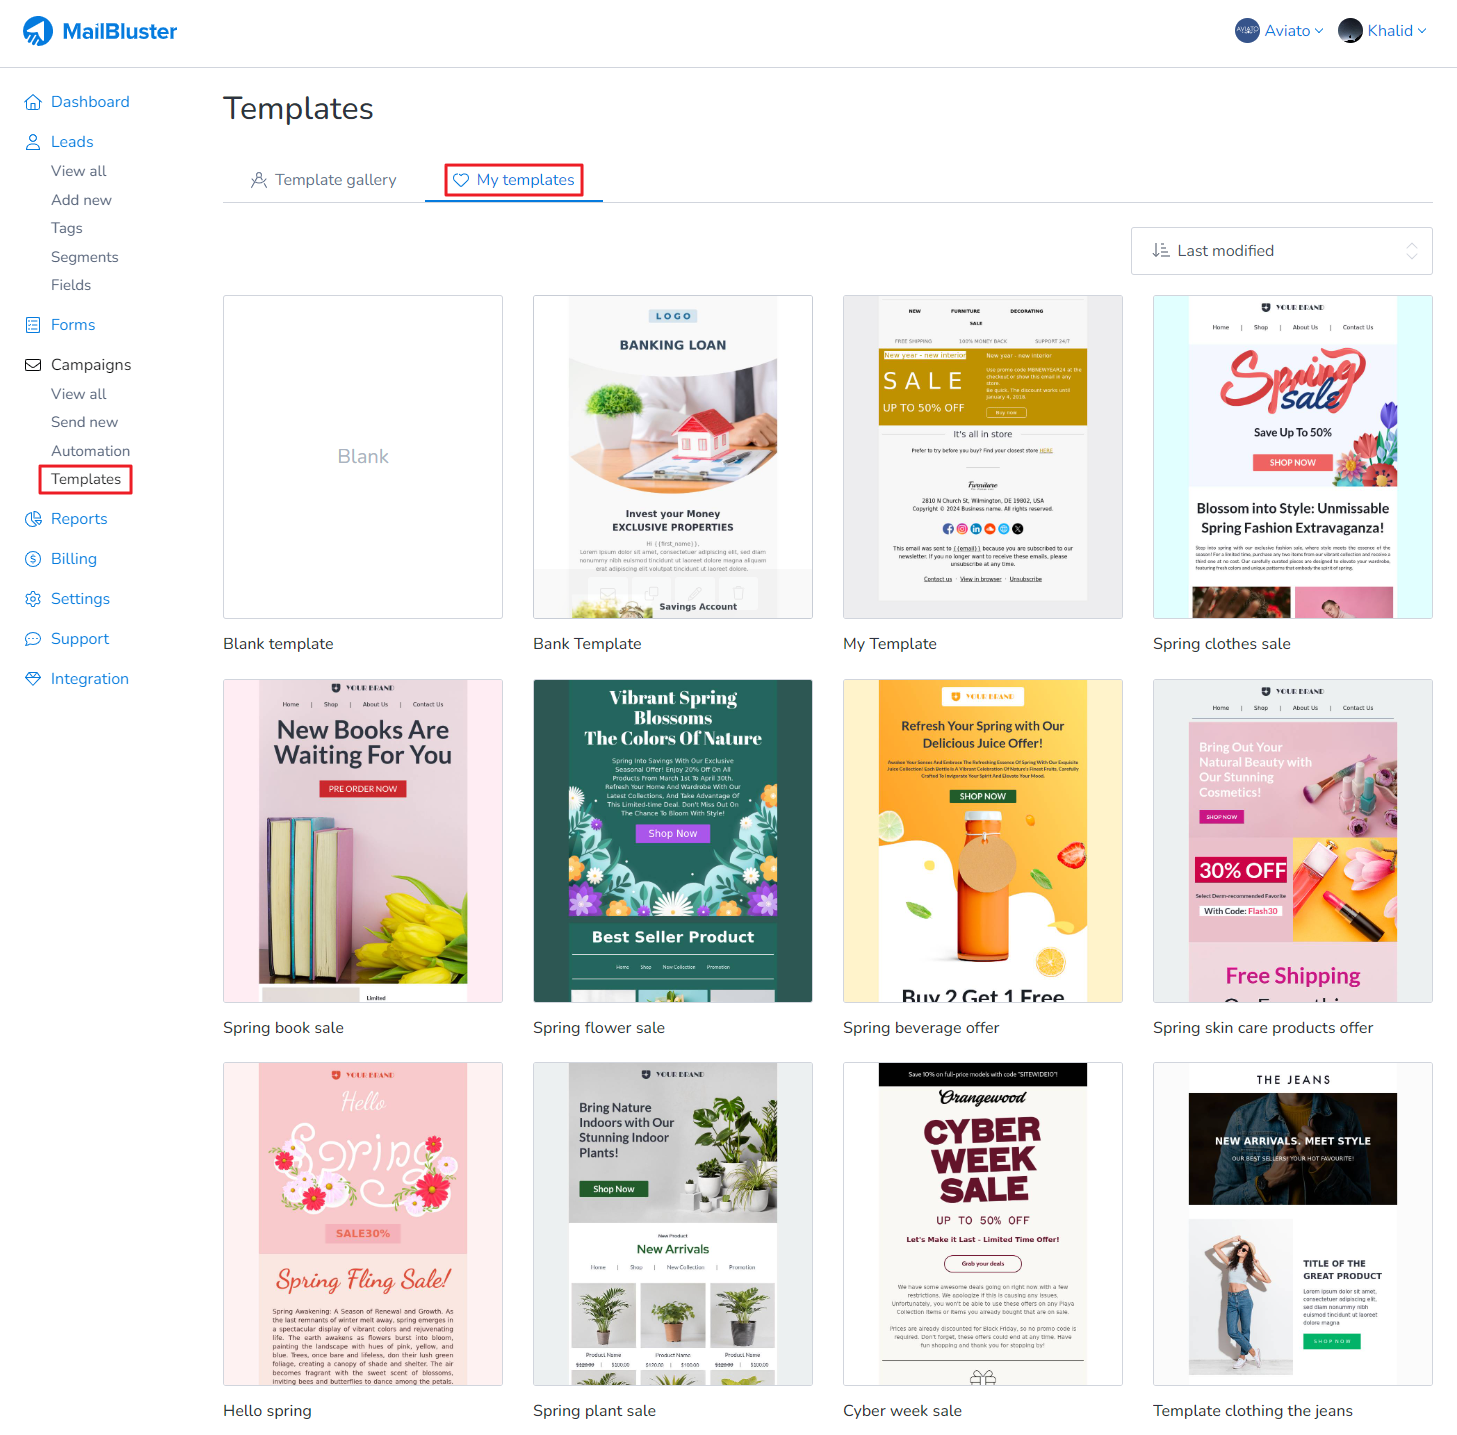
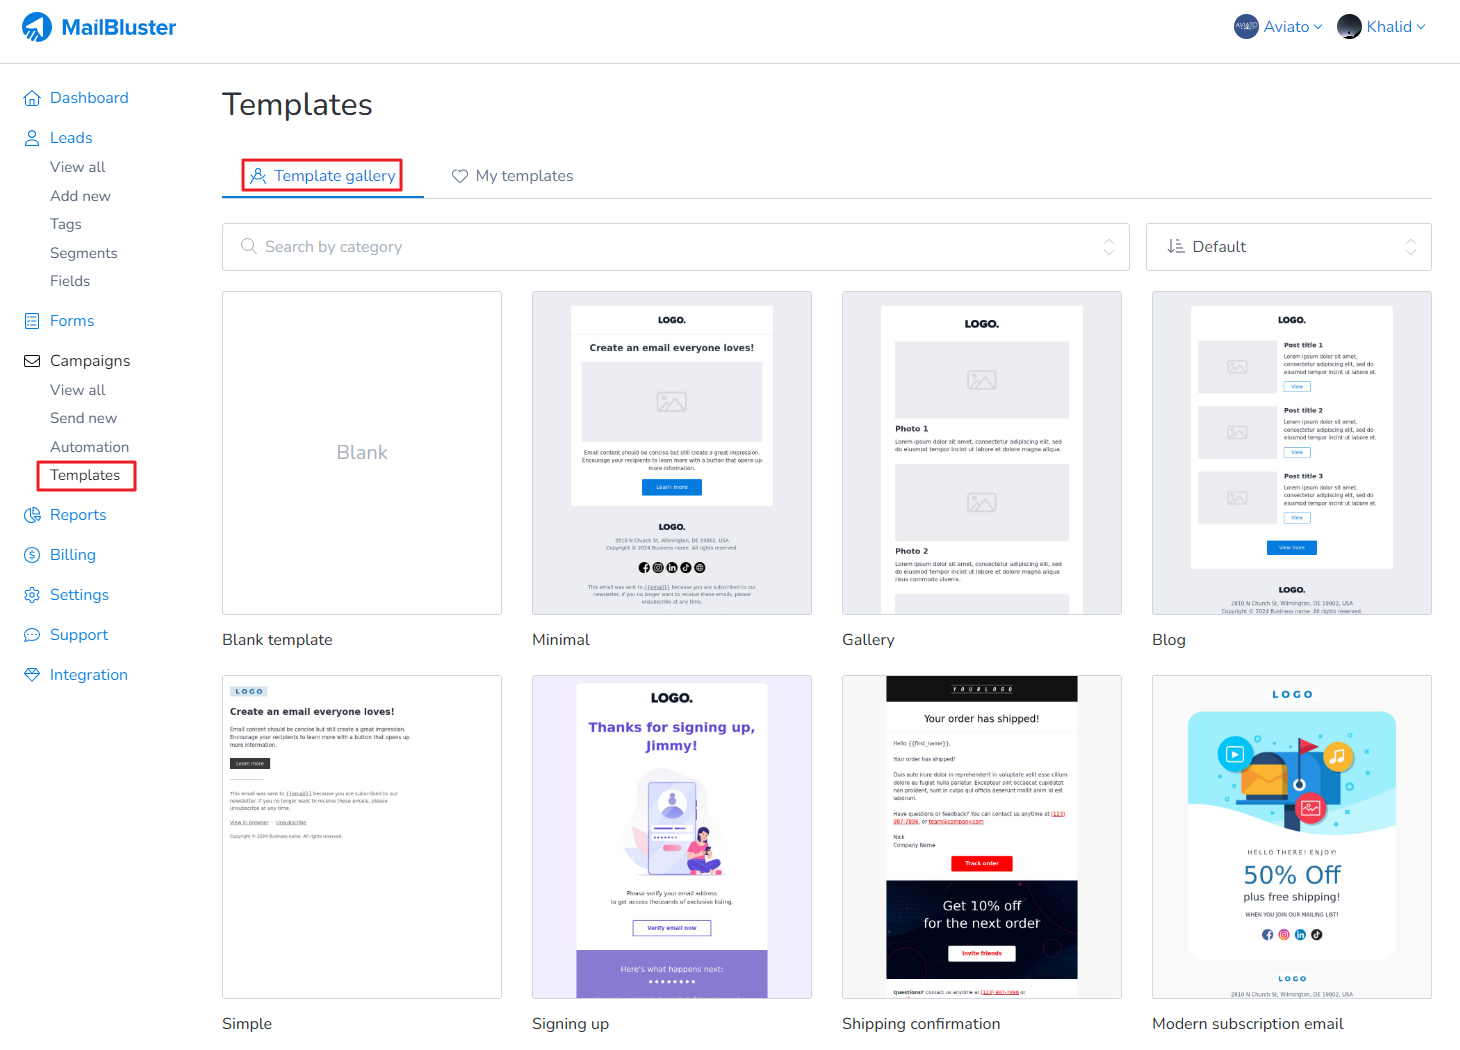
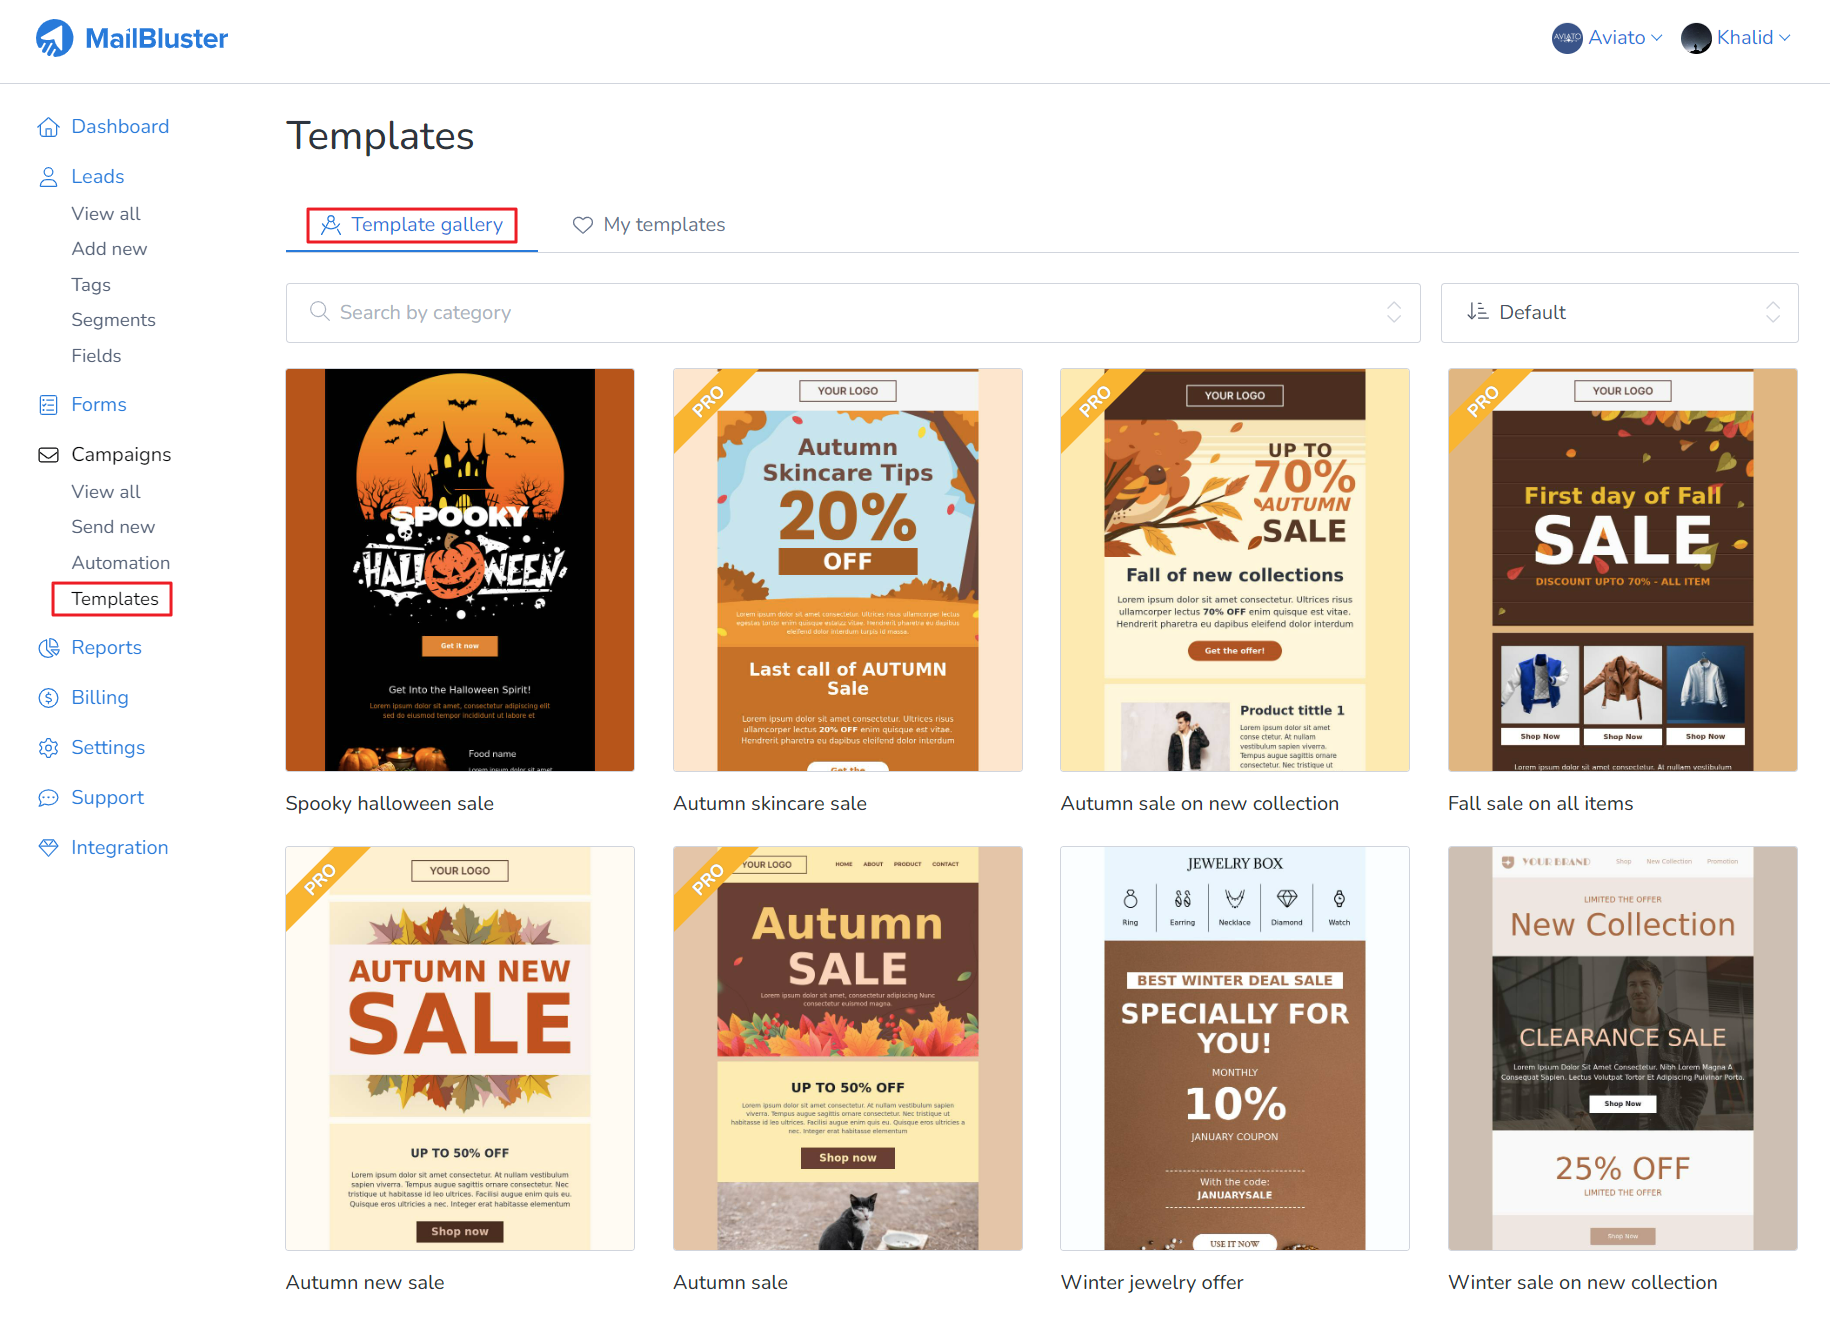
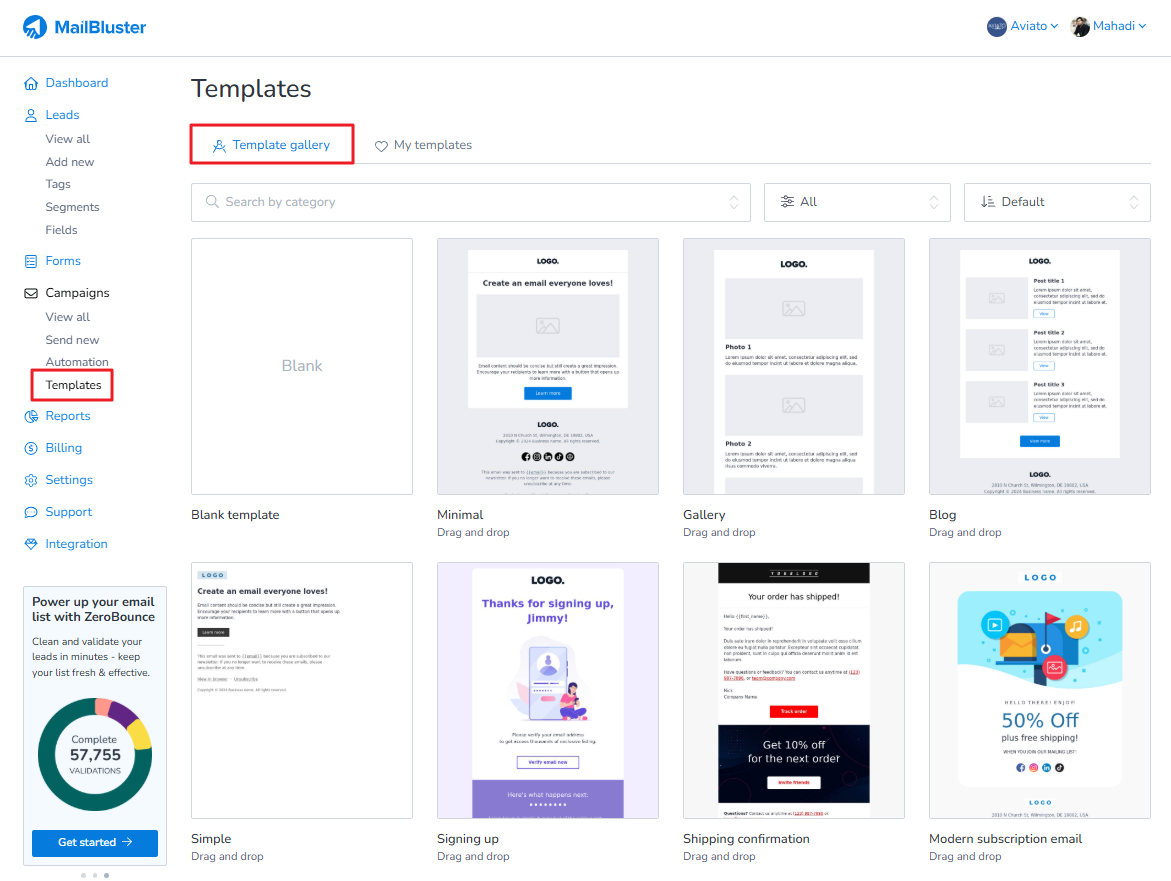
MailBluster has a great collection of email templates, which can be found under your Brand > Templates.
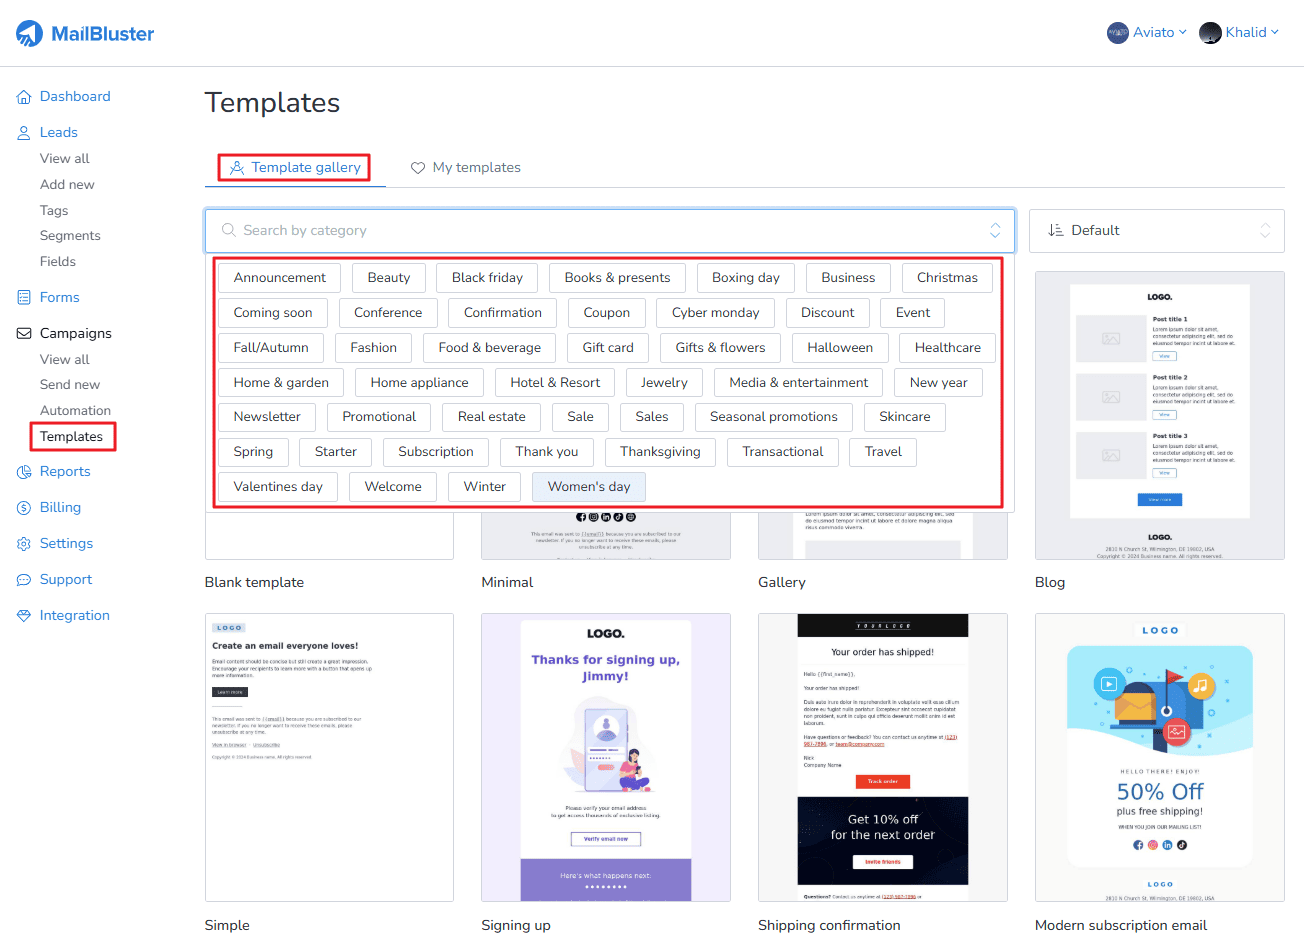
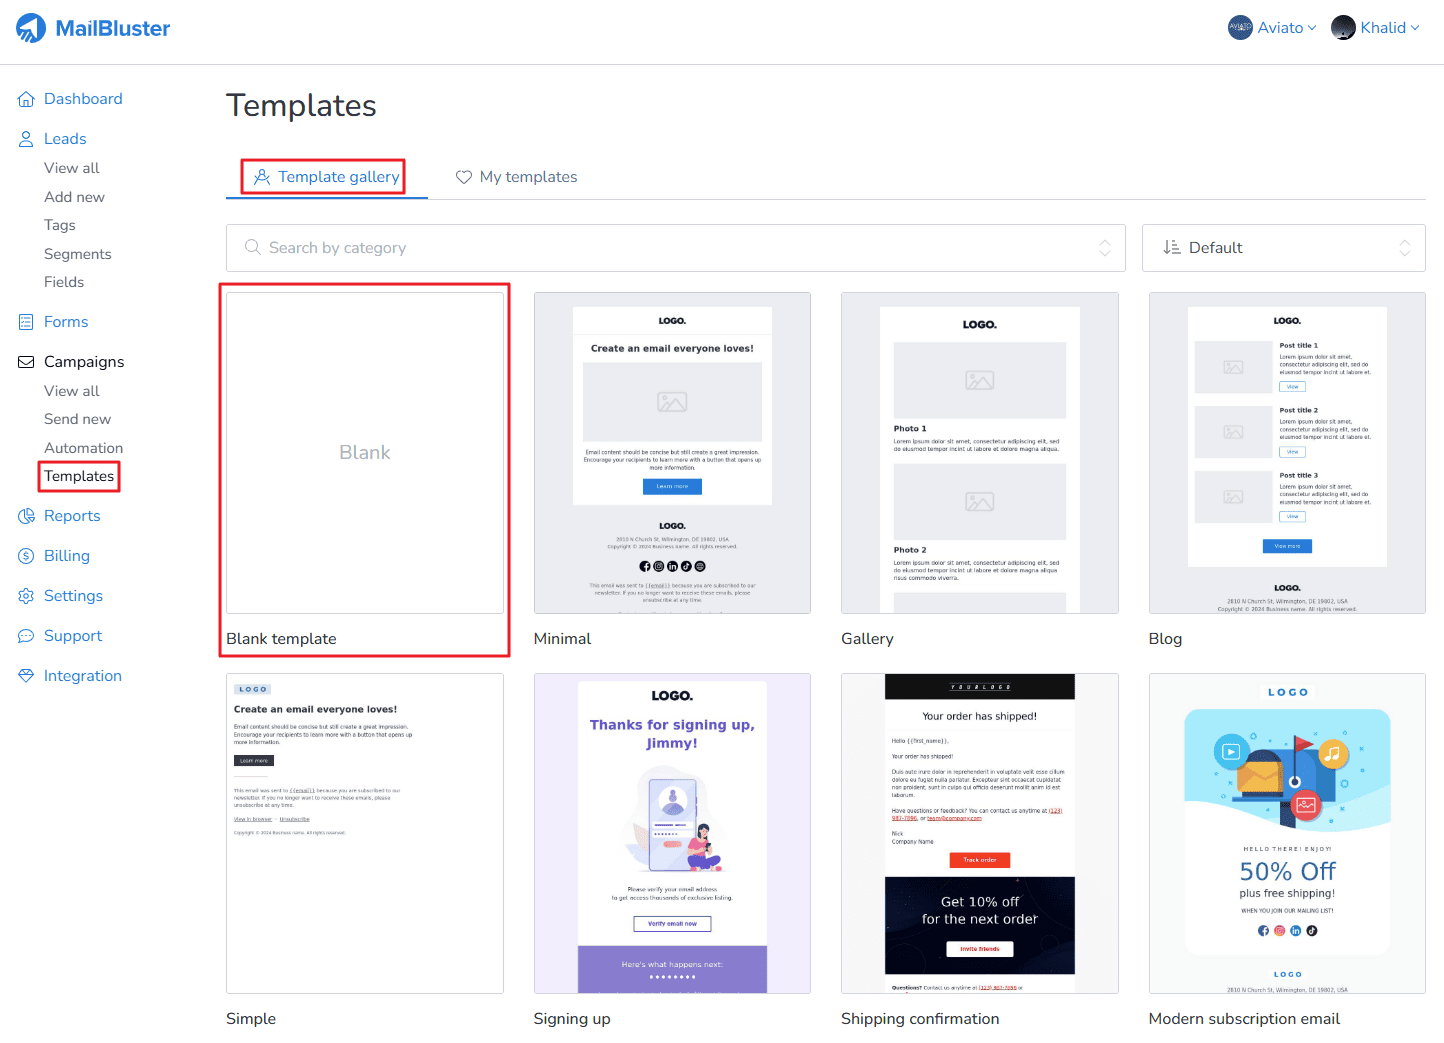
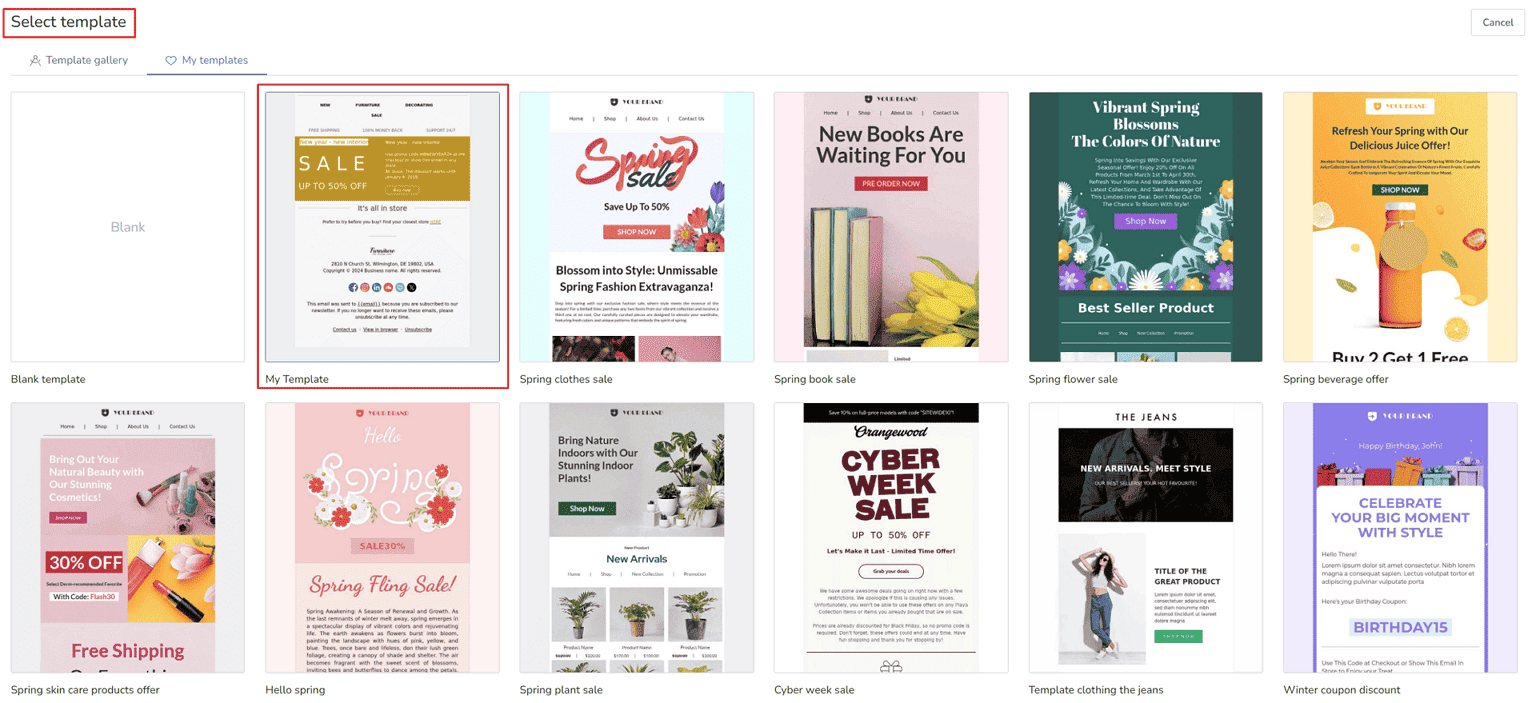
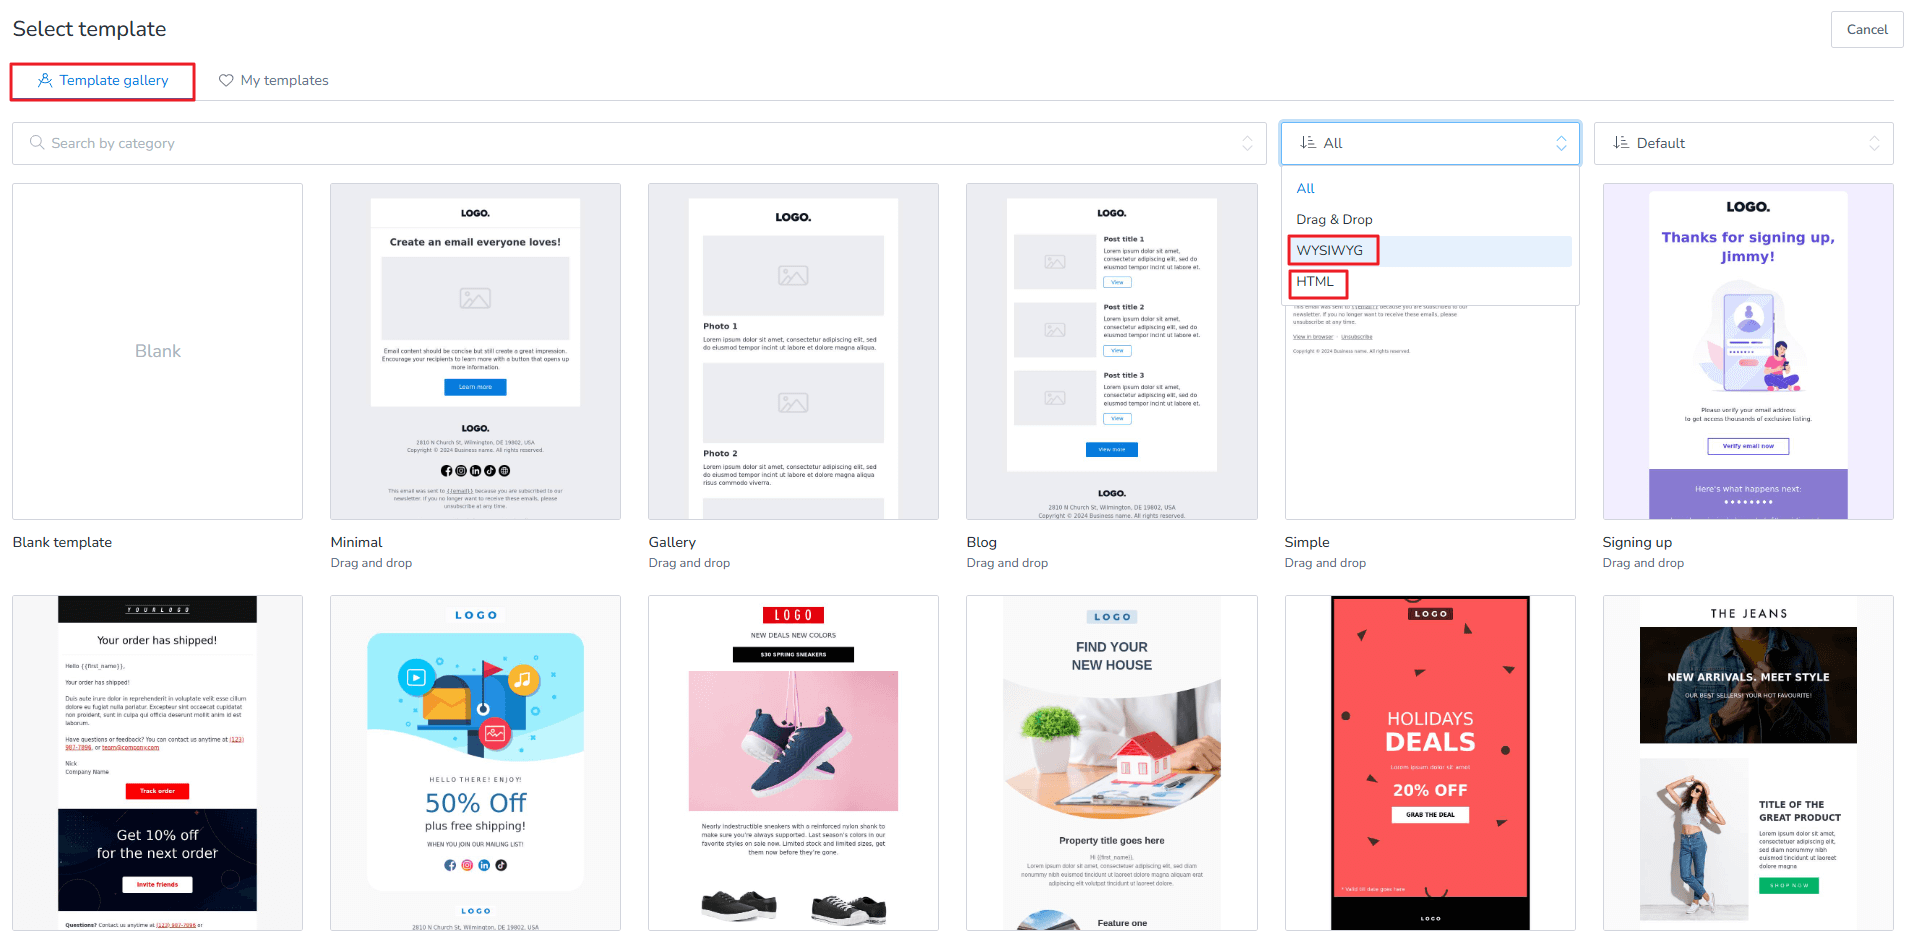
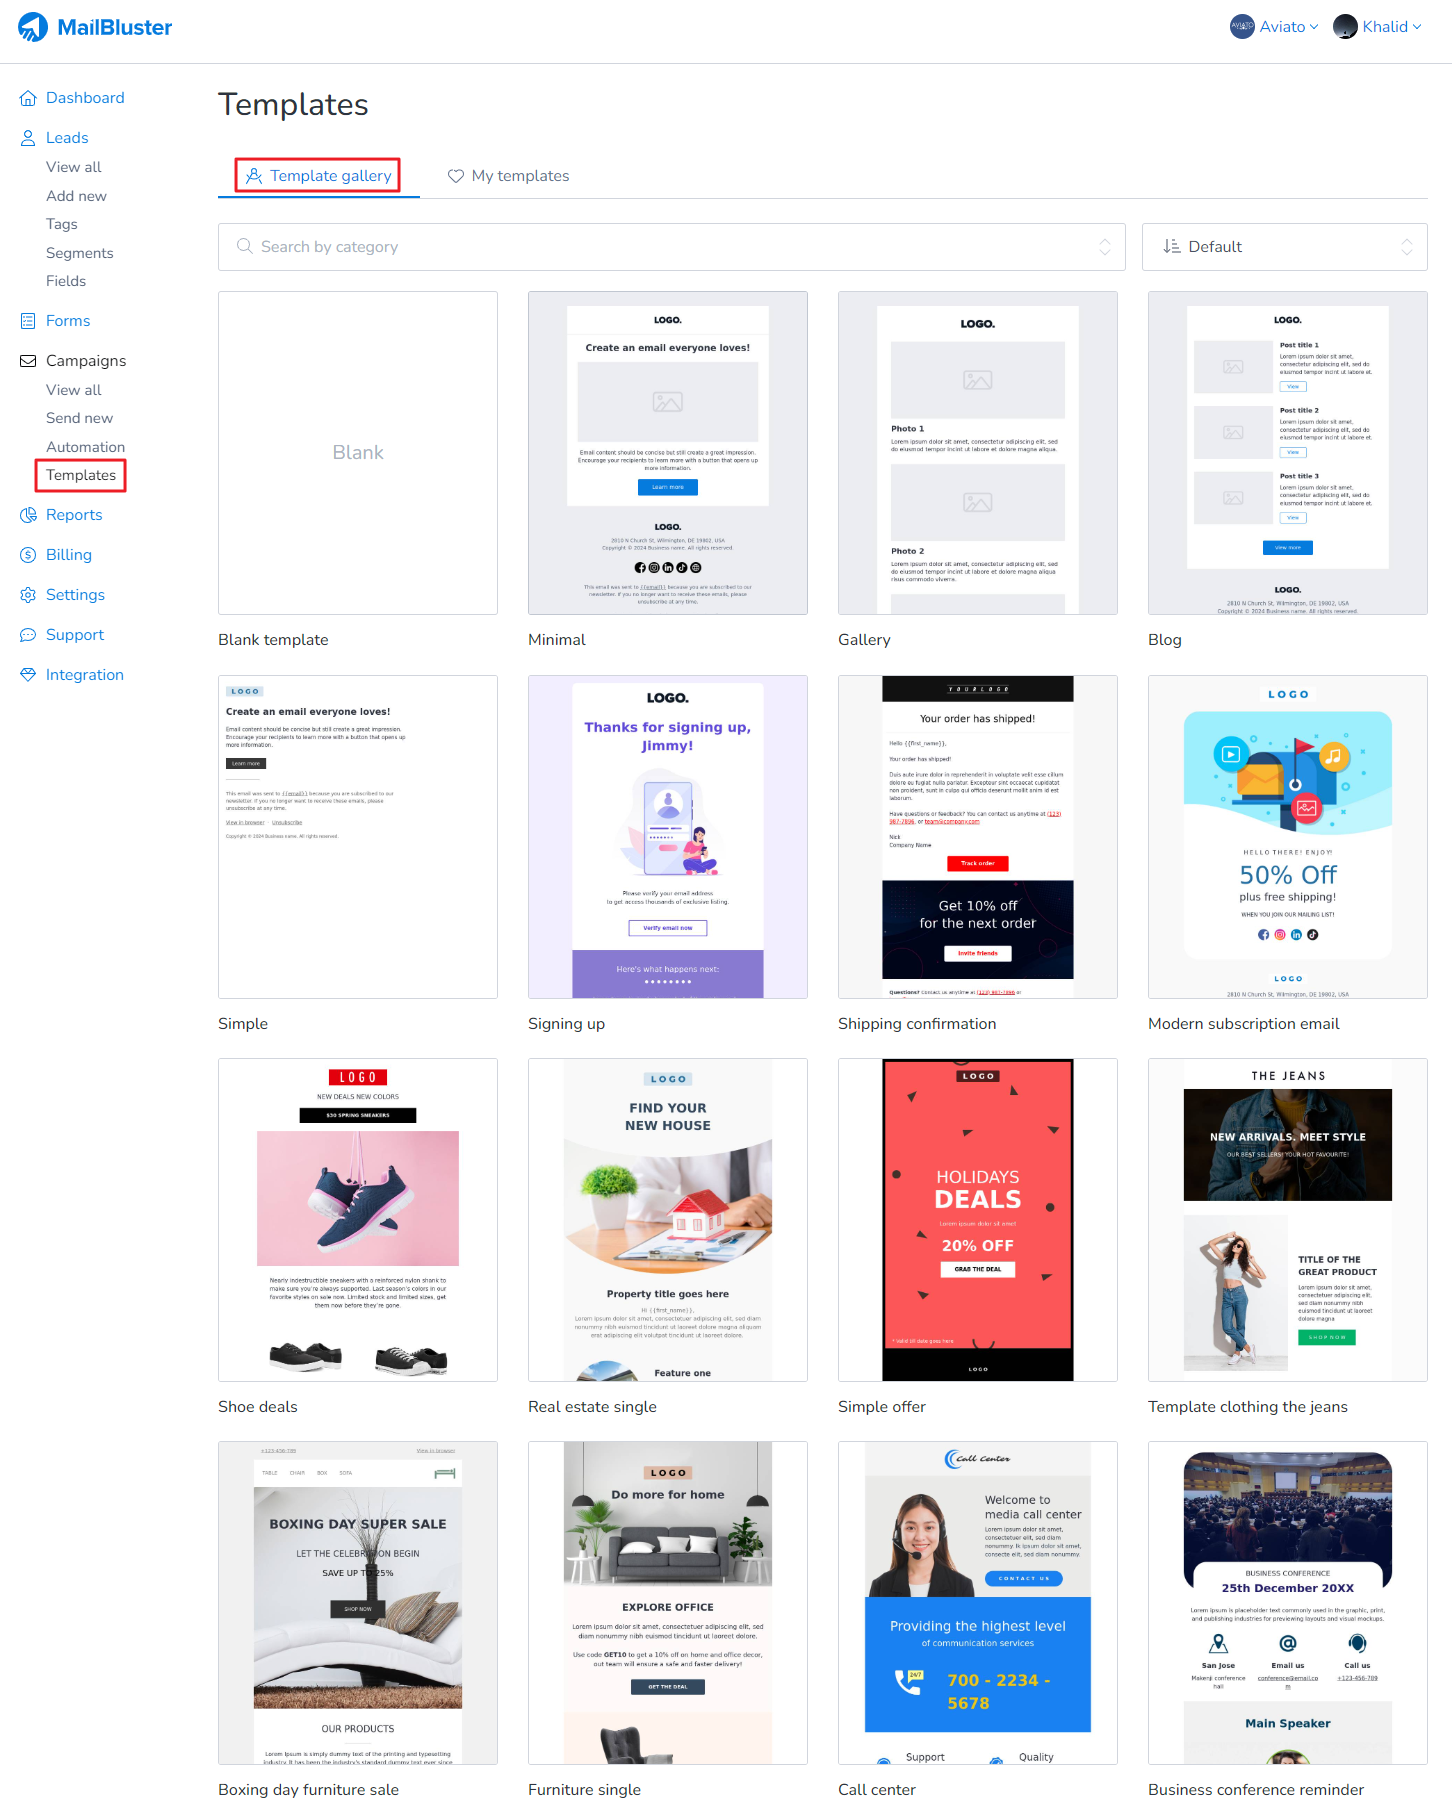
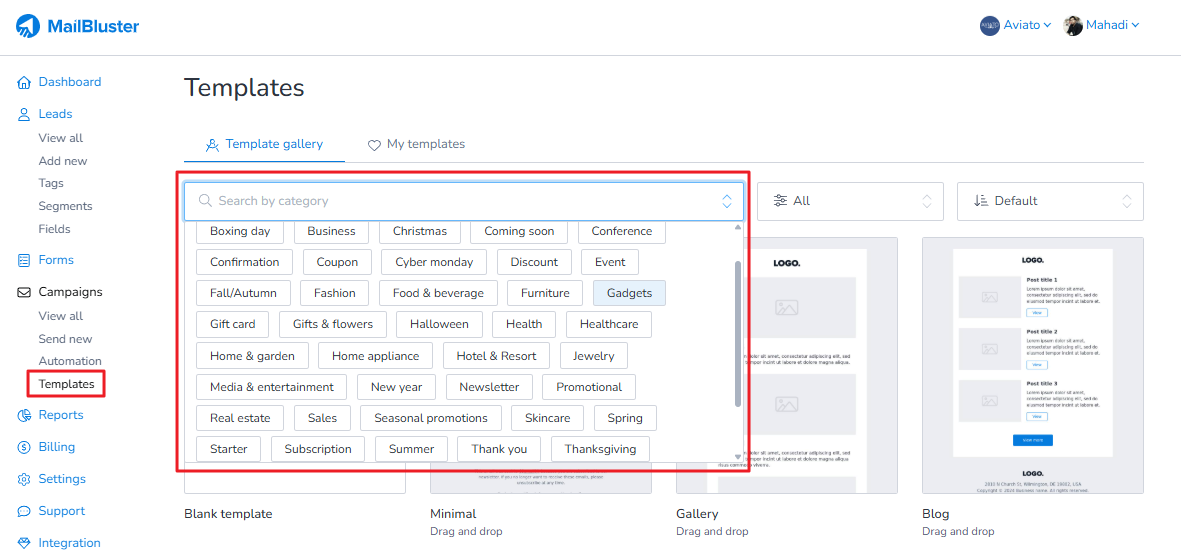
You can search for templates by category, as shown below.
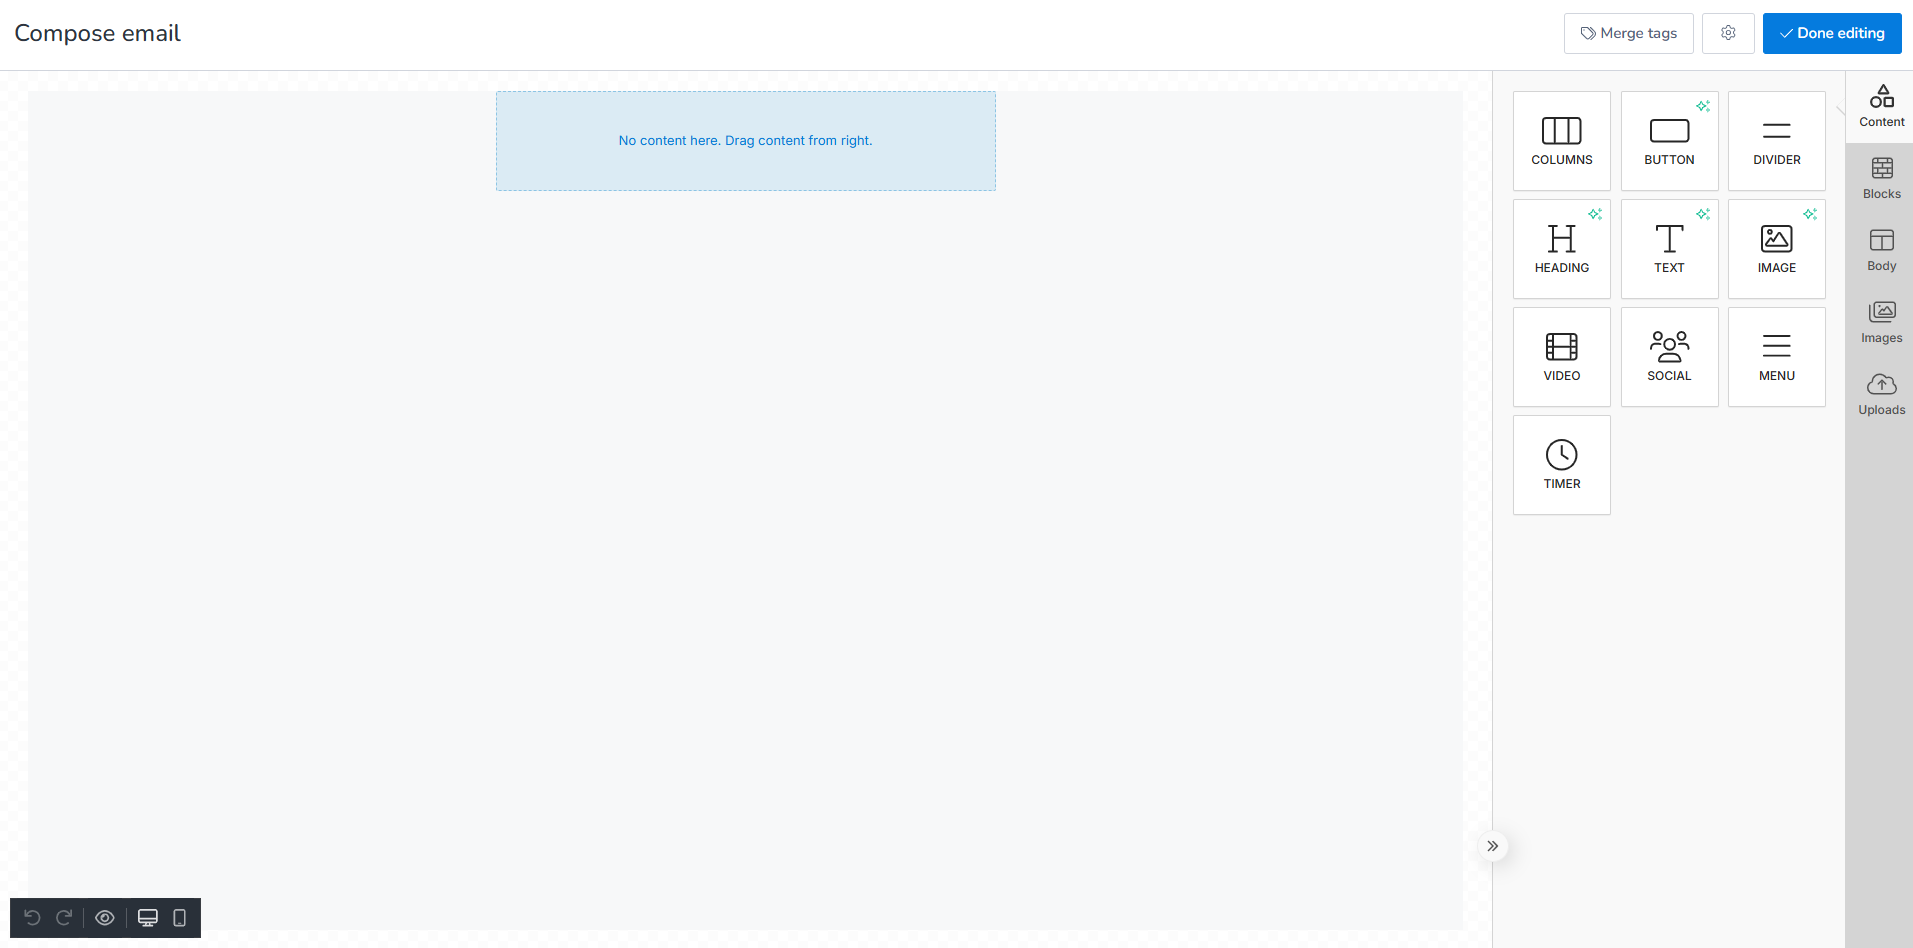
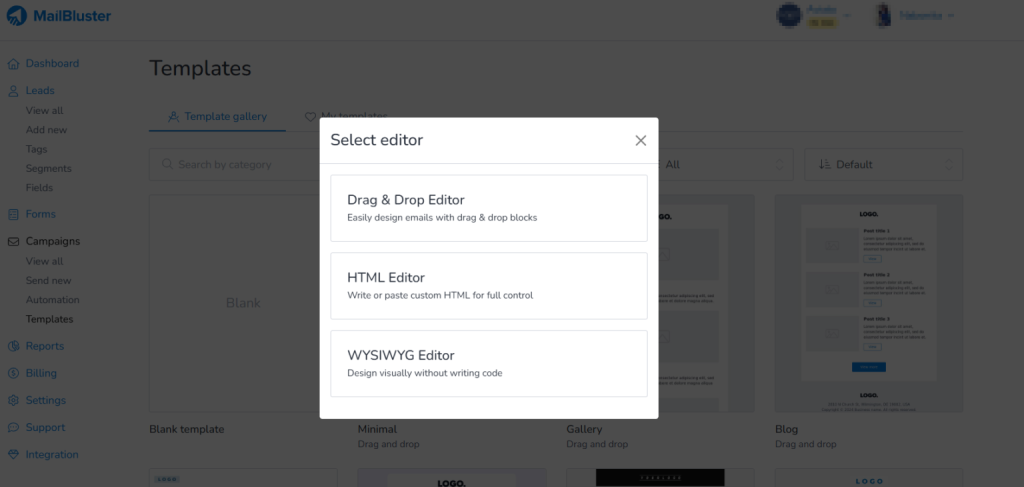
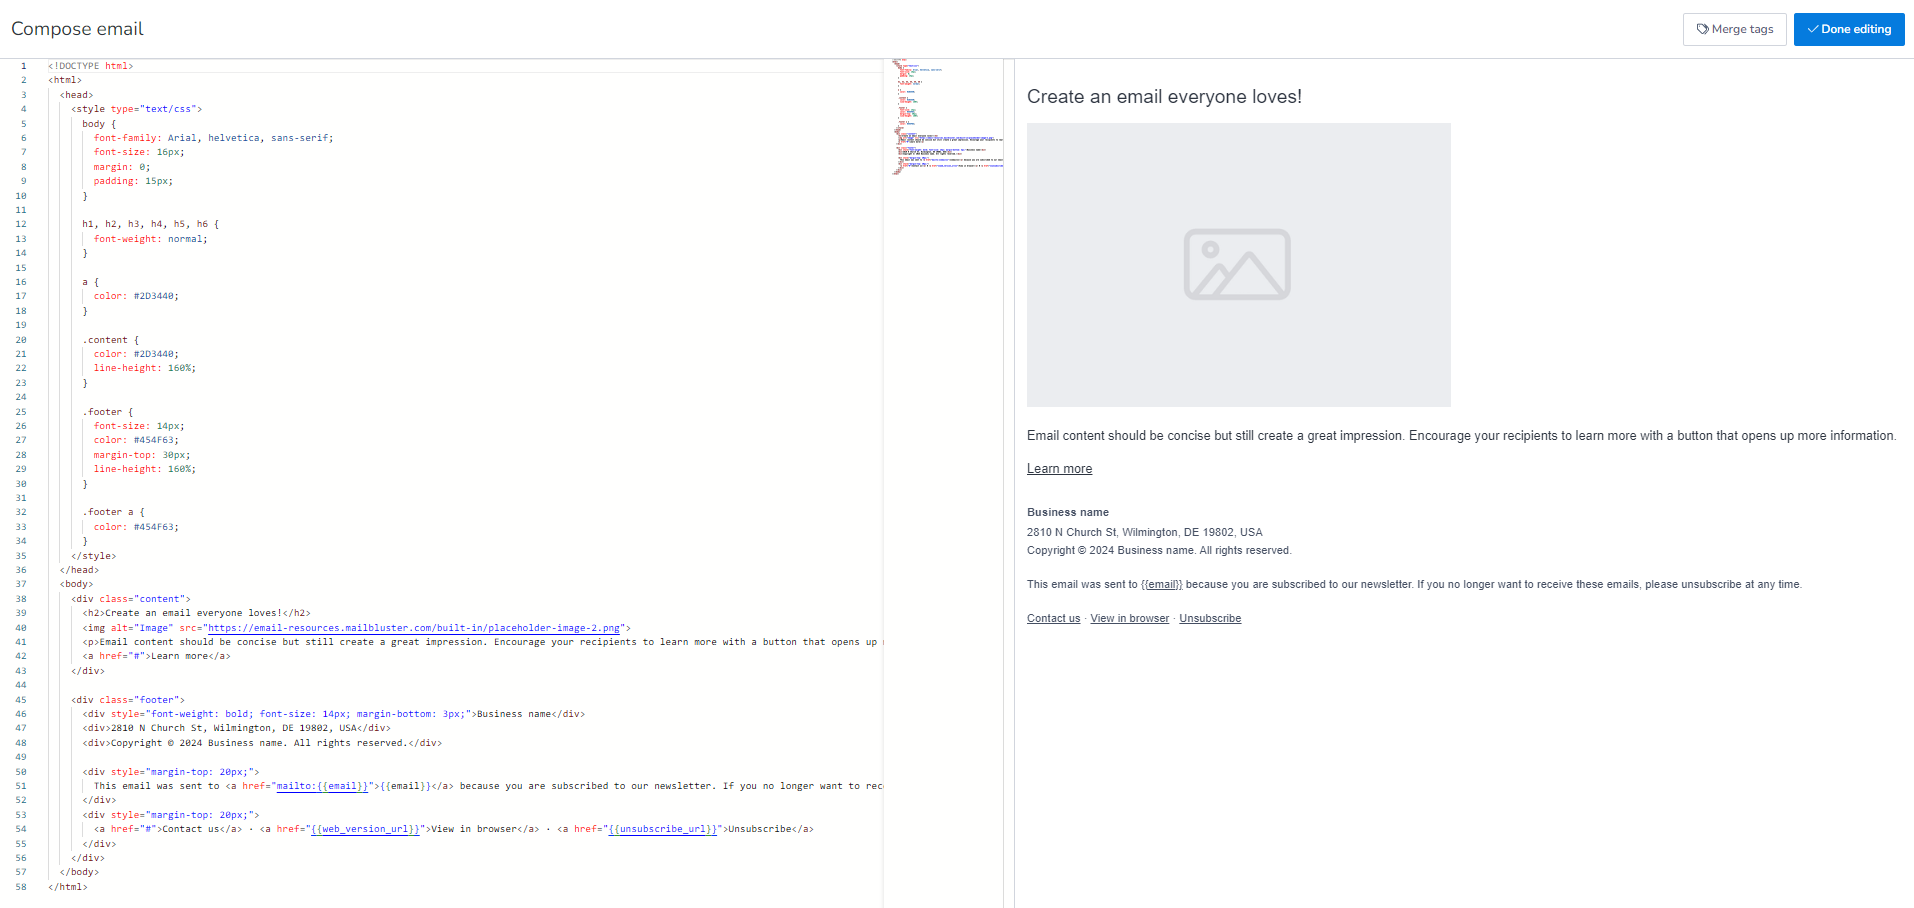
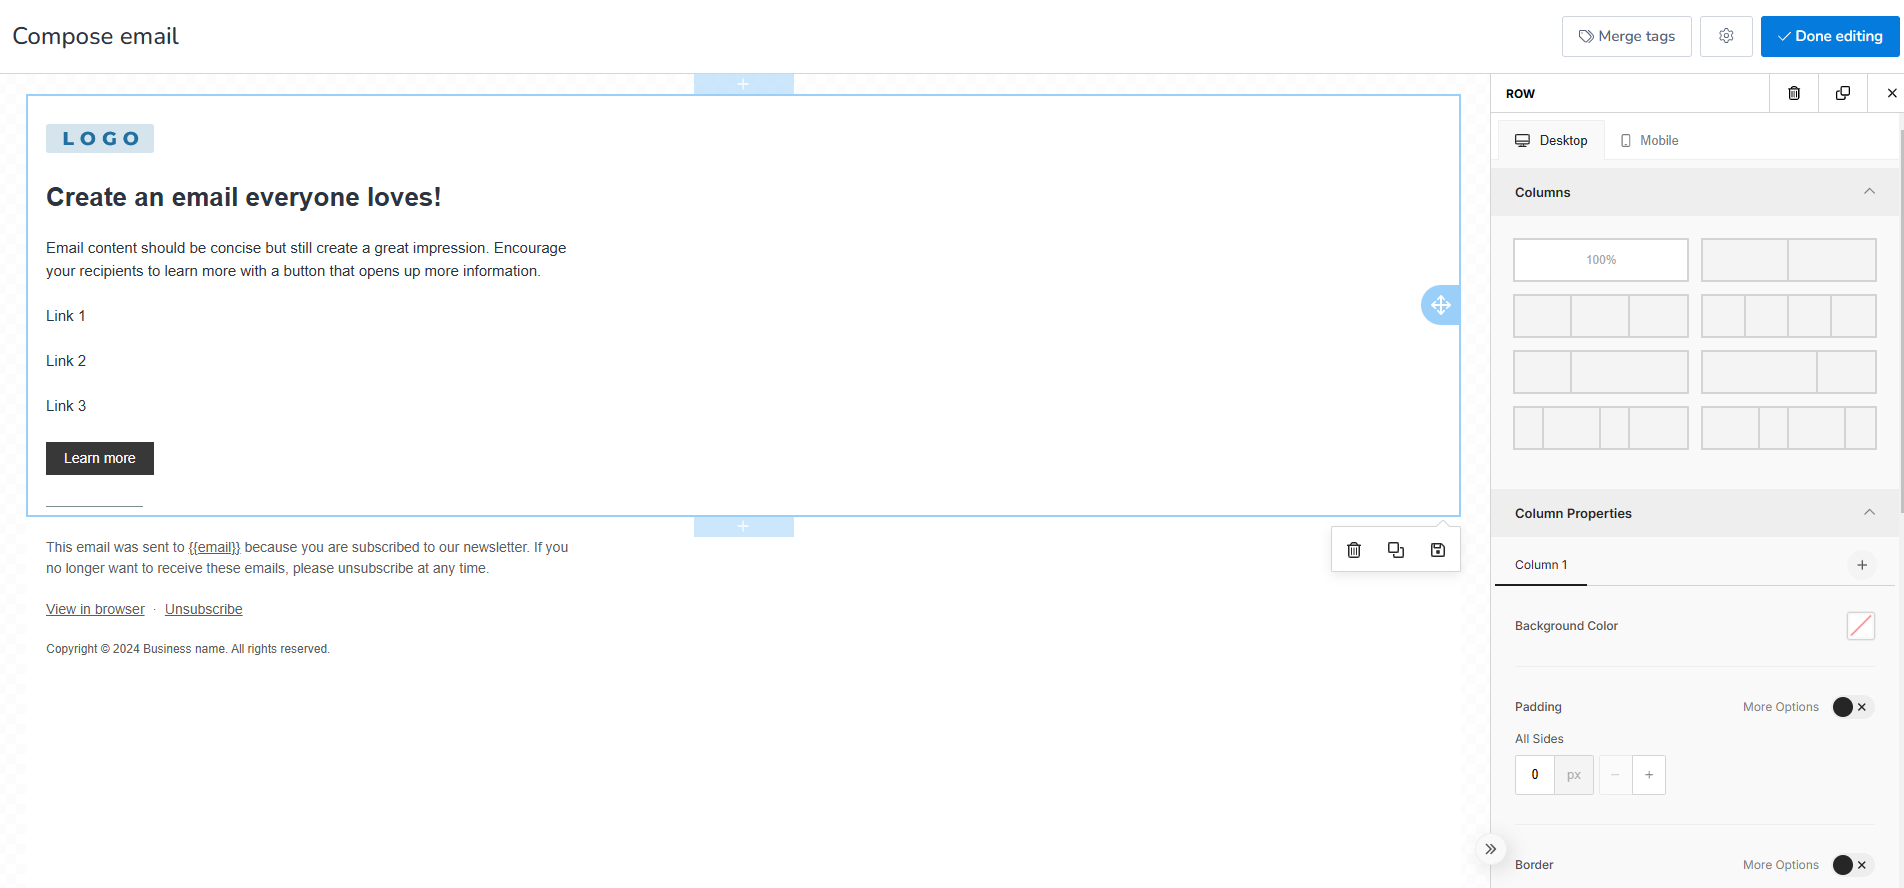
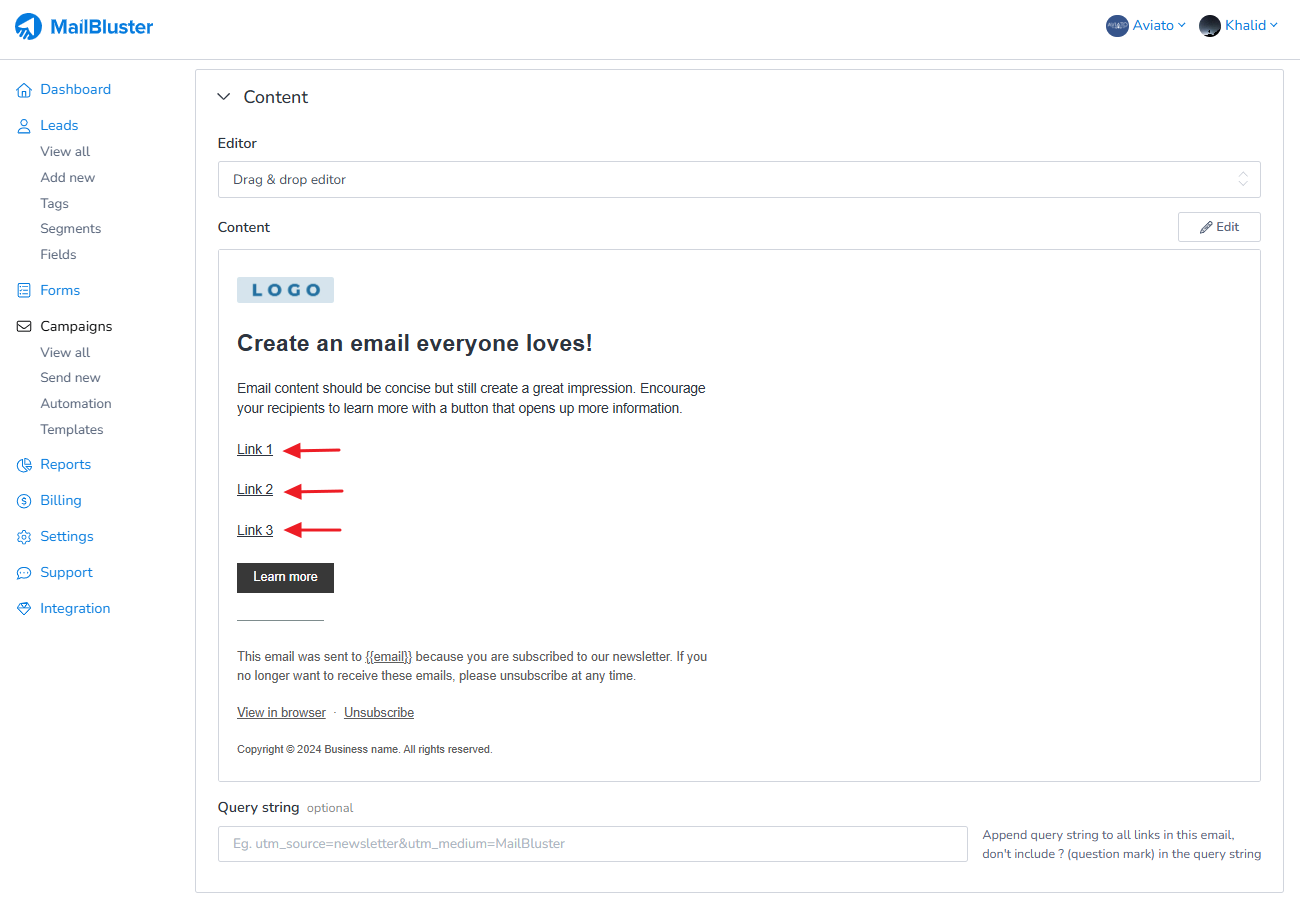
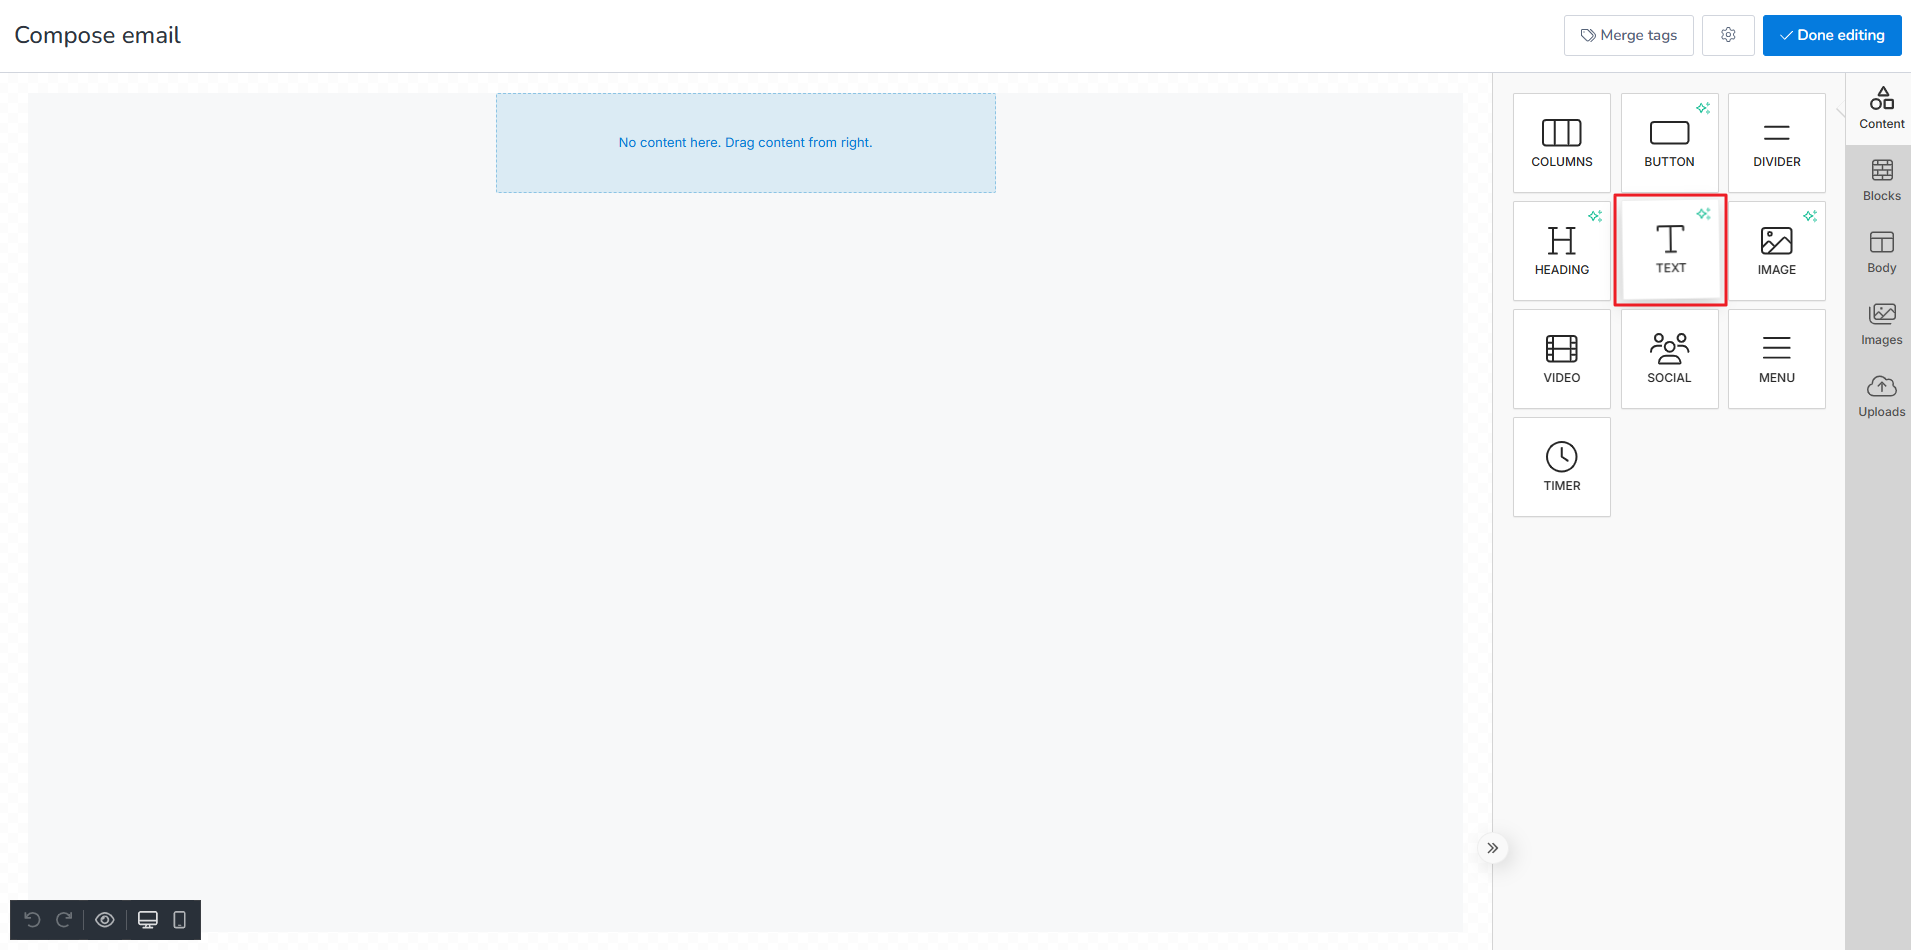
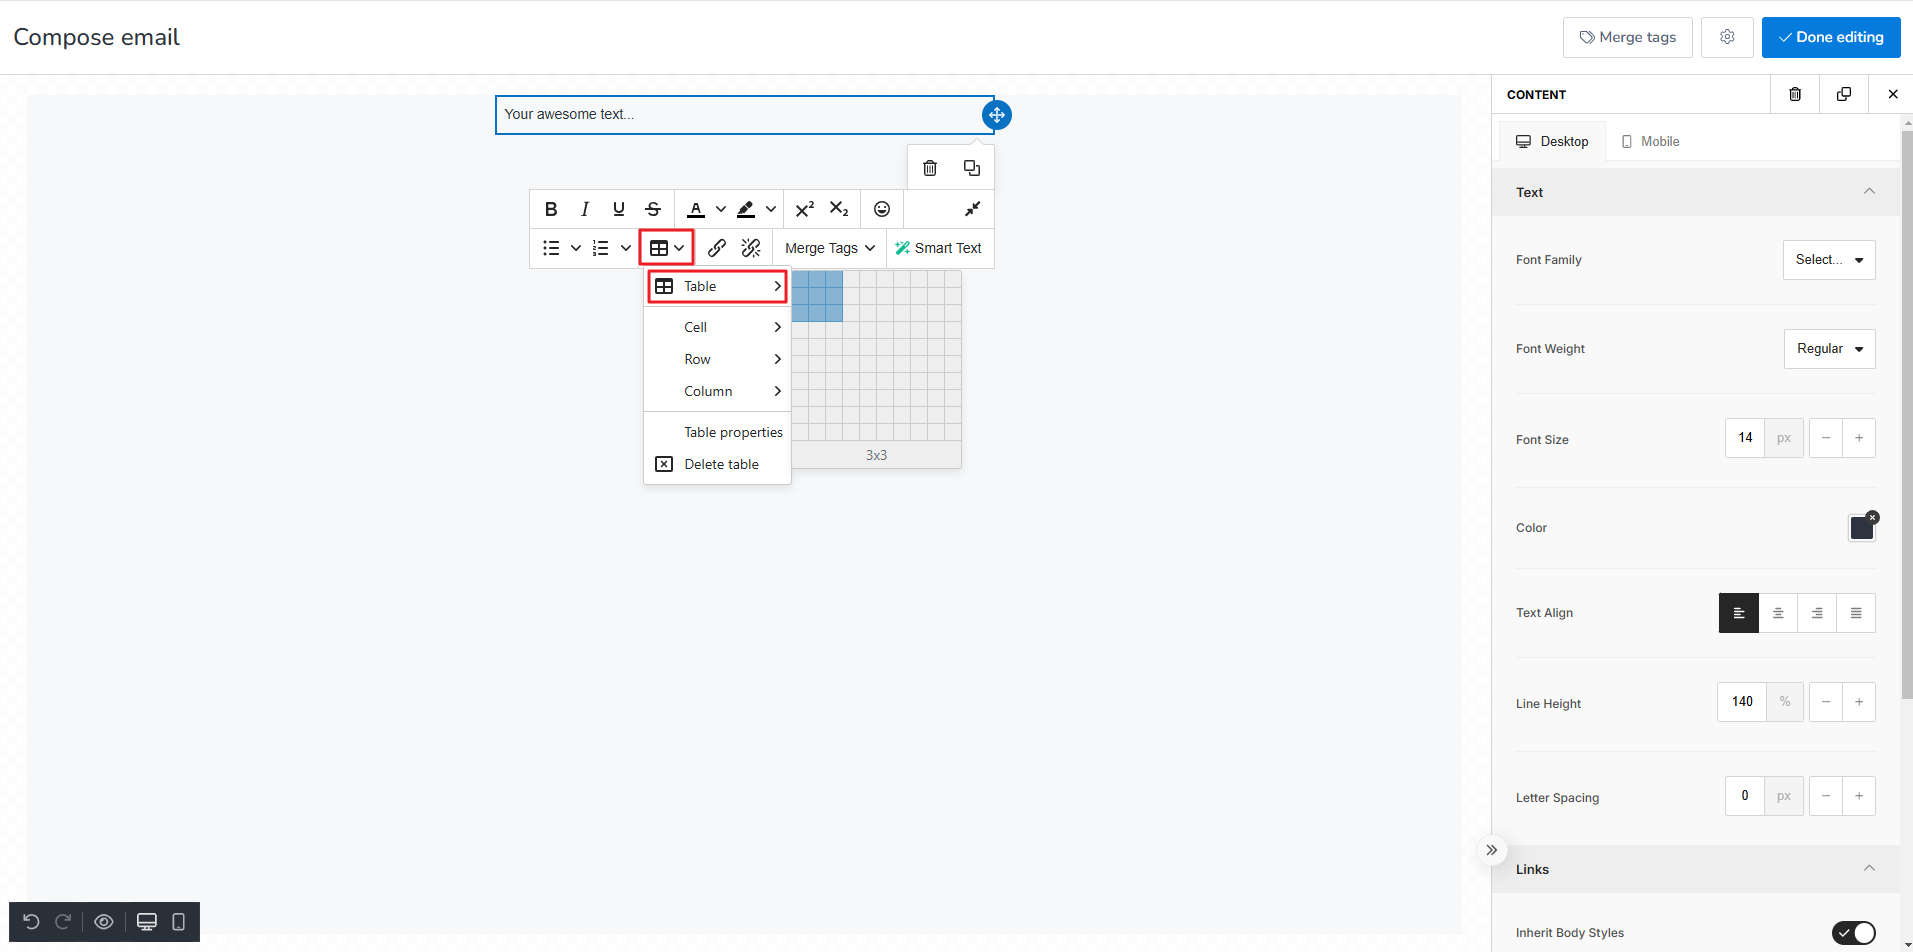
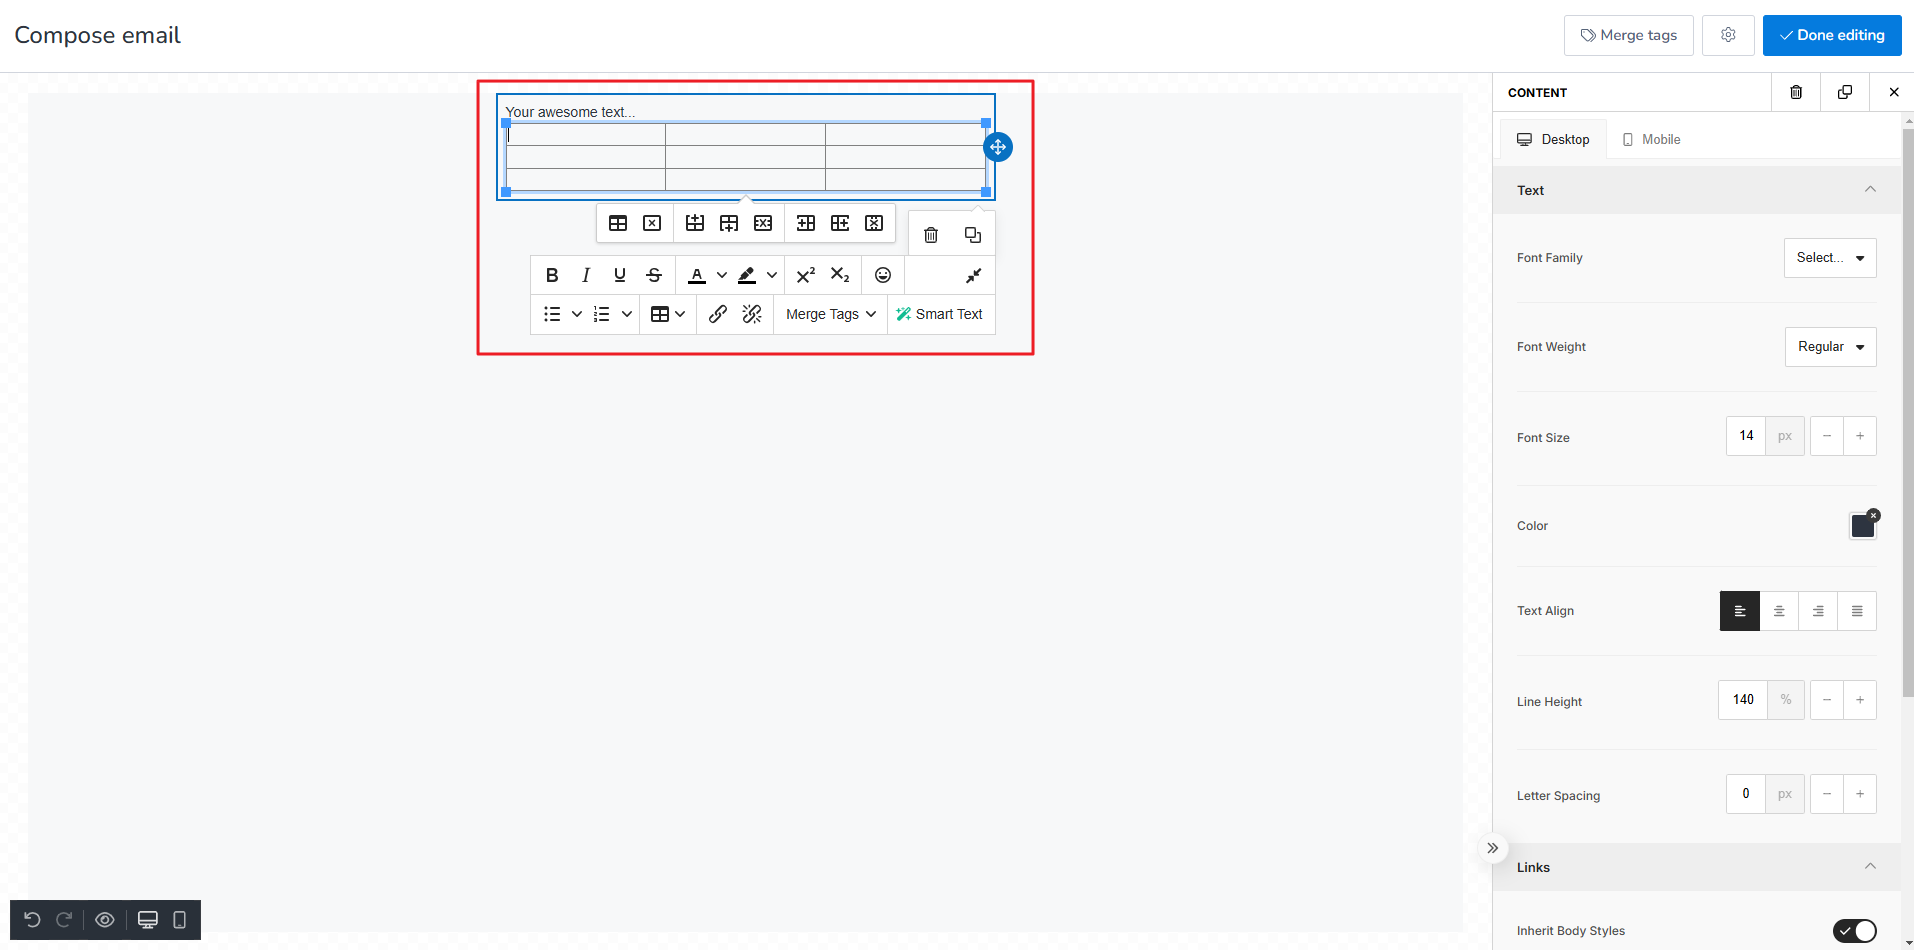
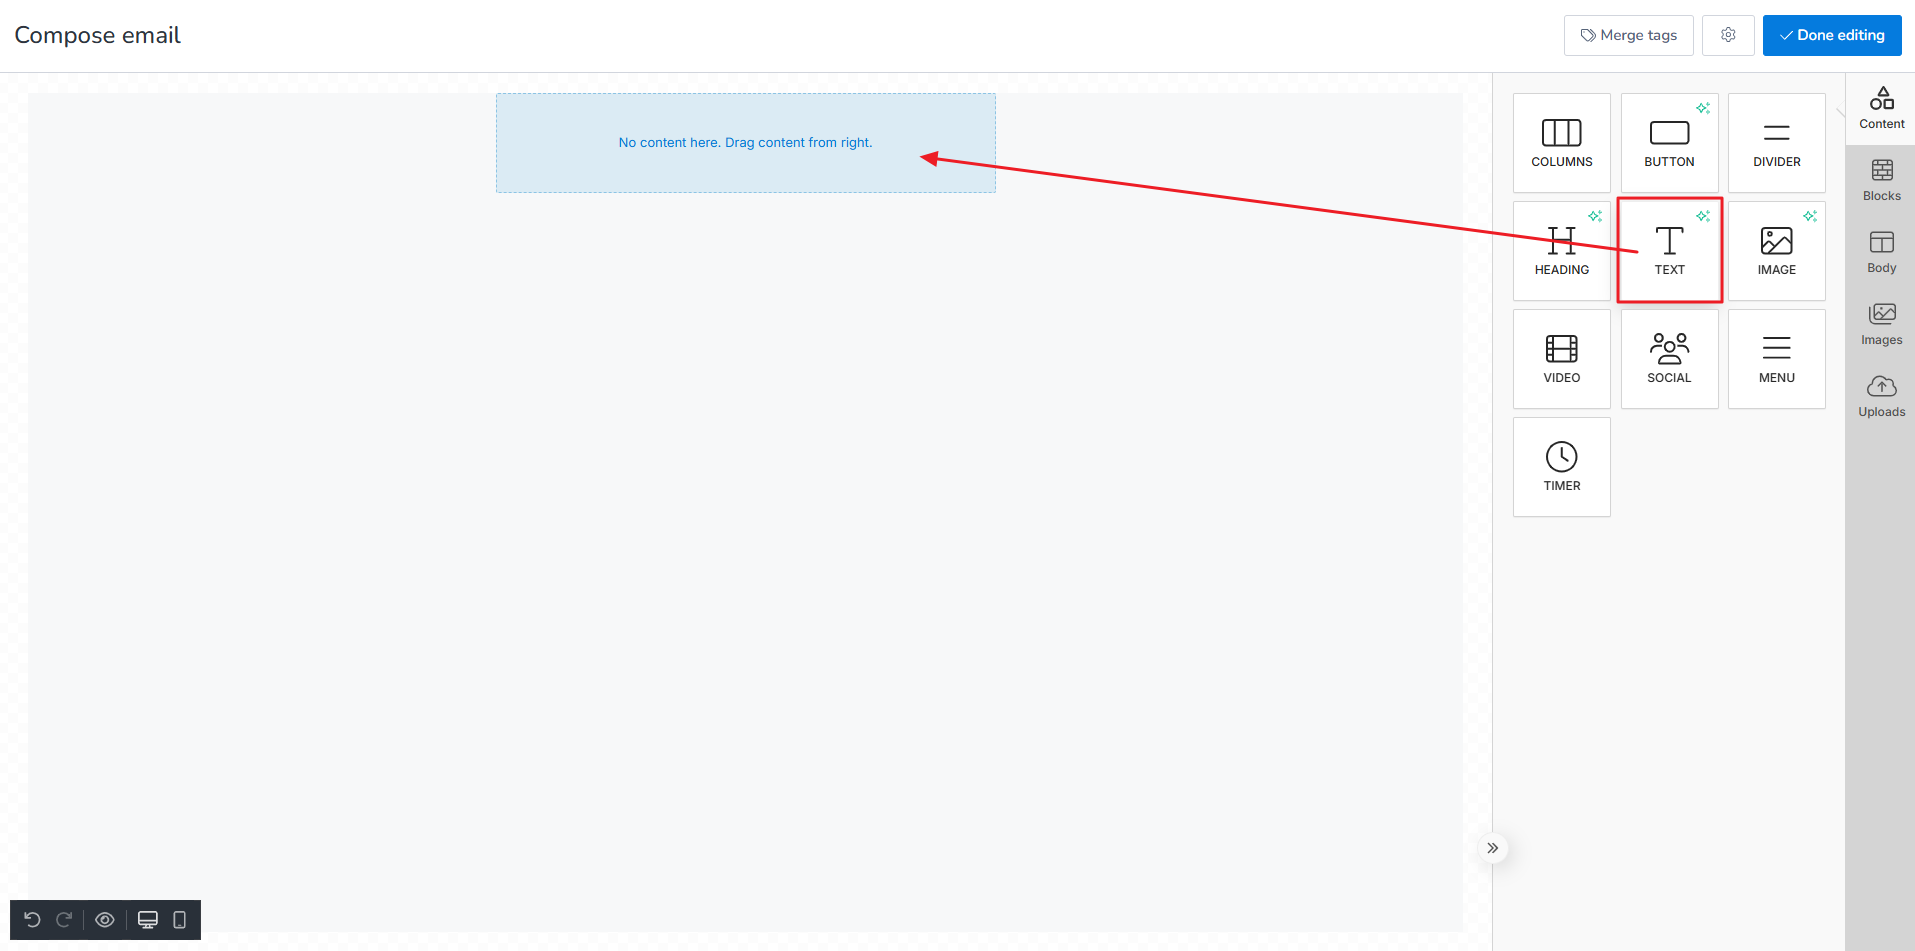
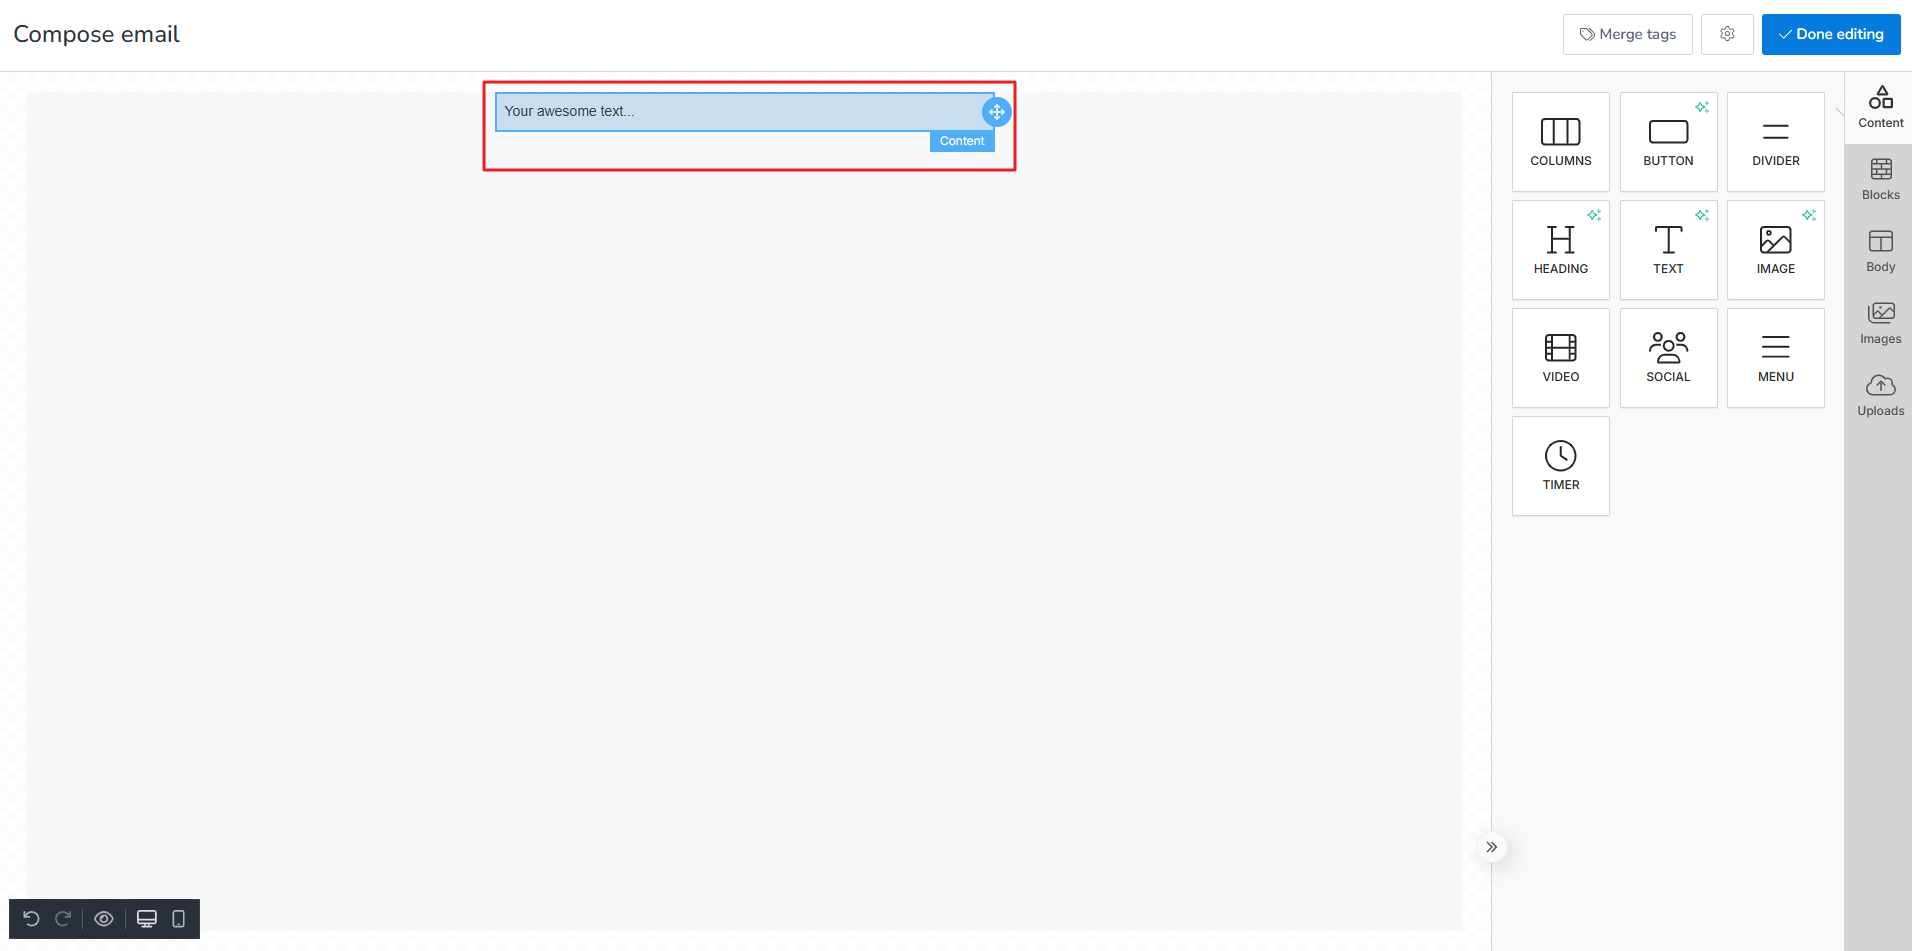
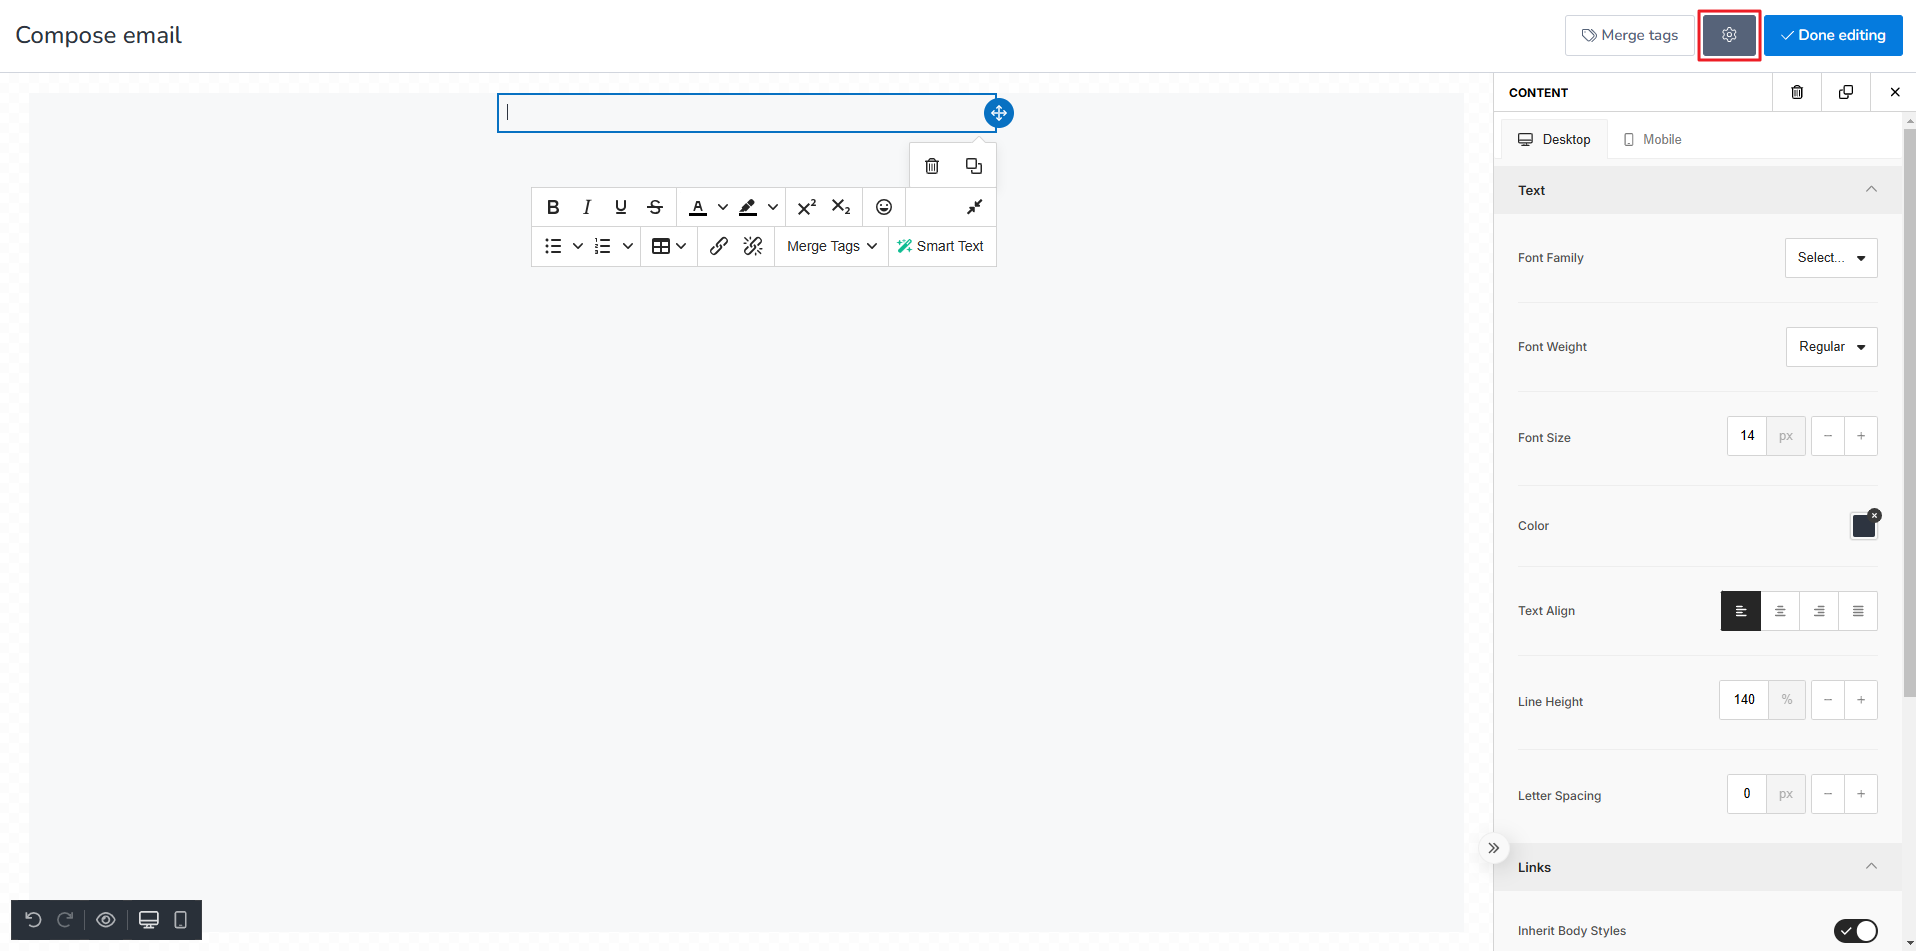
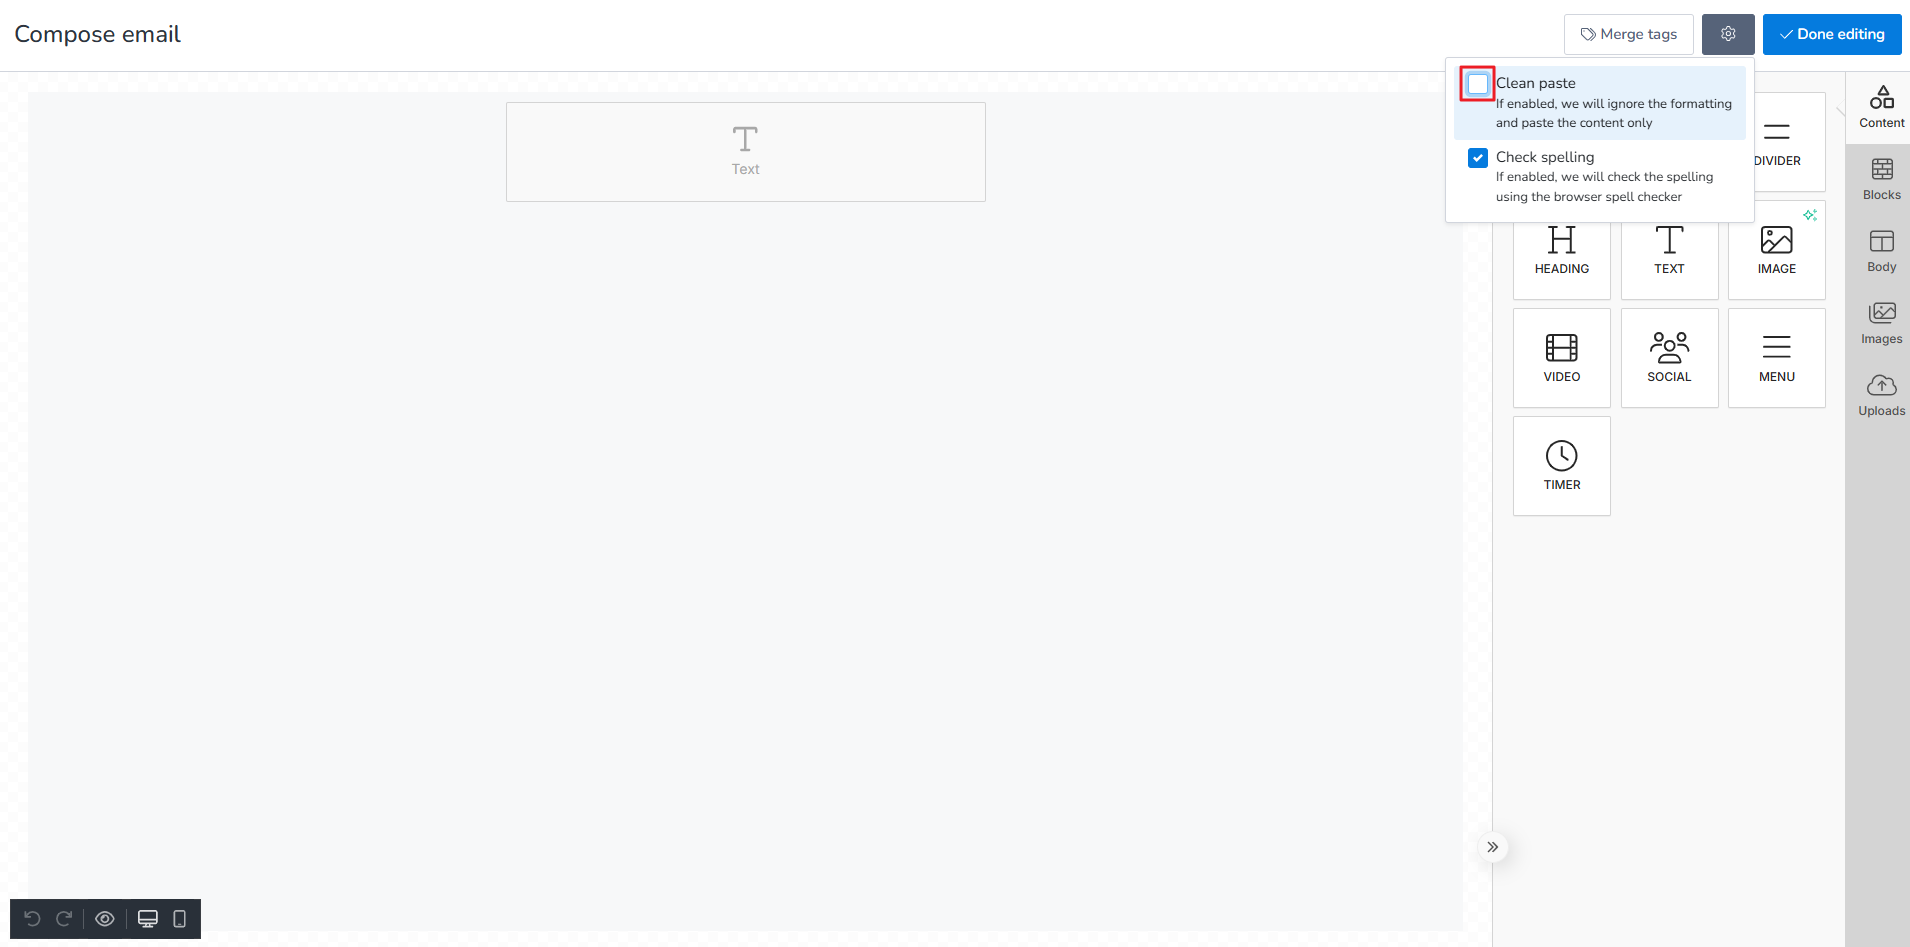
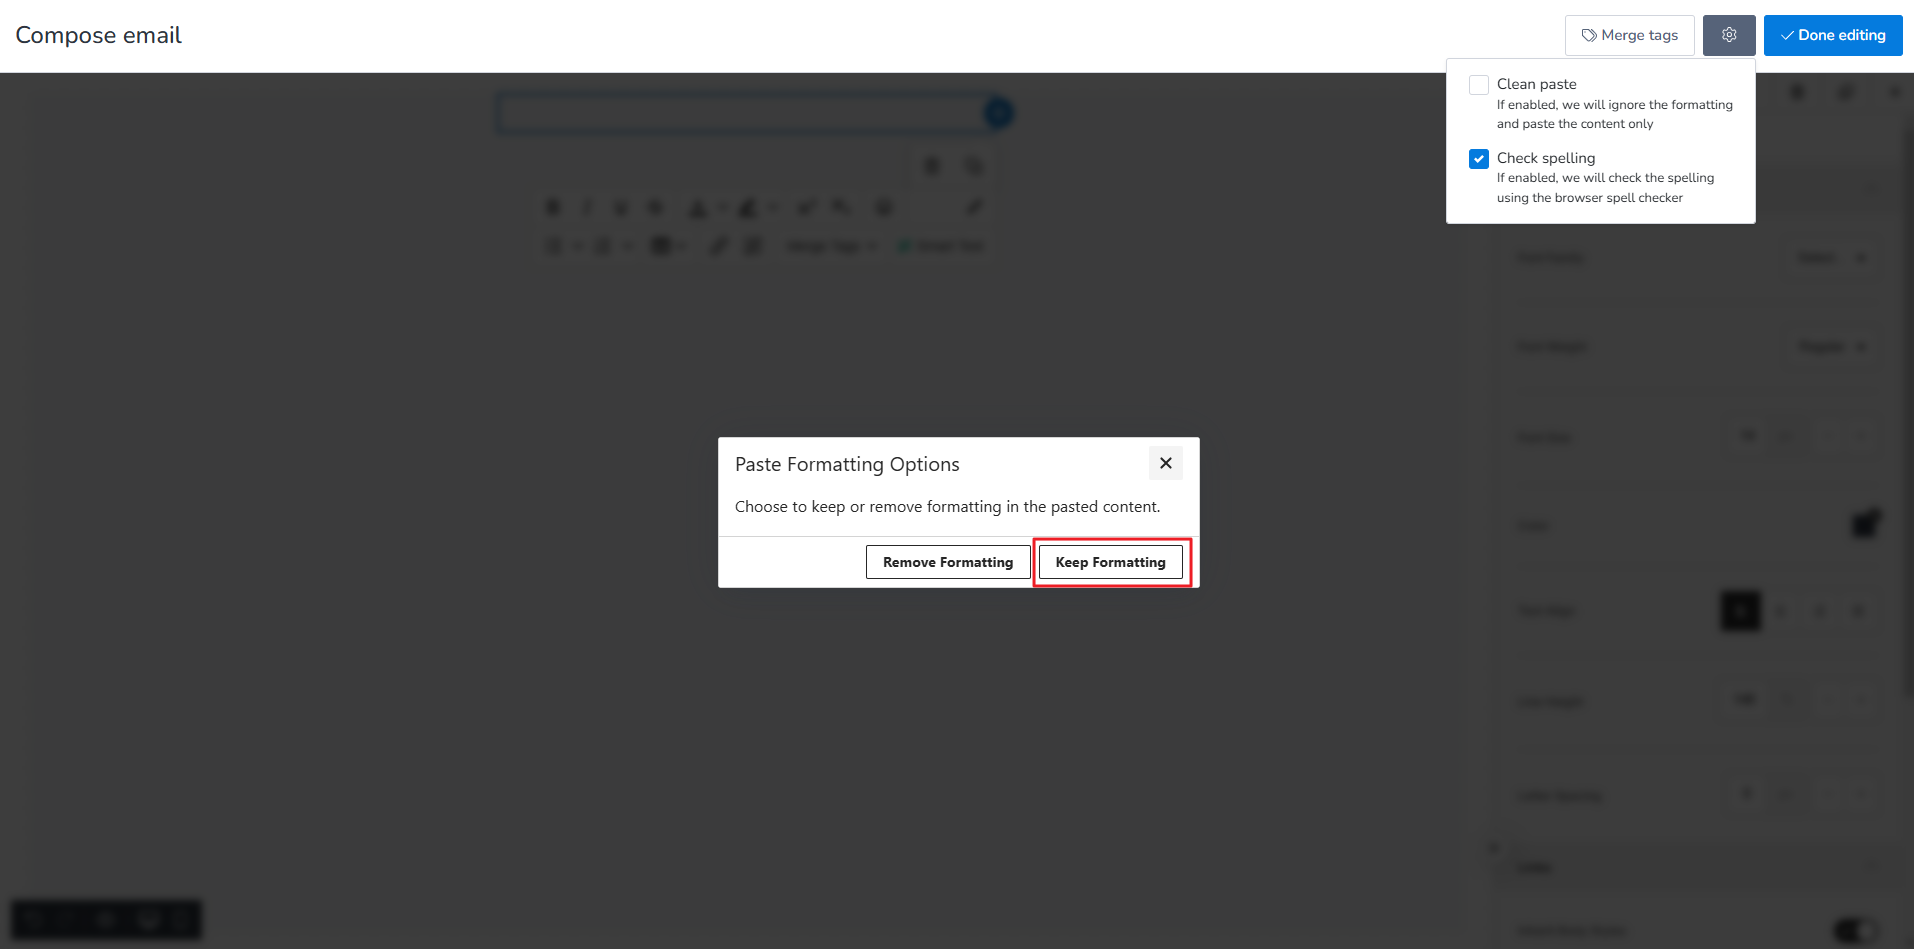
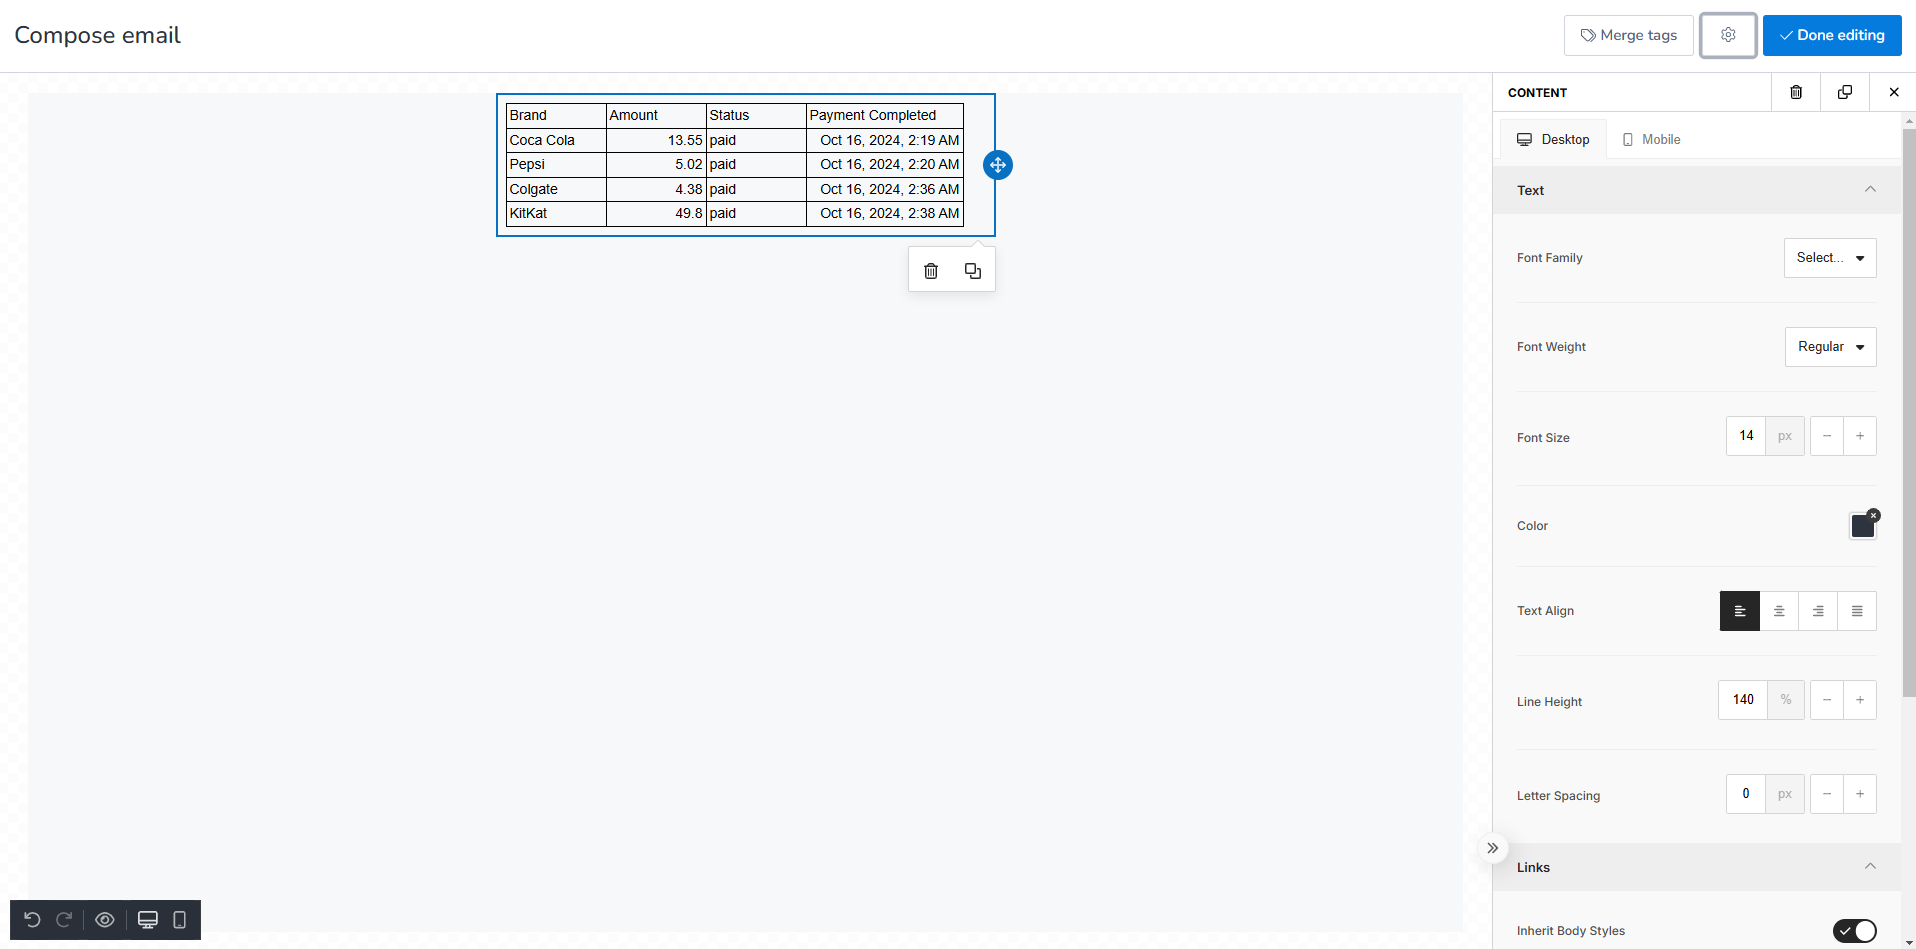
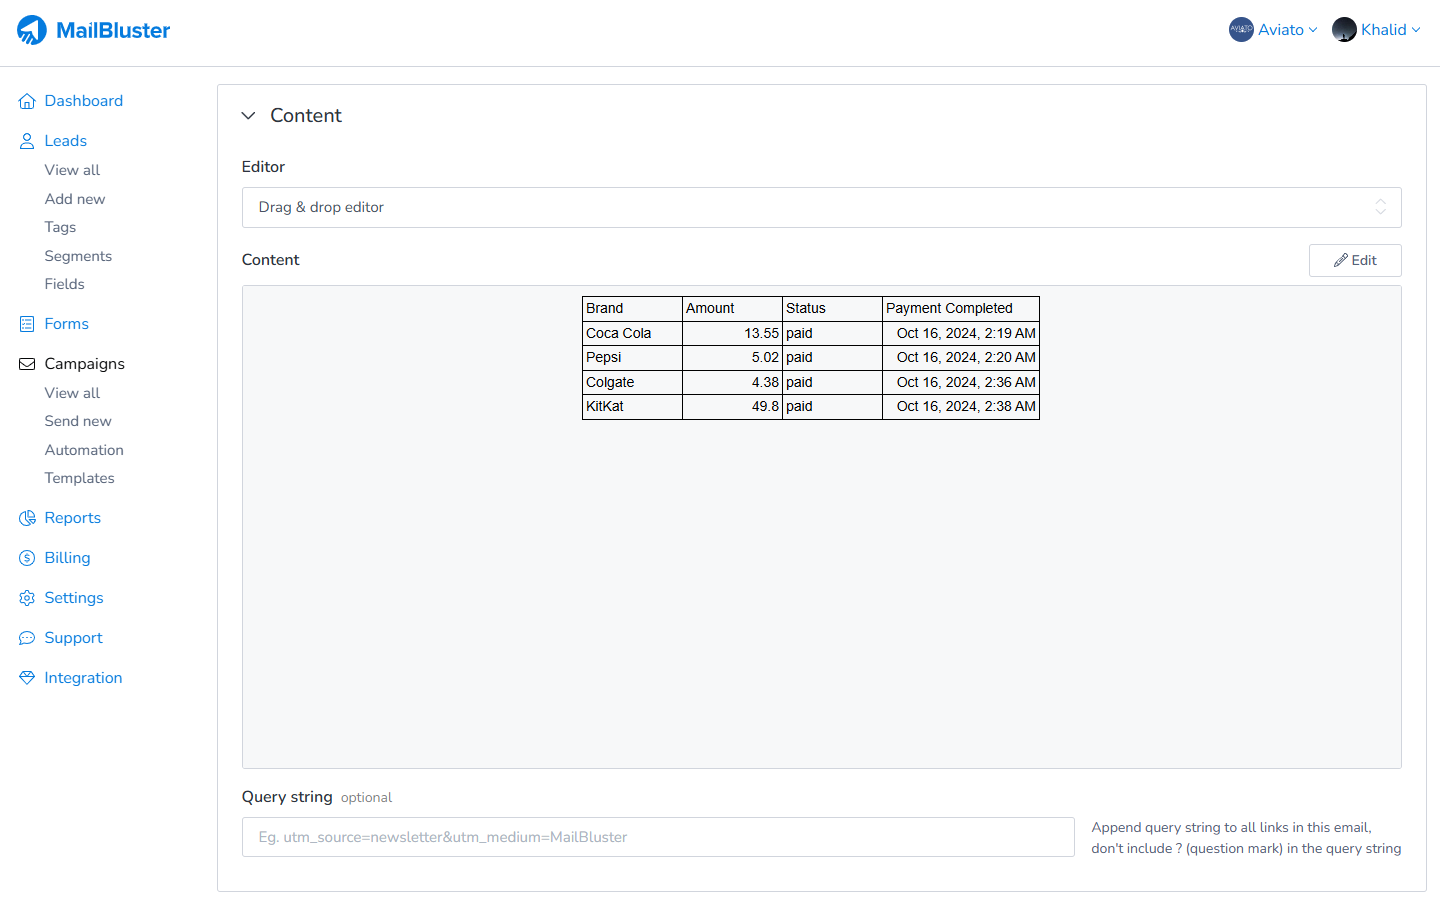
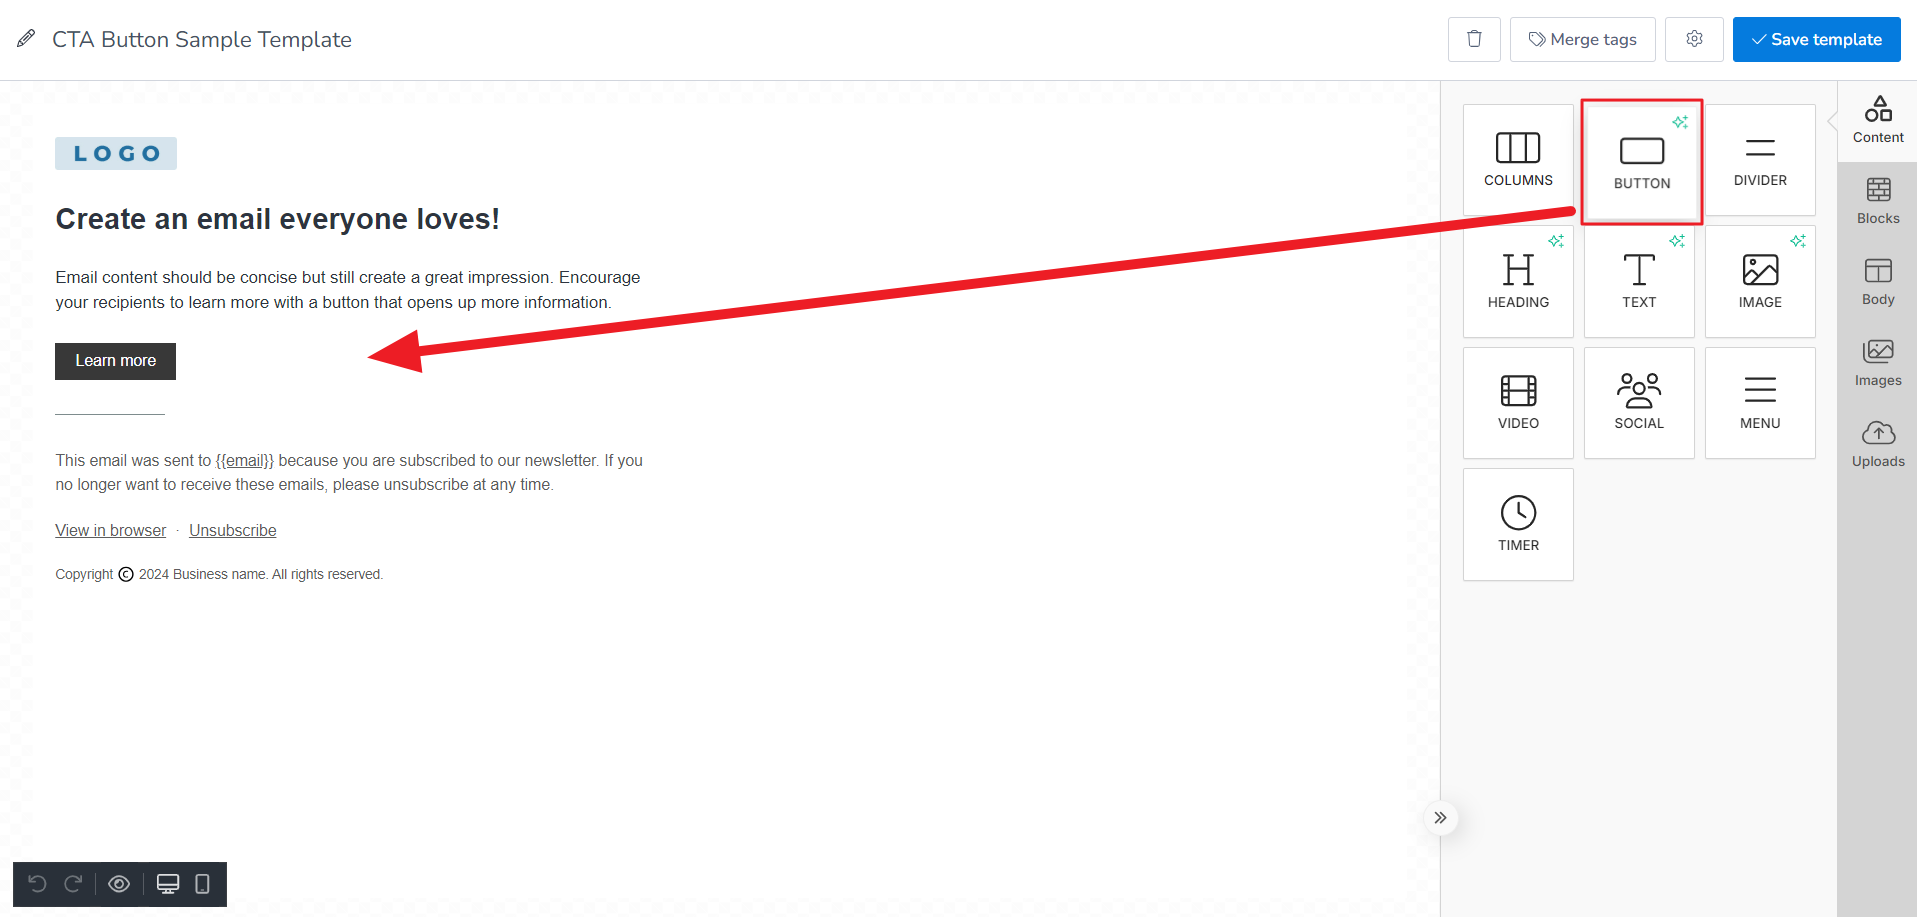
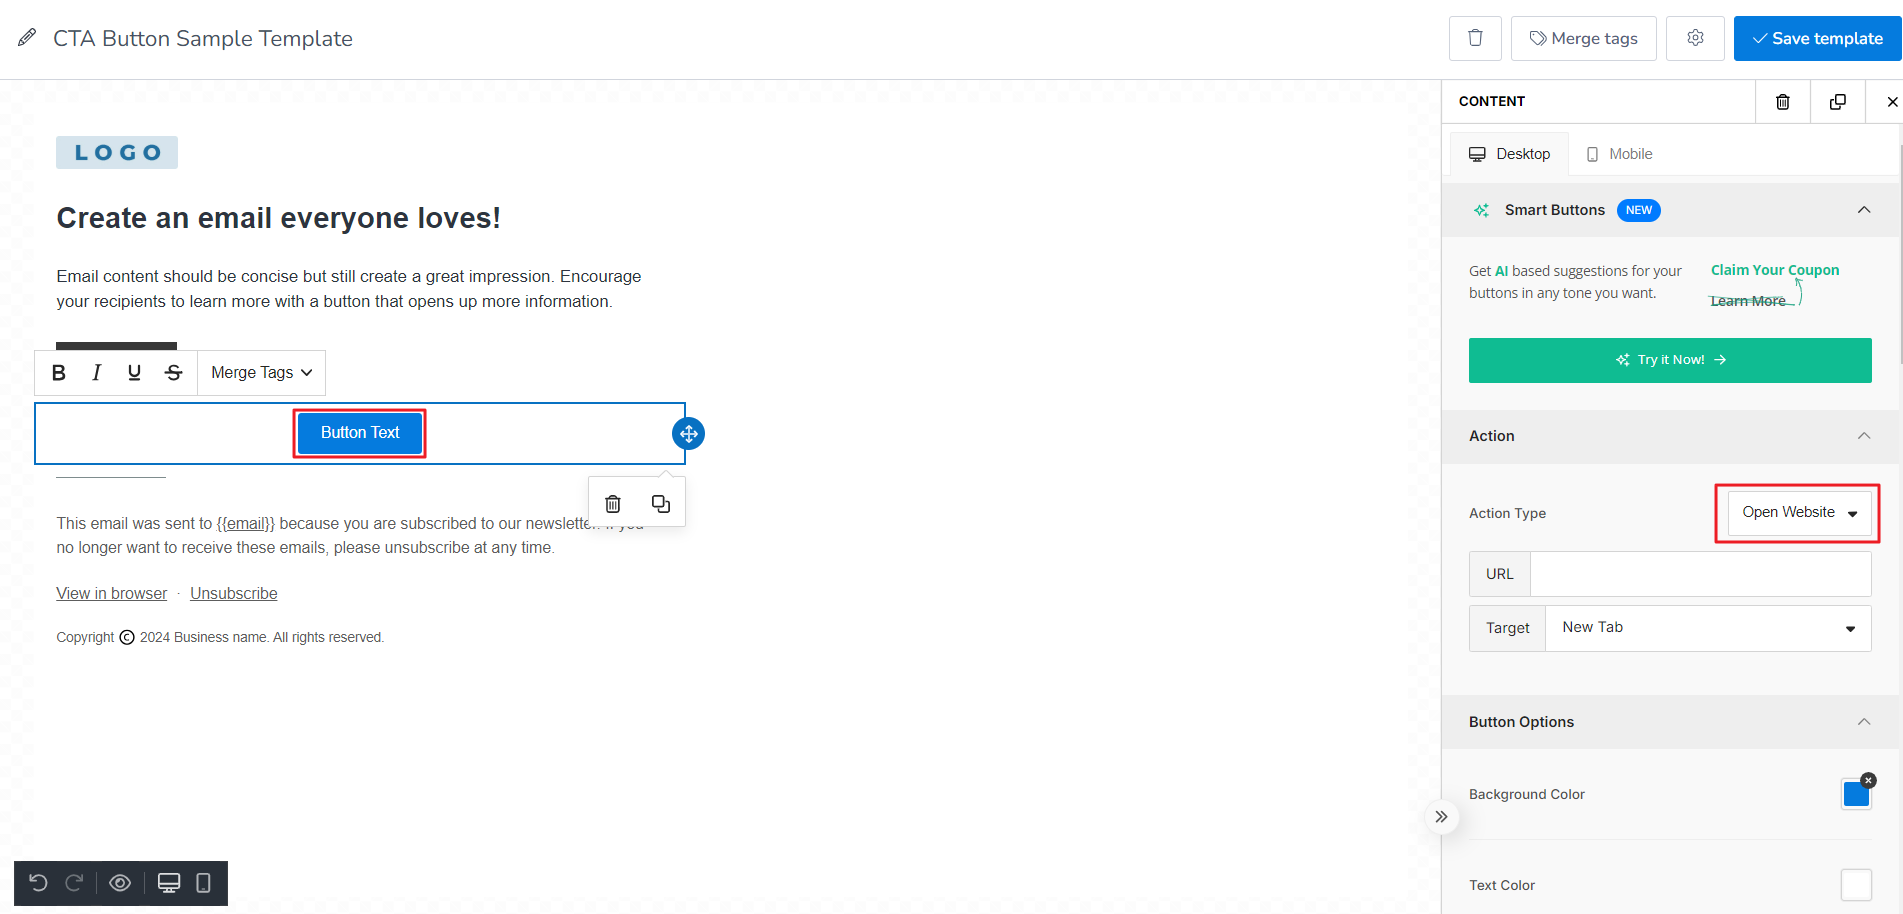
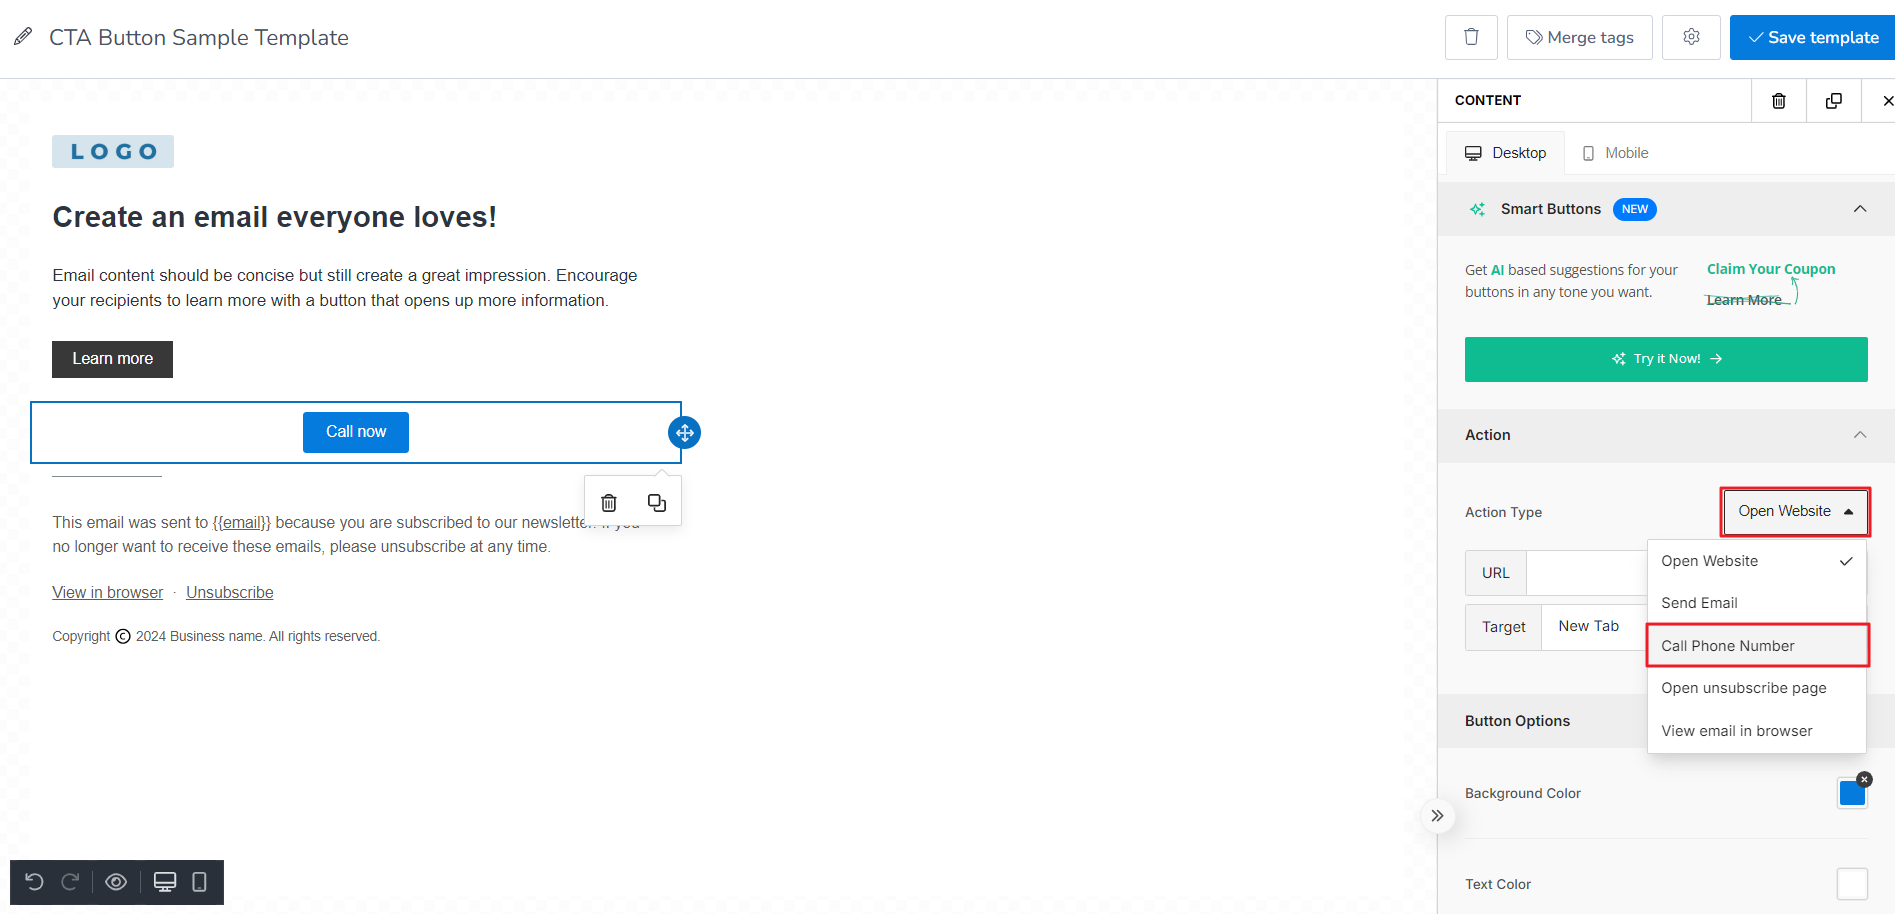
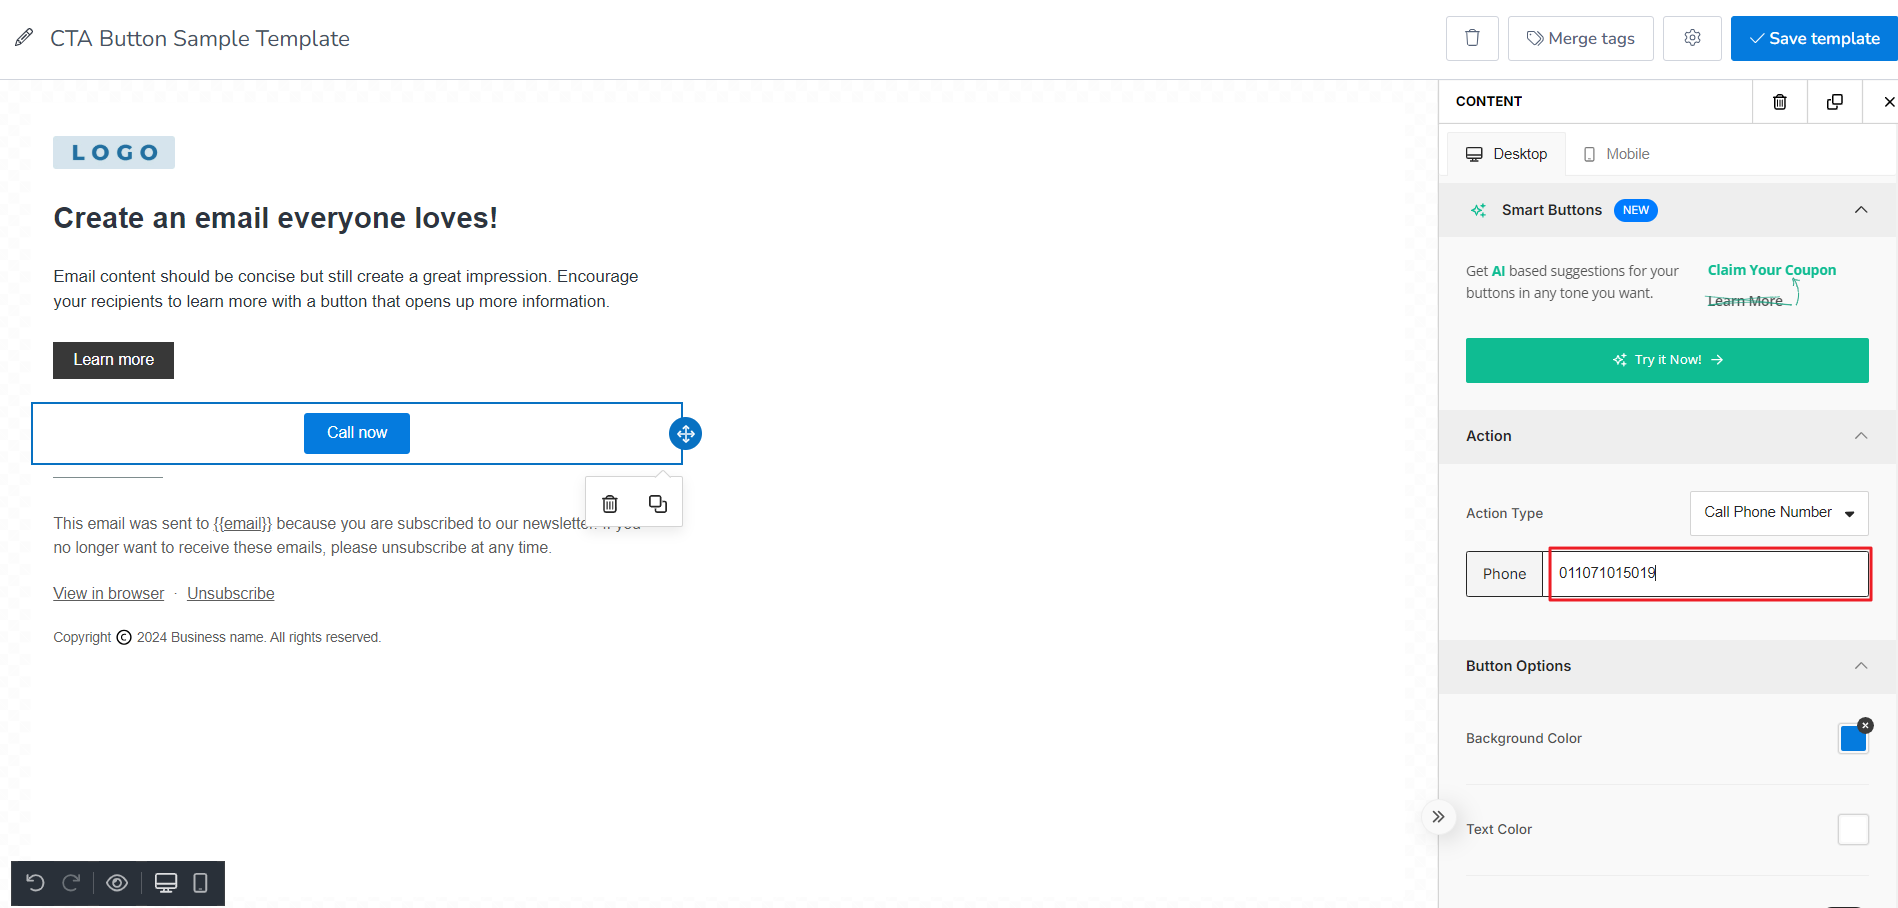
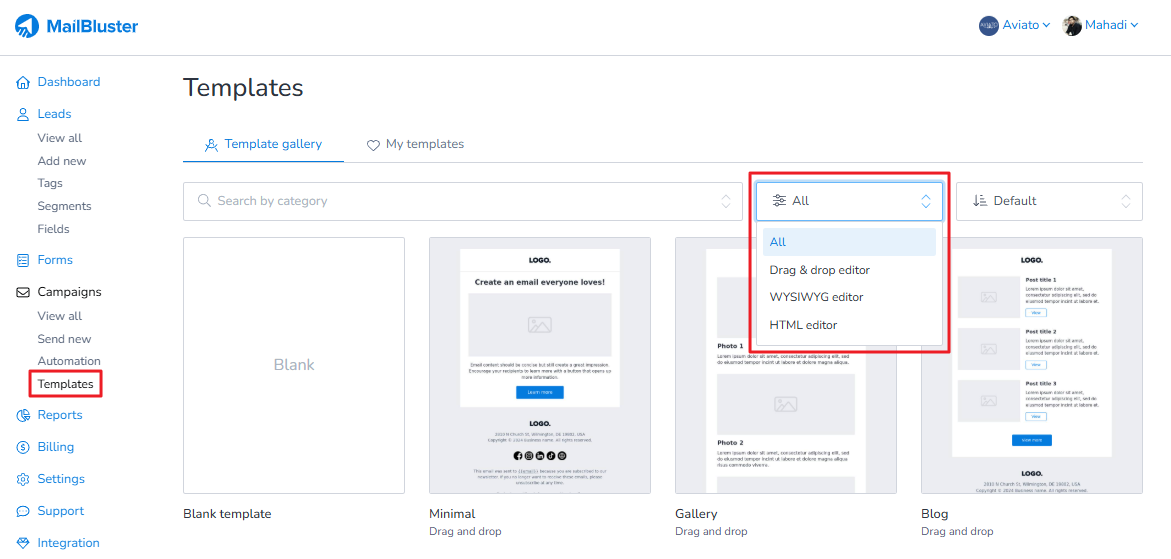
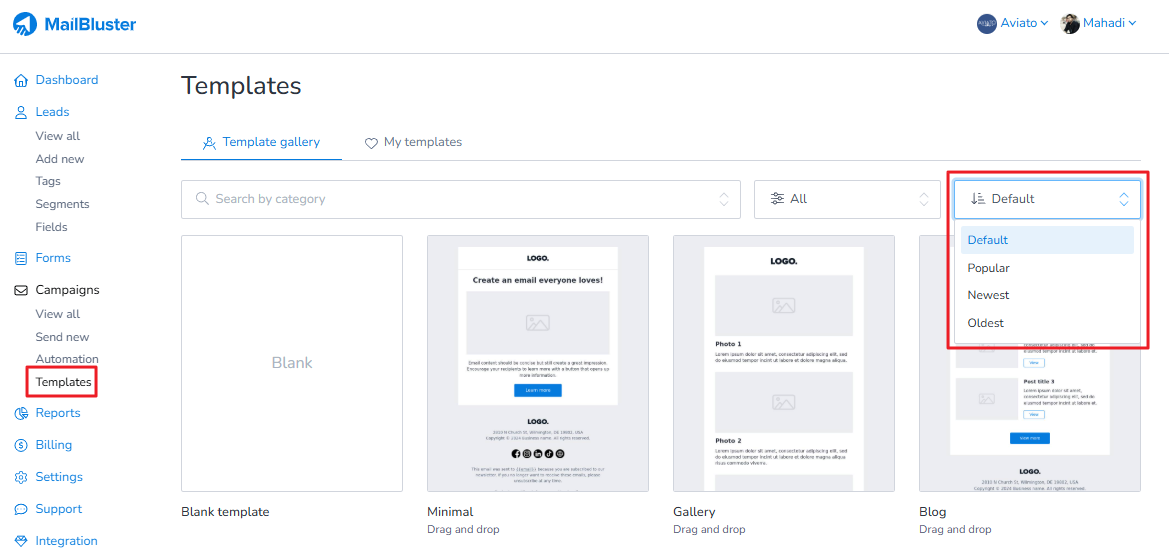
You can also sort the templates by popularity, newest, and oldest.
The Template Editor in MailBluster features a powerful drag-and-drop email builder that makes creating professional emails simple and efficient. Users can choose from a wide variety of pre-designed templates and customize them to fit their brand.
With this editor, you can easily modify content, insert images, add file links, and adjust the layout and styling—all without needing to code. Each template can be named, saved, and reused directly within the editor. The flexible design tools and template options make it easy to create engaging, brand-aligned email campaigns in minutes.
Tools for Email
The template editor comes with the following tools out of the box.
Columns: It allows your users to add columns to your design in order to have a better design arrangement.
Button: Add any type of button in your email. You can change colors and styles.
Divider: It gives your users appropriate spacing at any point they want in their design.
Heading: Add headings (from level 1-6) to the design.
Text: Text is a built-in tool so users can add text to their designs.
Image: To make your emails attractive, you can add images using this tool.
Video: It lets users add YouTube or Vimeo videos to their designs. This tool automatically generates thumbnails of videos for emails and ensures that it renders correctly on all platforms.
Social: It is a built-in tool that lets users add their social media icons to your design.
Menu: Menu is a built-in tool used to create navigation menus.
Timer: Timer is used to create countdown timers. This tool creates a countdown GIF image to run a real time countdown.
Templates are essential tools that help streamline the process of creating emails quickly, consistently, and effectively. MailBluster offers different types of templates to suit various needs, allowing you to design emails faster and maintain brand consistency across campaigns.
Templates in MailBluster are classified into different categories which can be found from Templates > Template gallery > Search by category bar.
MailBluster brings you beautiful templates built around specific themes like newsletters, e-commerce, holidays, sports, and events.
Simply pick one of MailBluster’s pre-designed themes after selecting a category, and you’ll have a beautiful email campaign ready to go.
The following are pre-designed templates from the selected category.
This is from another category, where we can see some nicely designed templates from the well-known event category, Halloween.
These templates can be modified using MailBluster’s drag-and-drop editor. You can customize the colors, fonts, images, and layouts of templates from any category and save them for future use.
Learn how to create a simple Template in MailBluster. First you need to go to your Brand > Templates > Template gallery and then click on Blanktemplate as shown below.
Rename the template and use the tools on the right side (marked) to customize your template.
You can take the help of the video tutorial for designing your template from here.
After designing your template, click Save template.
Your template will be saved under Templates > My Templates.
You can later use this template in your future campaigns when you create a new campaign using the Drag and Drop Editor.
Here you will learn how to select a template and send as a campaign. Before selecting a template, first you need to create a Template, you can take help from the following guide: Create a simple template. After creating template, go to Campaigns, then click on Create new.
Scroll down and make sure you select Drag and drop editor. Then click Edit button as shown below.
There are two ways you can use templates in your campaigns. You can either use predefined templates from Template gallery or you can use your own from My templates. Be sure to create one and save it.
Here, we have selected a template of our own from My templates by clicking on it.
You will then taken to edit the campaign containing the template as shown below. After editing your campaign and making changes, be sure to click Done editing.
Here you will learn how to update template using container padding. First you need to drag your mouse cursor over the image content and click on it. Then, scroll down to the “General” section where you’ll find the “Container Padding” option. You can adjust the padding by increasing or decreasing the values to change the space surrounding the image.
Here you will learn how to enlarge the template body content using MailBluster drag and drop editor. Once you’ve selected a predefined template or created a new one, go to the “Body” section and increase the “Content Width” of the email template. The width is measured in pixels (px).
Duplicating templates across brands allows you to seamlessly duplicate your chosen template and apply it to any other brand within your account. Whether you’re managing multiple brands or campaigns, this feature ensures that your preferred design and content are effortlessly carried over, saving you time and maintaining consistency across your marketing efforts.
To duplicate template across Brands, first go to any of your Brands > Templates > My Templates. Then, click on the Duplicate Template icon, as shown in the screenshot below.
Once you click the Duplicate Template icon, a pop-up box will appear asking for the Template Name and brand selection – ‘Select brand‘. After you have entered the details, click the Duplicate button.
After clicking Duplicate button, a notification will appear in the bottom left corner saying, ‘Template duplicated.’
Now, if you go to the selected Brand > Templates > My Templates, you will notice that your template from another brand has been created here with the same design, layout, and name, as shown below.
Unfortunately, creating template from HTML editor and WYSIWYG editor is not possible. This is because MailBluster does not have a built-in Templates gallery for the HTML editor and WYSIWYG editor. So you cannot create any templates or save templates from these two editors. However, you can use the Drag & drop editor to create email templates or use predefined email templates from Templates gallery.
Using MailBluster HTML editor, you can copy paste any HTML code of email template from online and use it on your email campaign. The following is a sample showing what can be done using the HTML editor.
There are two options under Templates in MailBluster: Template gallery and My templates. The Template gallery allows you to select from a wide range of pre-designed templates under each category. These templates are available for every Brand you create in your MailBluster account.
My Templates are the templates you have either created from scratch or modified from pre-designed templates. These templates are composed by you and are saved within each Brand and can also be used across different Brands under same account.
MailBluster offers a wide range of email templates to help you create professional and effective email campaigns. However, it’s important to note that transferring templates from MailBluster to other email marketing tools is not possible. Therefore, you must use MailBluster both for designing your email templates and for sending your campaigns, ensuring full compatibility and seamless functionality within the platform.
You can find all the predefined email templates in the Template gallery.
In this guide, you will learn how to insert table from Google Sheets into a MailBluster email using the drag-and-drop editor. Being able to insert a table from Google Sheets is useful for displaying neatly organized data, such as pricing lists, event schedules, or product details, directly in your campaigns. This ensures your subscribers see clear, well-formatted information without the need to open external links.
To learn how to insert table from Google Sheets, first you need to got to MailBluster Drag and drop editor from Templates or Campaigns. Then drag and drop TEXT button from the Content toolbar.
When the text toolbar pops up, click on the Table button and draw the table as desired.
You can add or remove columns and rows using the table customization option.
Now, to copy paste table from Google Sheets, again go to your Drag and drop Editor and drag and drop TEXT button from the Content toolbar.
After dropping TEXT button, it will look like this.
Remove any text if not needed. Then click on the Options button.
Untick the Clean paste radio button option.
Now, go to your Google Sheet and prepare the table for copying.
Highlight the entire table as shown below.
Then click on the Copy button.
Then go to Compose email and Paste the table.
A popup dialogue box: Paste Formatting Options will appear. Click on Keep Formatting.
Then your table from Google Sheet will appear on the Compose email. Click Done editing.
After clicking Done editing, you will see the table inside the Content.
You can now proceed to send this campaign to your subscribers.
Templates in MailBluster Pro plan are exclusive, professionally designed templates available only to Pro users for creating and sending high-quality email campaigns.These templates save time, improve design consistency, and help ensure your emails look polished and engaging across all devices. Pro templates will be labeled as ‘Pro‘ in the left corner of each template.
Here is a screenshare showing a few of the Pro labeled templates available under the Template gallery.