Mailgun is a cloud-based email service platform that helps businesses send, receive, and track emails efficiently. Businesses commonly use it for transactional emails such as order confirmations, password resets, and notifications, as well as marketing emails like newsletters and promotions.
Mailgun provides powerful tools that help developers and businesses manage email delivery, improve deliverability, and analyze email performance.
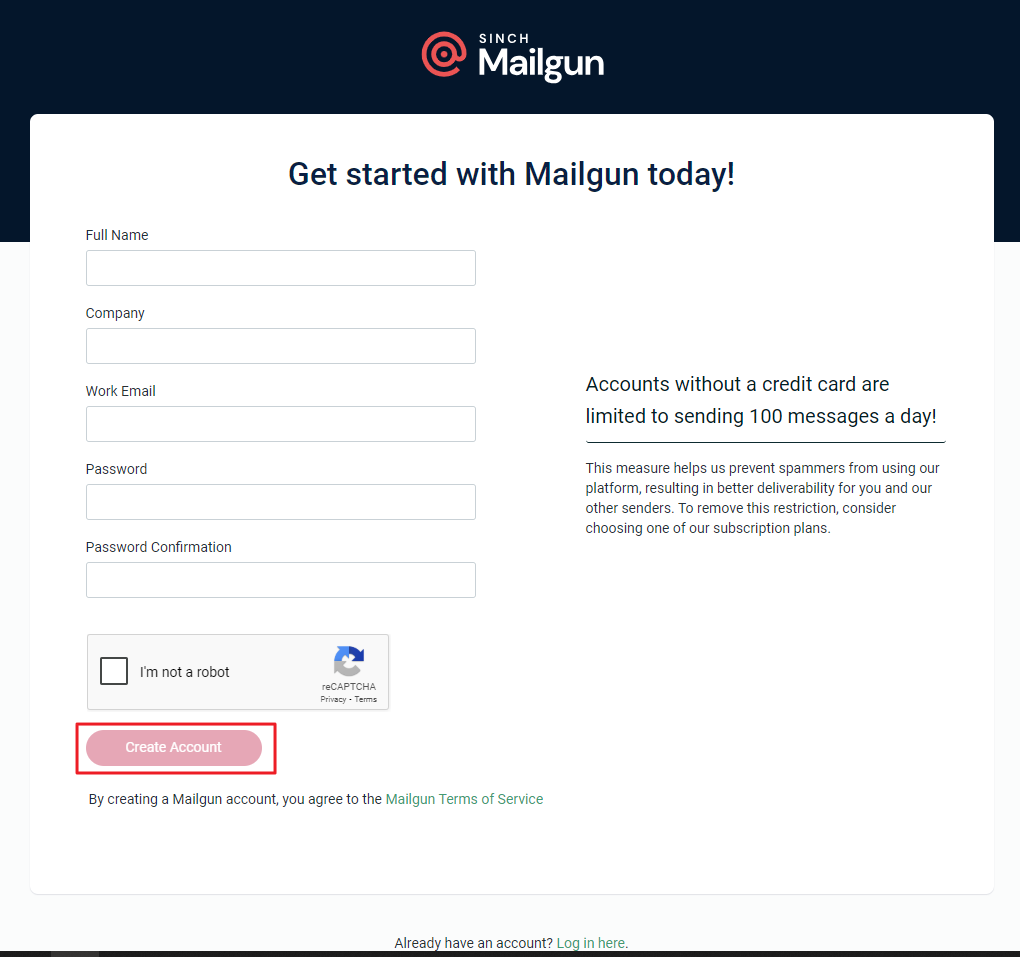
To connect Mailgun with MailBluster, first visit the Mailgun site and create an account using your information.
After filling in all the required details, click Create Account.
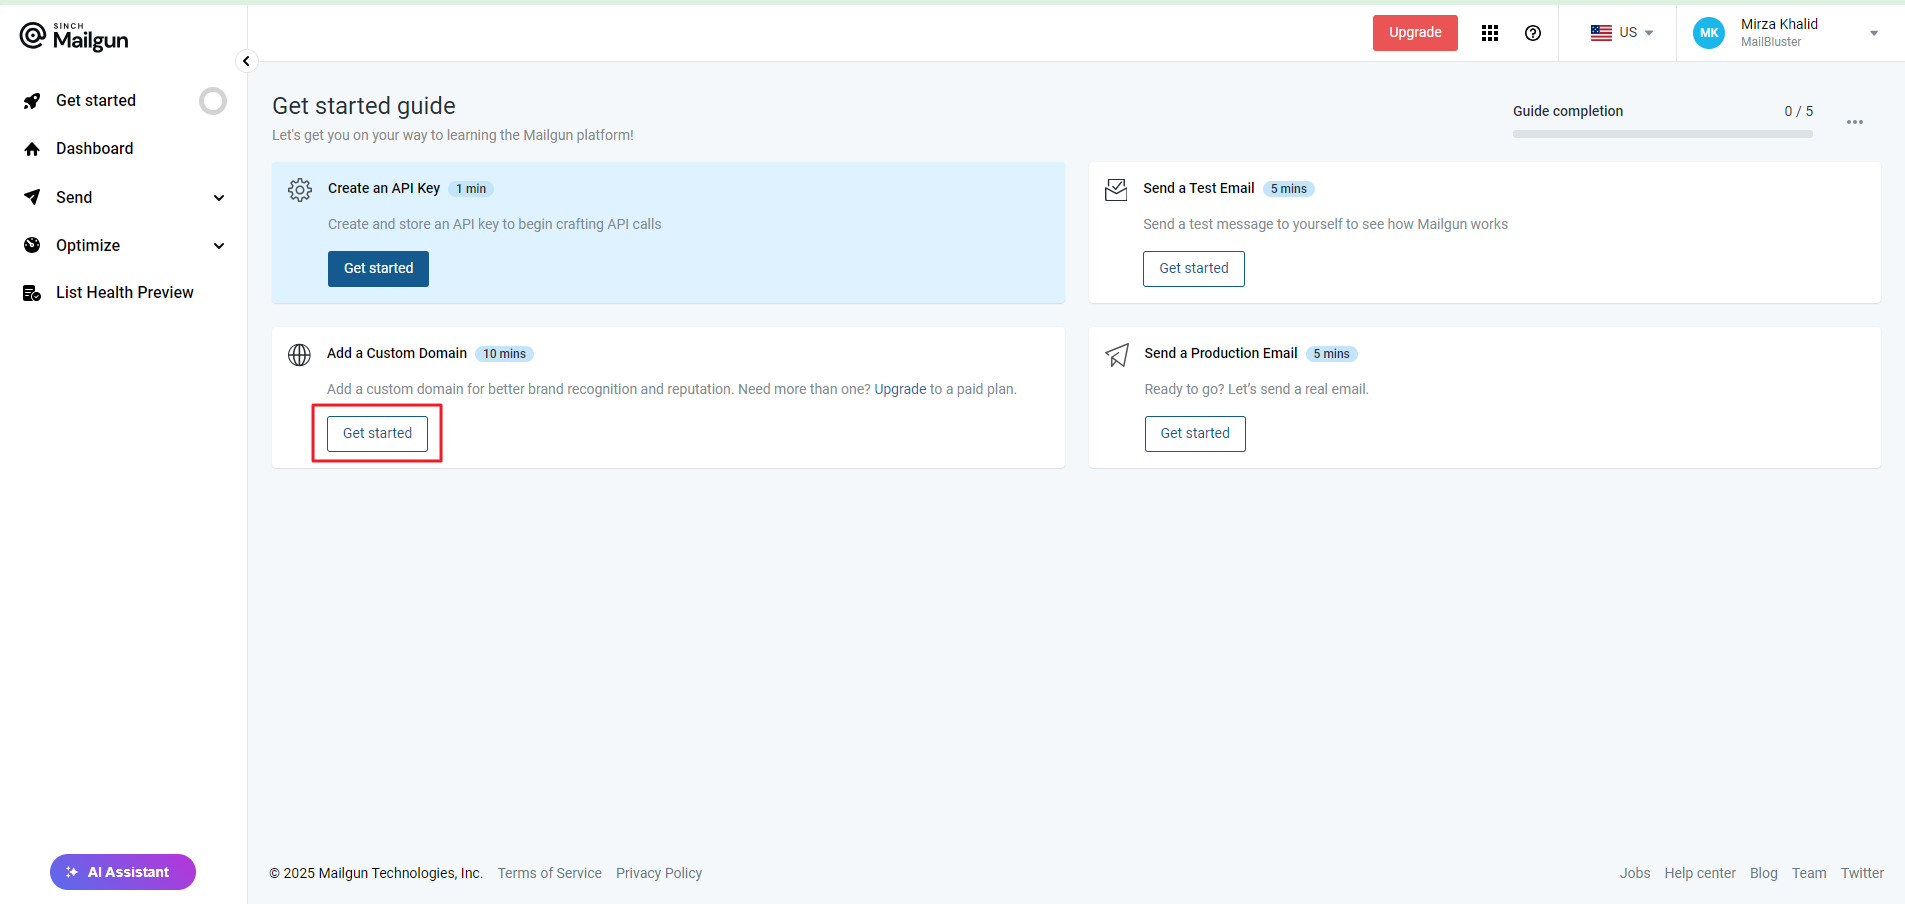
Click on Get started under Add a Custom Domain.
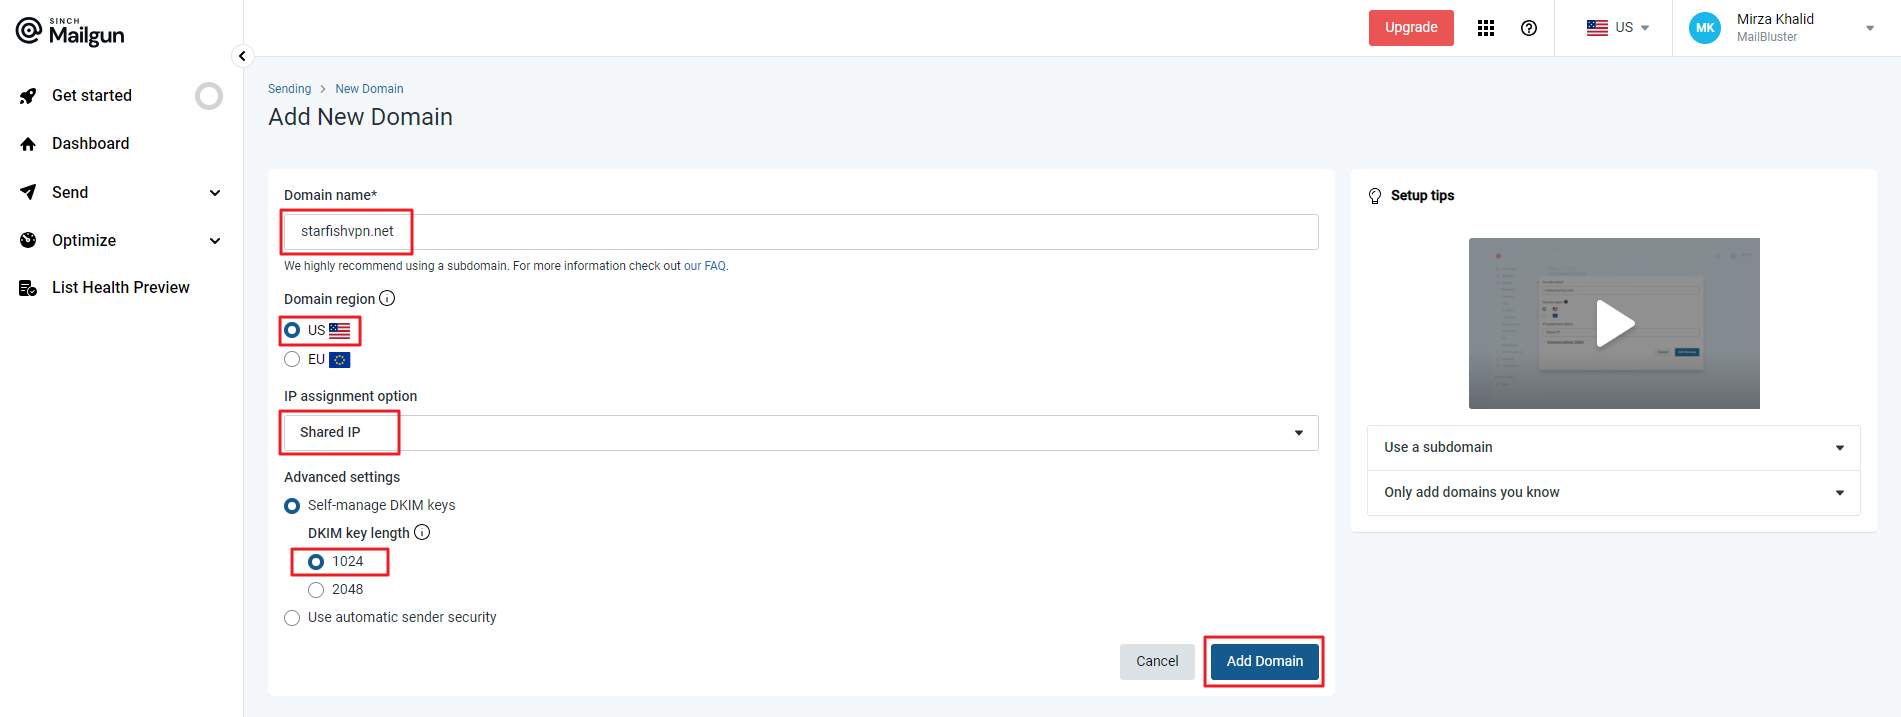
Input the details under Domain name, Domain Region, IP assignment option and Advanced settings. Then click Add Domain.
You can also take the help from this video tutorial Adding your Domain – Mailgun Walkthrough.
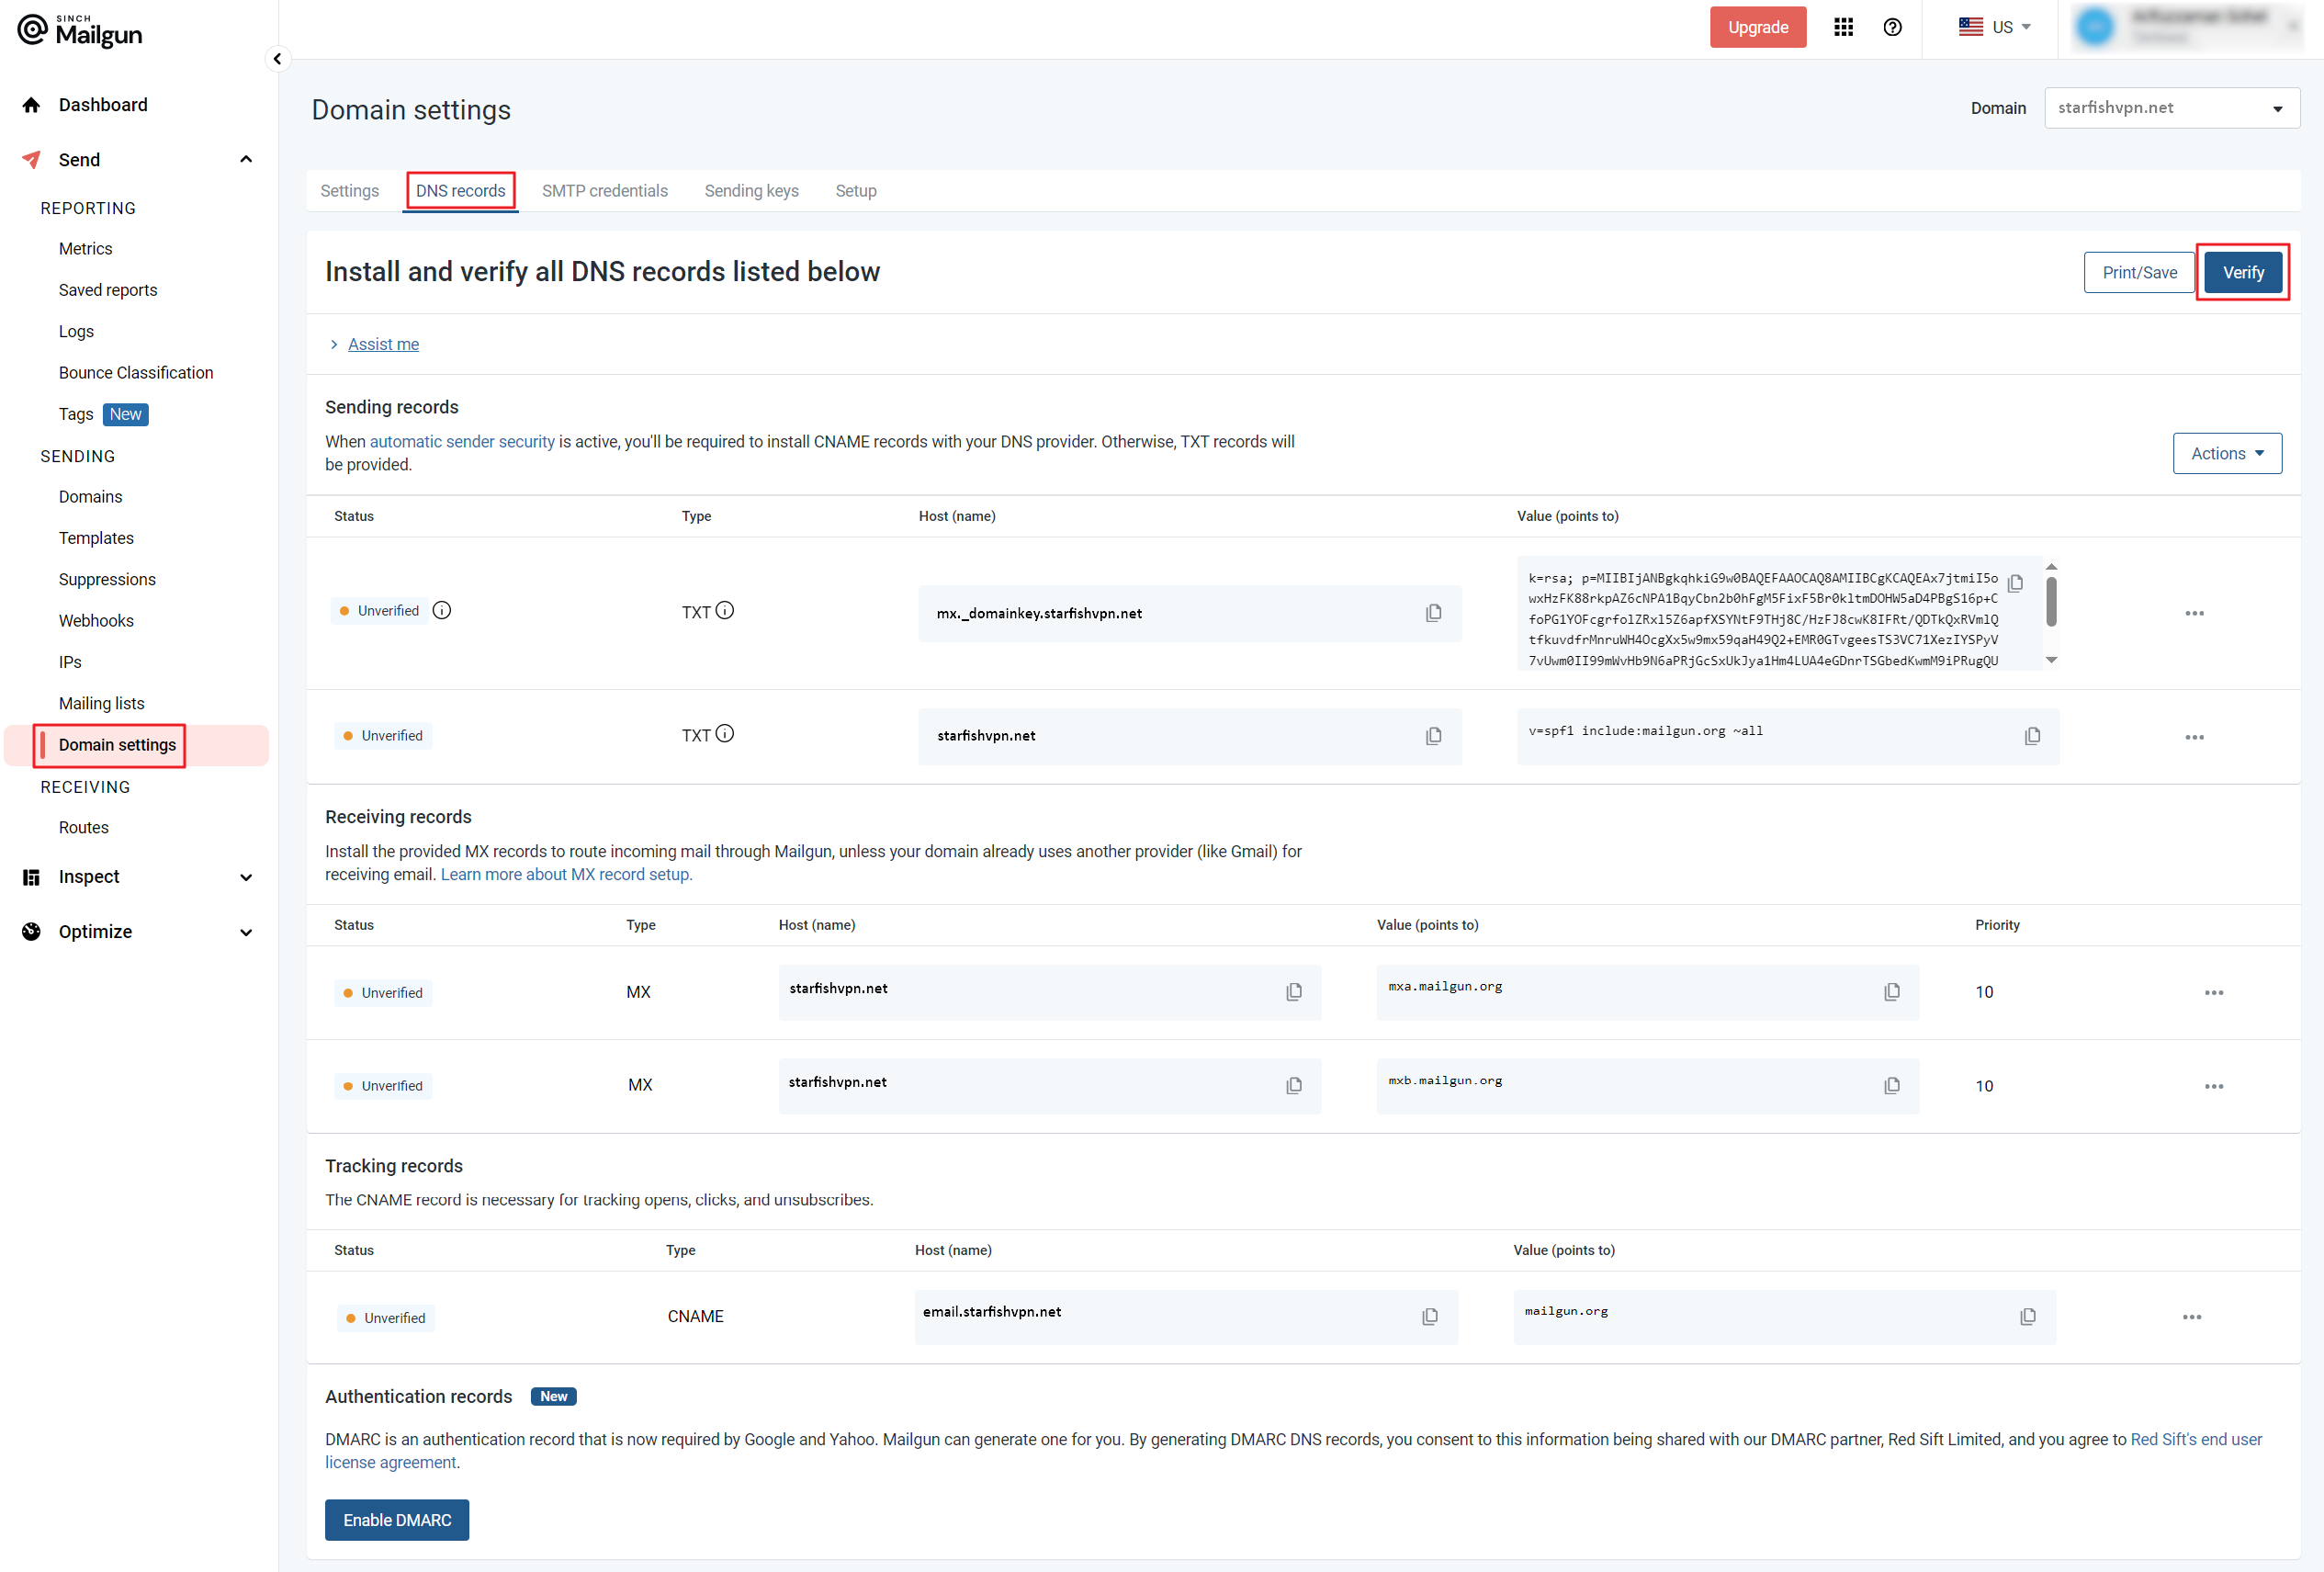
Now, you need to Verify all the DNS records with your domain provider. After adding records to your domain provider’s cPanel, click on Verify button in Domain settings of Mailgun.
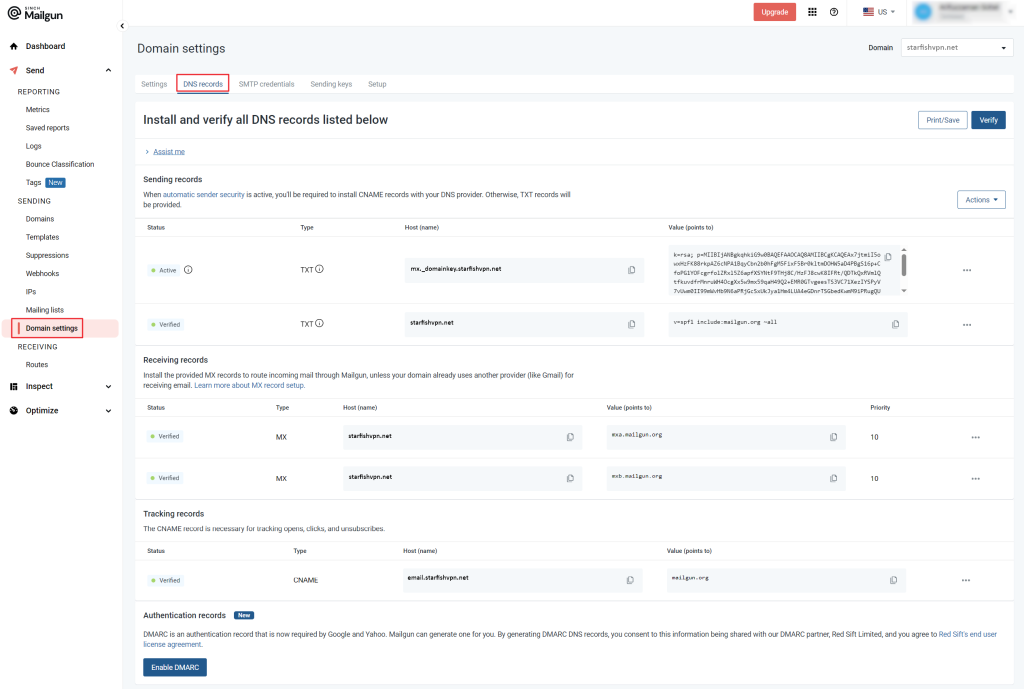
Mailgun Domain Settings showing DNS verification status. After clicking the Verify button, all the DNS records has been verified.
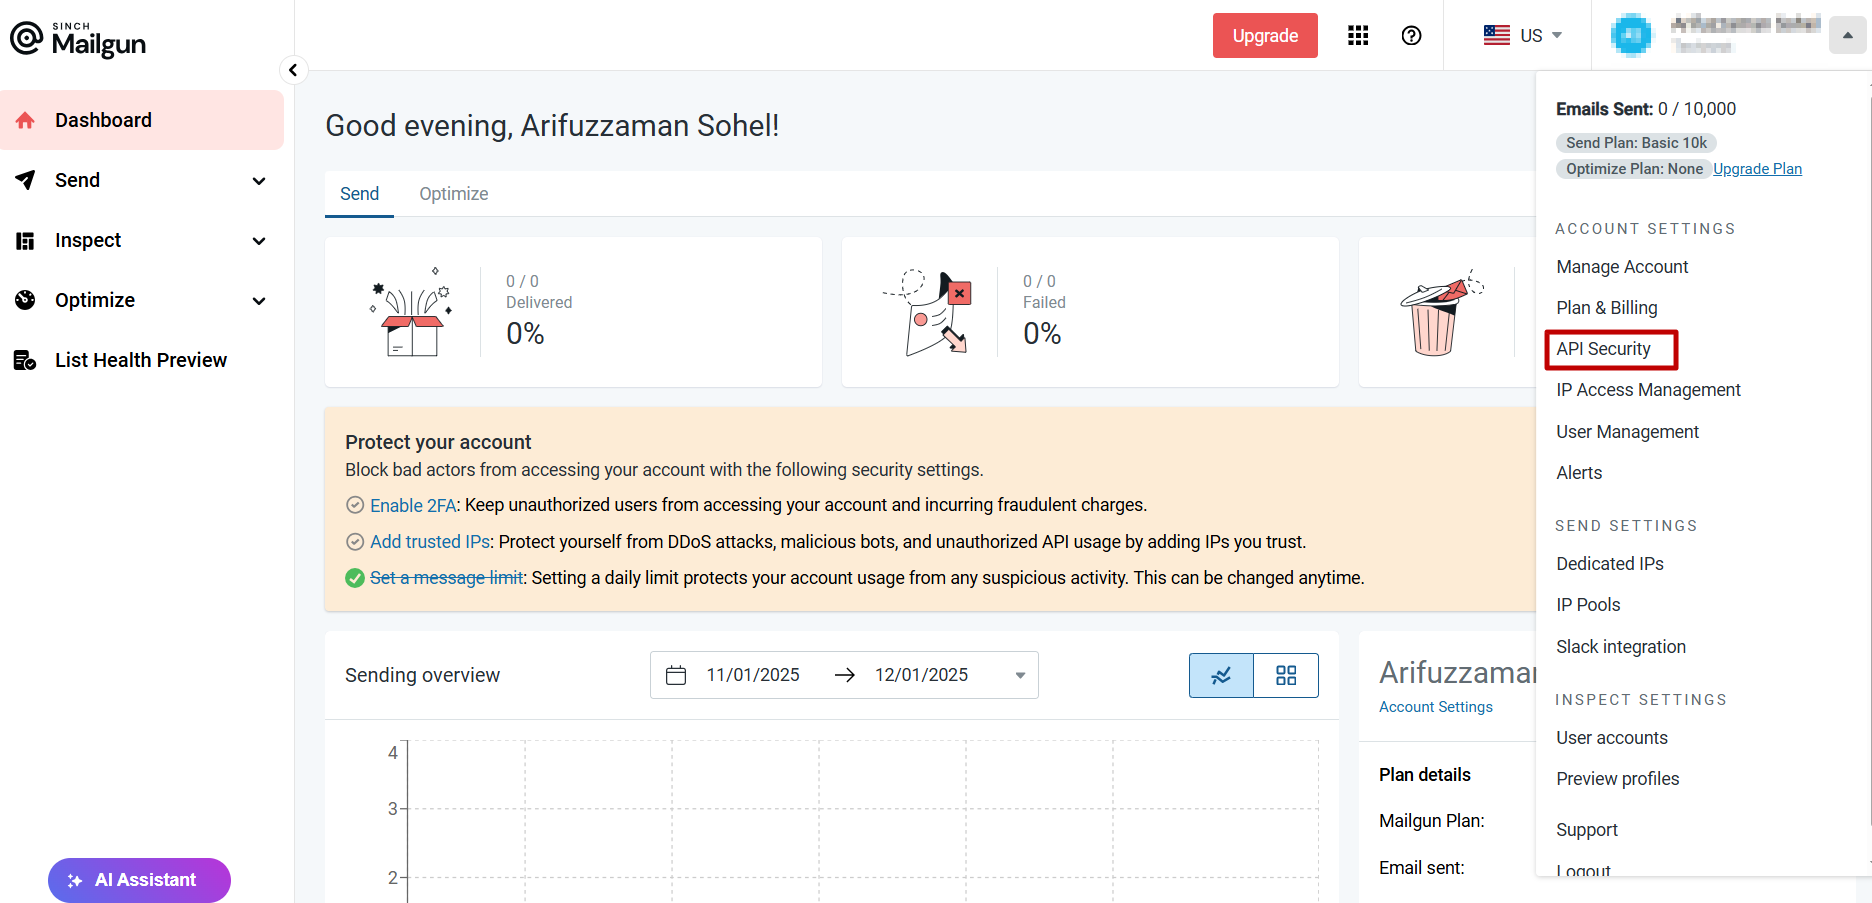
Now you need to create an API Key. For this, you need to go to your Account Settings > API Security
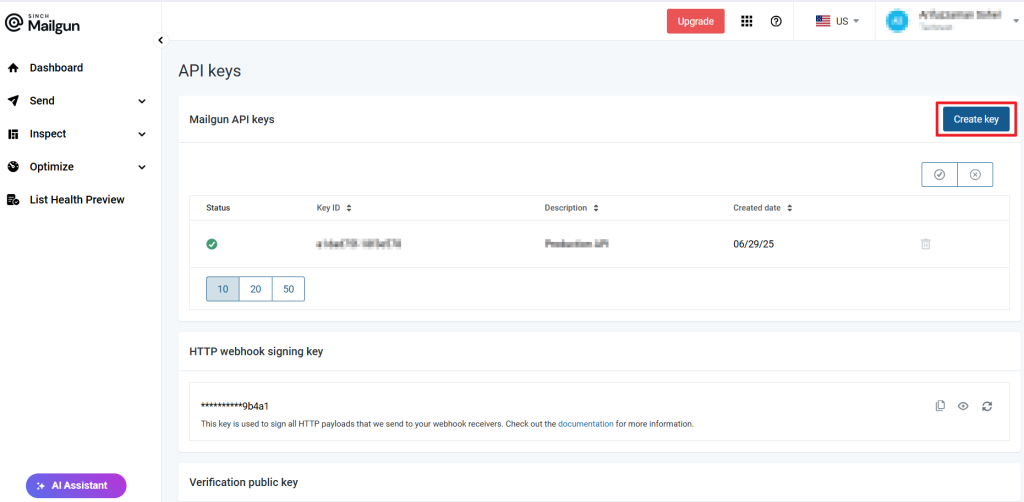
Then click Create Key.
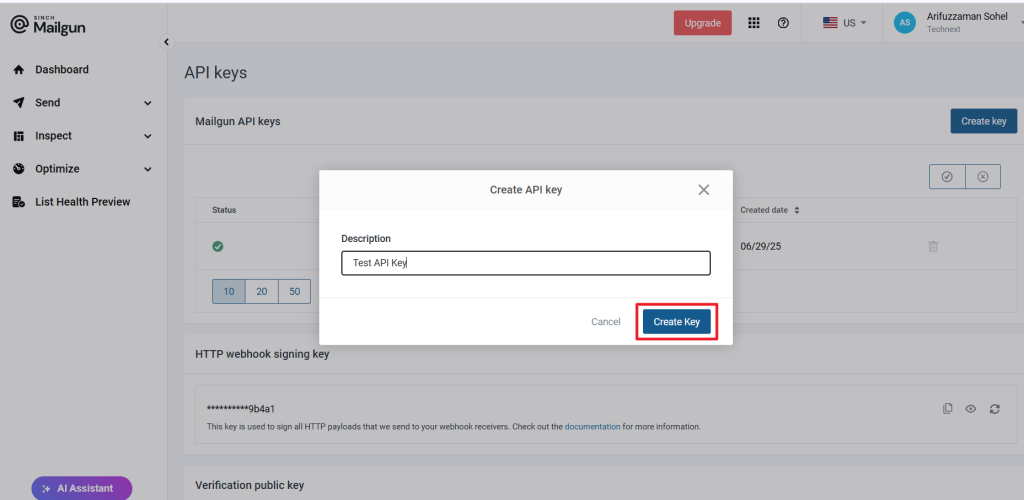
Enter the name of the API Key in the description. Then click Create Key.
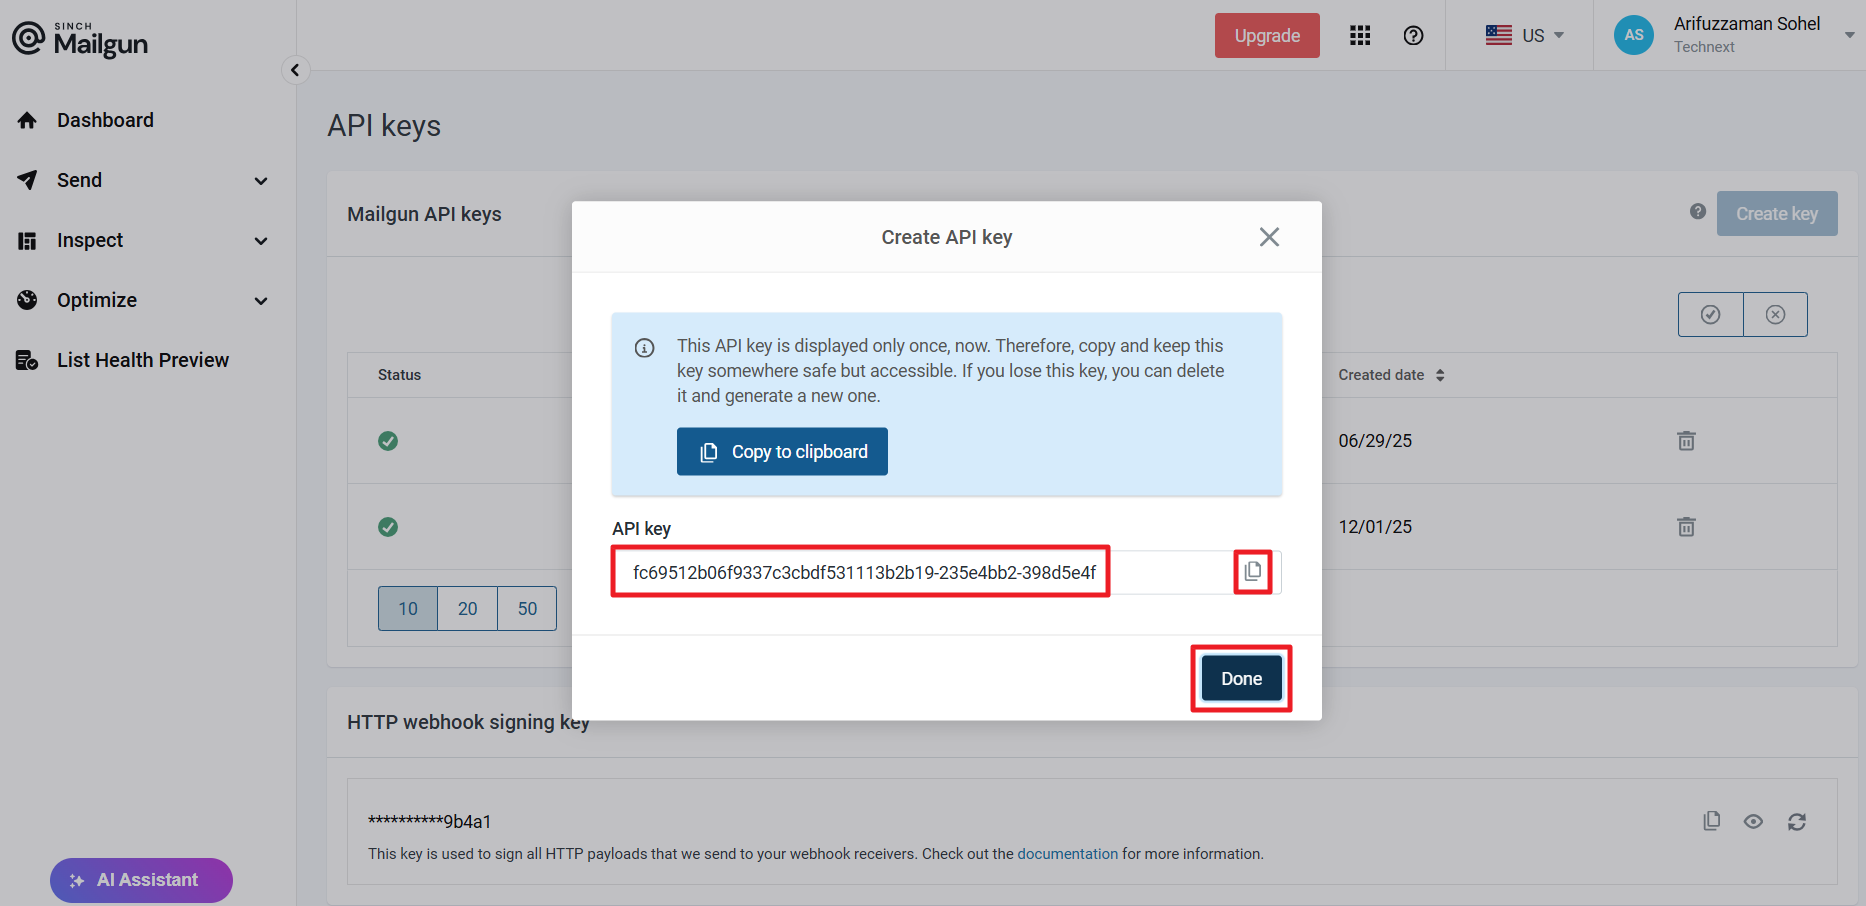
An API key is generated by Mailgun. Copy the API key as shown below.
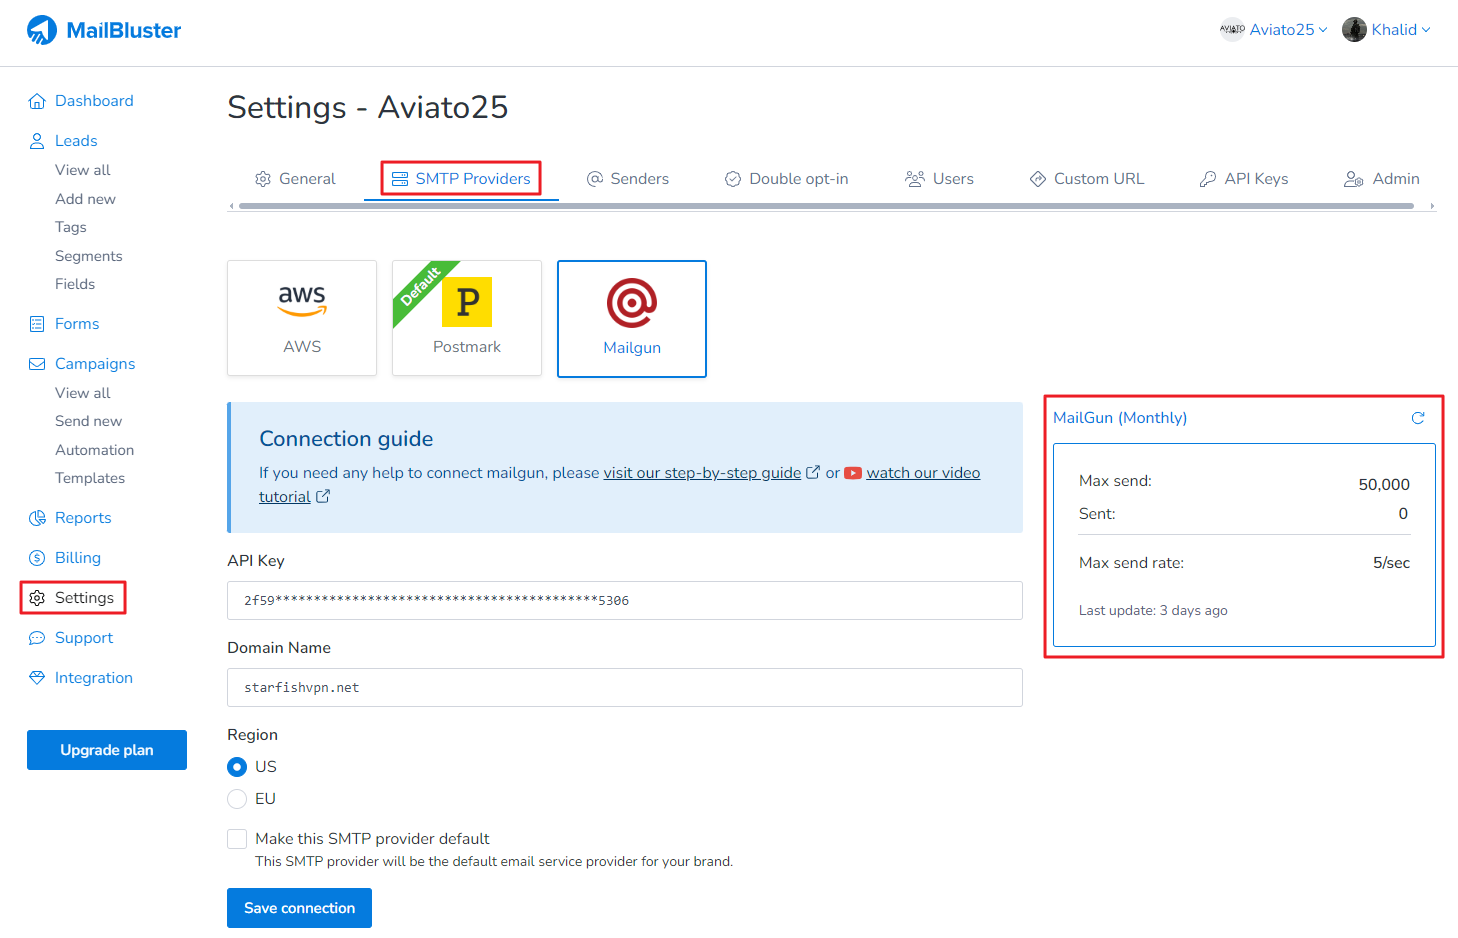
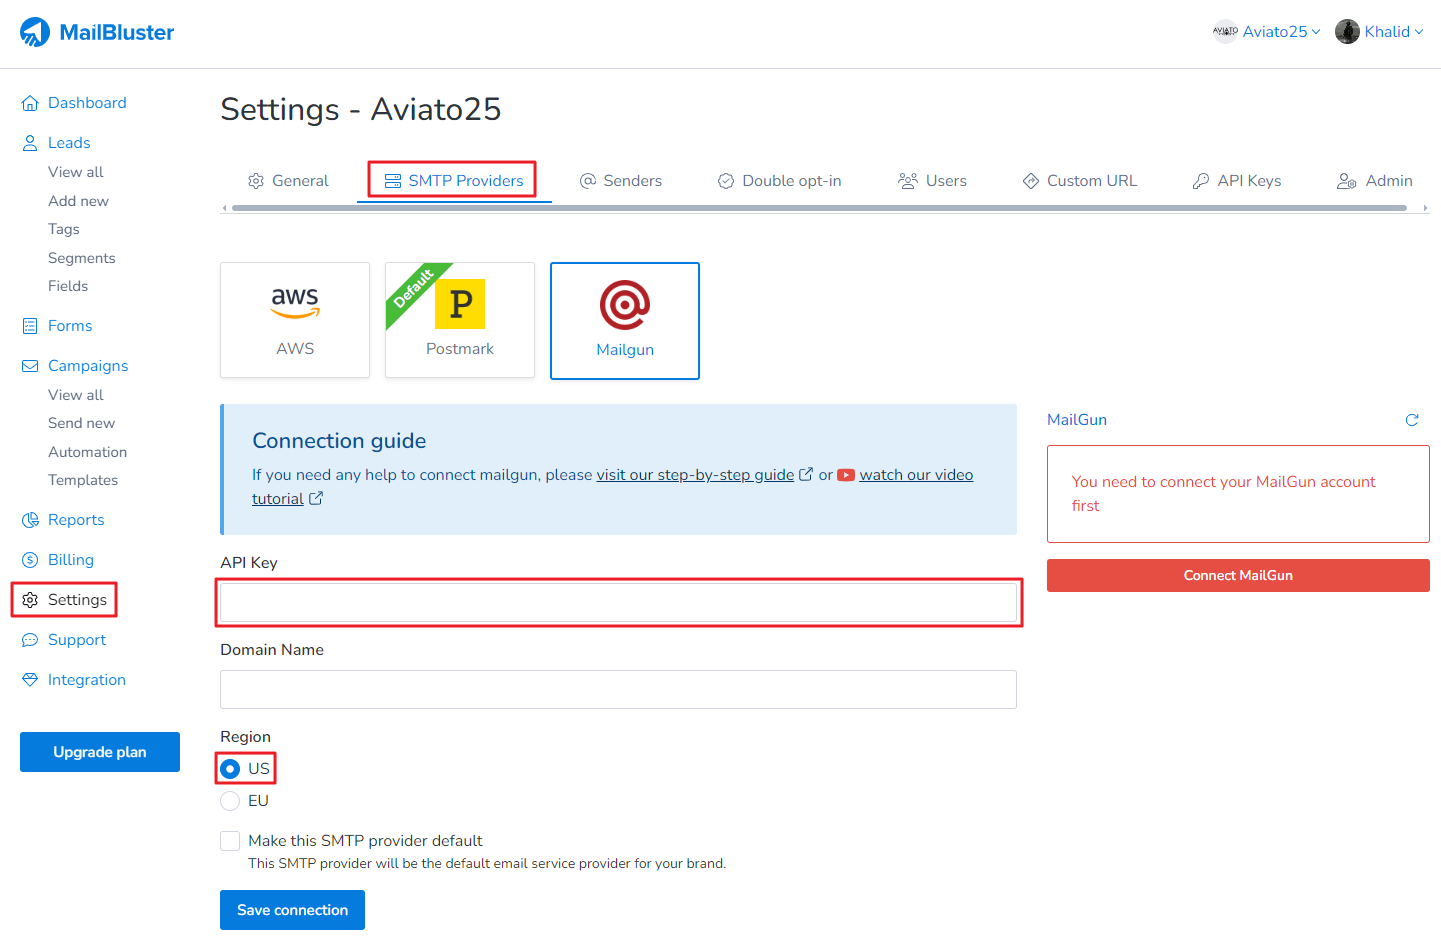
Now, go to MailBluster > Brand > Settings > SMTP Providers, and paste the API Key.
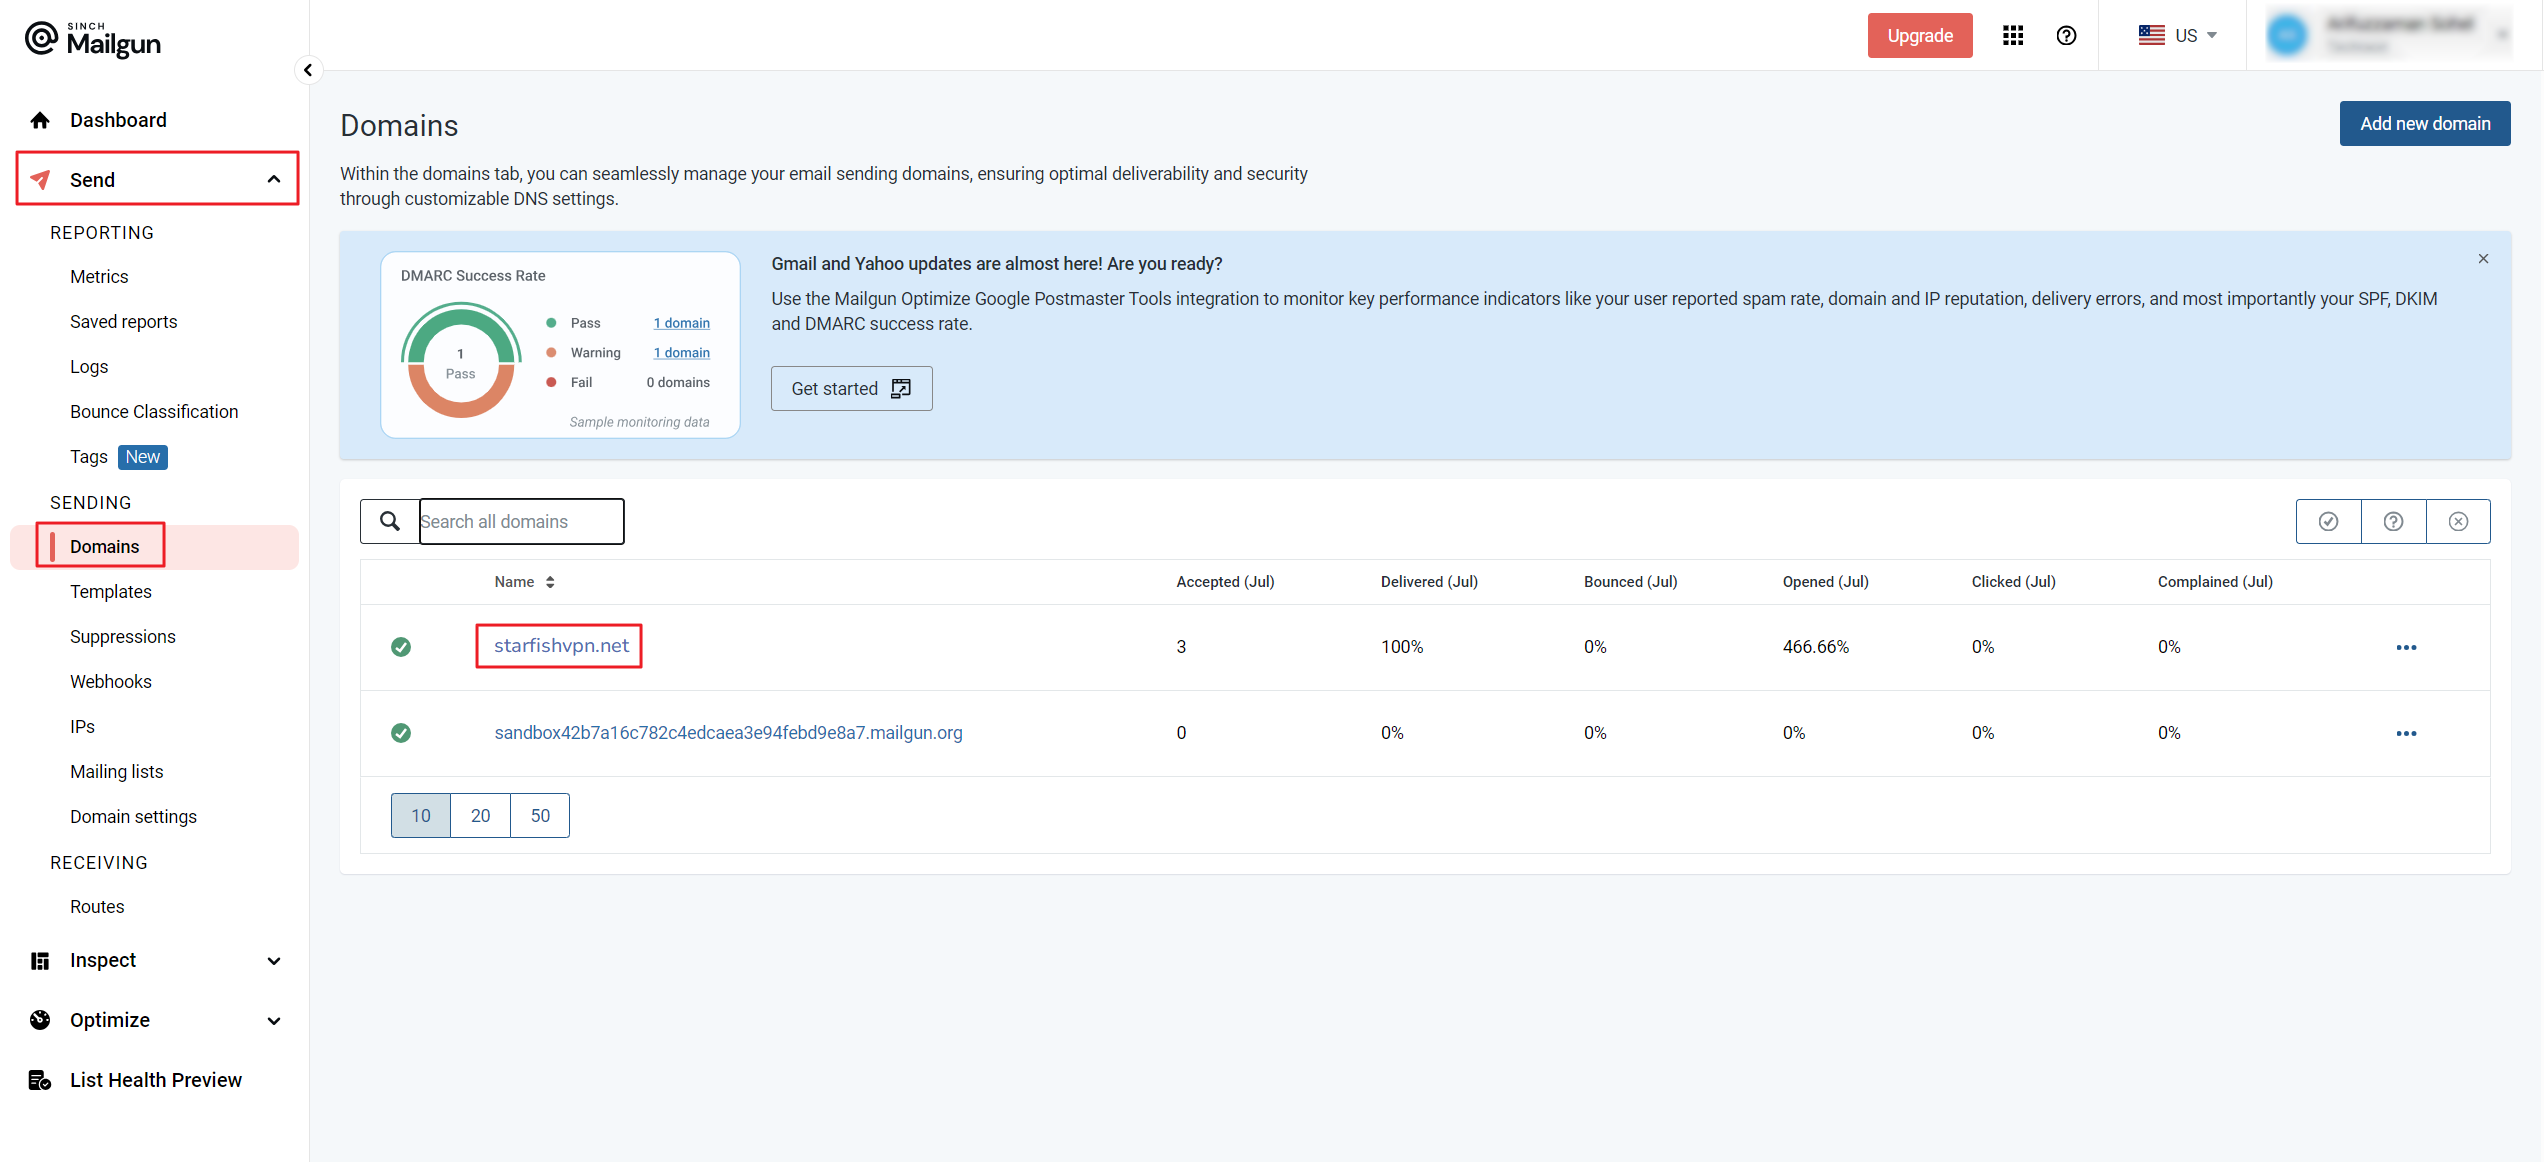
Go to Mailgun > Send > Domains and copy the verified domain name as highlighted below.
Go to MailBluster > Brand > Settings > SMTP Providers and paste the verified domain under Domain Name.

You have now successfully connected your MailBluster Brand with your Mailgun account. Once the connection is complete, you will see the Max Send Limit and Max Send Rate displayed on the right side of the screen.