If you want to bulk manage tags in MailBluster, you can tag multiple contacts at the same time using two simple methods.
1. Adding tags via import
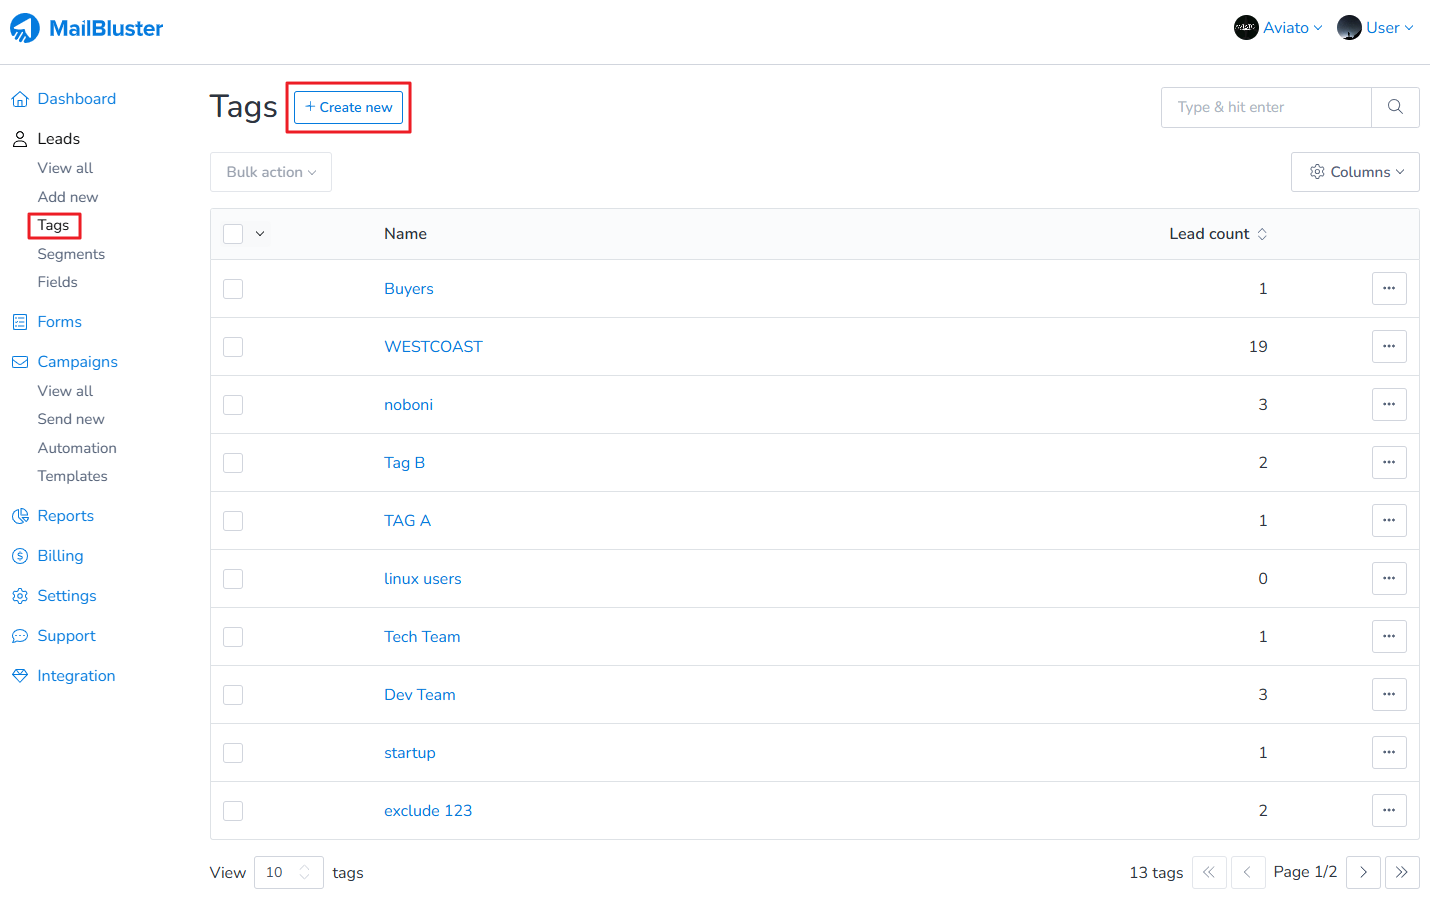
First go to Tags. Then click on Create new.
Create a tag by inserting Tag name in the field as shown below. Then add a tag description. Then click on Create tag.
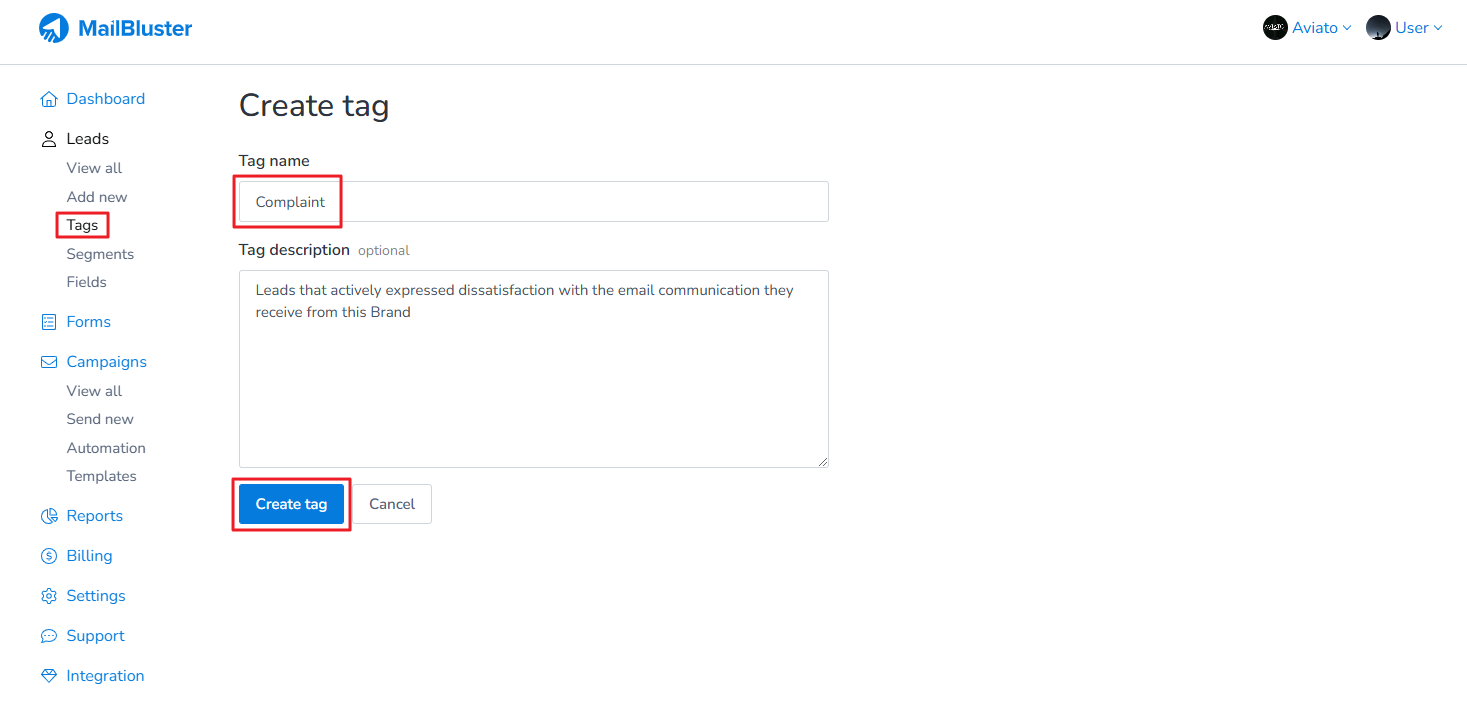
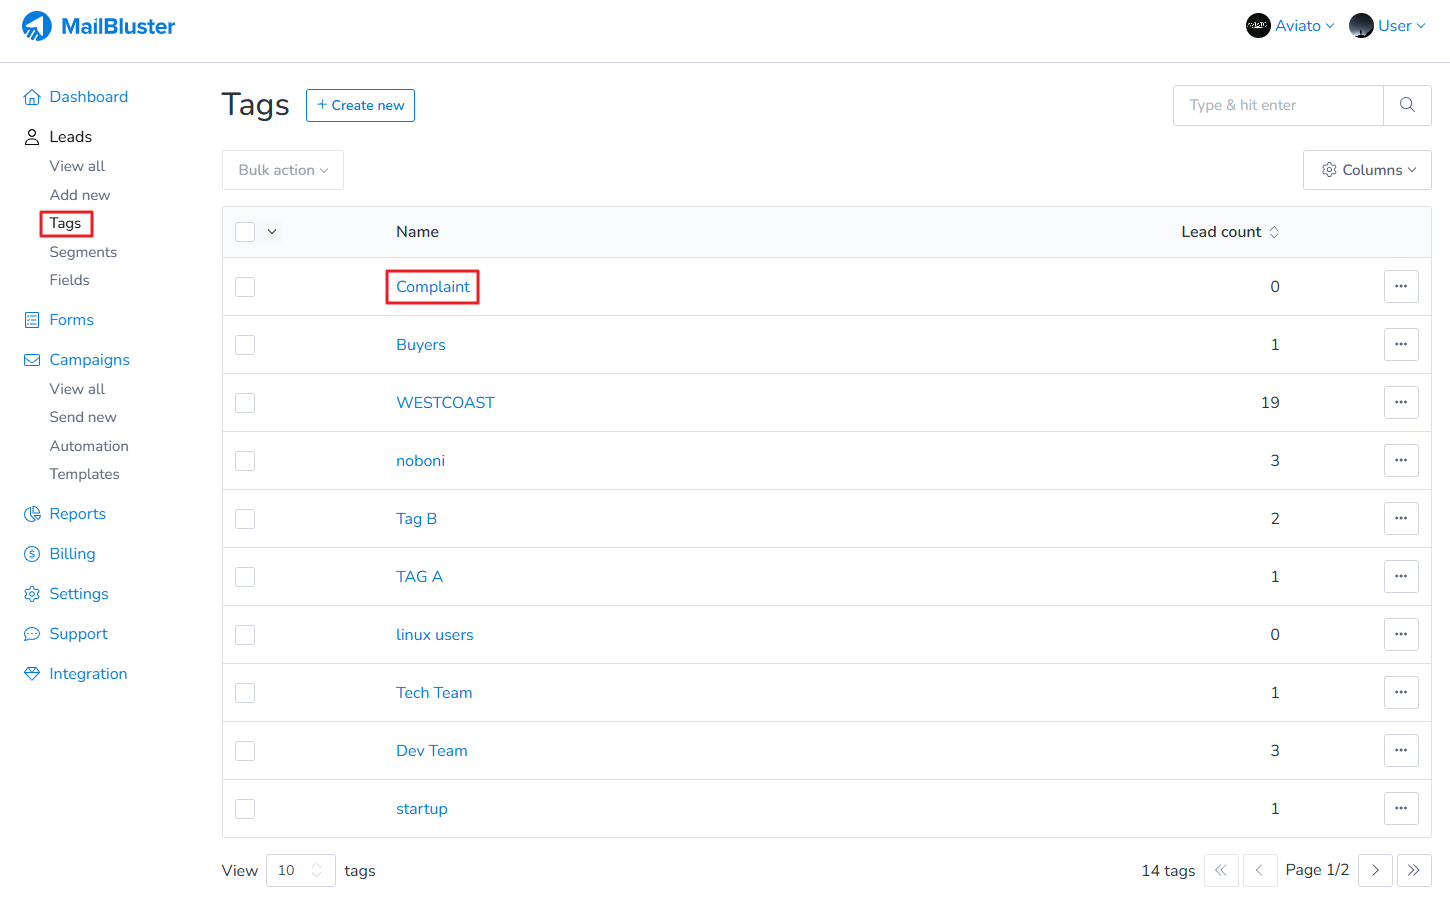
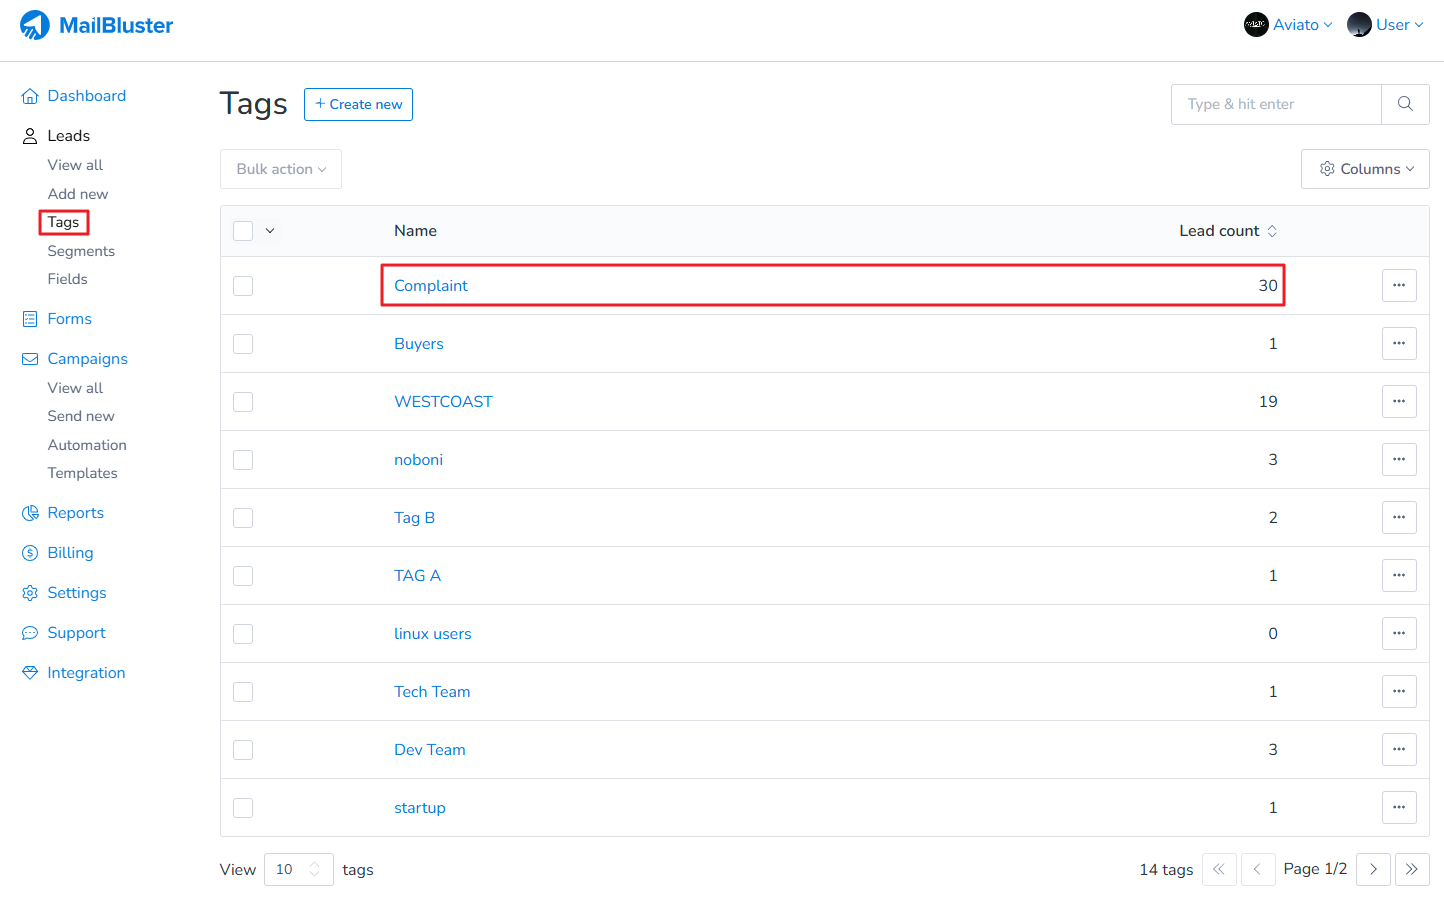
Here we created a tag name “Complaint” for example. Now click on the tag.
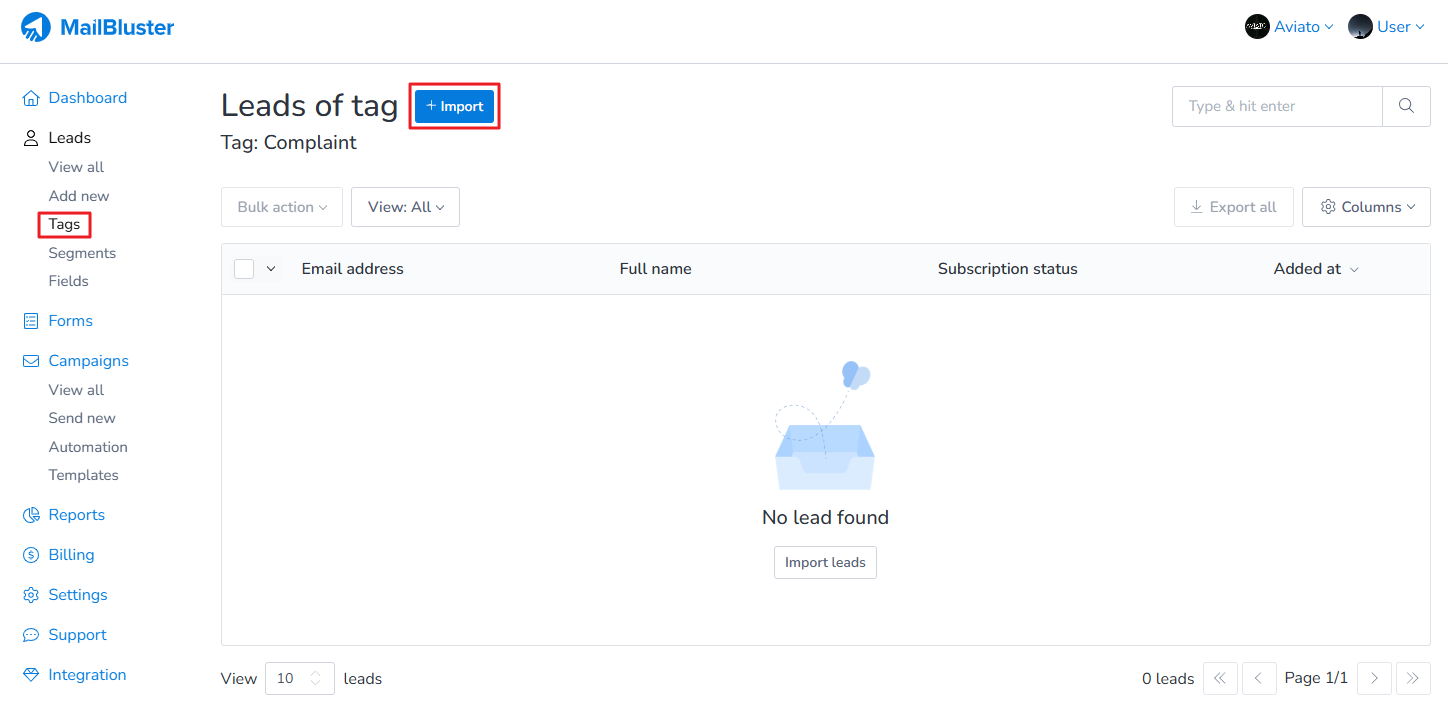
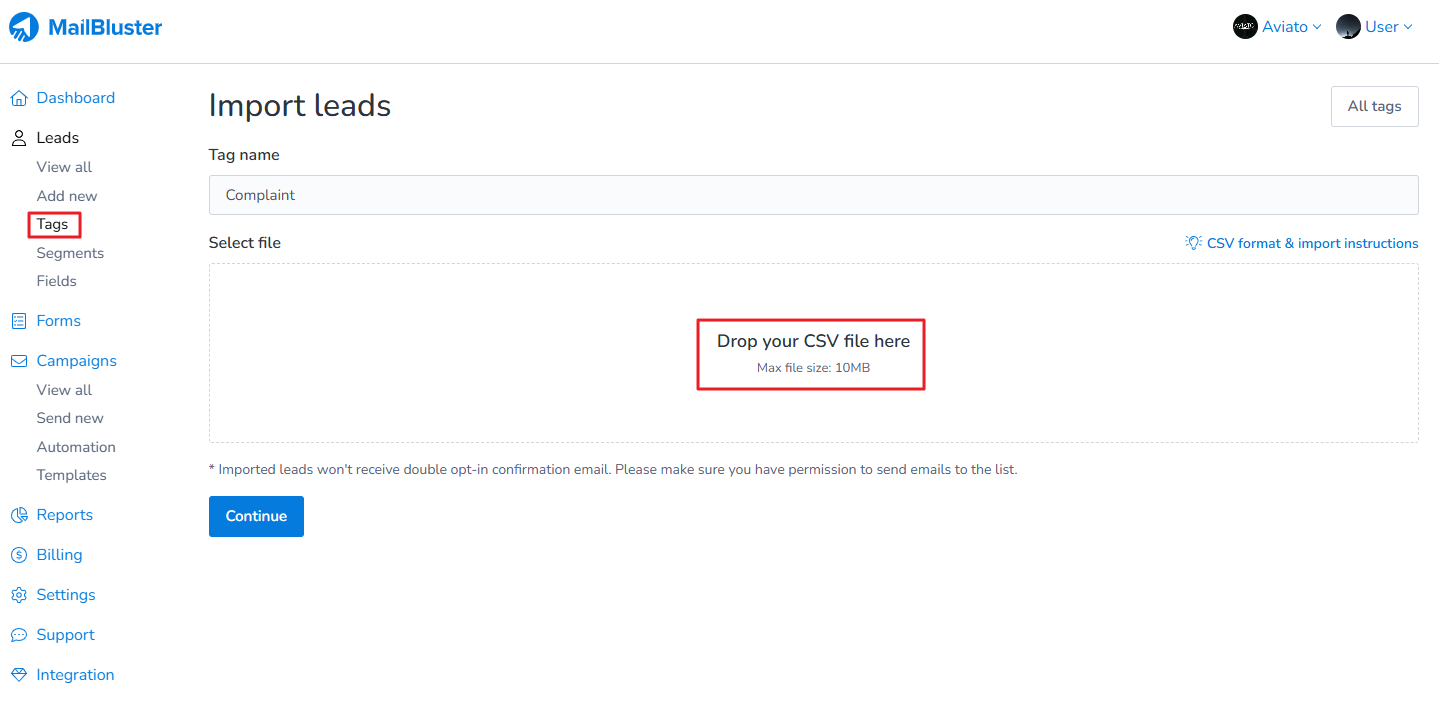
Once you are inside the tag, click Import.
Then drop a CSV file containing leads as shown below.
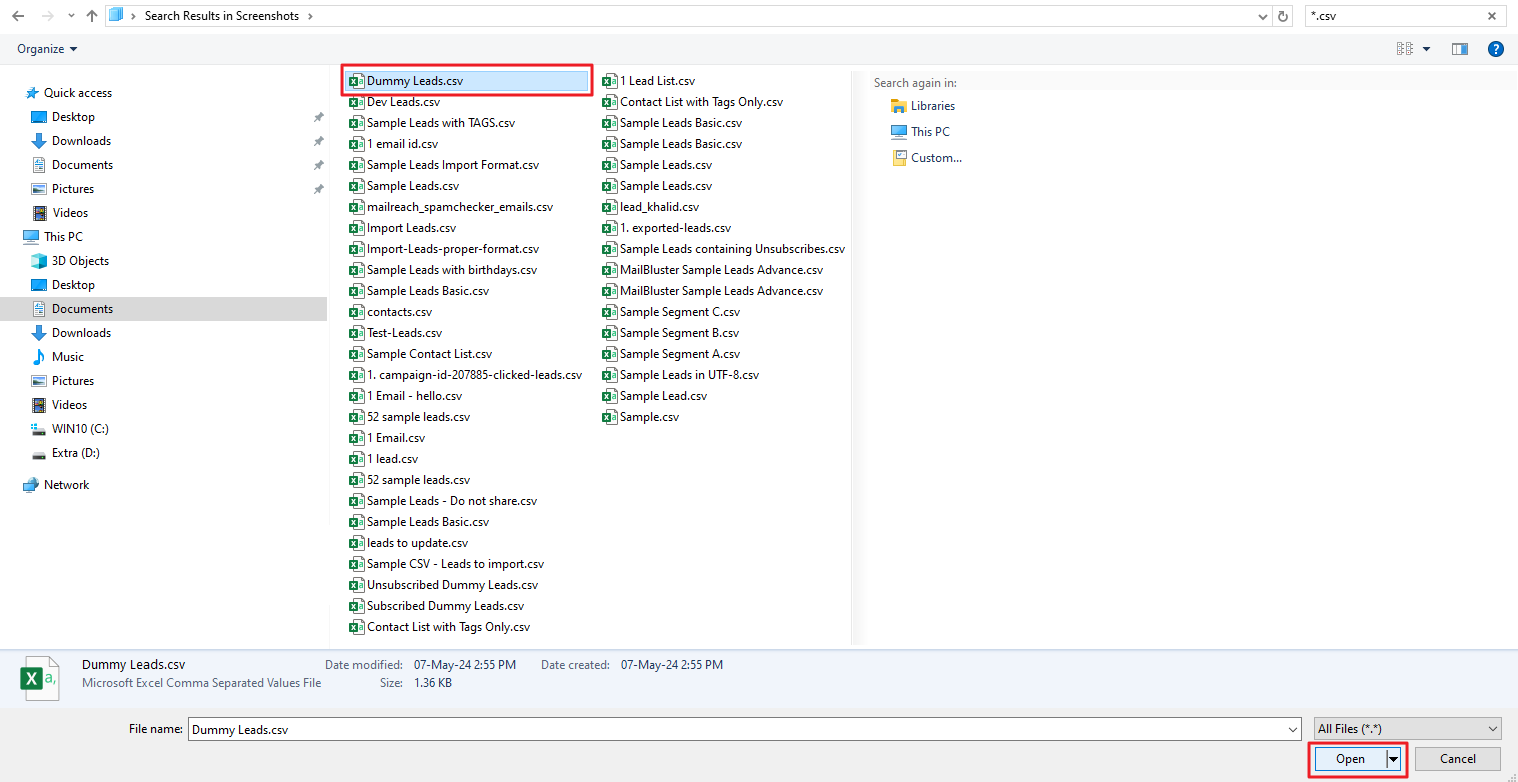
Select a CSV file and click open.
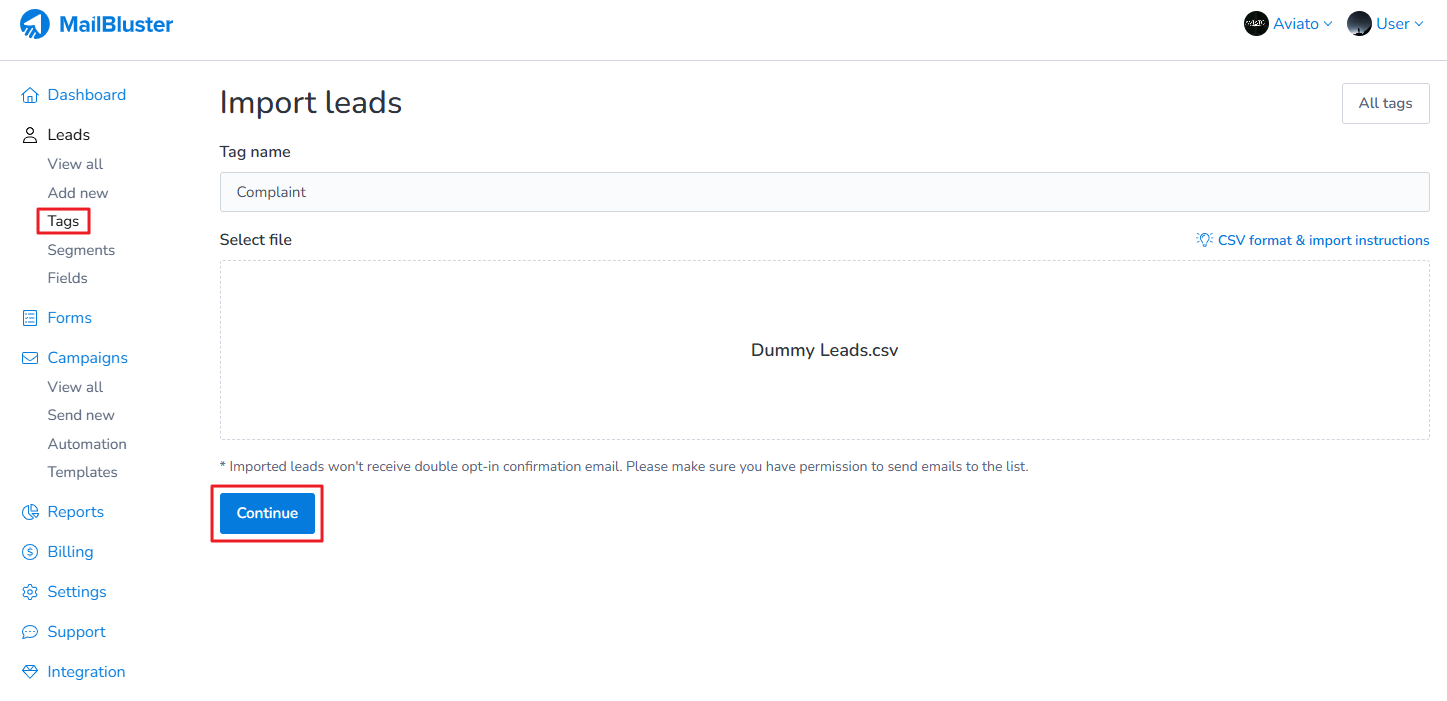
Once the CSV file is selected, click Continue.
Now highlight the headers according to the fields in the CSV file as shown below. Also set the proper conditions like “Update the lead if lead already exists”. Finally click the Import file button.

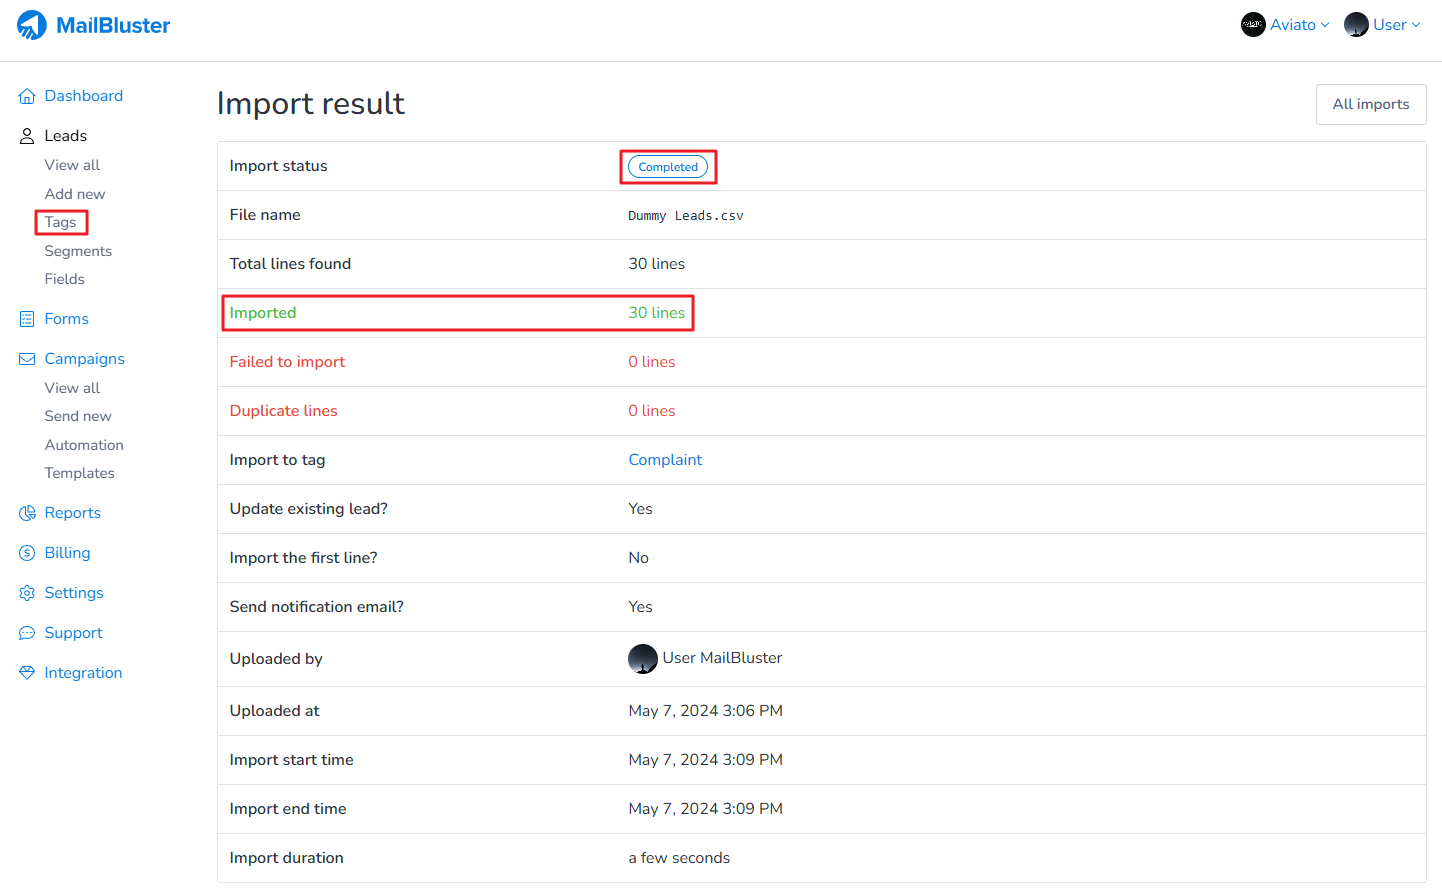
Your leads will be imported successfully under the tag you have just created.
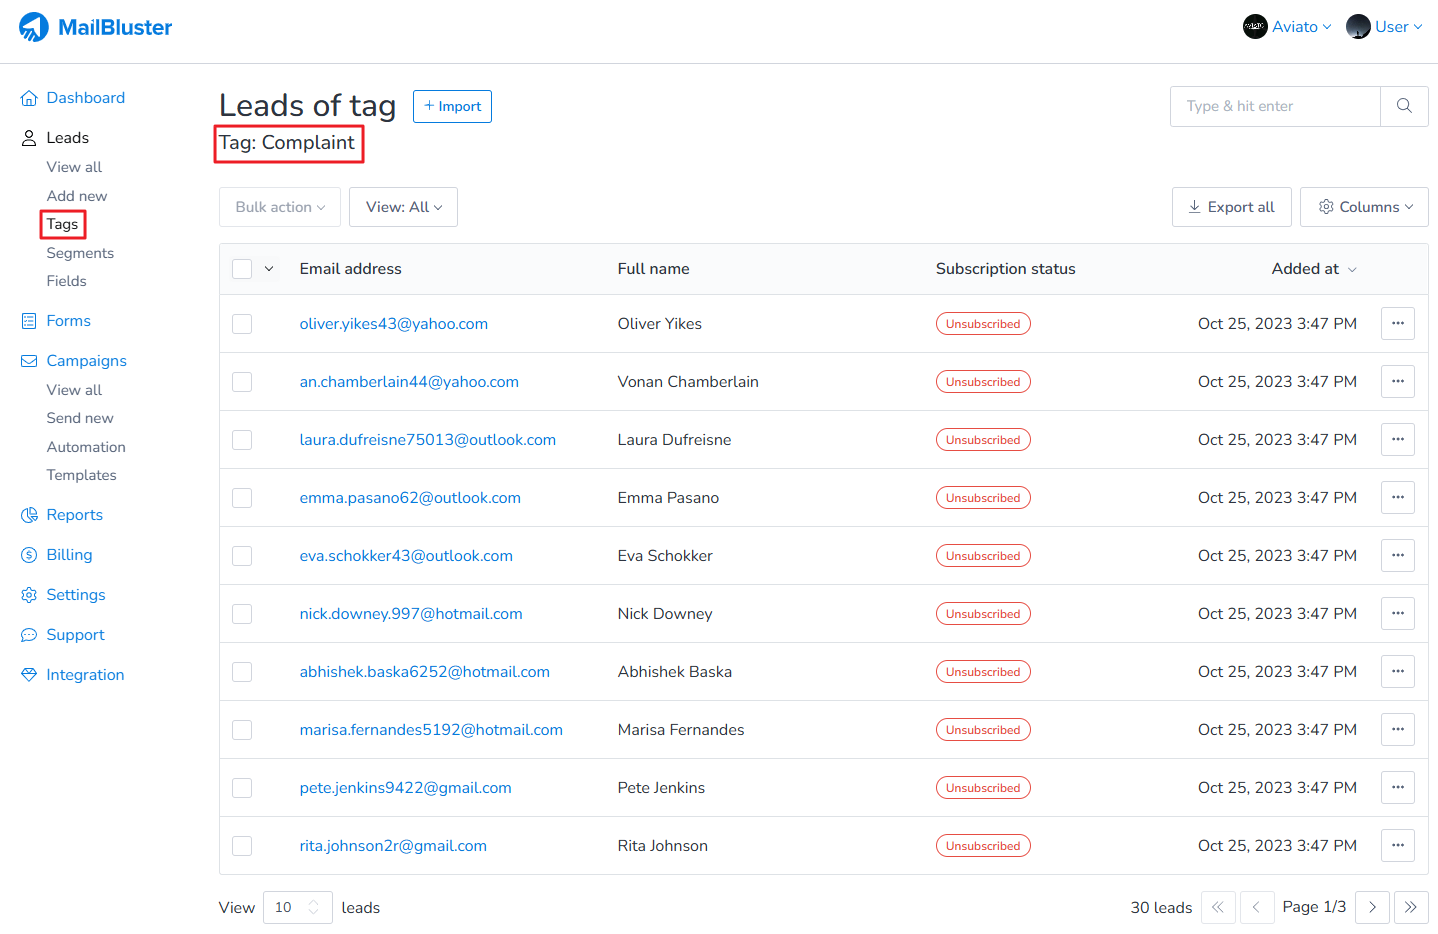
Now if you click on the Tags, you will notice that it now contains the imported leads. You can click on the tag to see all the imported leads.
Here is an example of dummy leads imported under Complaint and they are all at unsubscribed state.
2. Adding and Managing tags using Bulk action
- Adding tags
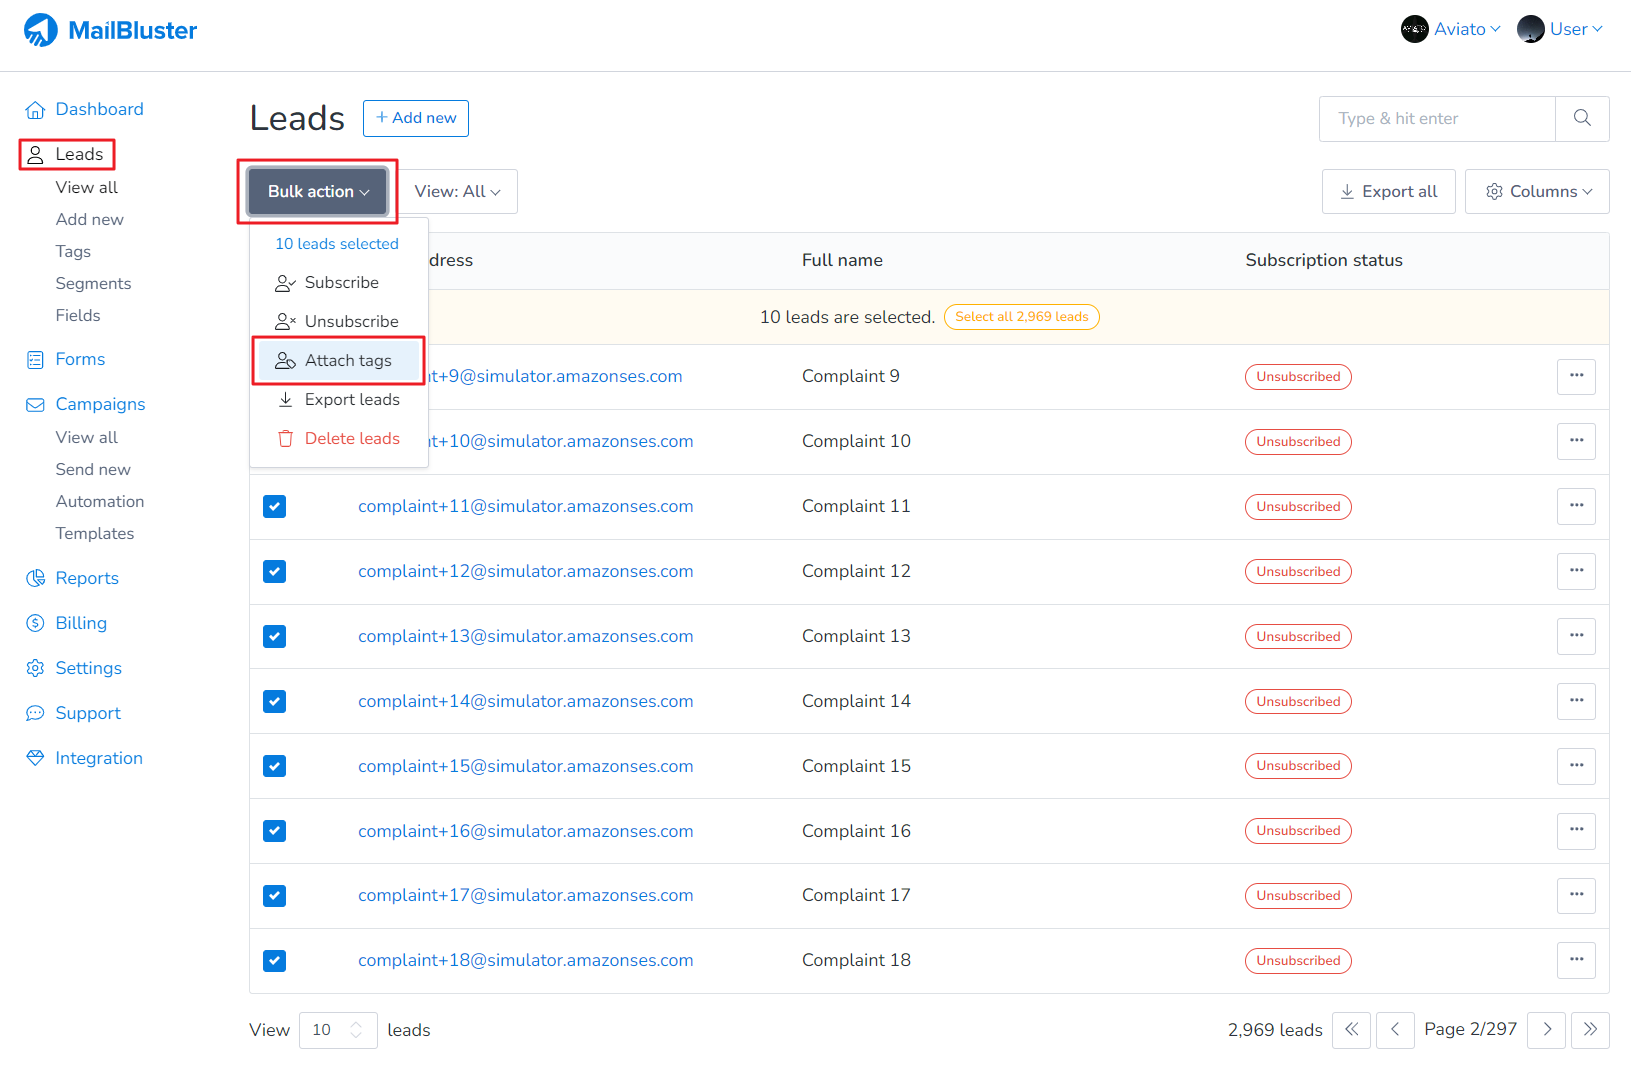
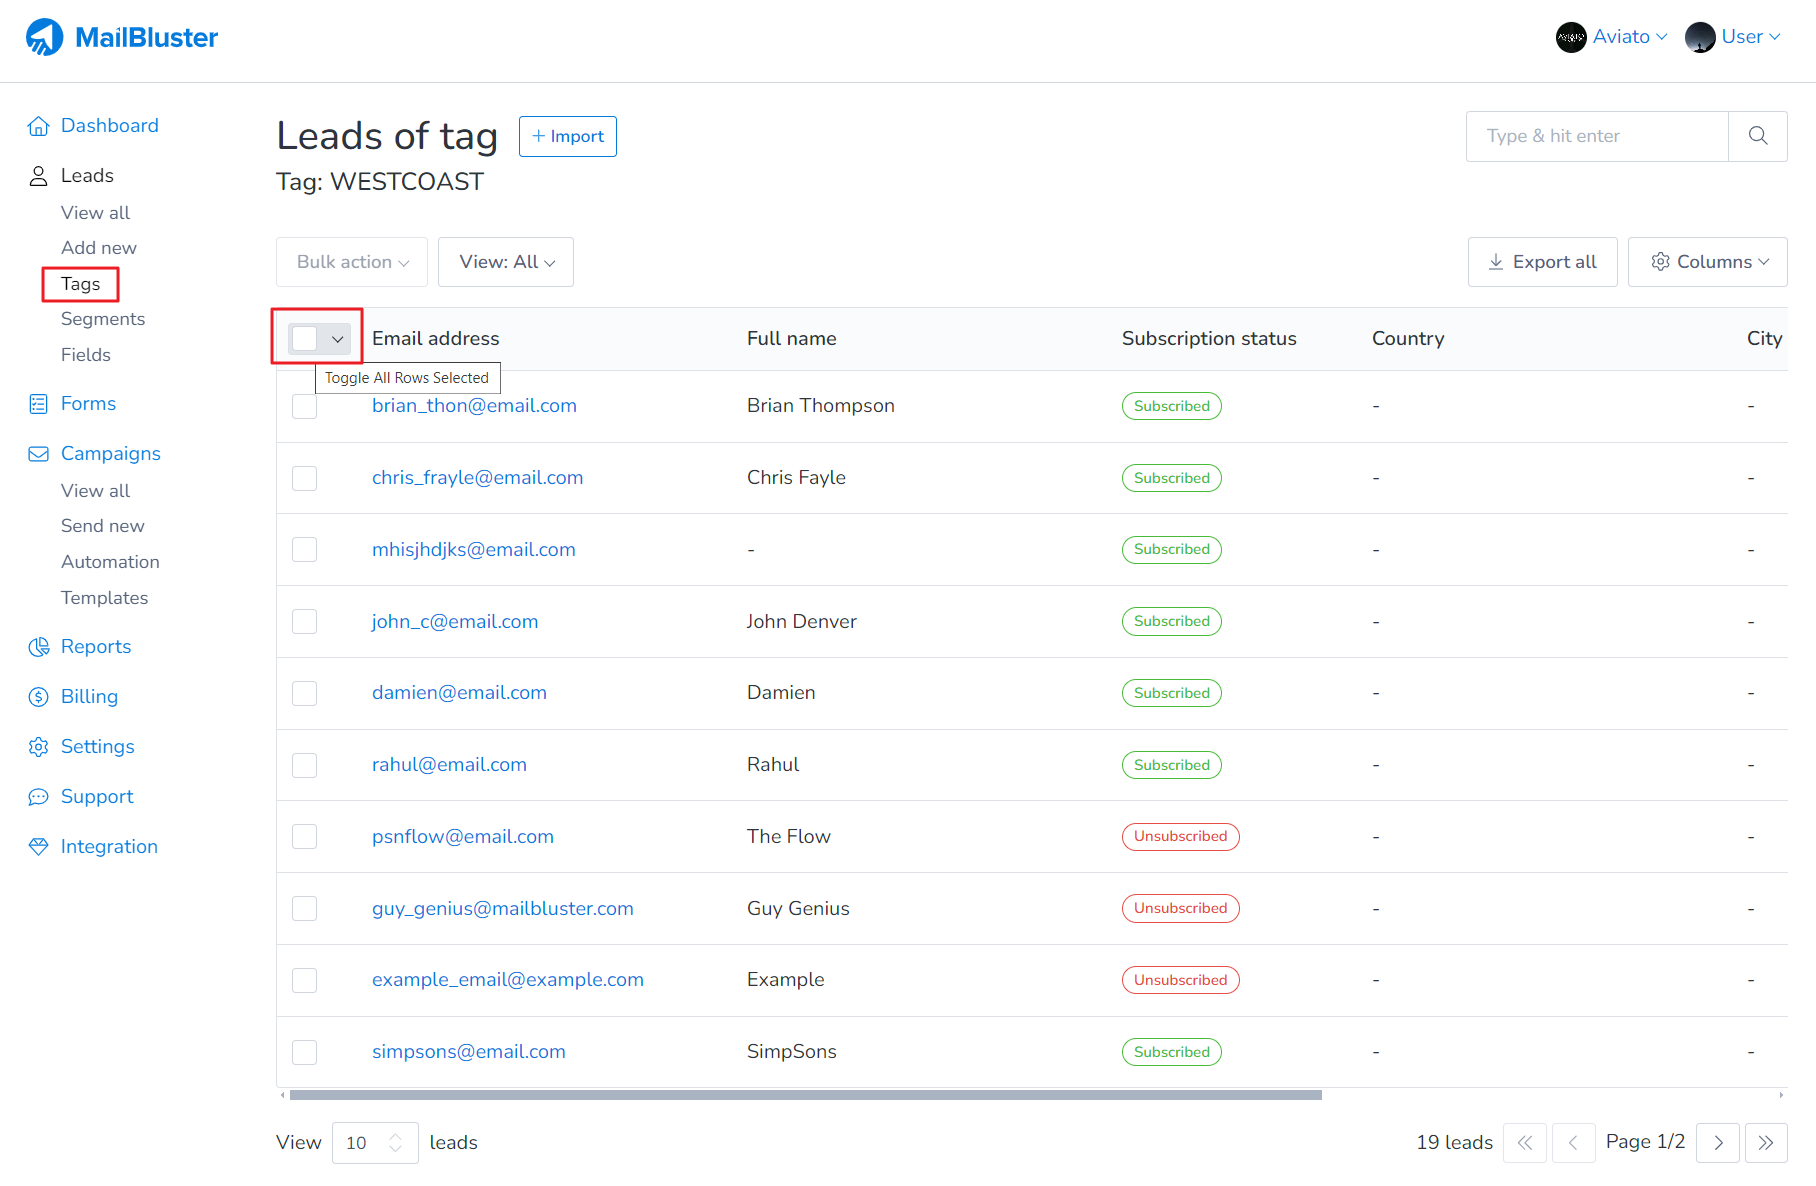
Go to Leads and select any lead that you want to tag by clicking on the checkbox next to their email addresses.
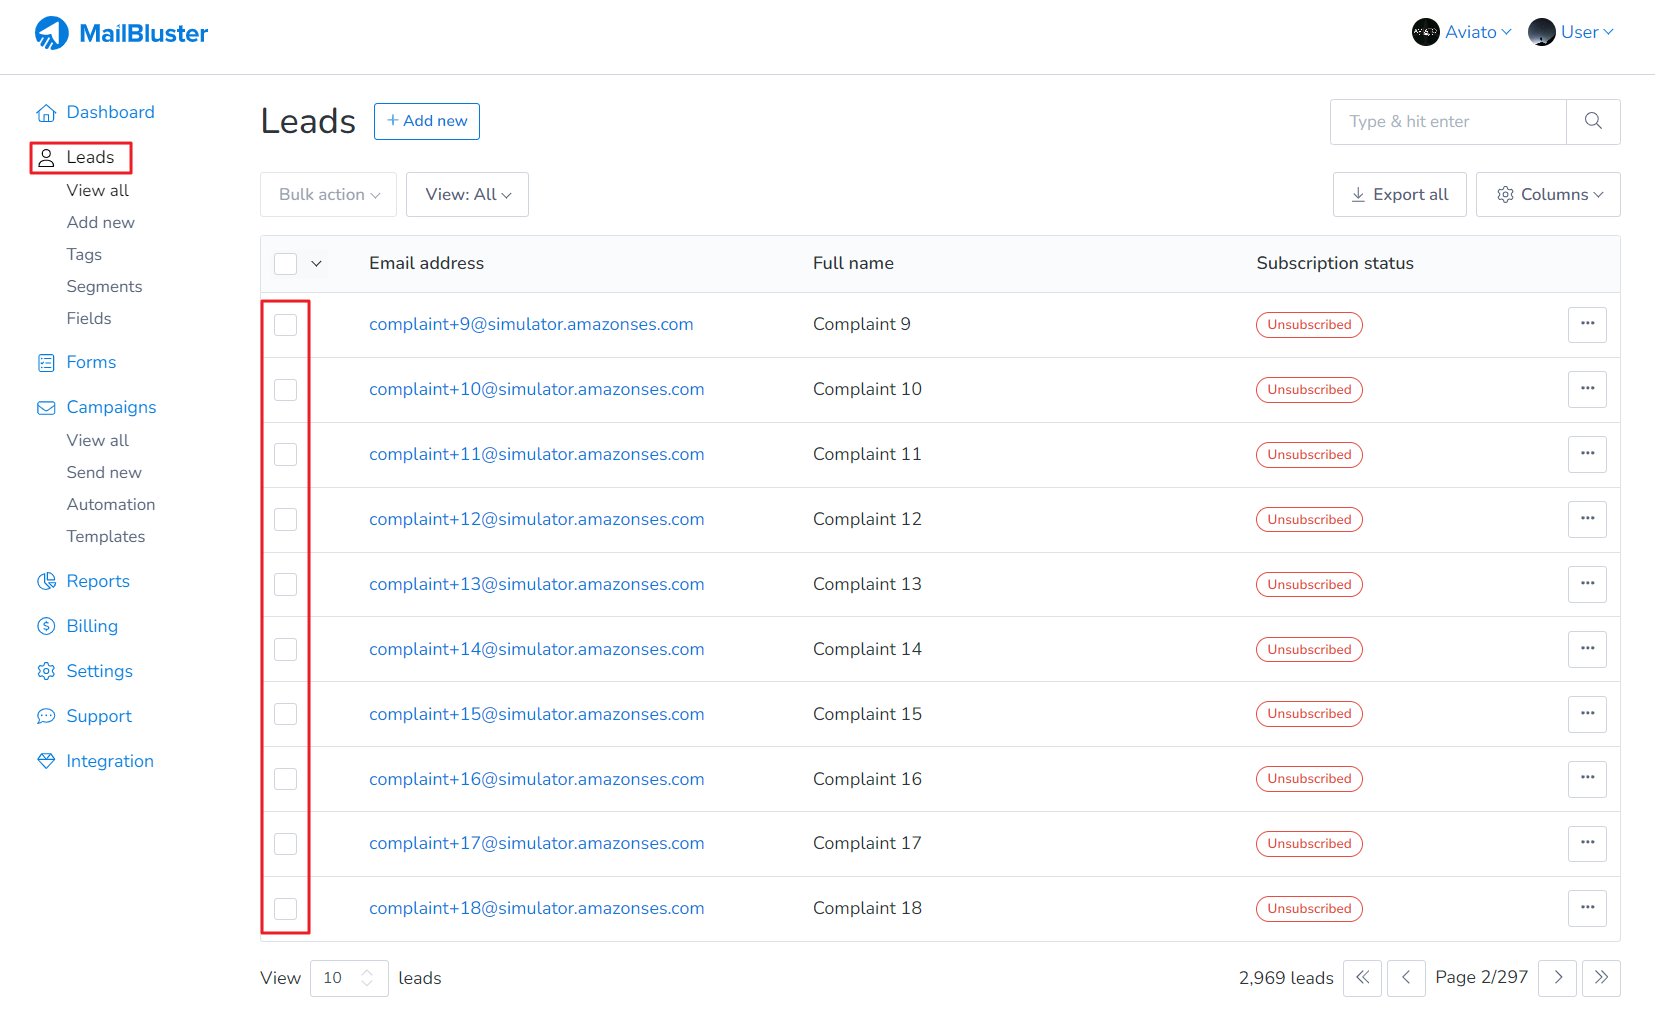
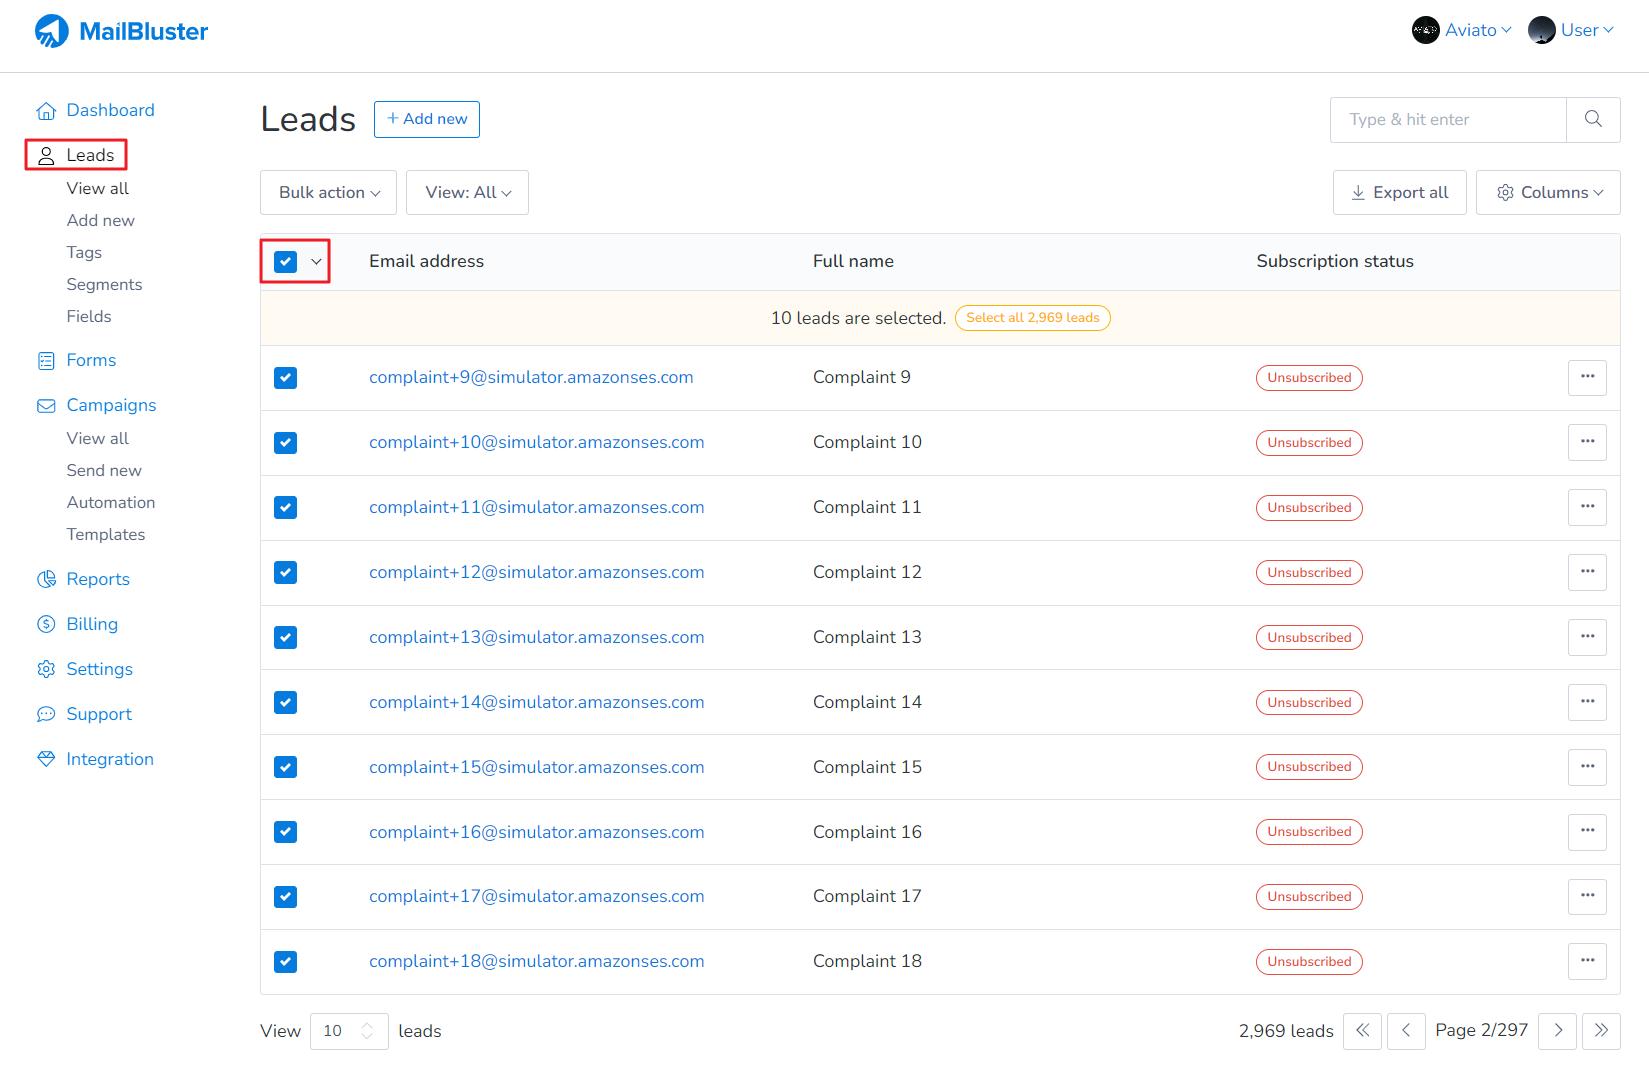
You can also select more contacts by clicking on the drop-down next to the “Email address” header:
Now click on the Bulk action and then click Attach tags.
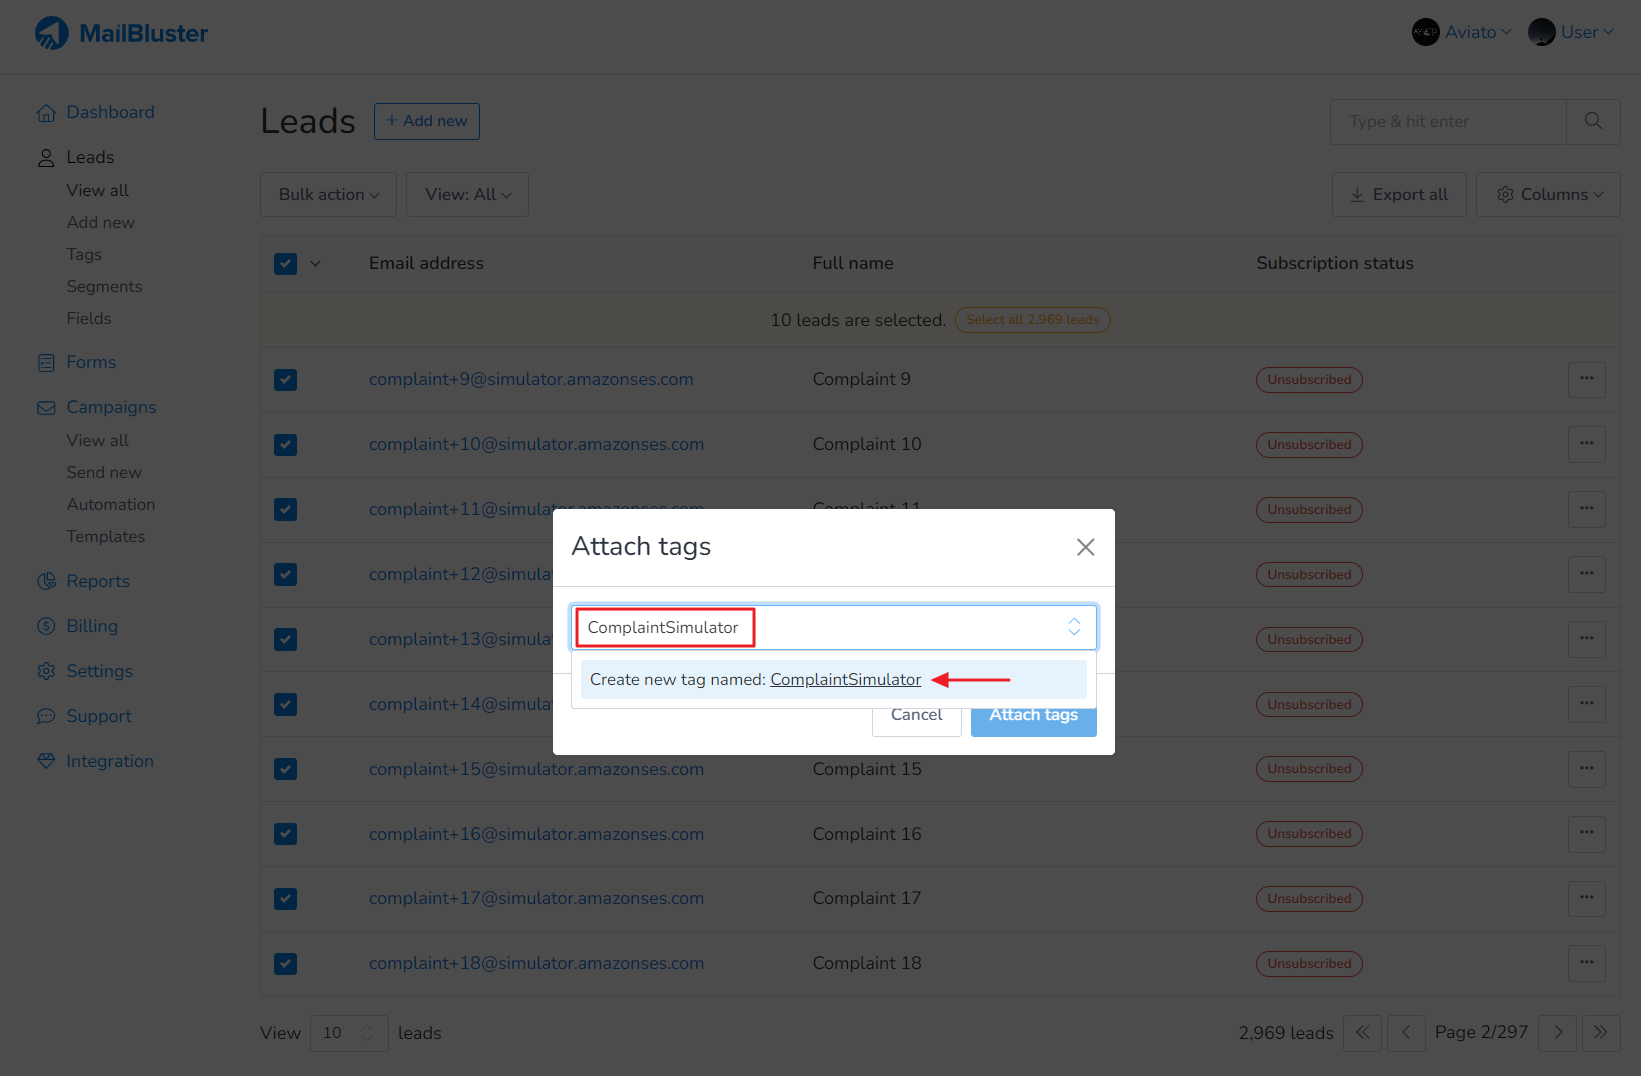
Attach tags popup window will appear. You can select an already created tag or create a new one as shown below. Here we created a tag name “ComplaintSimulator”.
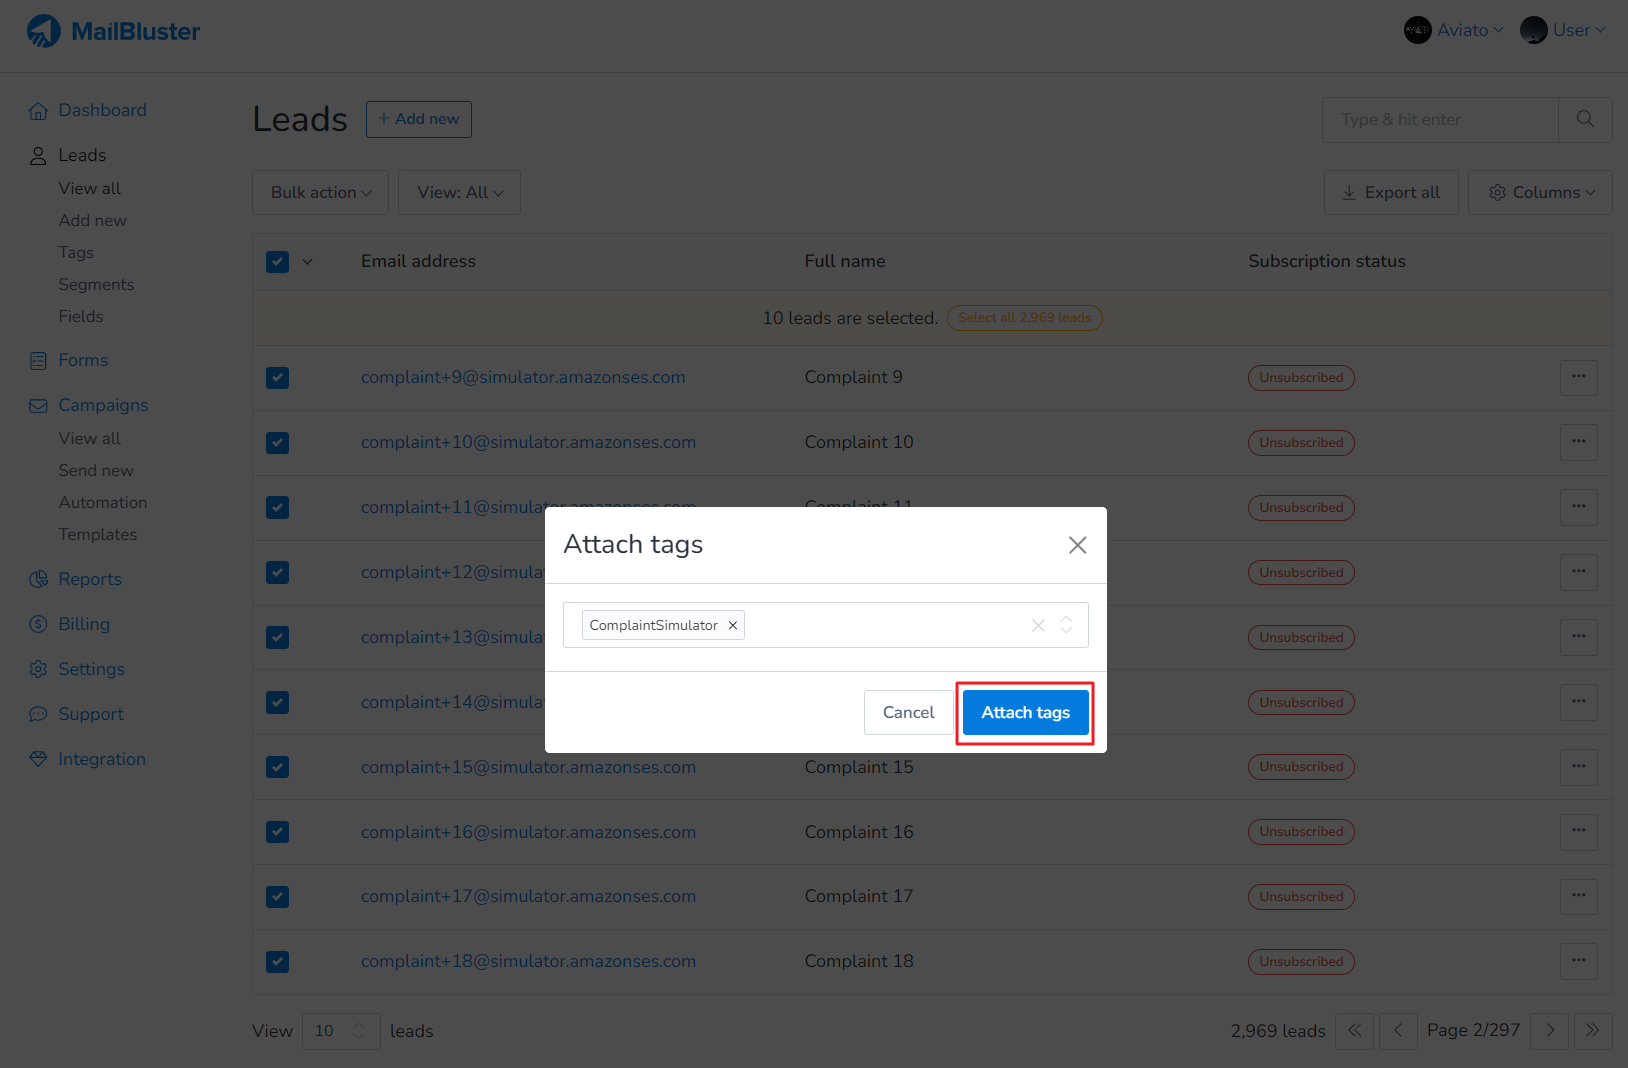
Now click on Attach tags. Multiple pre-created tags can also be attached at this time as well before clicking Attach tags.
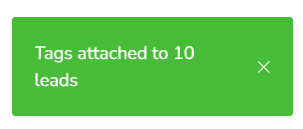
Notification like this will appear at the bottom left corner.
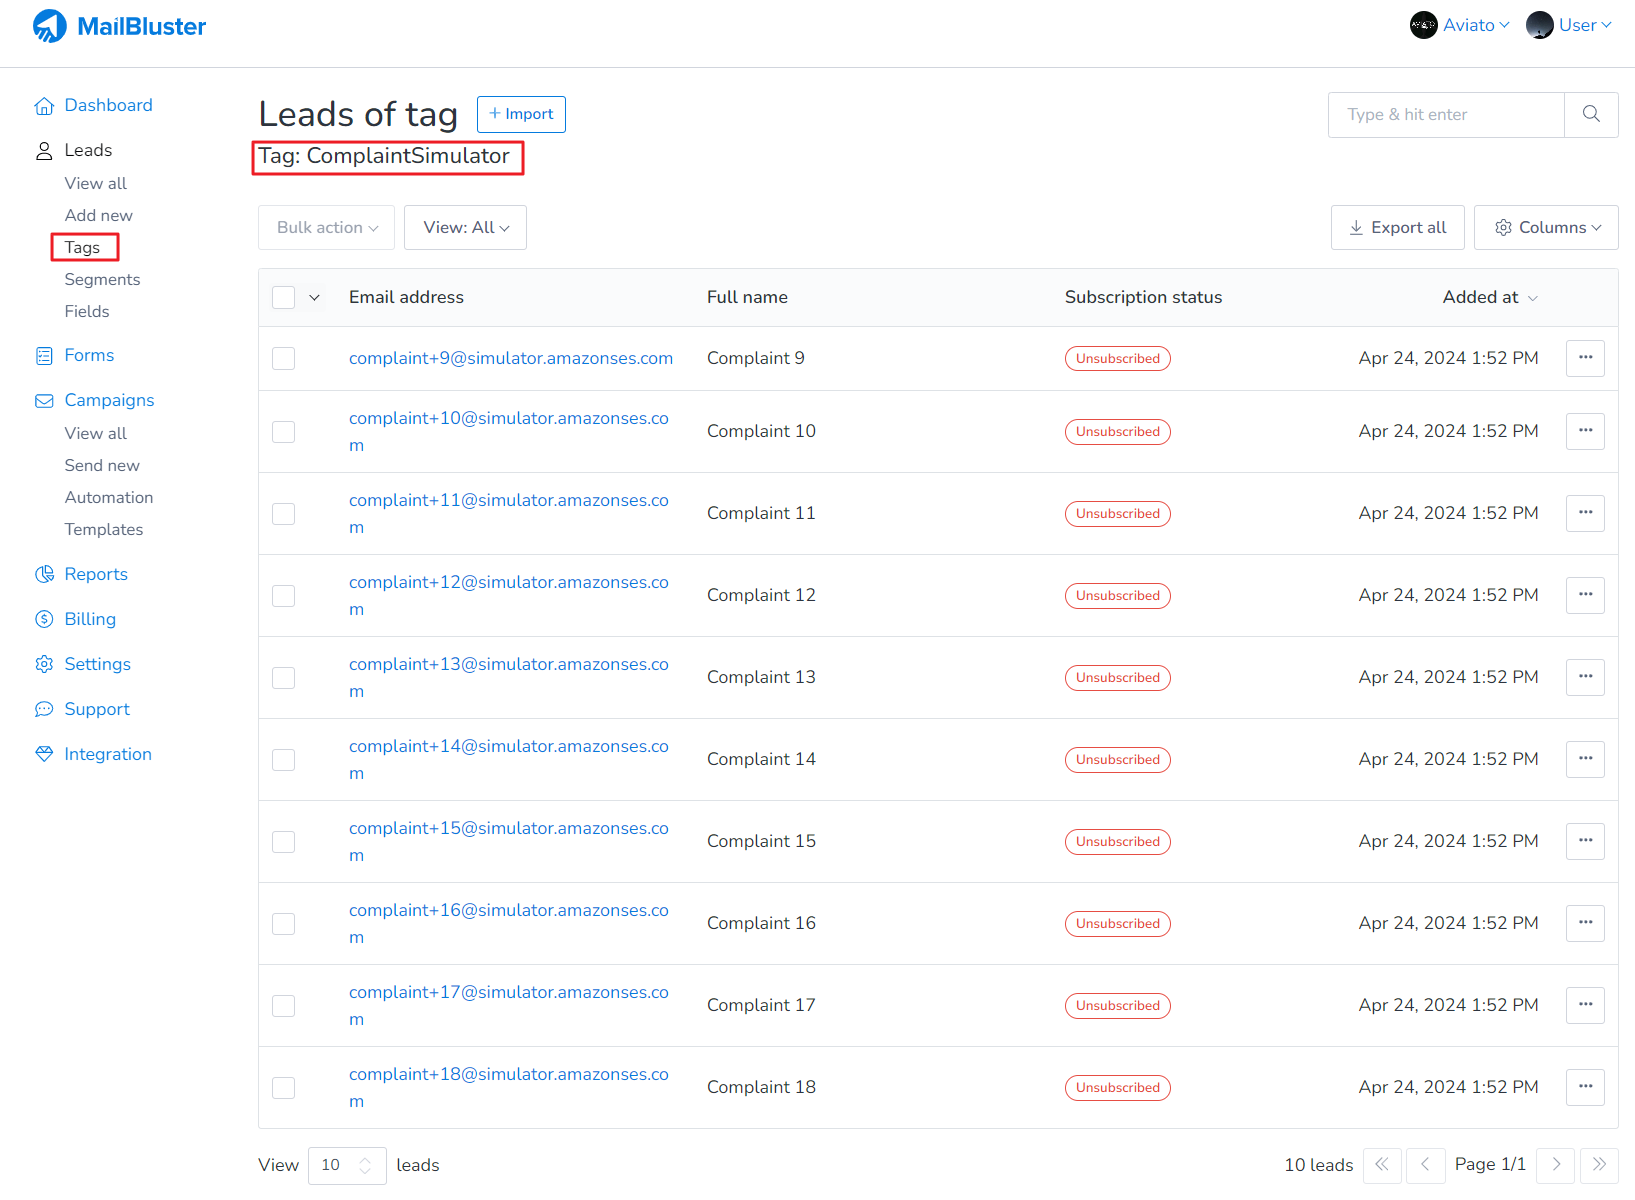
Now click on Tags and you will notice that the tag name “ComplaintSimulator” has been created and the Lead count shows the number of leads assigned to this tag. Click on the tag.

You will see a list of leads attach to this tag. Here 10 dummy leads has been added to tag name “ComplaintSimulator”.
- Manage Tags
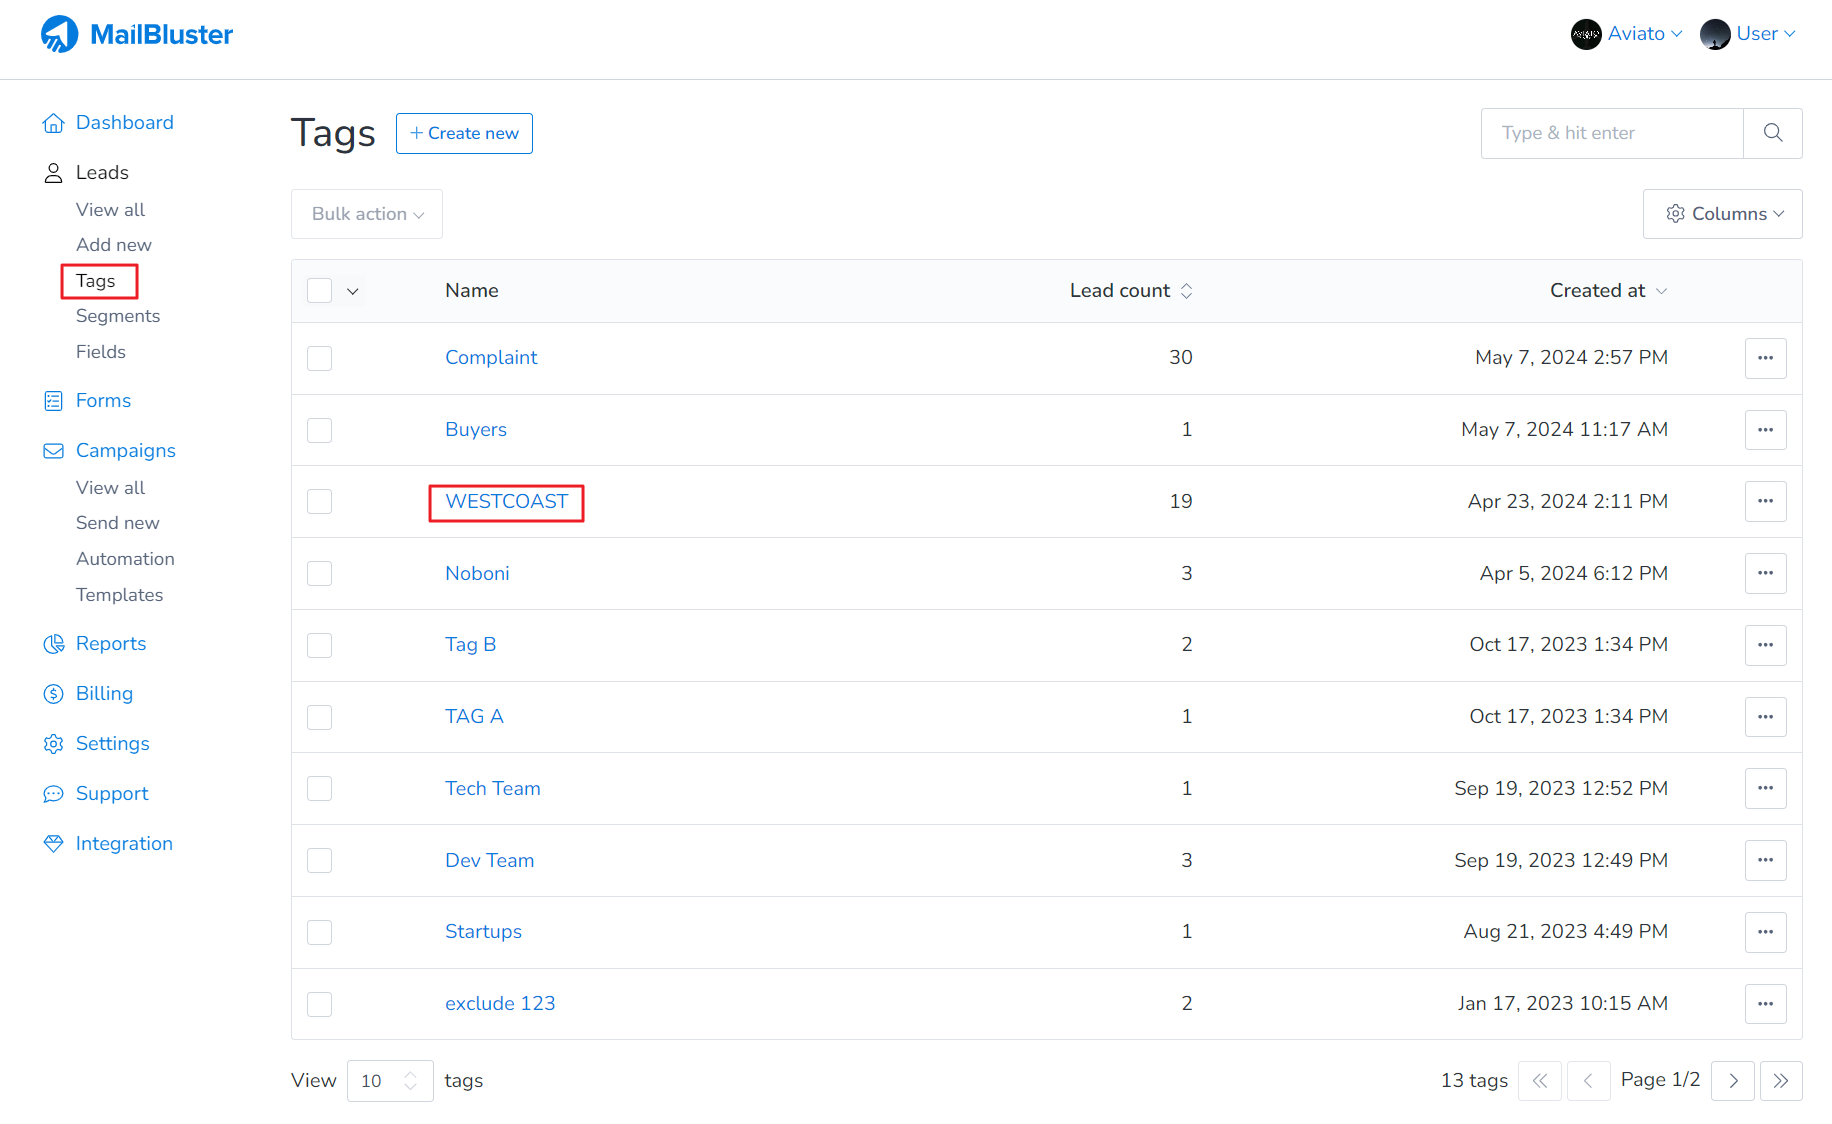
To manage tags, go to Tags. Select any tag of your choice by clicking on it.
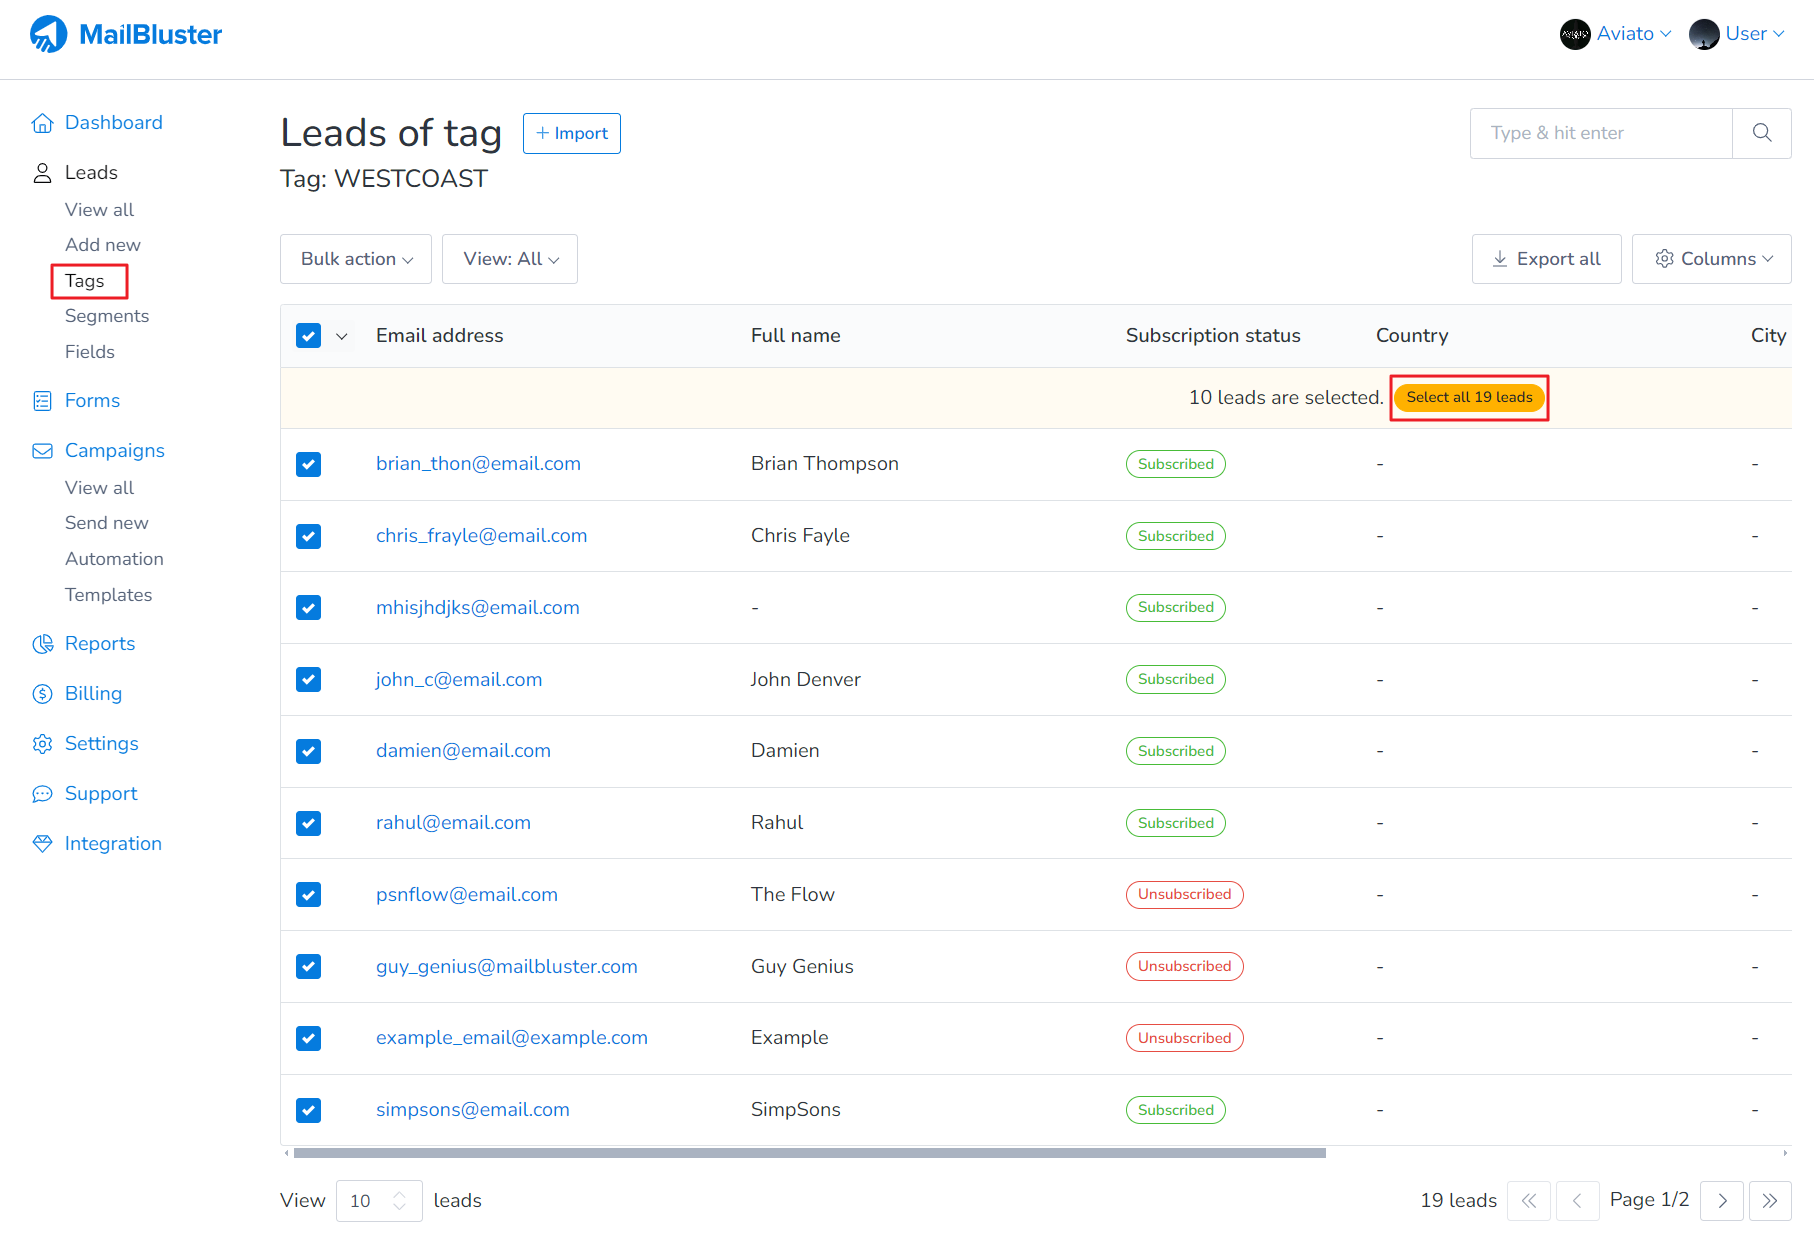
You can also select more contacts by clicking on the drop-down next to the “Email address” header.
Selecting All will select all 10 tags shown in this page. You use the checkbox to select the specific leads on this page as well.
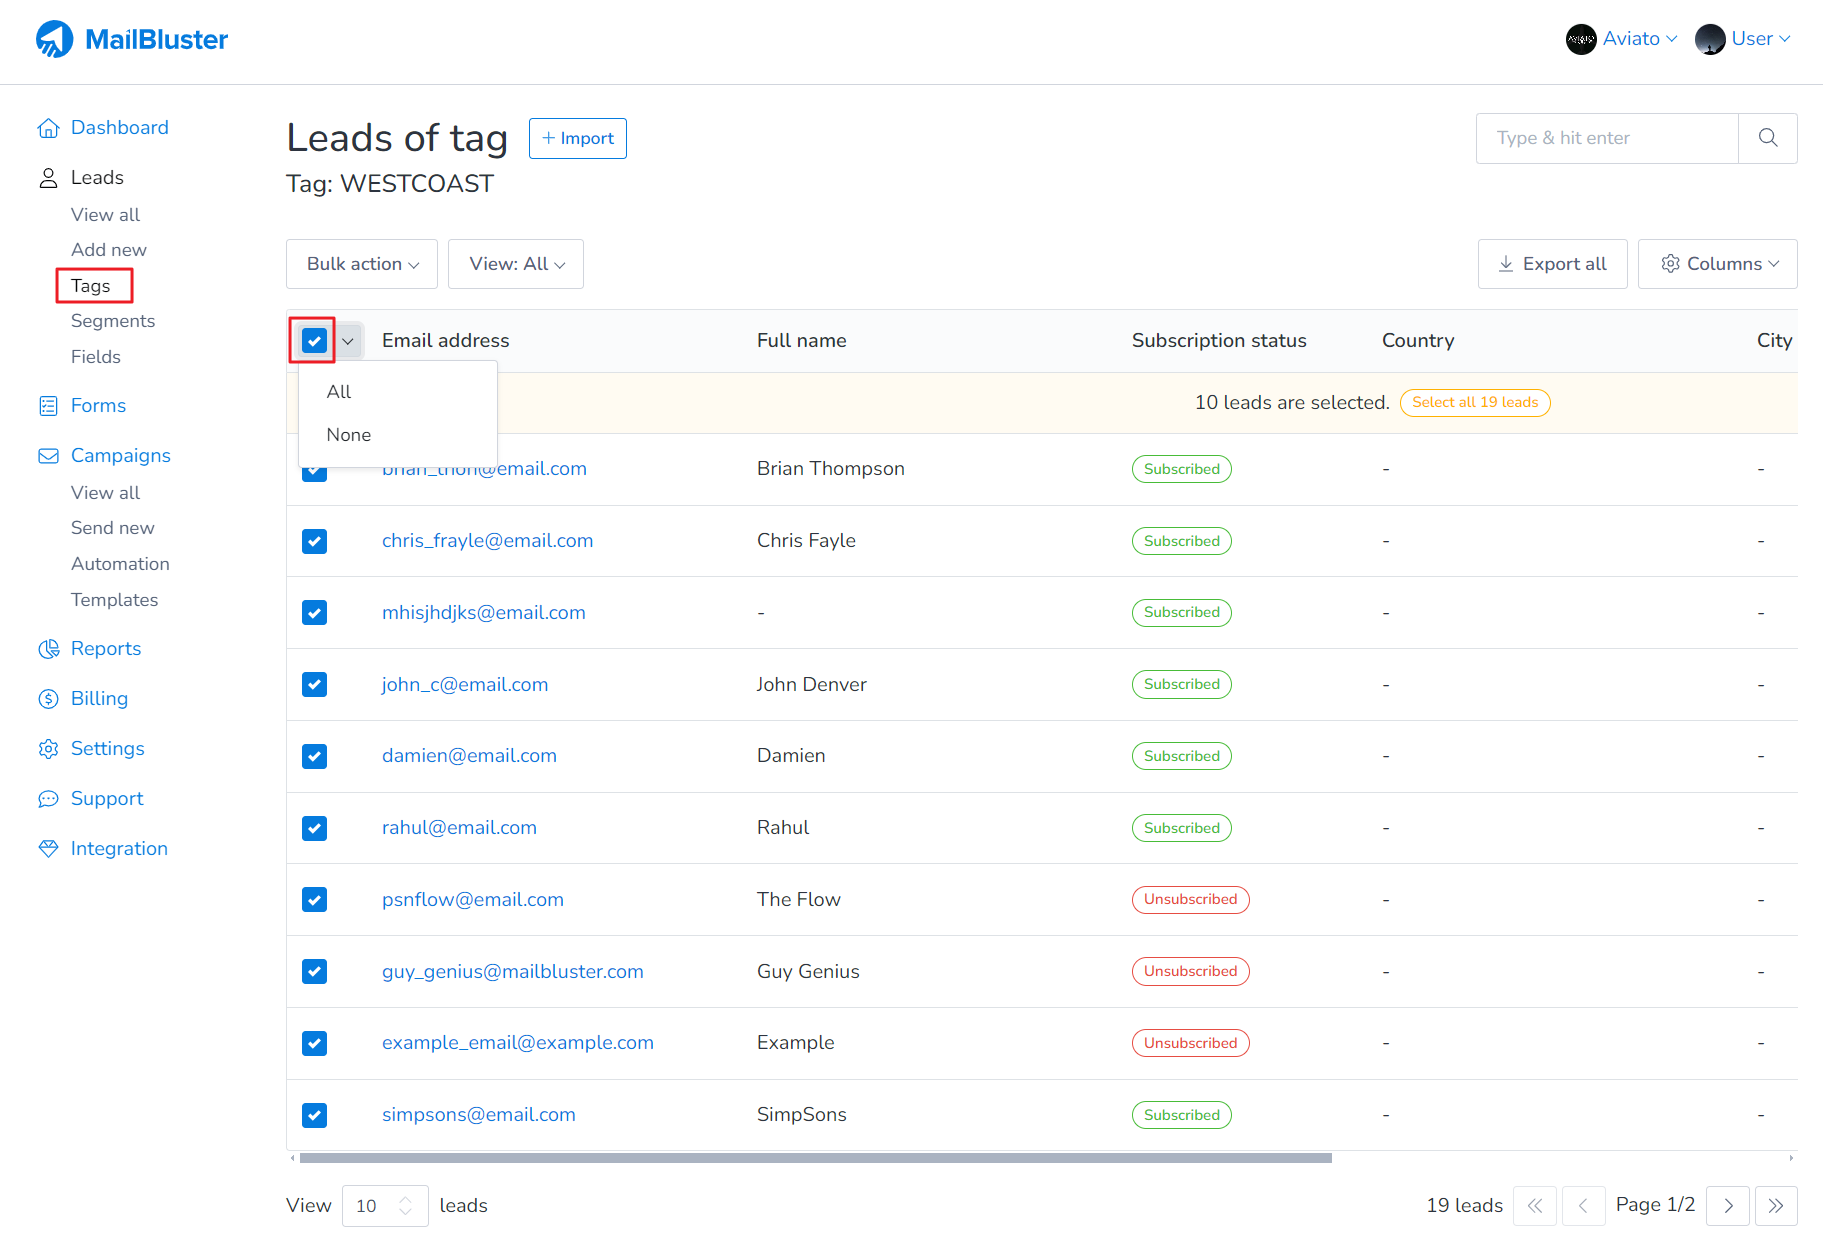
You can also select all the leads assigned to this tag. Here we clicked on Select all 19 leads under this tag.
Now click on the Bulk action.
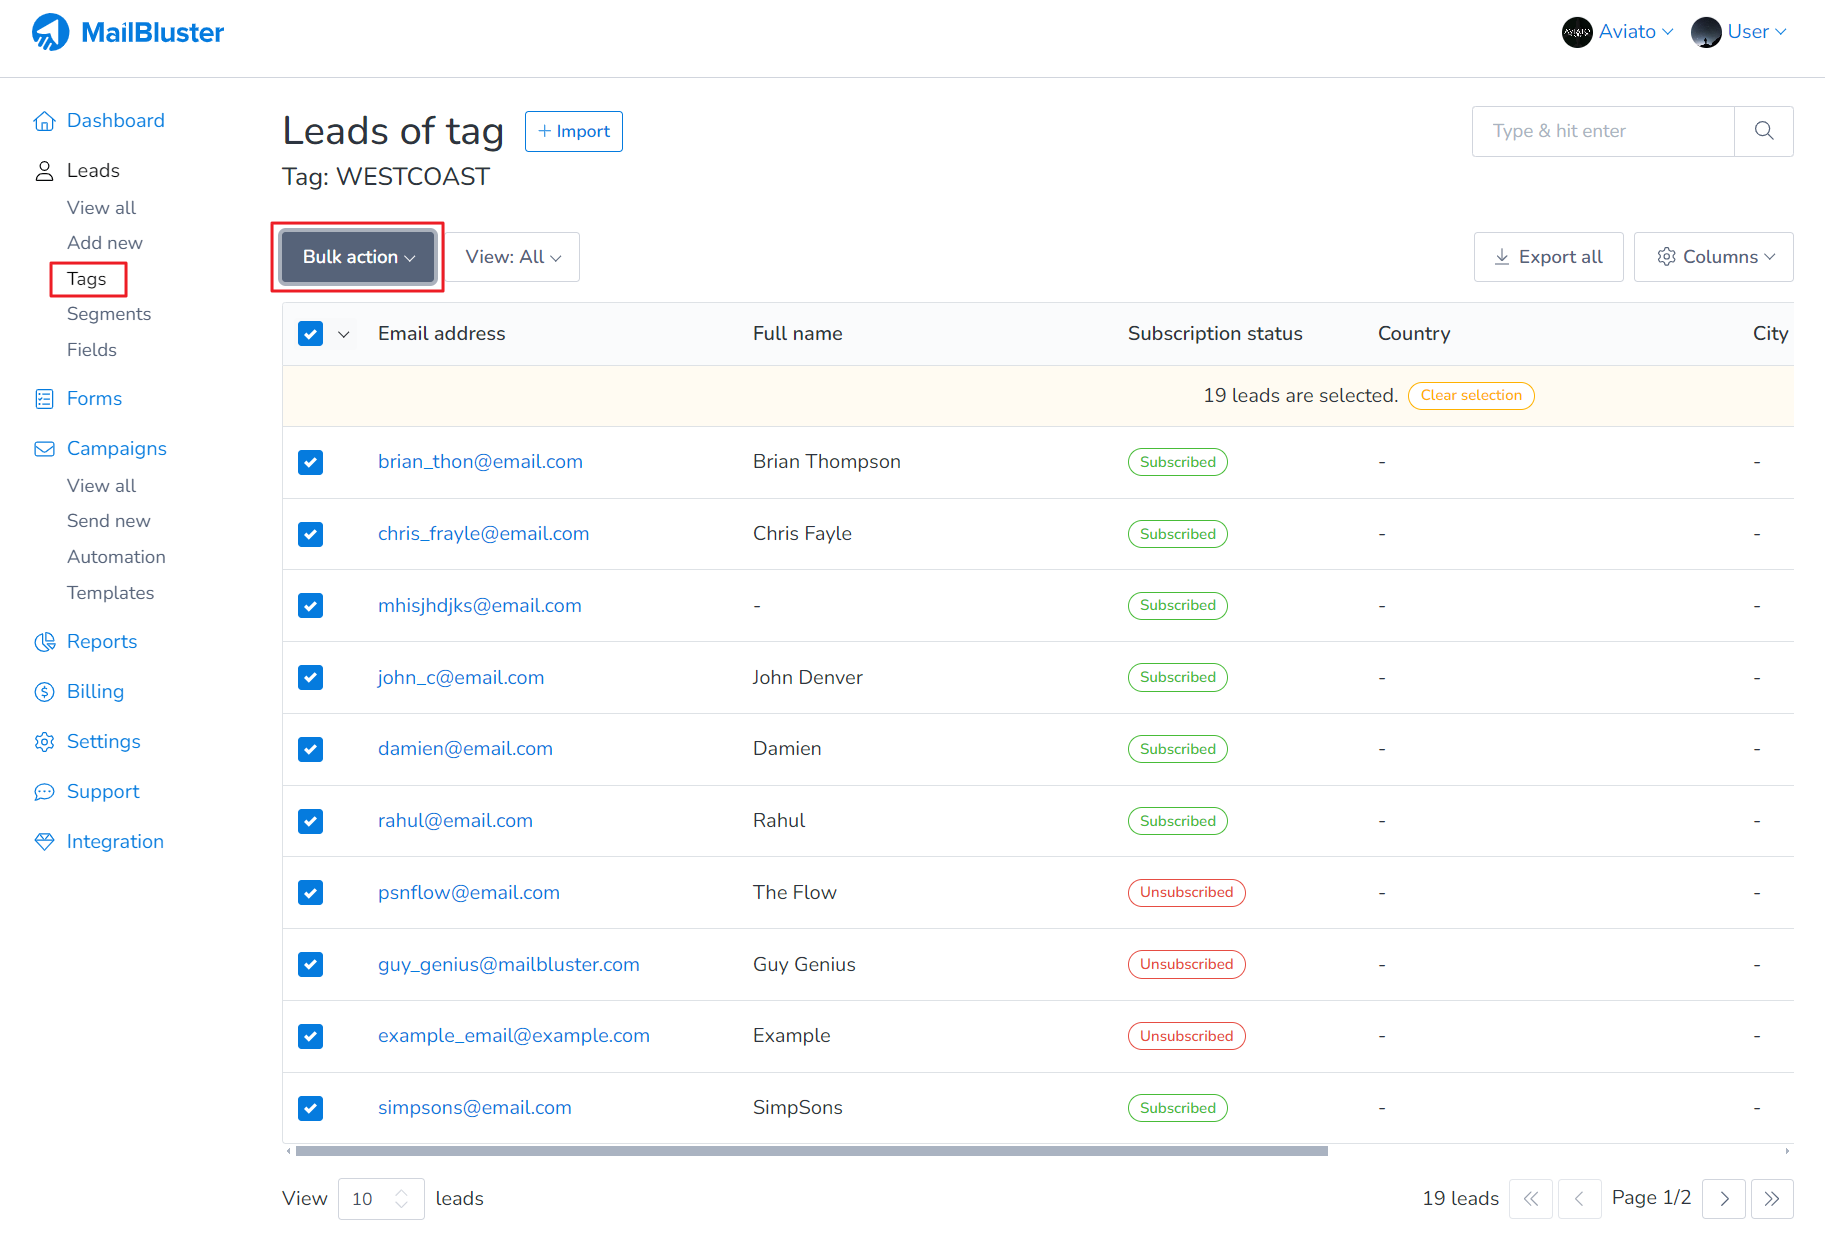
And, then click Attach tags.

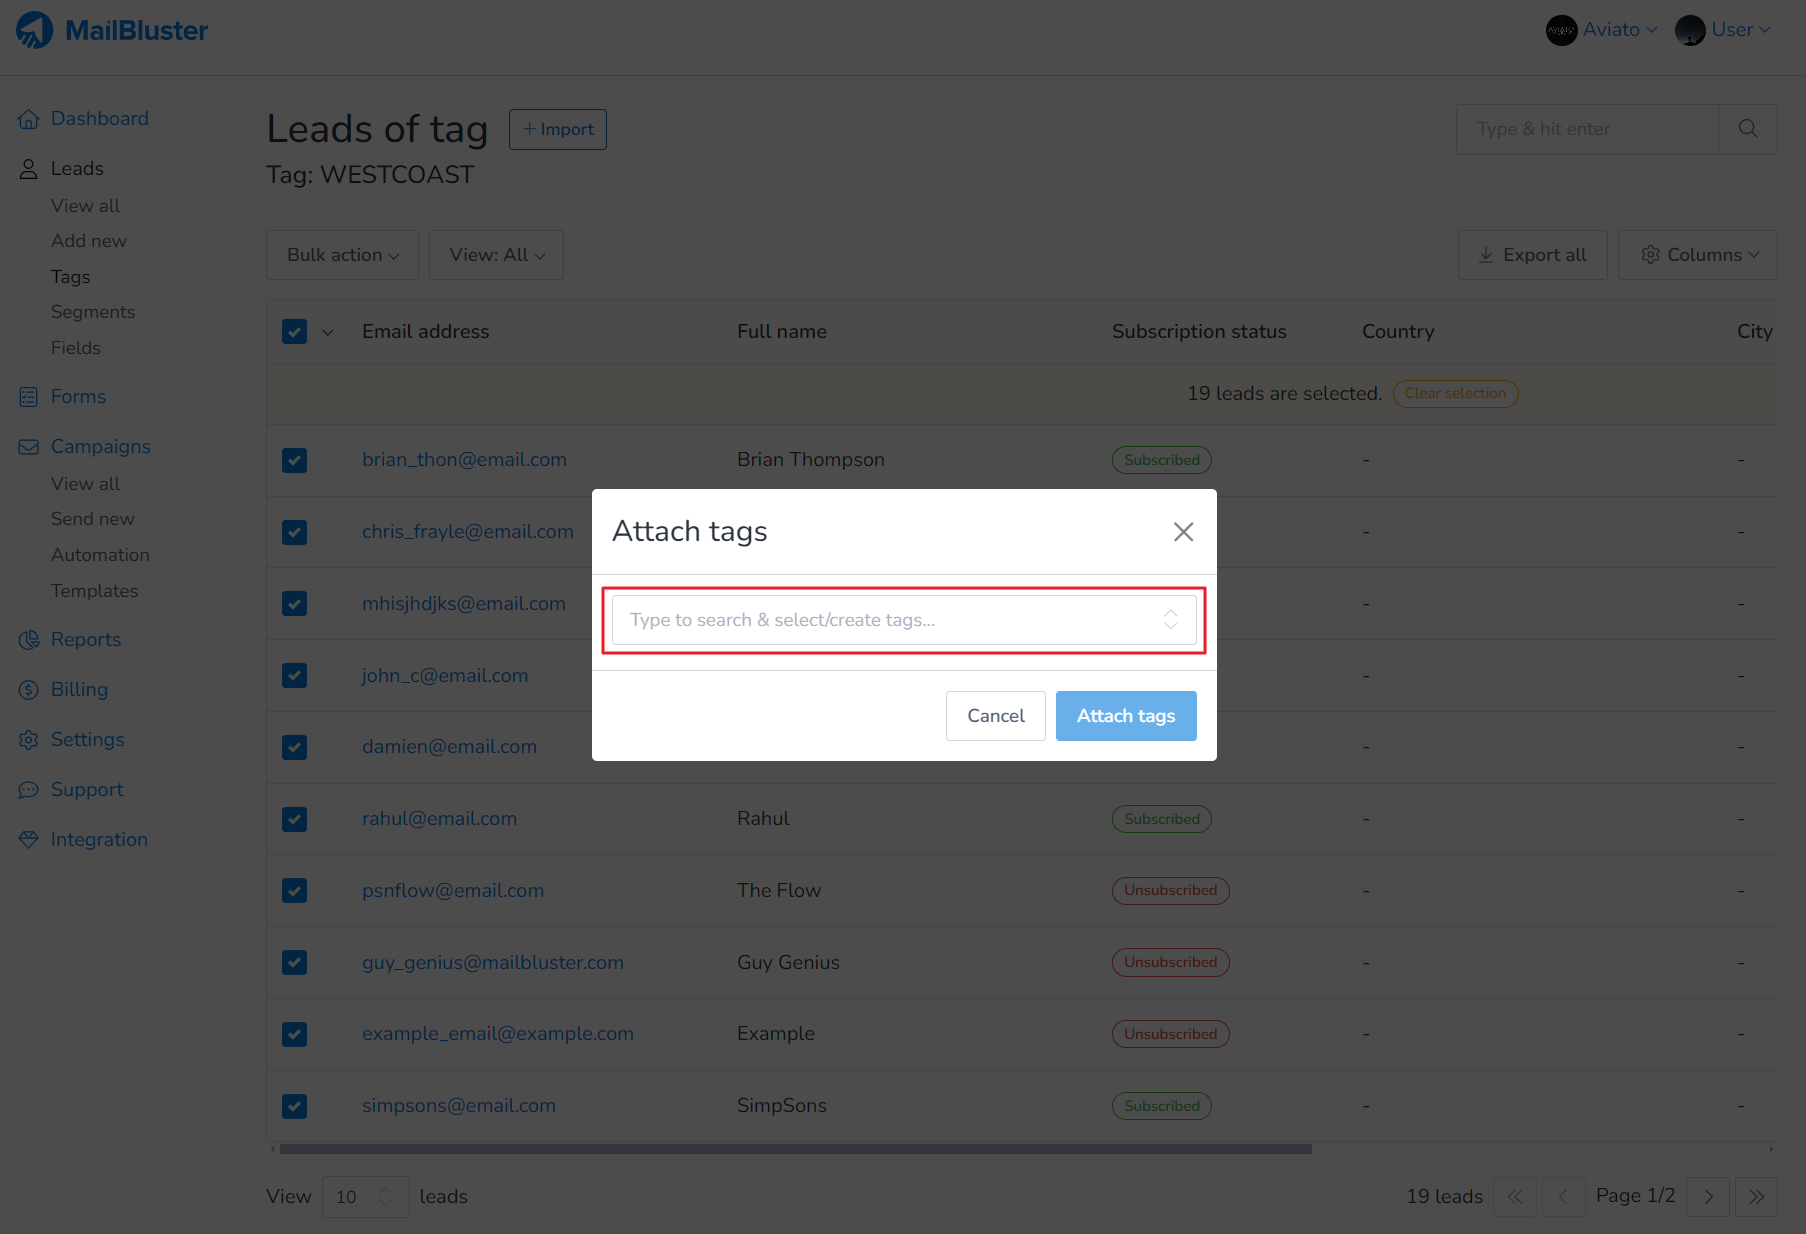
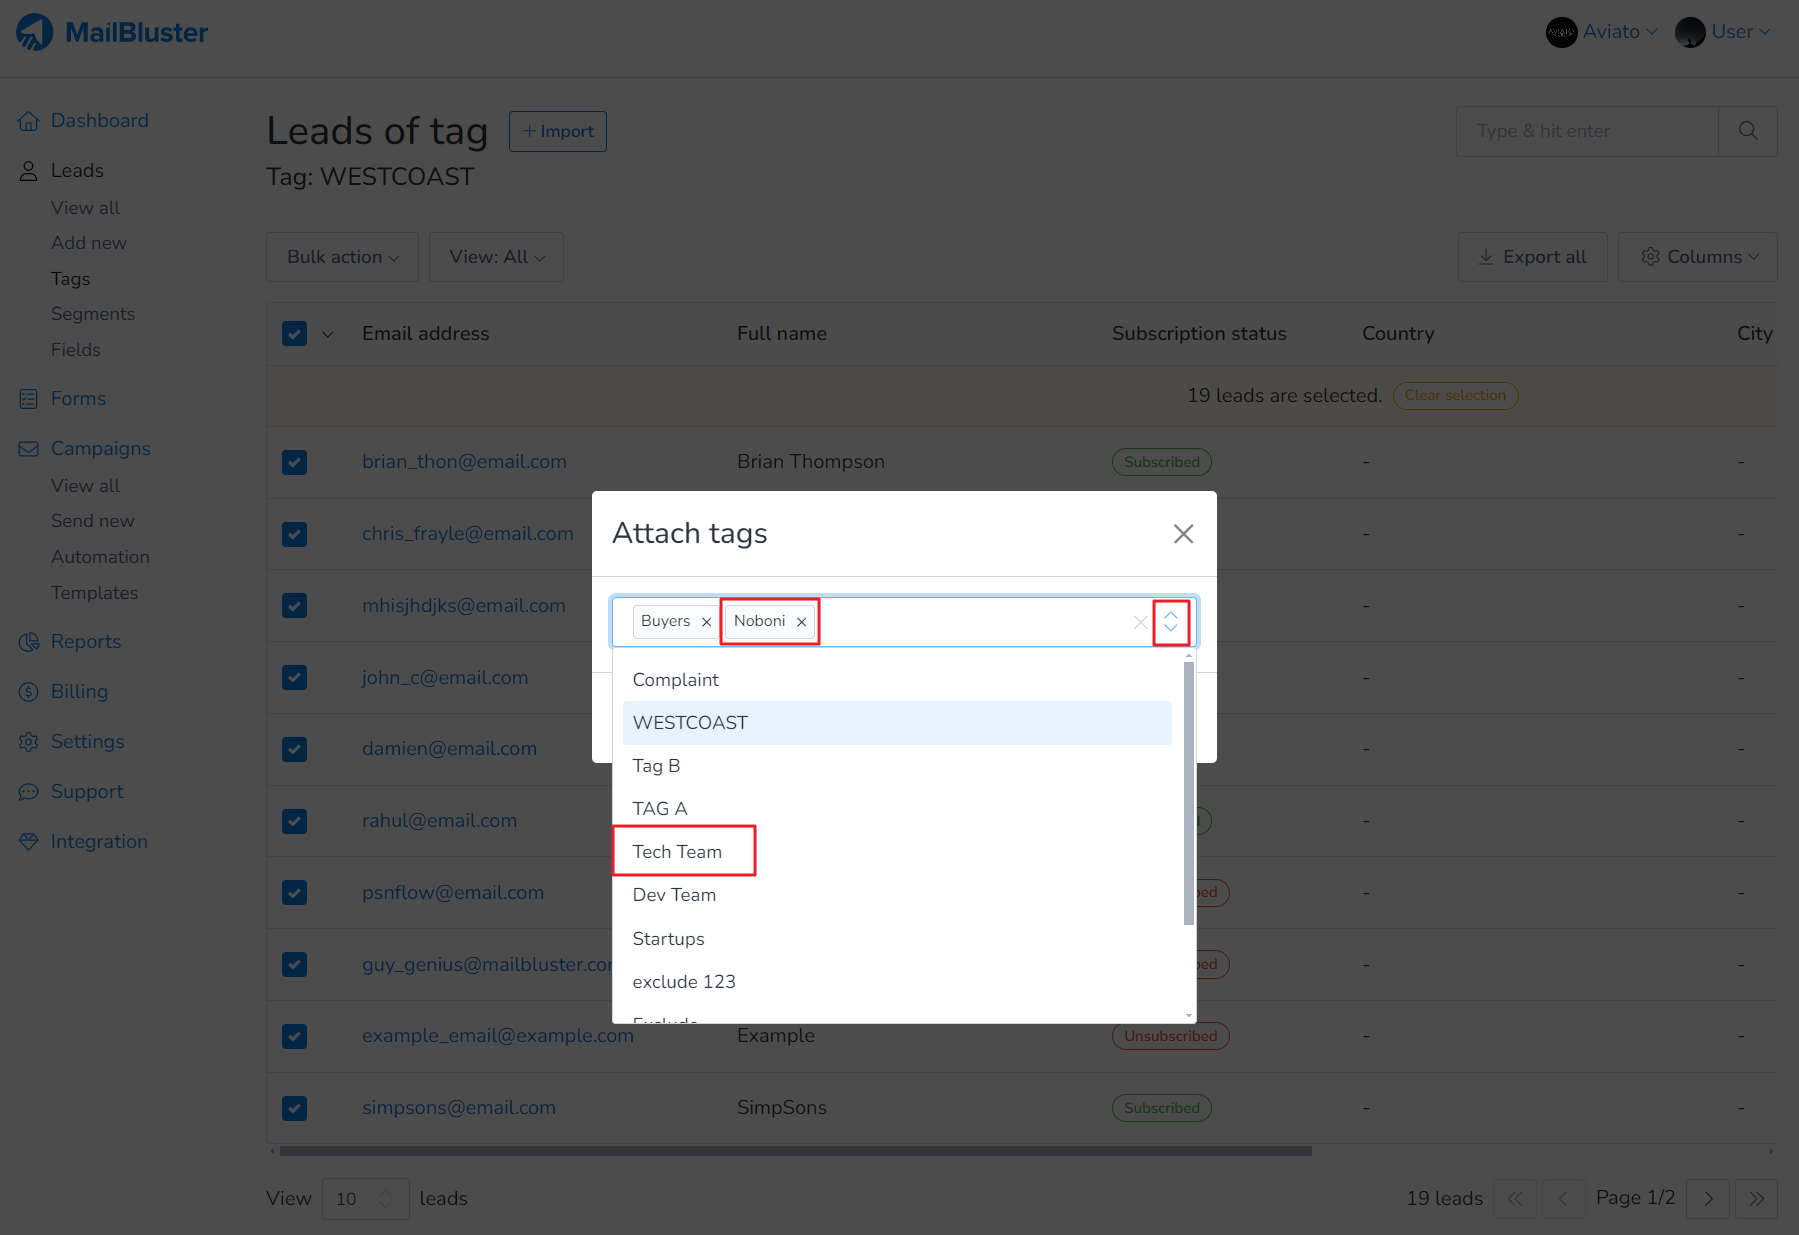
Attach tags popup window will appear.
You can select an already created tag or create a new one. Here we selected a tag name “Buyers”. Then click on Attach tags.
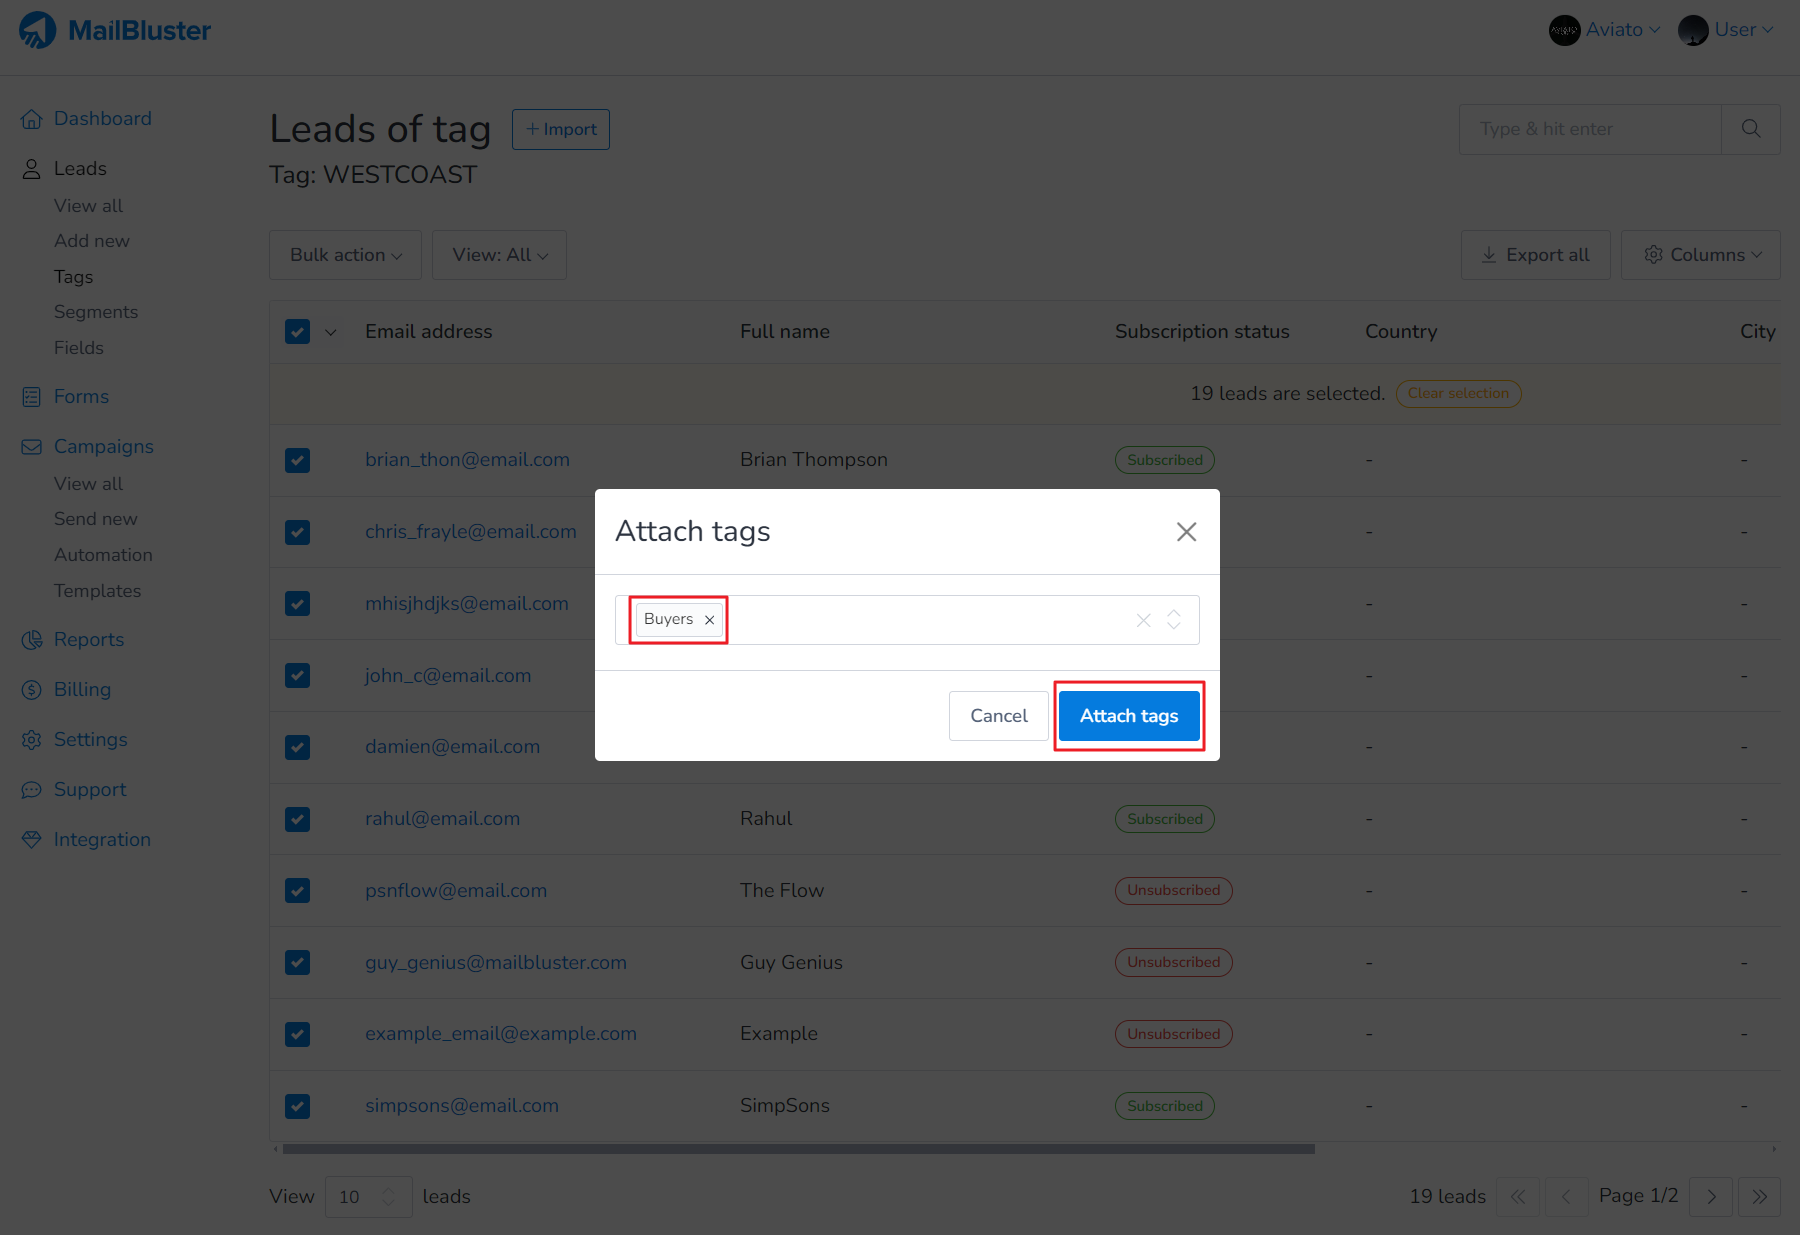
You can select multiple tags as well as shown below. This will assign all the leads of this tag to the designated tags.
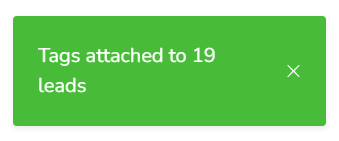
Notification like this will appear at the bottom left corner.
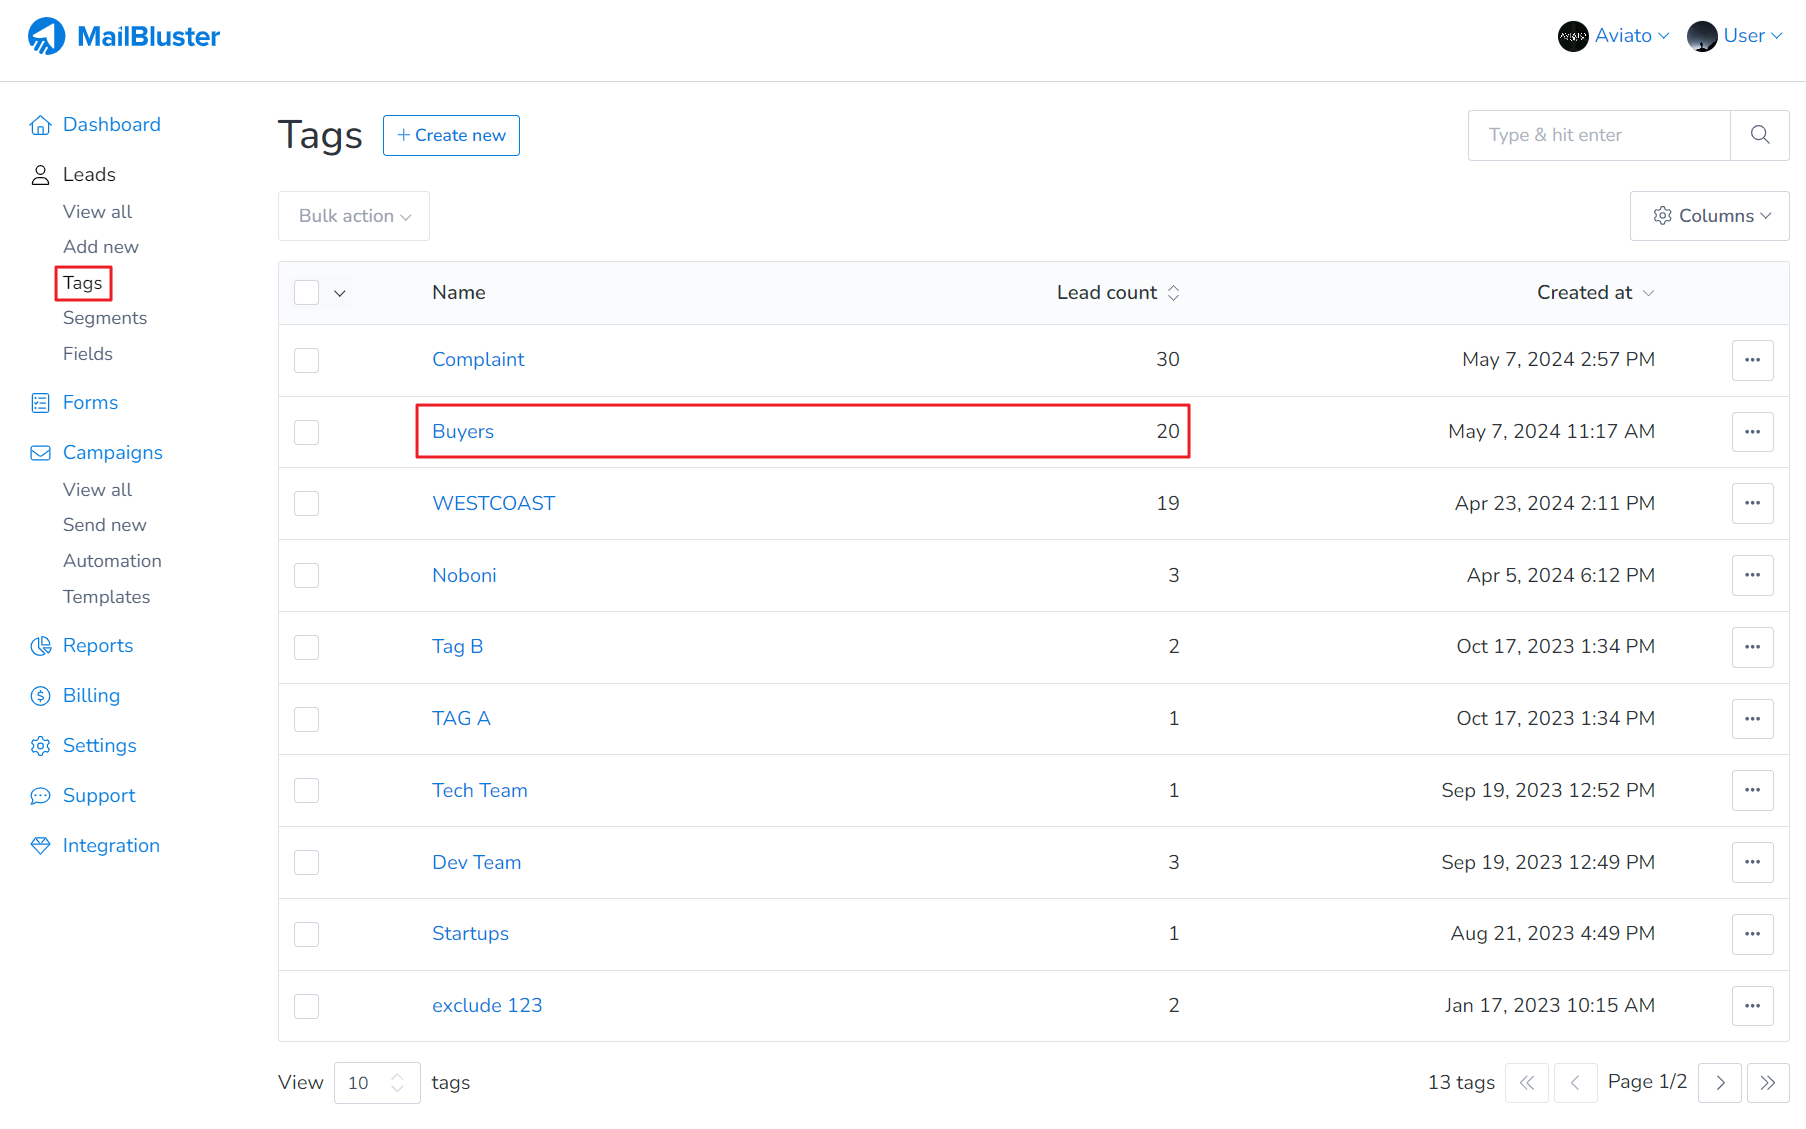
Now click on Tags and you will notice that the tag name “Buyers” is showing the total number of Lead count assigned to this tag. The leads have been successfully assigned to tag name “Buyers” from “WESTCOAST”.
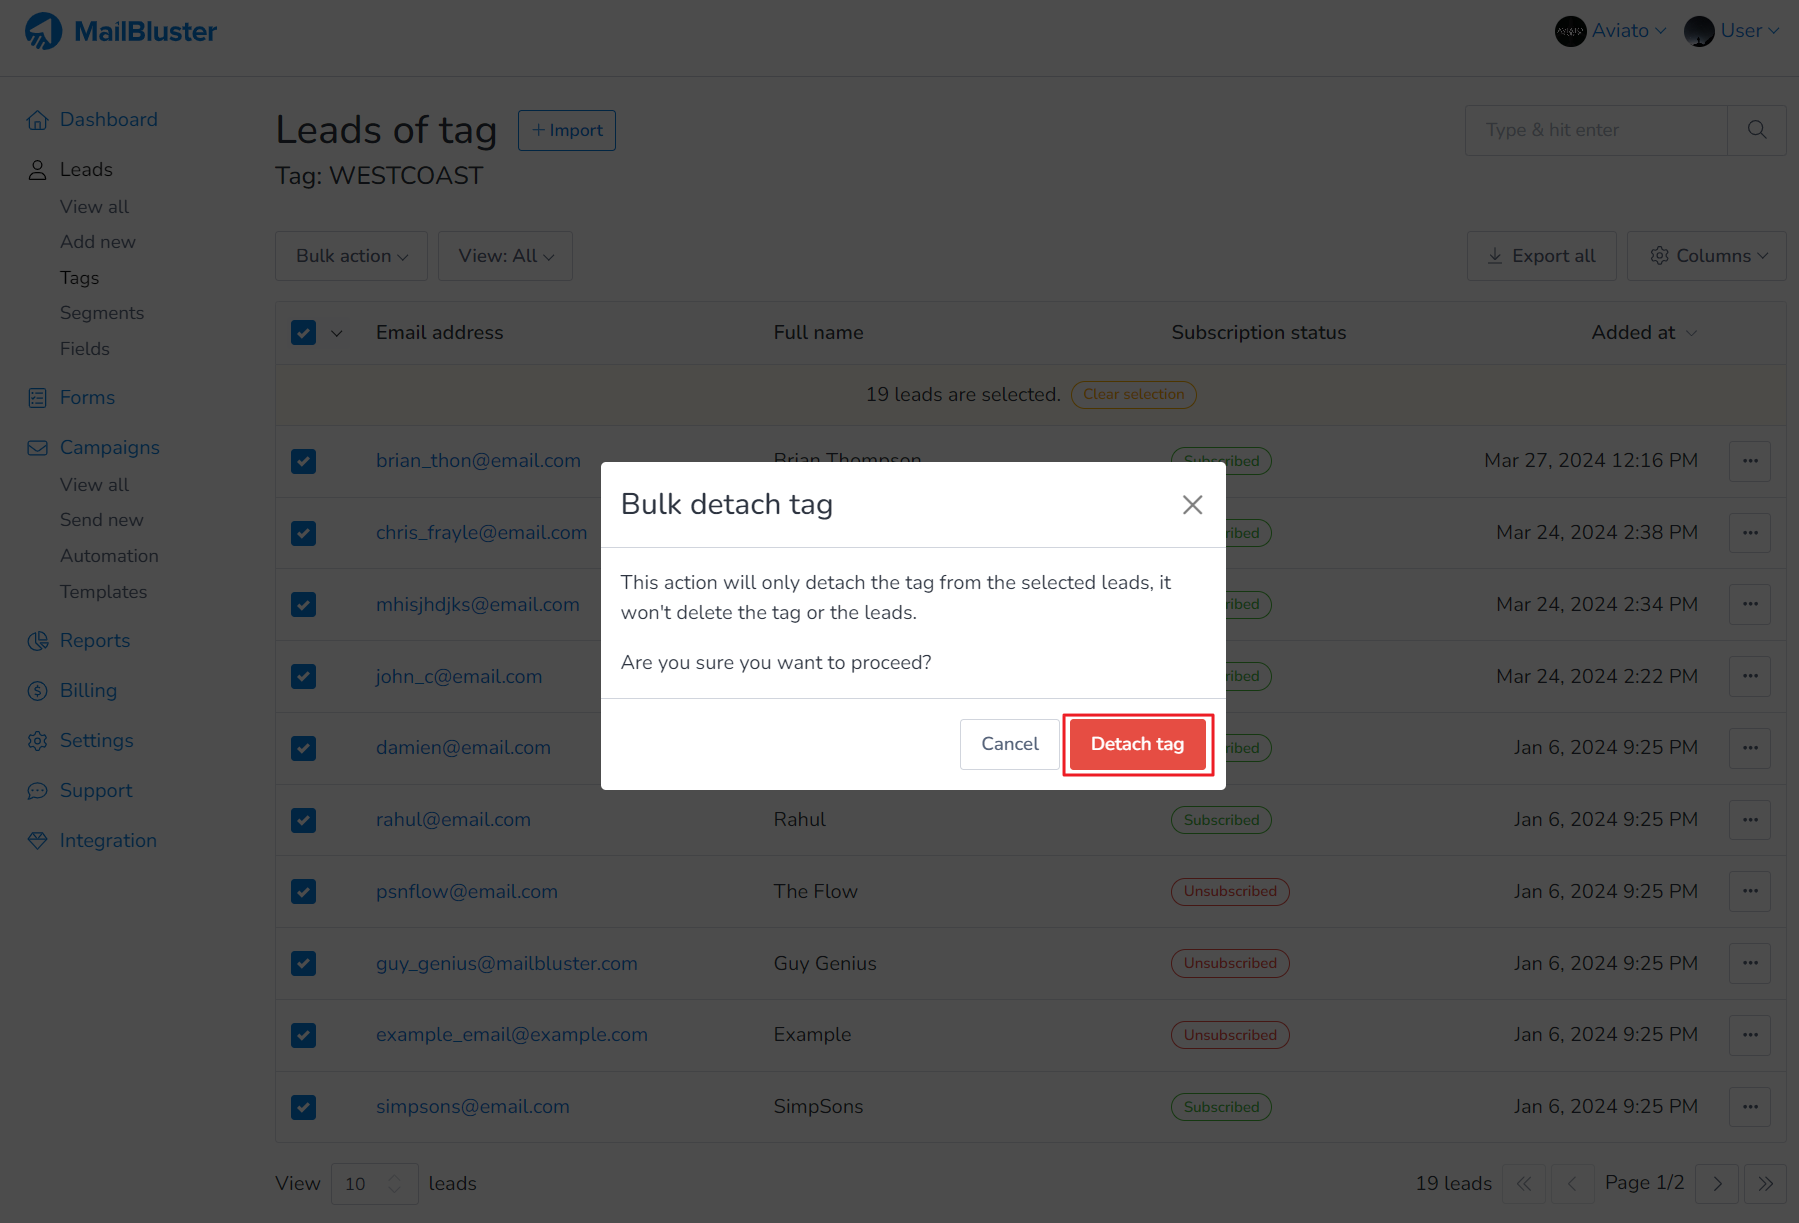
Now click on the tag “WESTCOAST” and then Bulk action > Detach tag.
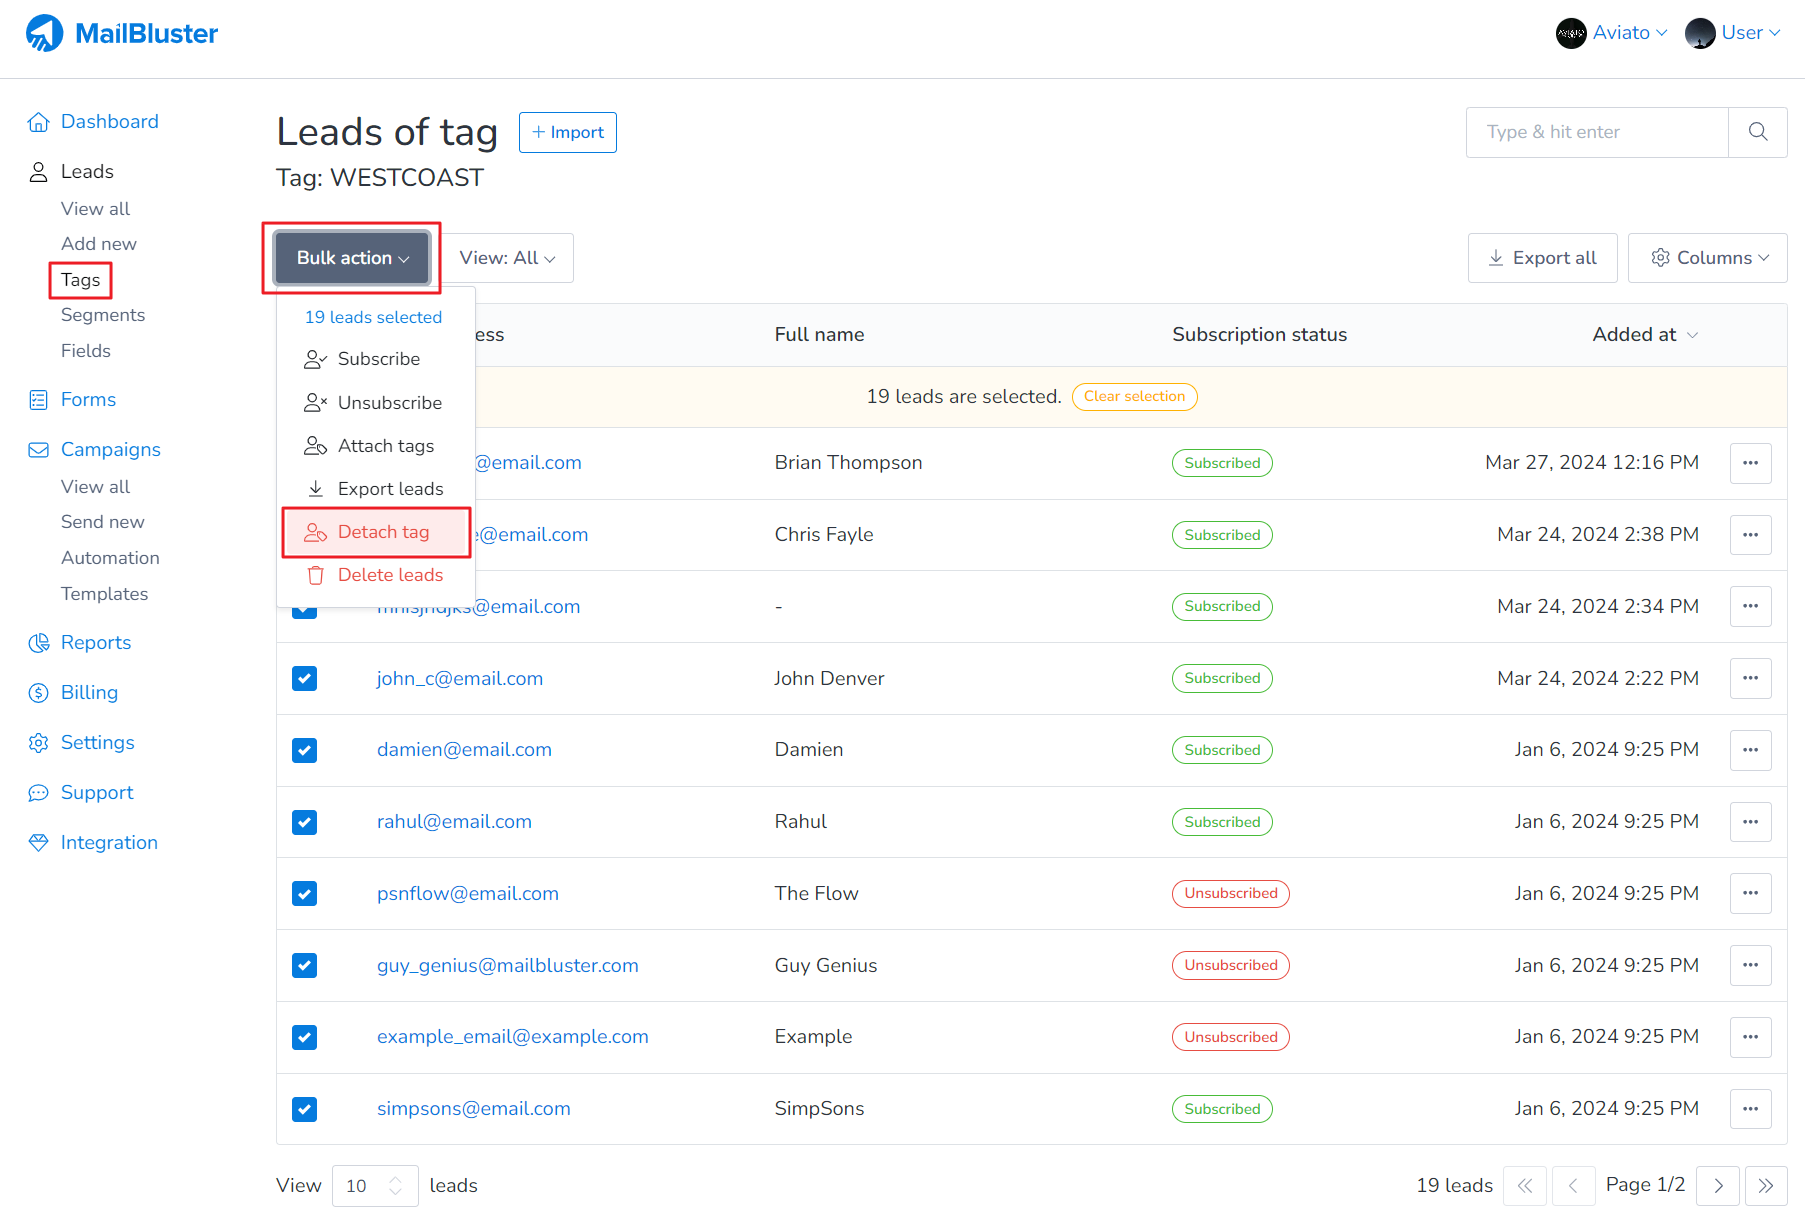
Bulk Detach tag popup window will appear. You can click on Detach tag again and this will remove all leads from the tag “WESTCOAST”.
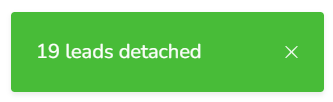
Notification like this will appear at the bottom left corner.
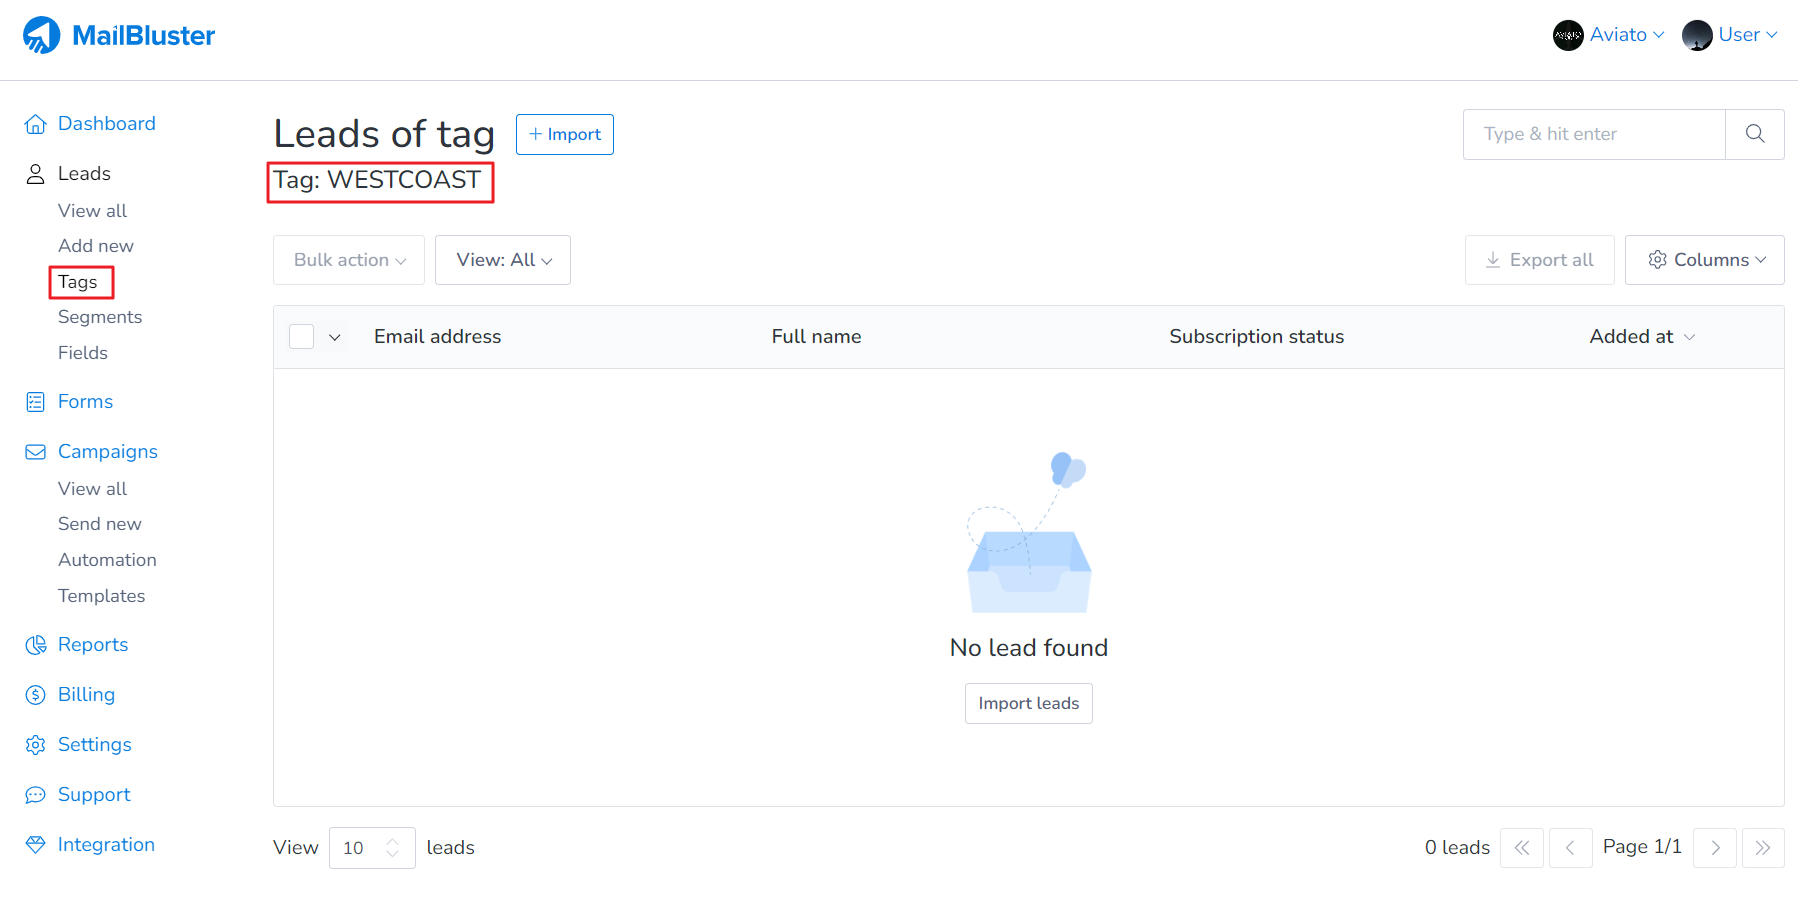
Now you will notice, 0 leads are present under the Tag “WESTCOAST”.
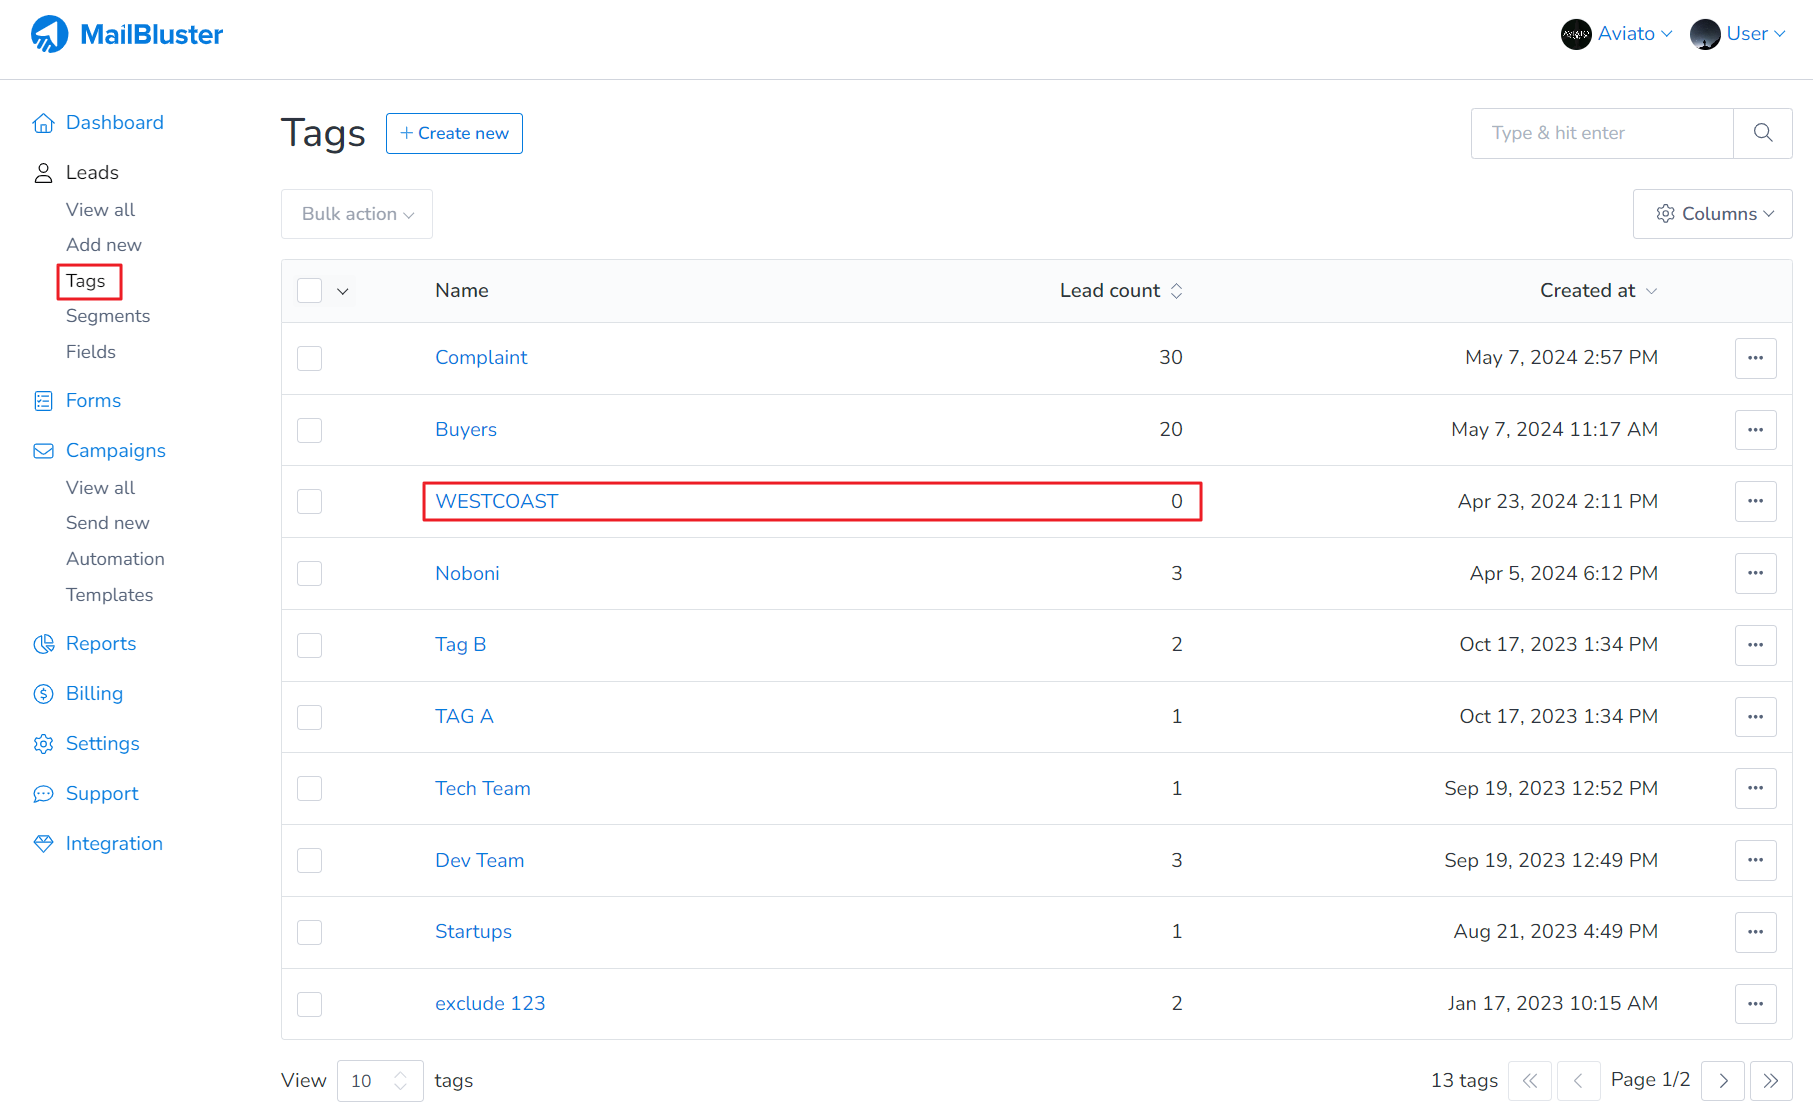
Also, if you click on Tags, you will notice the Lead count of tag “WESTCOAST” is showing 0.
Using tags in bulk helps you segment your audience more effectively. It allows for targeted campaigns, better engagement, and improved deliverability. Therefore, managing tags efficiently can save time and enhance your email marketing results.