Pabbly integration with MailBluster makes it easy to automate email workflows and save time by connecting multiple apps without any coding. Pabbly is a powerful automation platform that links tools like Google Sheets, MailBluster, and many others to streamline repetitive tasks. The automation process in Pabbly typically involves two main components: a Trigger and an Action.
Let’s walk through the steps to set up a working Pabbly integration with MailBluster, helping you simplify and automate your email marketing tasks.
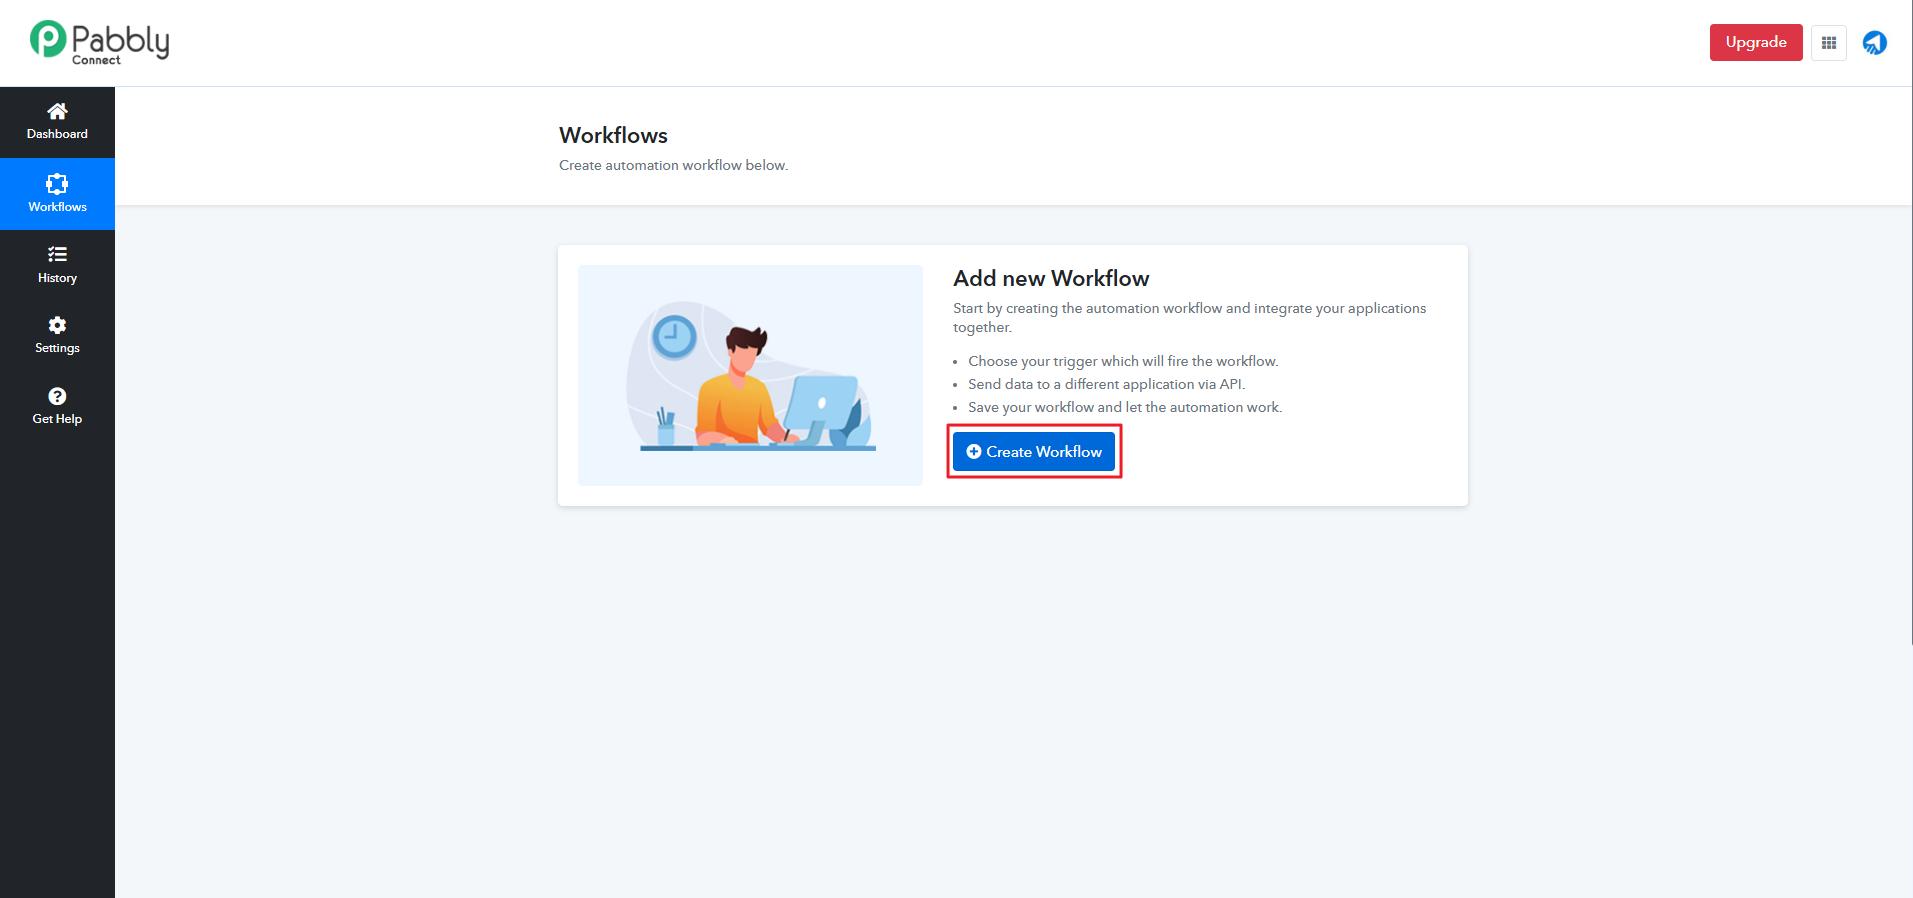
First, click on Create Workflow.
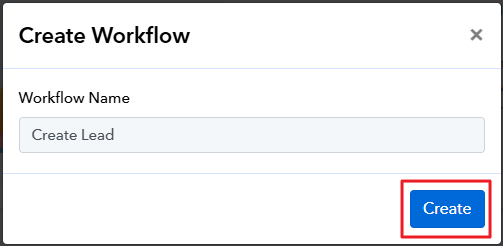
Enter the Workflow Name.
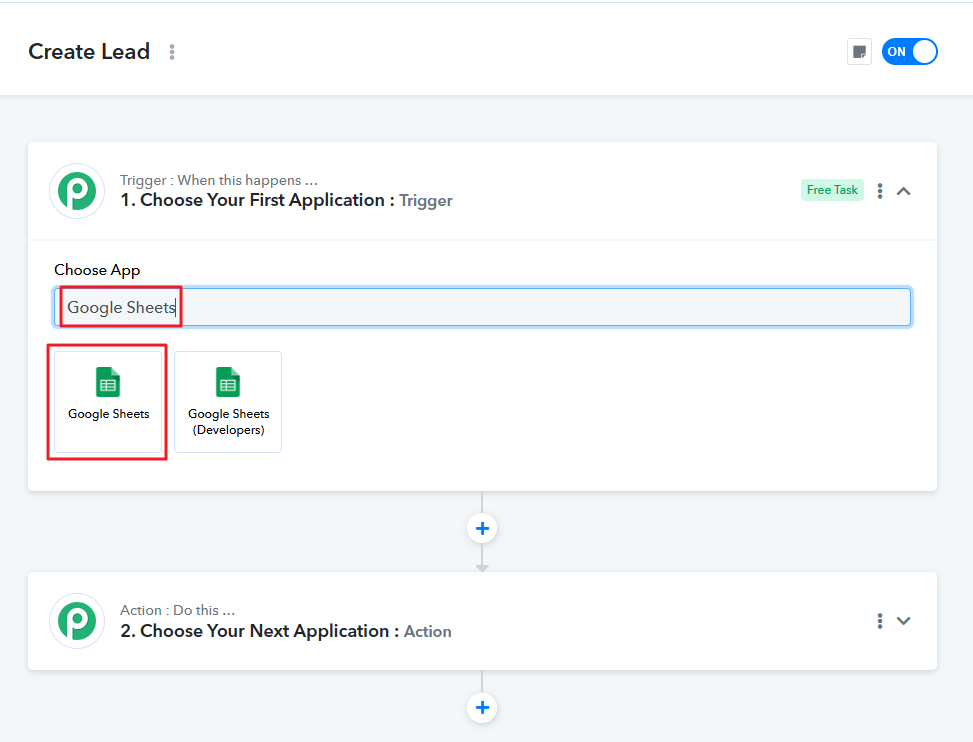
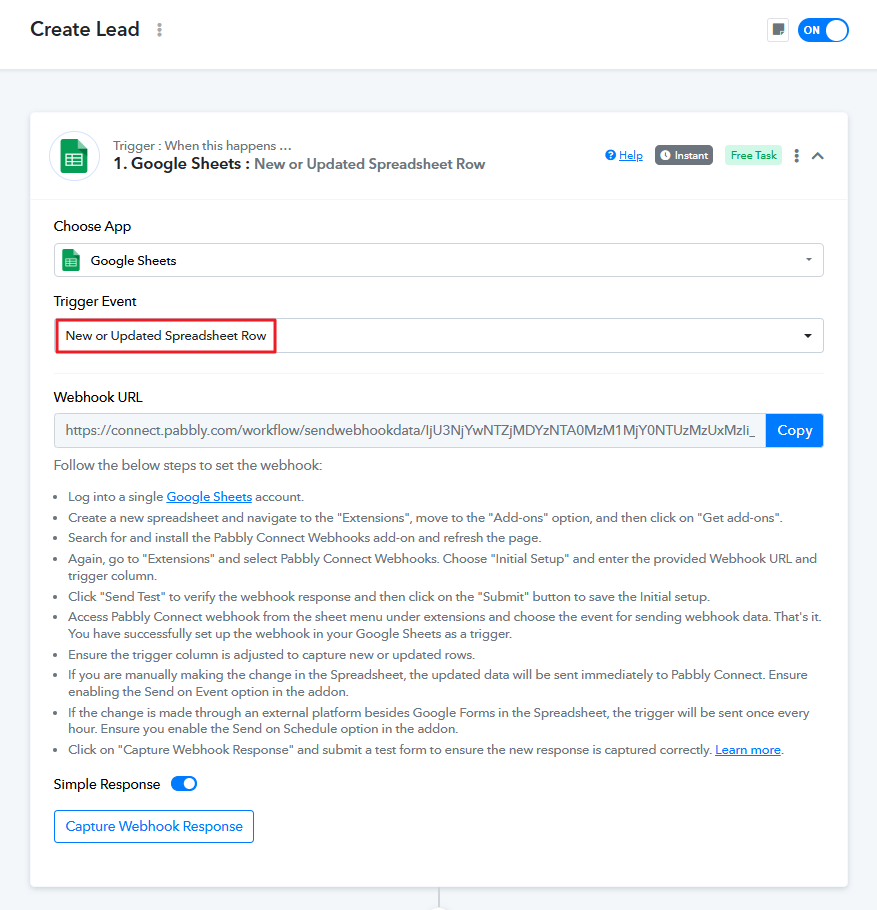
Select Google Sheets from Choose App.
Then select New or Updated Spreadsheet Row from Trigger Event.
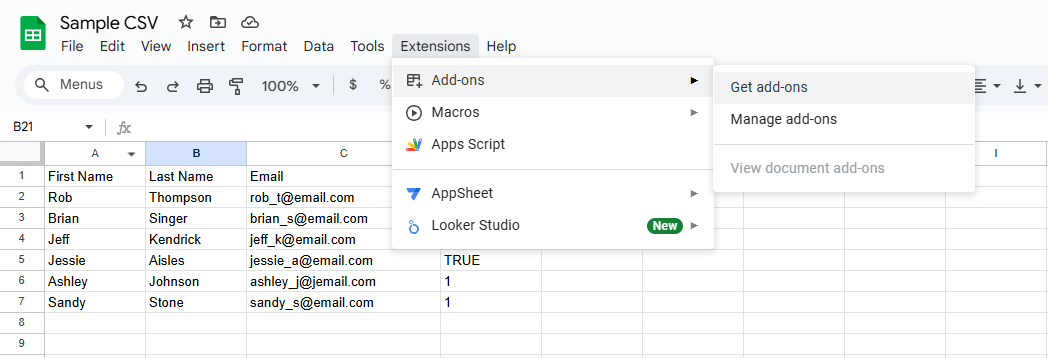
Now go to Google Sheets > Extensions > Add-ons > Get add-ons.
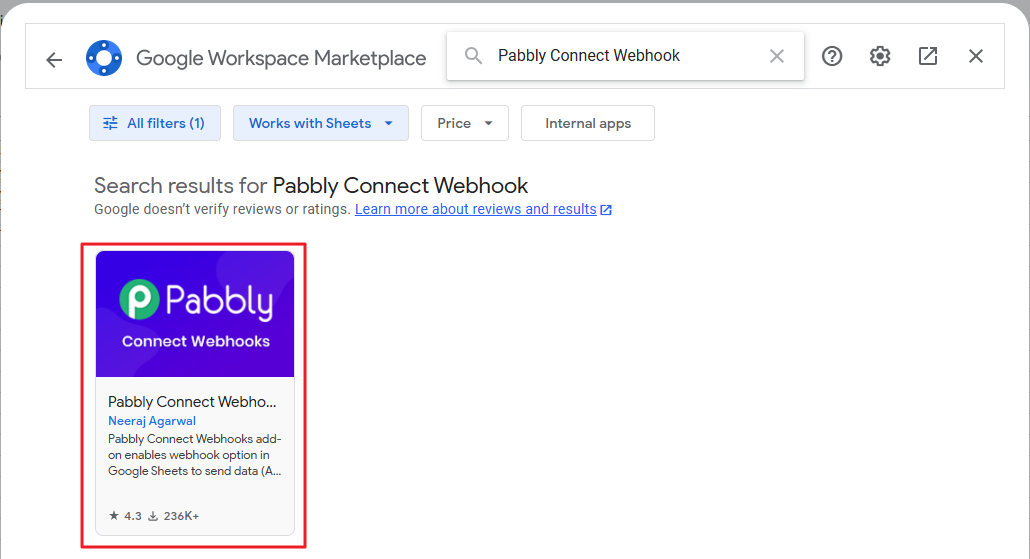
Type inside the search bar Pabbly Connect Webhook. Click on the Pabbly Connect Webhooks.
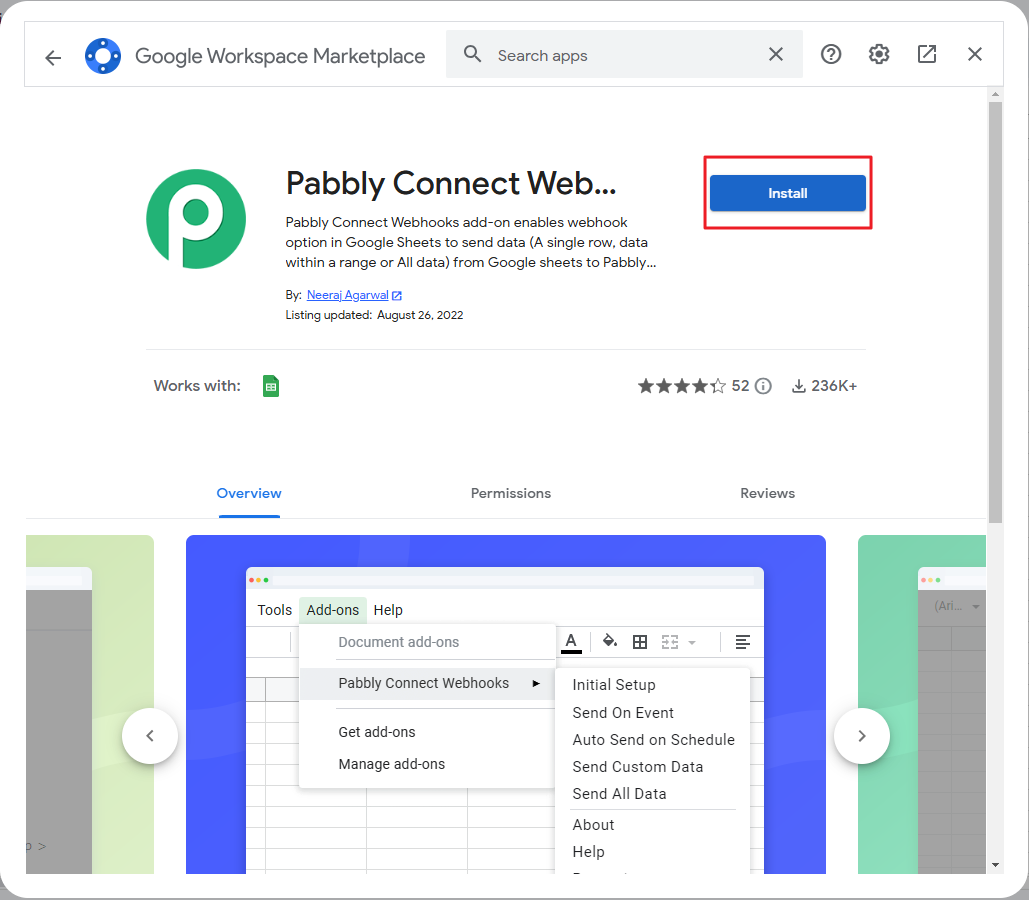
Install the add-on by clicking Install.
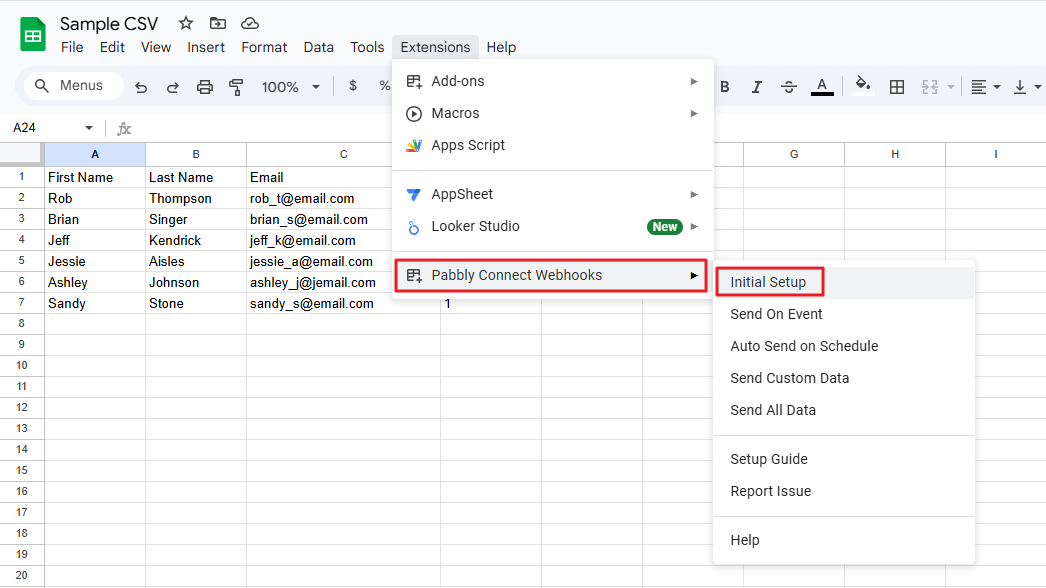
Then go to Extensions > Pabbly Connect Webhooks > Initial Setup.
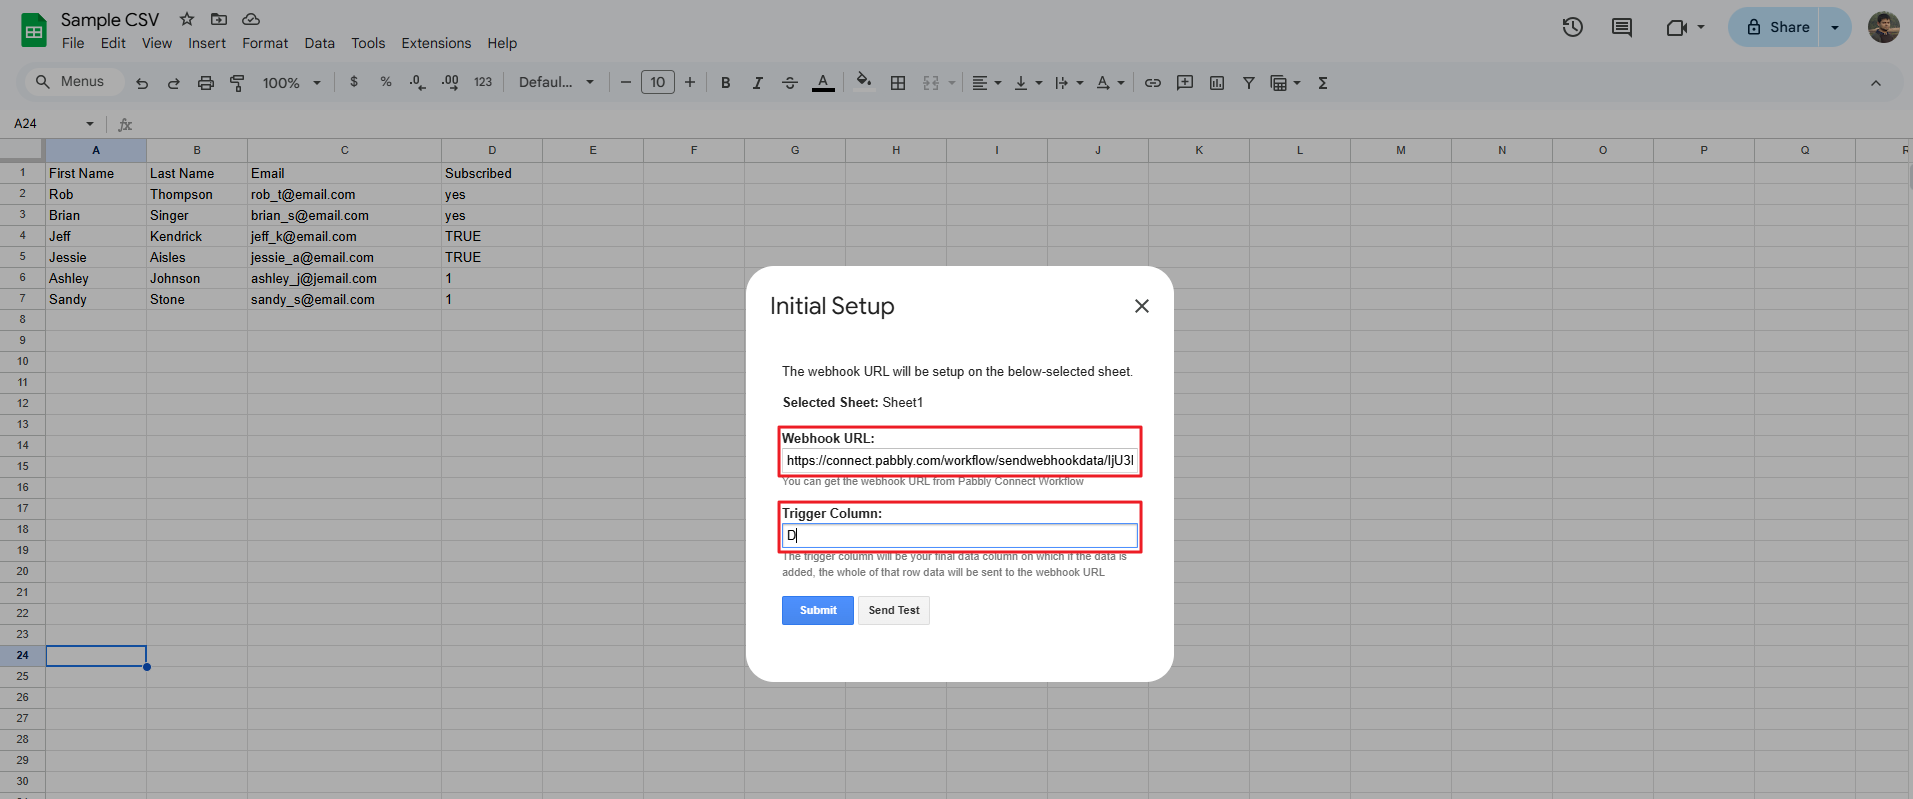
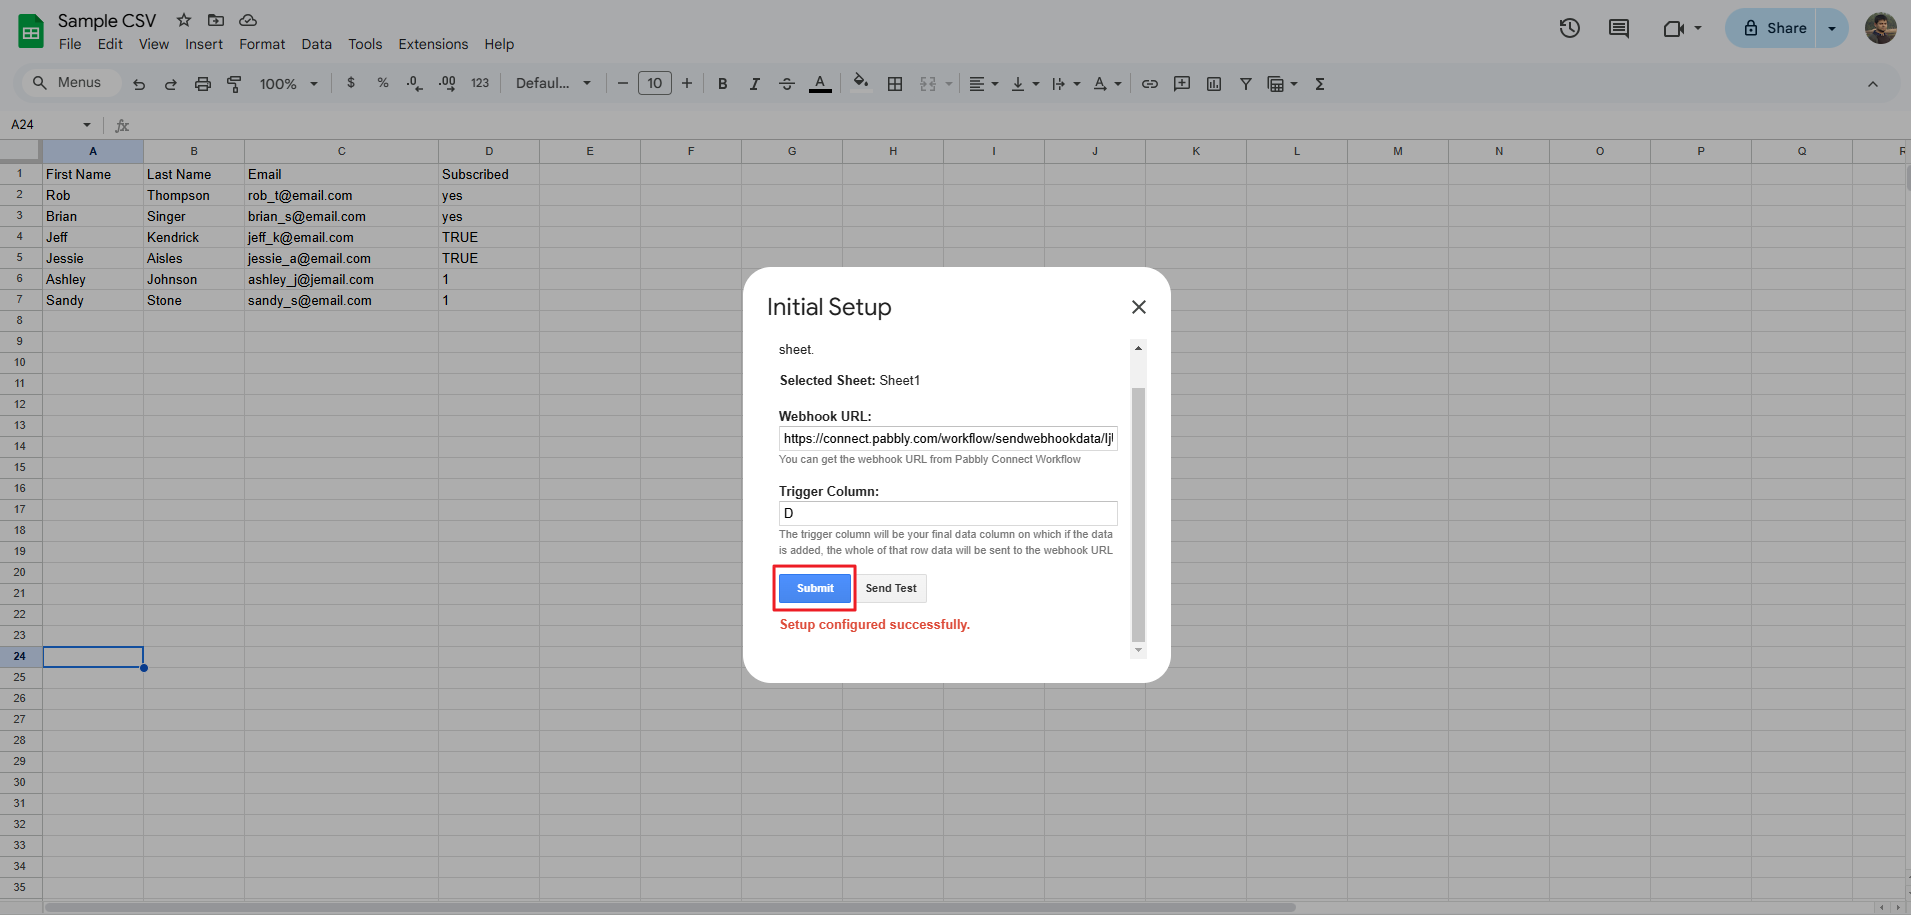
Go to Google Sheets and click on the Copy button from Webhook URL.

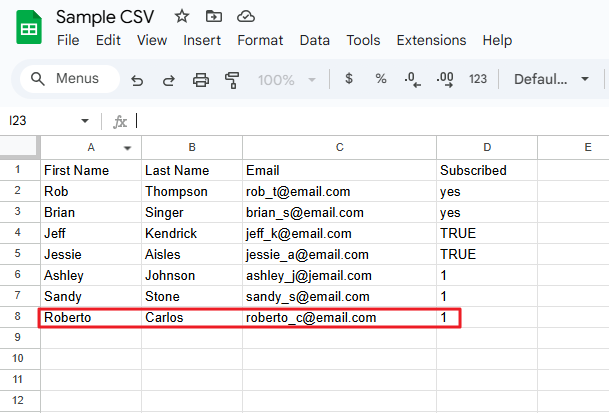
Now paste the Webhook URL and write the final data column in the Trigger Column. Here we wrote D according to the Sample CSV file as shown below.
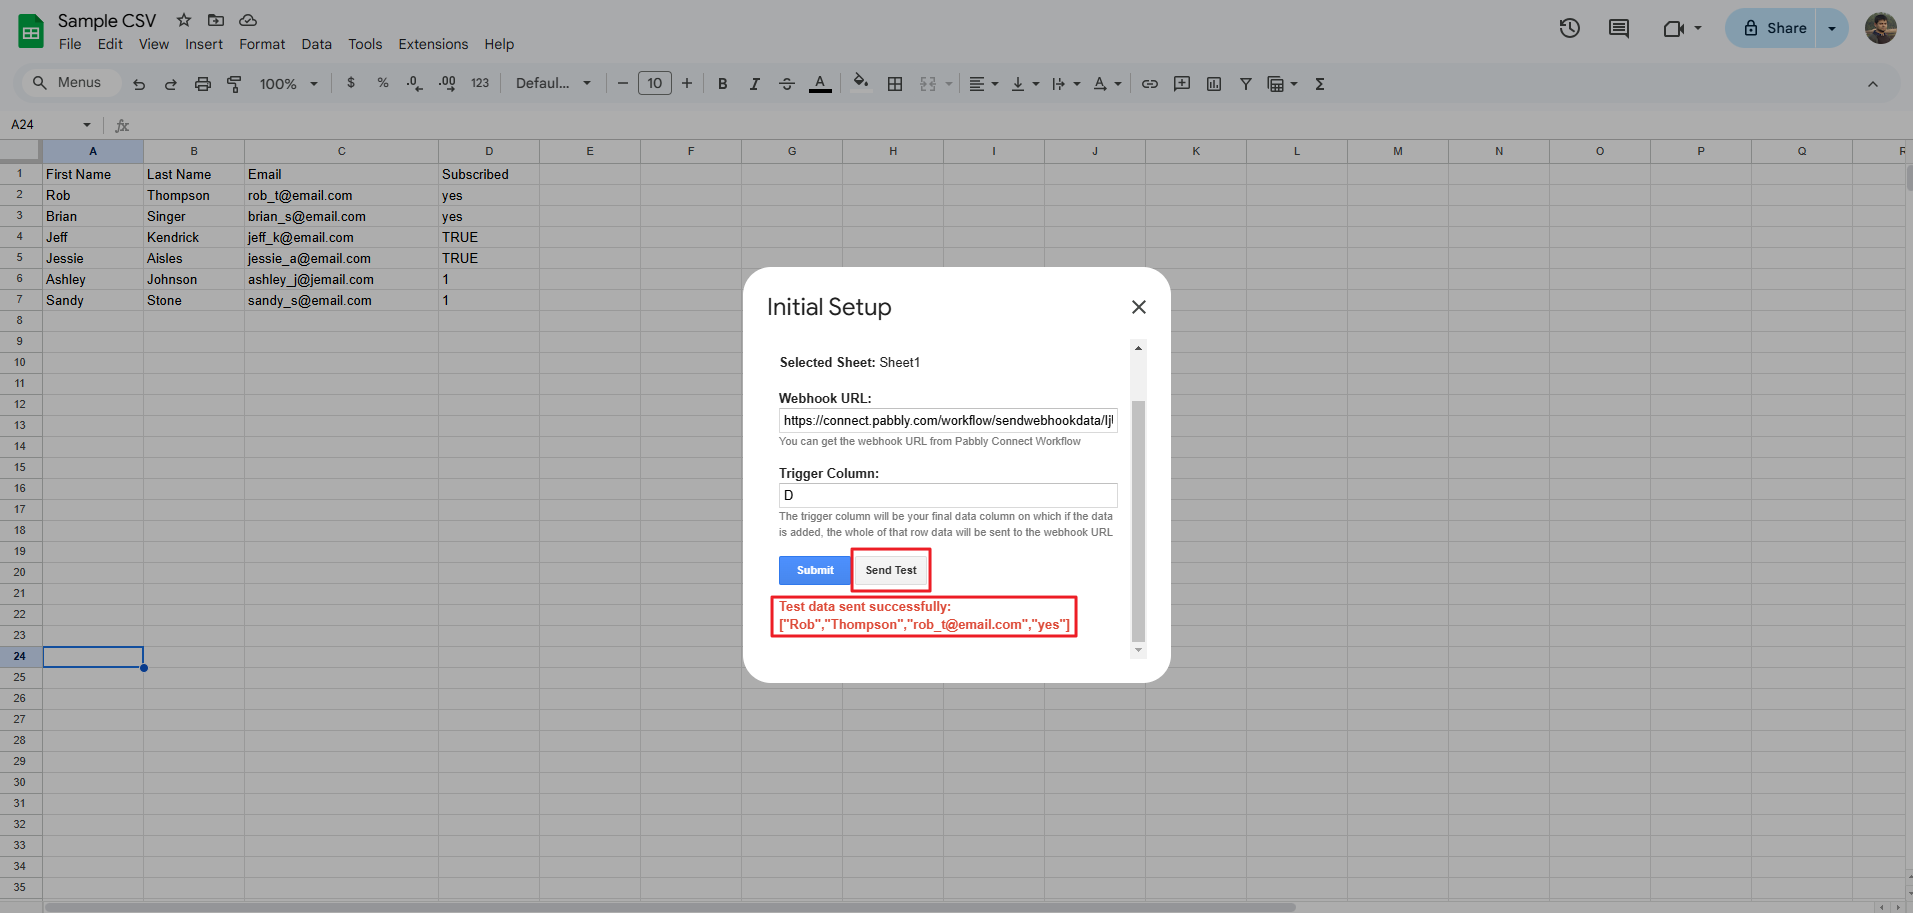
Now, click Send Test and check for “successful” message.
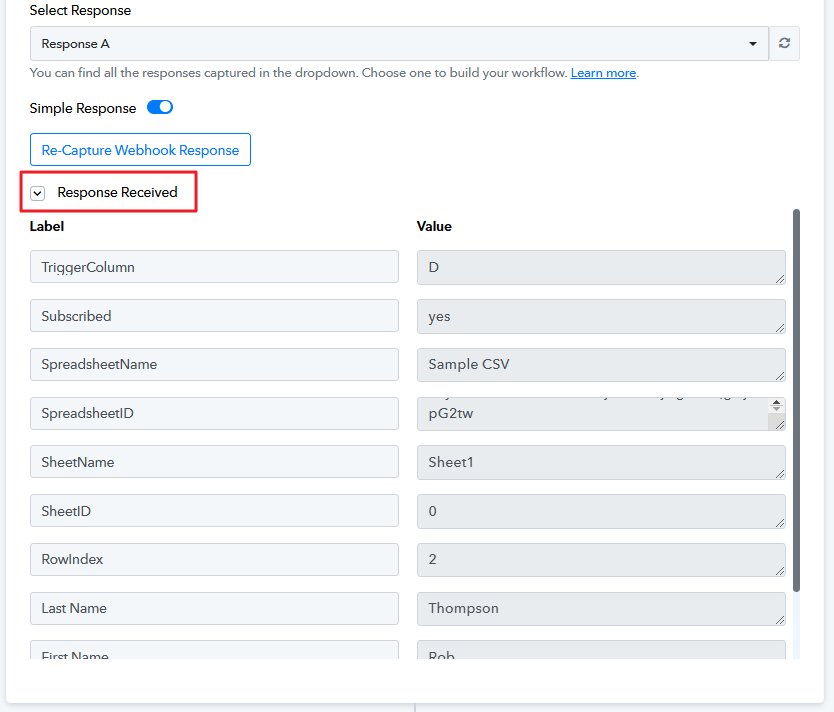
Also, click on Response Received. You will notice that the fields are all populated.
Click on the Submit button. You will get a notification message “Setup configured successfully”.
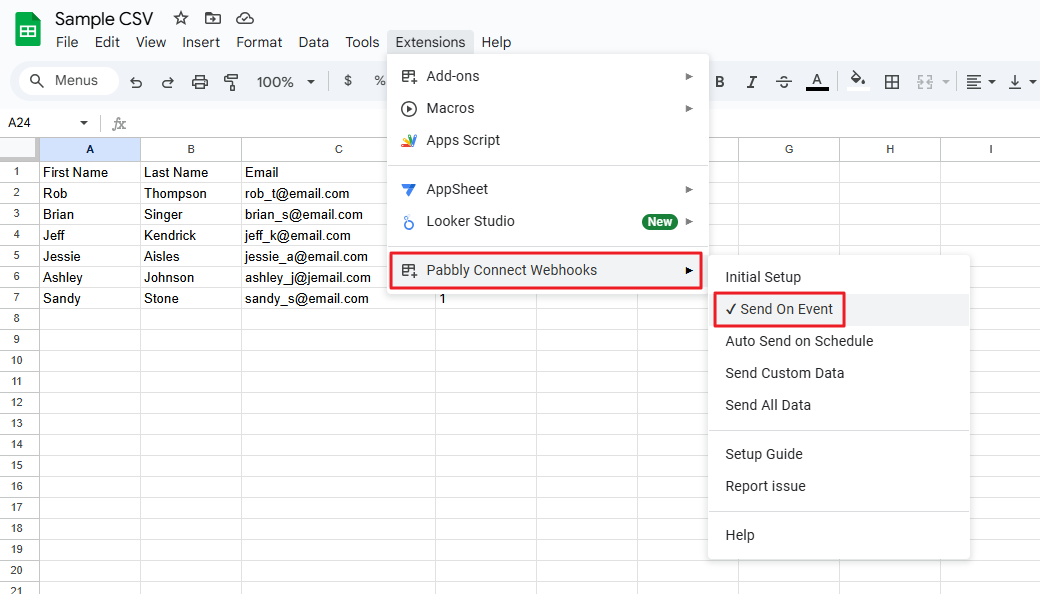
Now close the Initial Setup window and click on Pabbly Connect Webhooks > Send On Event.
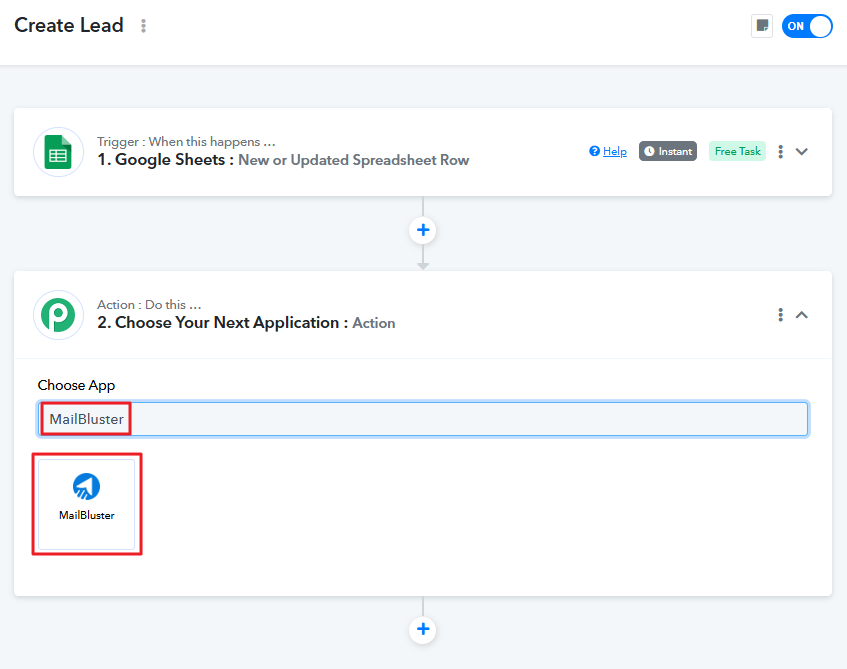
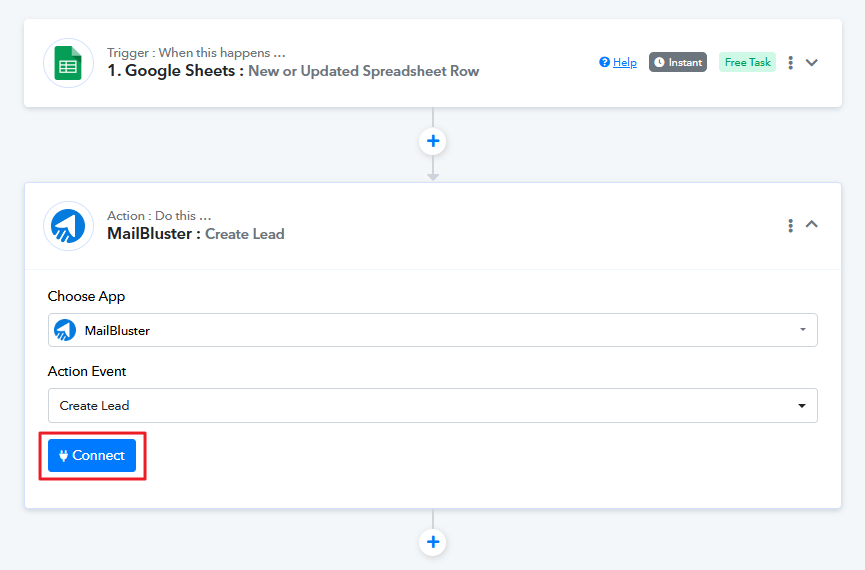
Now, it’s time to connect the MailBluster app. Go to Pabbly again and Choose Your Next Application : Action.
The trigger module collects the data, and in the action module, this data is submitted to MailBluster each time the workflow executes. At this step, connect MailBluster to add leads to the automated process.
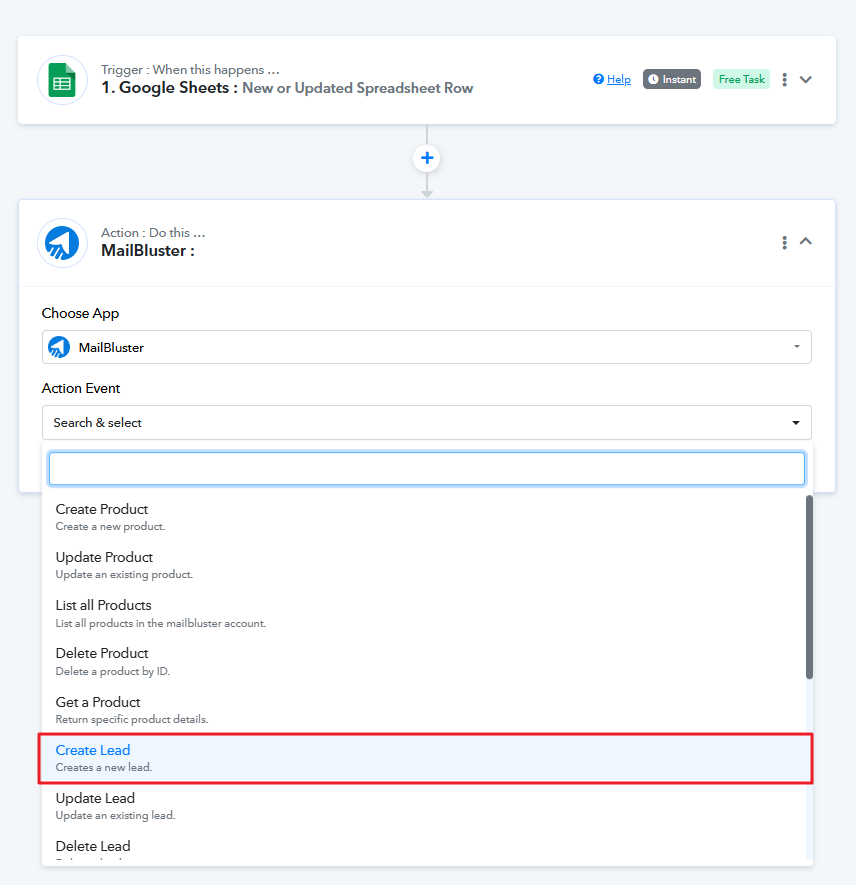
After selecting MailBluster, select the Action Event: Create Lead.
Click on the Connect button.
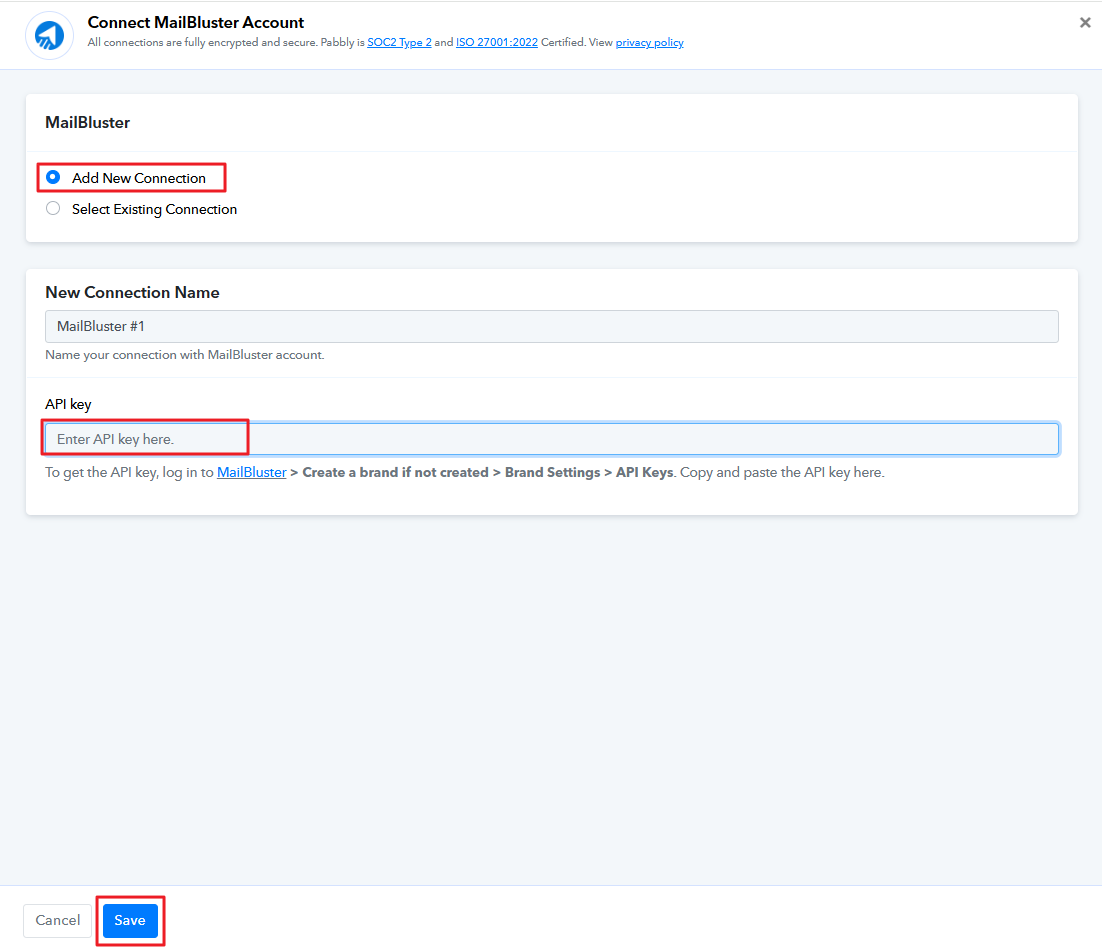
Select Add New Connection, copy the generated API key from MailBluster, and paste it into the API Key field in Pabbly. Then click Save button.
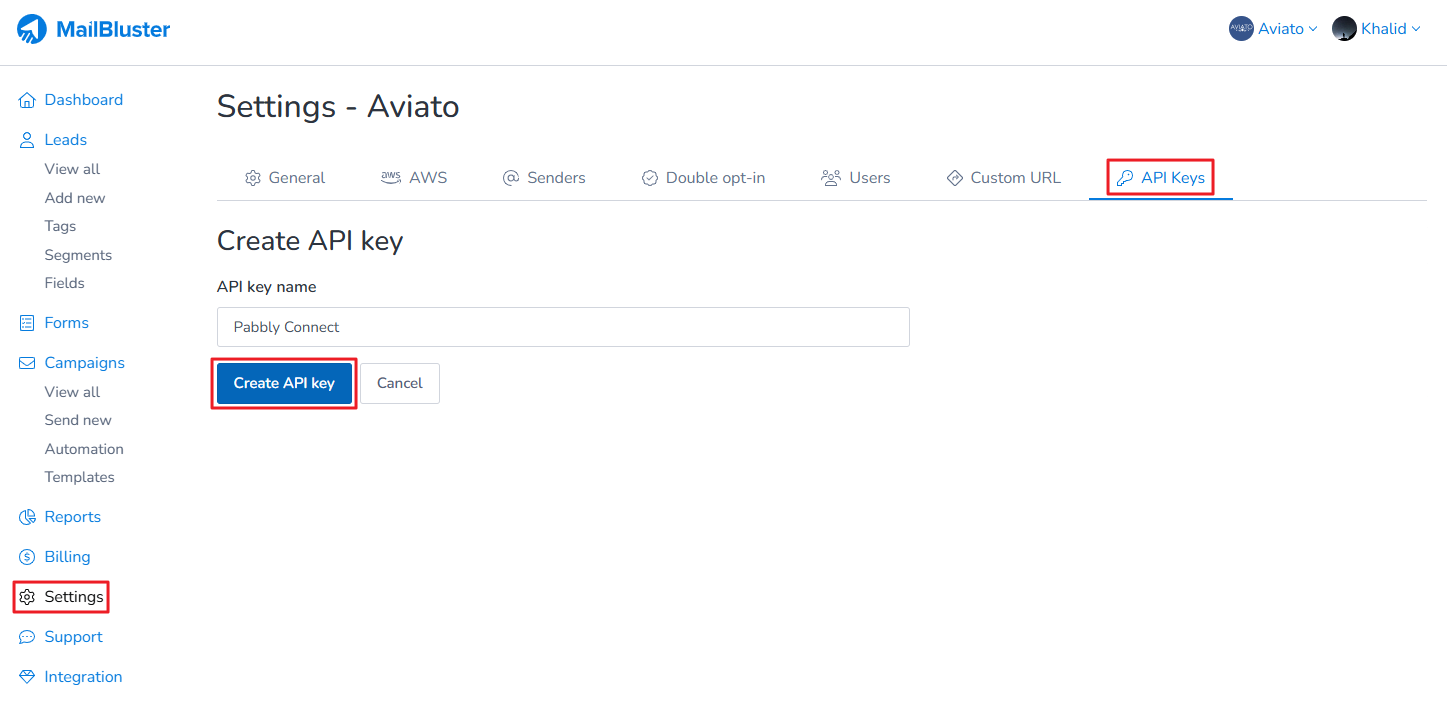
You need to Create API key from MailBluster. Sign in to your MailBluster account, then go to Brand > Settings > API Keys and select Create New. On the API Keys tab, Create new, name your API key and click Create API Key.
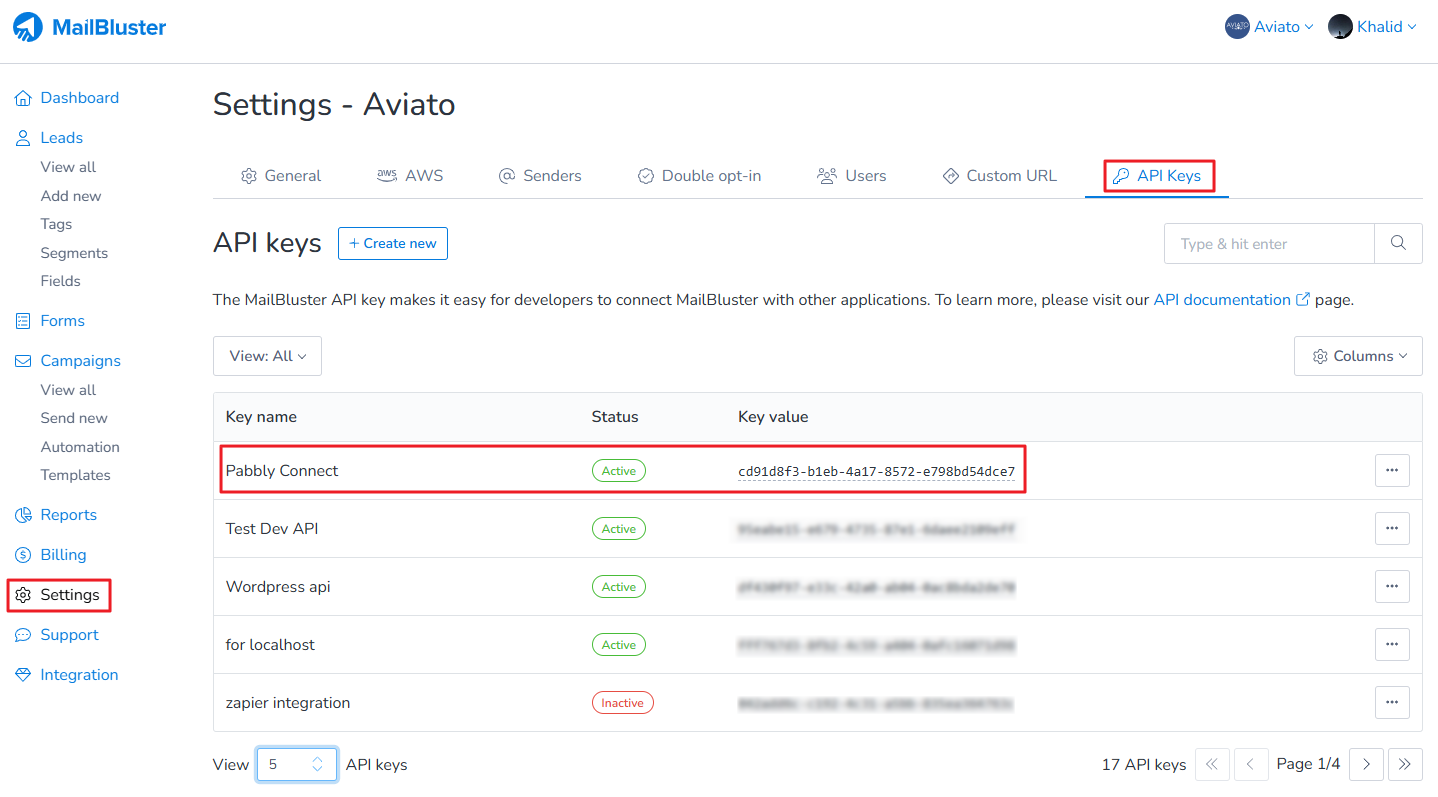
Once the API key is created, copy the Key value, paste it into the API Key field in Pabbly, and click Save.
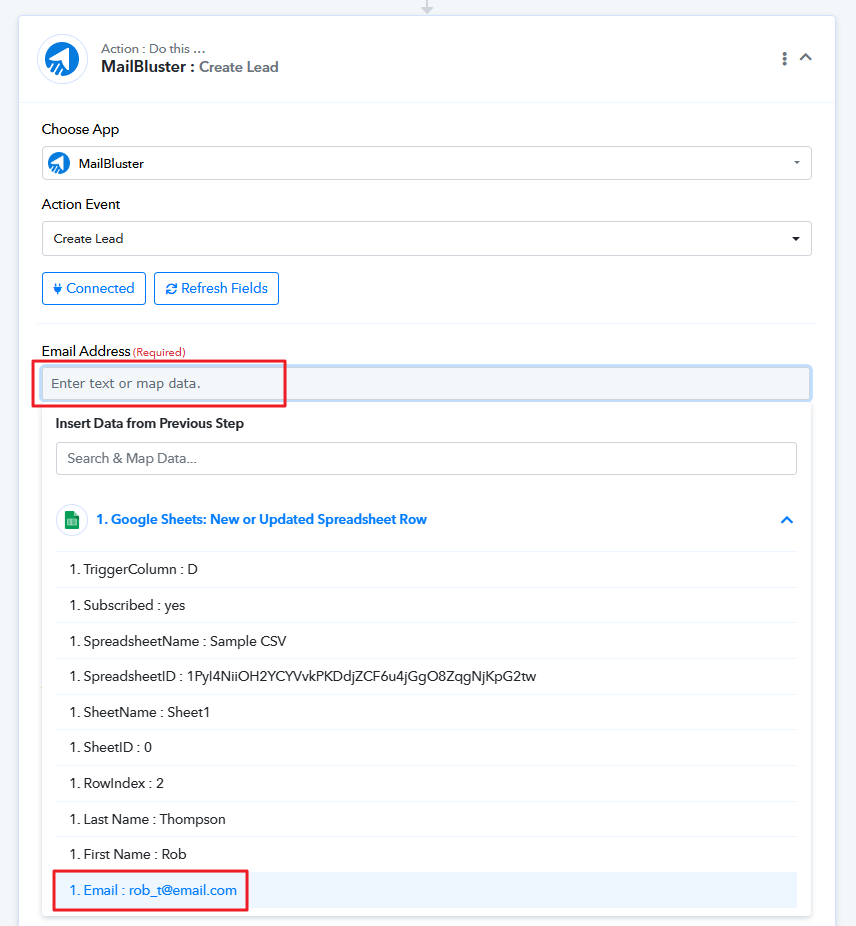
Now, map data by highlighting Email address as shown below.
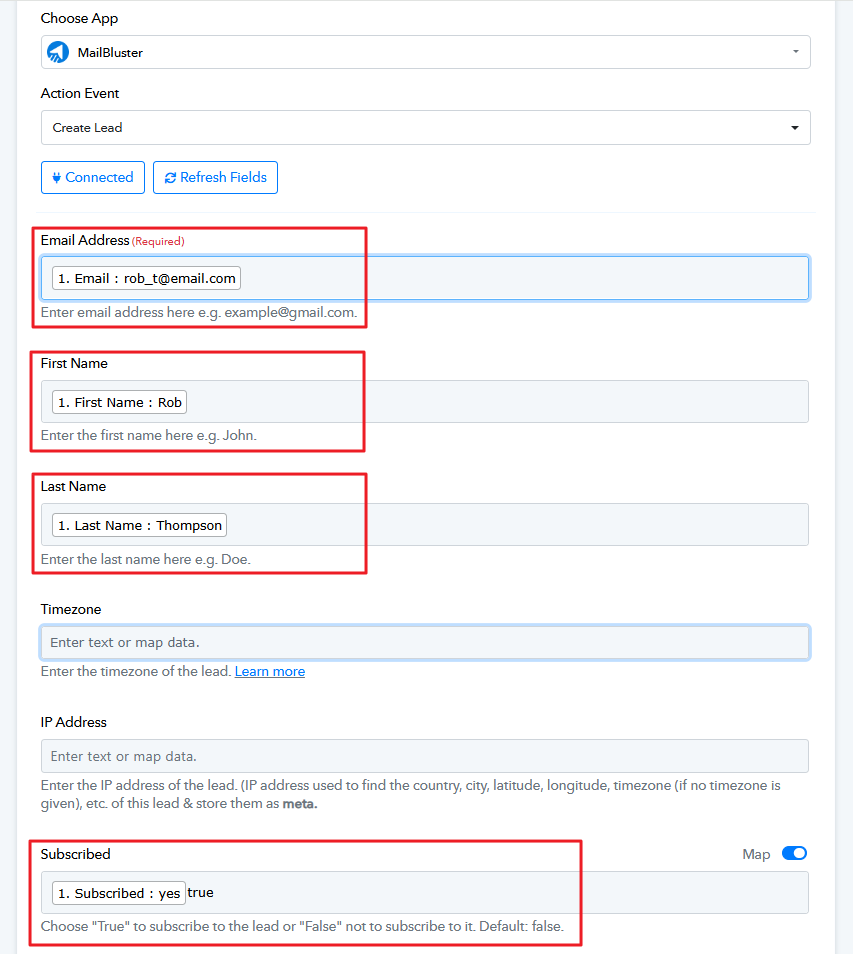
Similarly, map the data by selecting First Name, Last Name, and Subscribed. This mapping is necessary to retrieve data from the corresponding columns in Google Sheets.
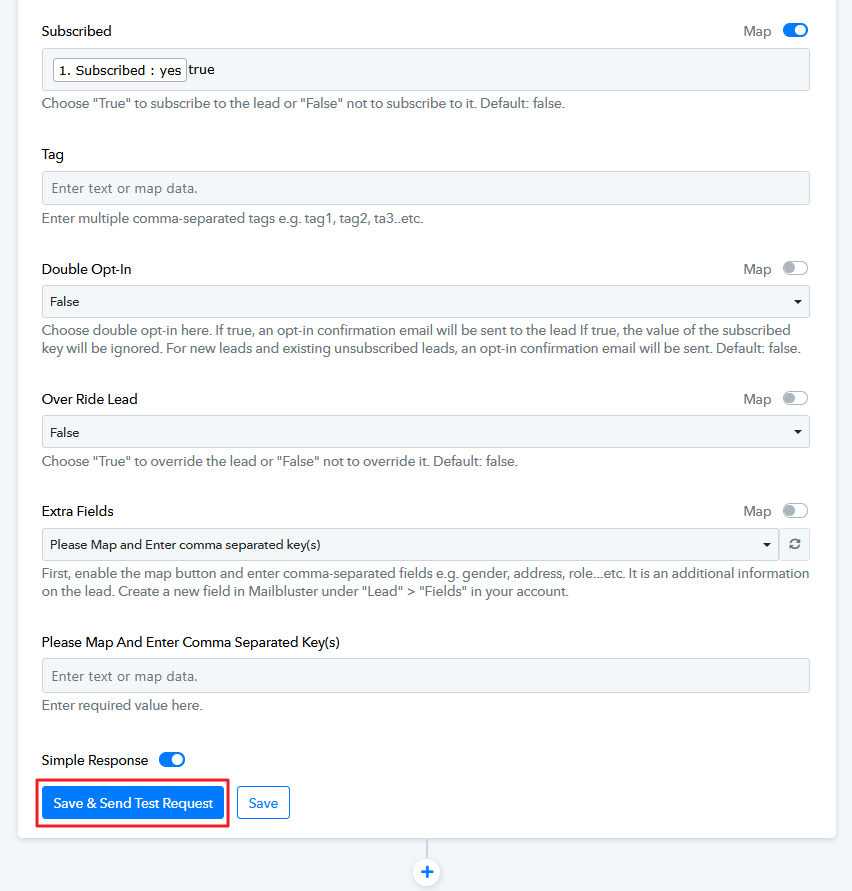
Click Save & Send Test Request. This will save the values you entered above and send the data to the selected app for processing. A response will be received once processing is complete.
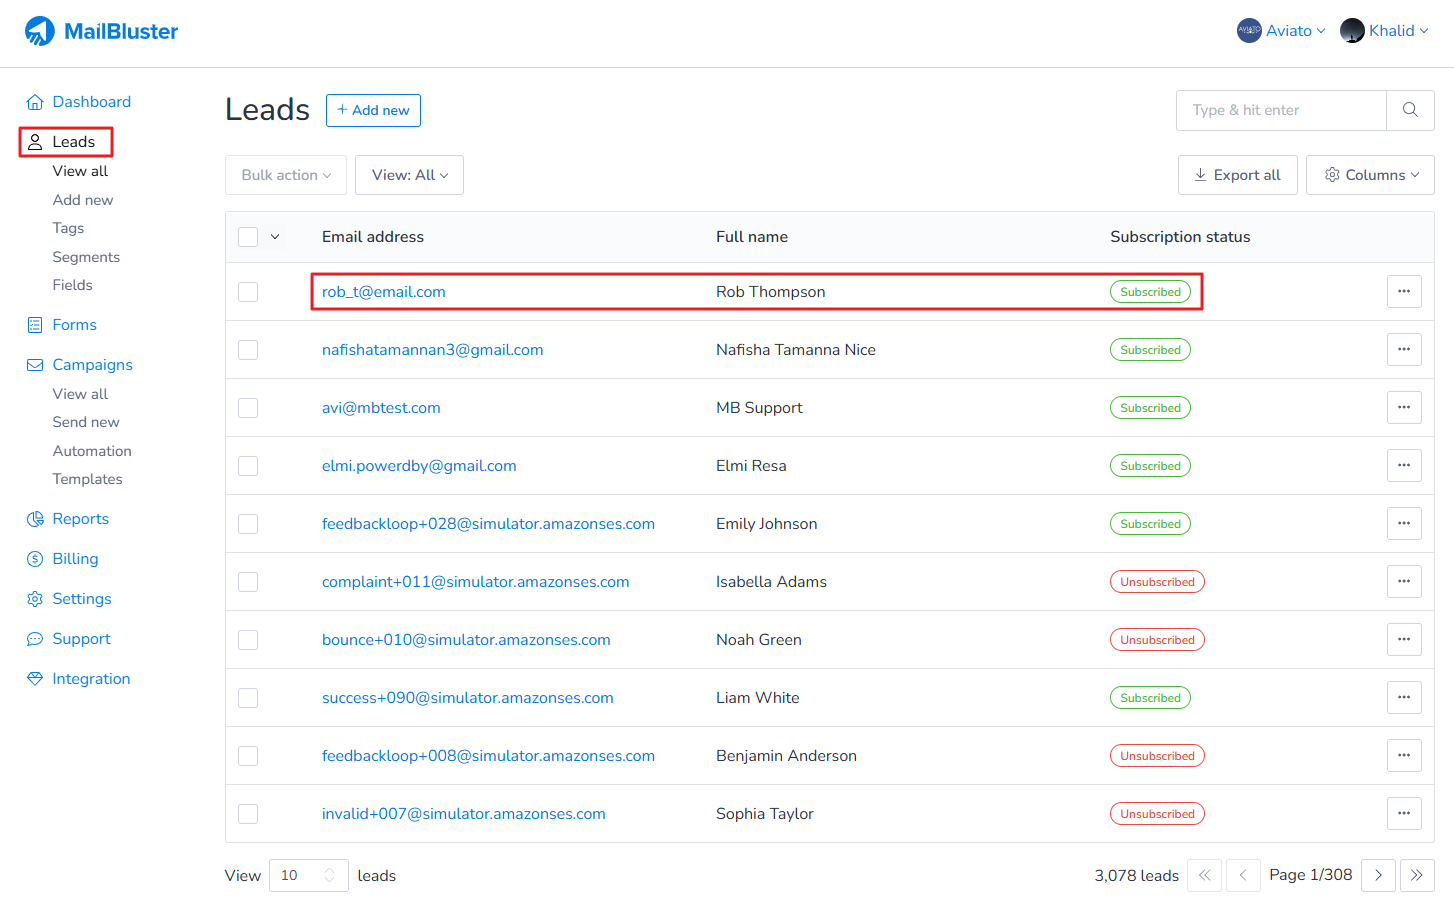
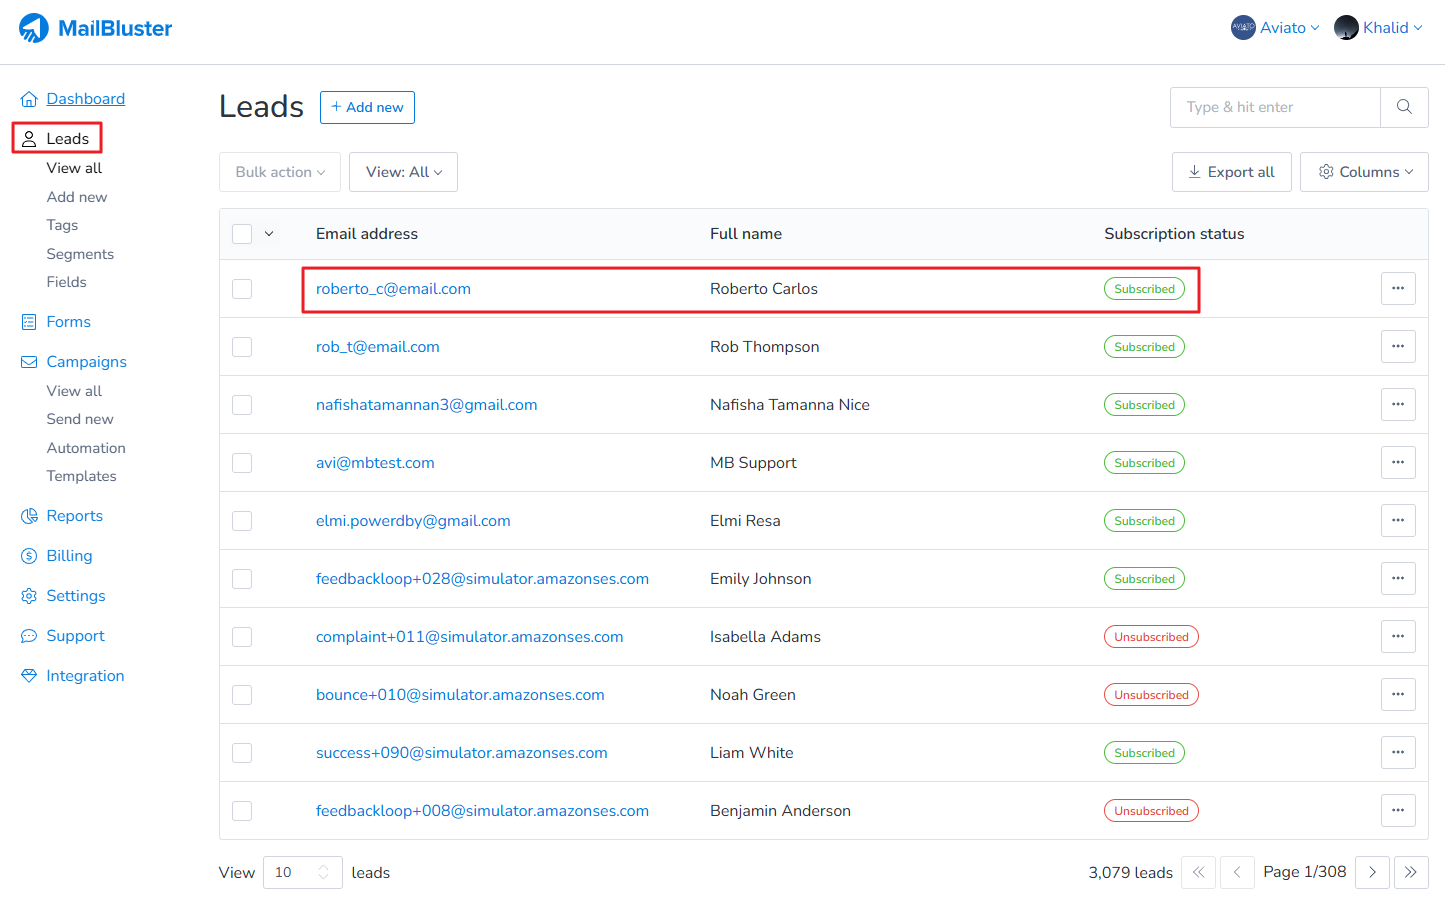
Now, go to MailBluster, and in the Leads section, you will see that the email address has been added to Leads.
Go to your Google Sheets and add a new lead to test if it is automatically added to the MailBluster Leads.
As you can see, the lead above has been successfully added to the Leads section in MailBluster automatically.
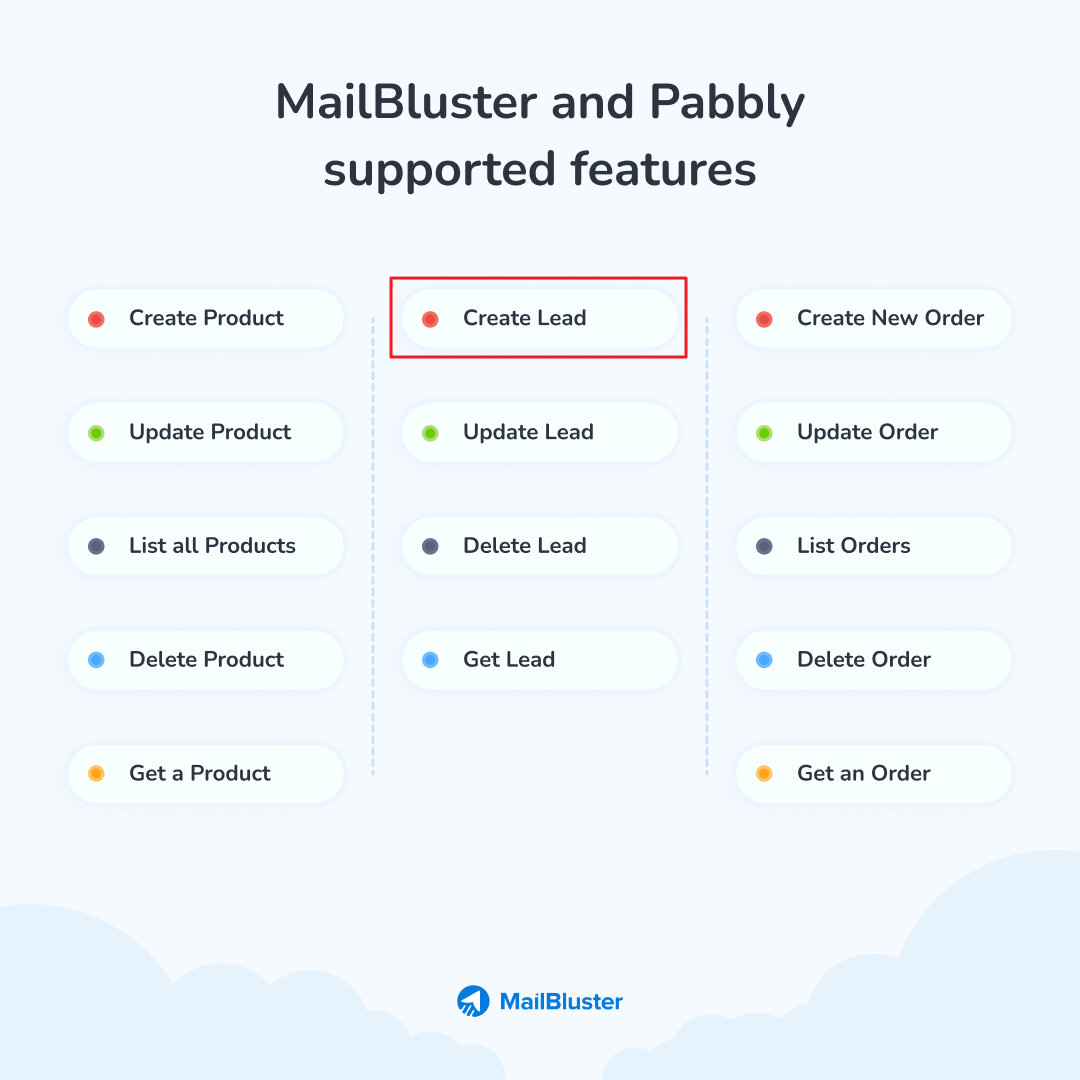
As you can see, we have focused on connecting Google Sheets with MailBluster to streamline the automation process using Pabbly. Similarly, you can achieve this with the following options.